Description
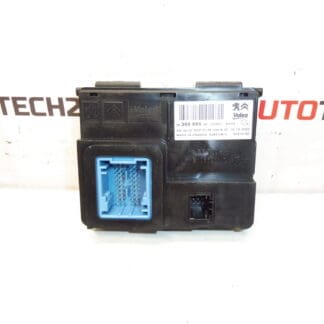
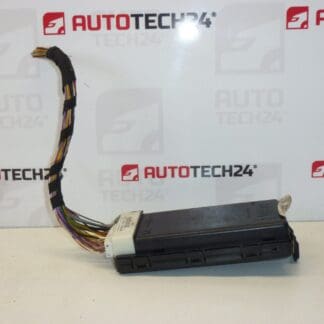
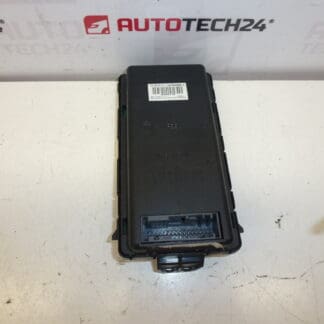
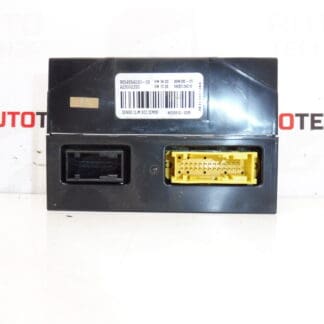
DENSO Air Conditioning Control Unit for Citroën C4 Picasso and Grand Picasso
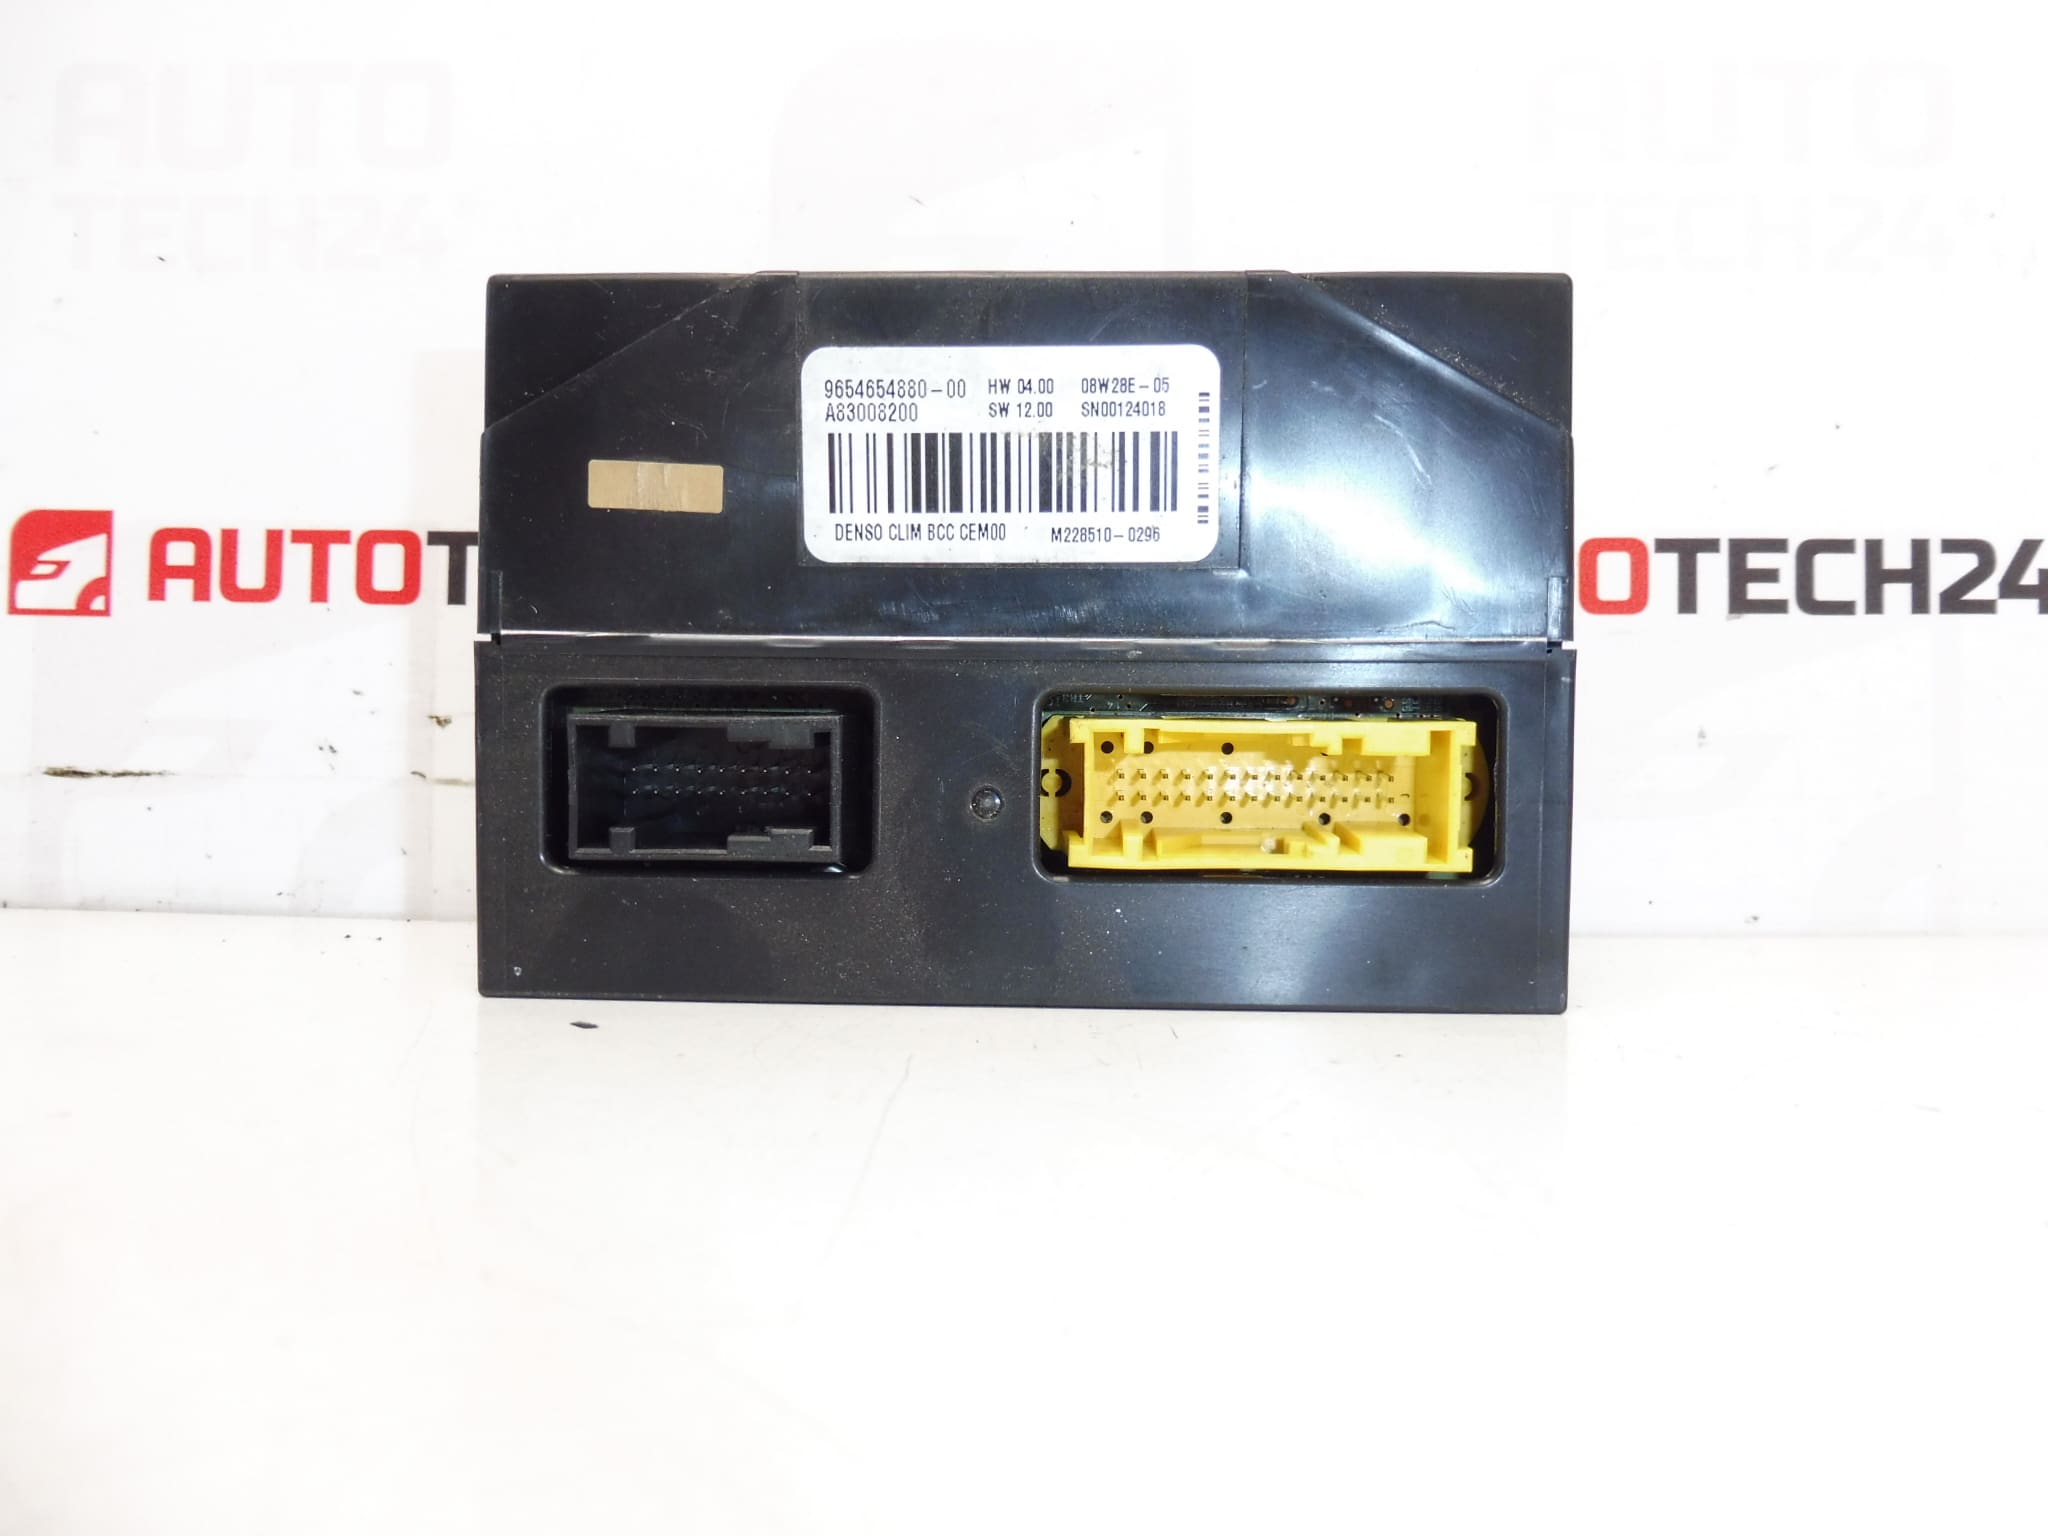
HW 04.00
SW 12.00
Product Overview
High-quality DENSO Air Conditioning Control Unit designed for Citroën C4 Picasso and Grand Picasso models. This electronic HVAC control module manages climate functions such as temperature regulation, blower control, actuator positioning and air distribution. Supplied with hardware and software identifiers HW 04.00 / SW 12.00, the unit is commonly searched by part number 9654654880 and related codes (9654654880-00, 6452P8). Ideal for professional garages and DIY mechanics who need a direct replacement to restore reliable climate control performance.
Technical Information
- Manufacturer: DENSO
- Model: Citroën C4 Picasso / Grand Picasso
- Product Codes: 9654654880, 9654654880-00
- Other Numbers: 6452P8, 6452P7
- Hardware Version: HW 04.00
- Software Version: SW 12.00
Function And Benefits
The control unit interprets user inputs from the climate control panel and vehicle sensors, controlling blower speed, blend/recirculation actuators and compressor engagement outputs. A correctly functioning unit ensures stable cabin temperature, accurate actuator positioning and efficient air distribution. Replacing a faulty unit restores precise climate control, reduces cabin discomfort and helps prevent additional stresses on HVAC components.
Fitment And Compatibility
Fits Citroën C4 Picasso and Grand Picasso vehicles that use the DENSO HVAC control unit with the listed part numbers and HW/SW versions. When searching for this part, customers often use the OEM numbers 9654654880 or 9654654880-00 and code 6452P8. Check the control unit reference on the existing module to confirm matching HW/SW identifiers where possible.
Replacement Procedure (Overview)
Typical replacement requires removal of interior trim around the center console or dashboard to access the HVAC control module. Steps generally include: disconnecting the vehicle battery, removing surrounding trim panels, unscrewing the control unit fasteners, carefully unplugging the electrical connector(s) and extracting the old unit. Install the new unit by reversing the steps, ensuring all connectors are fully seated and fasteners torqued to specification. After installation, verify all climate functions and actuator movements.
Installation Recommendations
- Always disconnect the battery before starting work and follow the vehicle manufacturer’s procedures to avoid damage to electronic modules.
- Handle the control unit by its housing — avoid touching connector pins and PCB components.
- Inspect wiring and connectors for corrosion or damage; repair any compromised wiring to prevent future failures.
- After fitment, test all climate functions (fan speeds, temperature control, recirculation, AC clutch engagement and actuator travel) to confirm correct operation.
- Use a diagnostic tool to monitor HVAC-related fault codes and actuator positions if available.
Why This Part Commonly Fails
Failures are most often caused by long-term exposure to heat and moisture, connector corrosion, electrical surges or degraded solder joints. Symptoms include intermittent or complete loss of blower control, incorrect temperature regulation, stuck actuators or error codes related to HVAC functions. Preventive measures include keeping the interior dry, ensuring secure electrical connections and addressing HVAC faults early before they cause additional component stress.
Notes For Professionals And DIY Mechanics
This unit is aimed at technicians and competent DIYers familiar with vehicle electrical systems. Having basic diagnostic equipment speeds up fault isolation and confirmation after replacement. Use OEM part numbers when searching to ensure correct fitment and compatibility with the vehicle’s HW/SW versions.