Description
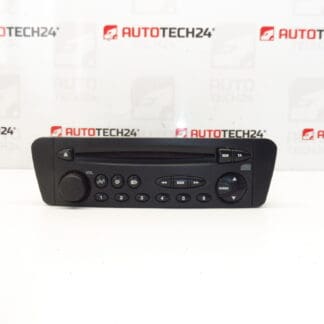
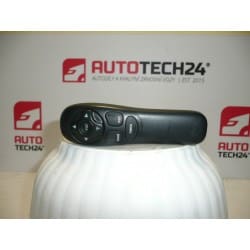
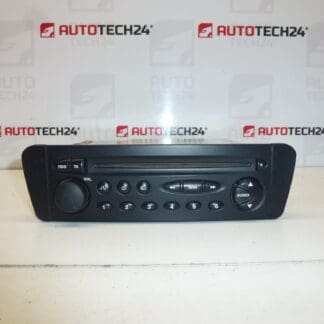
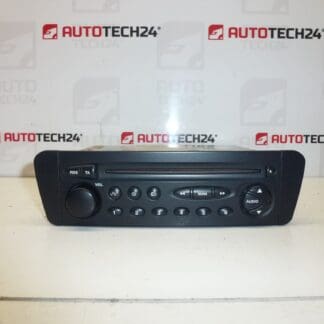
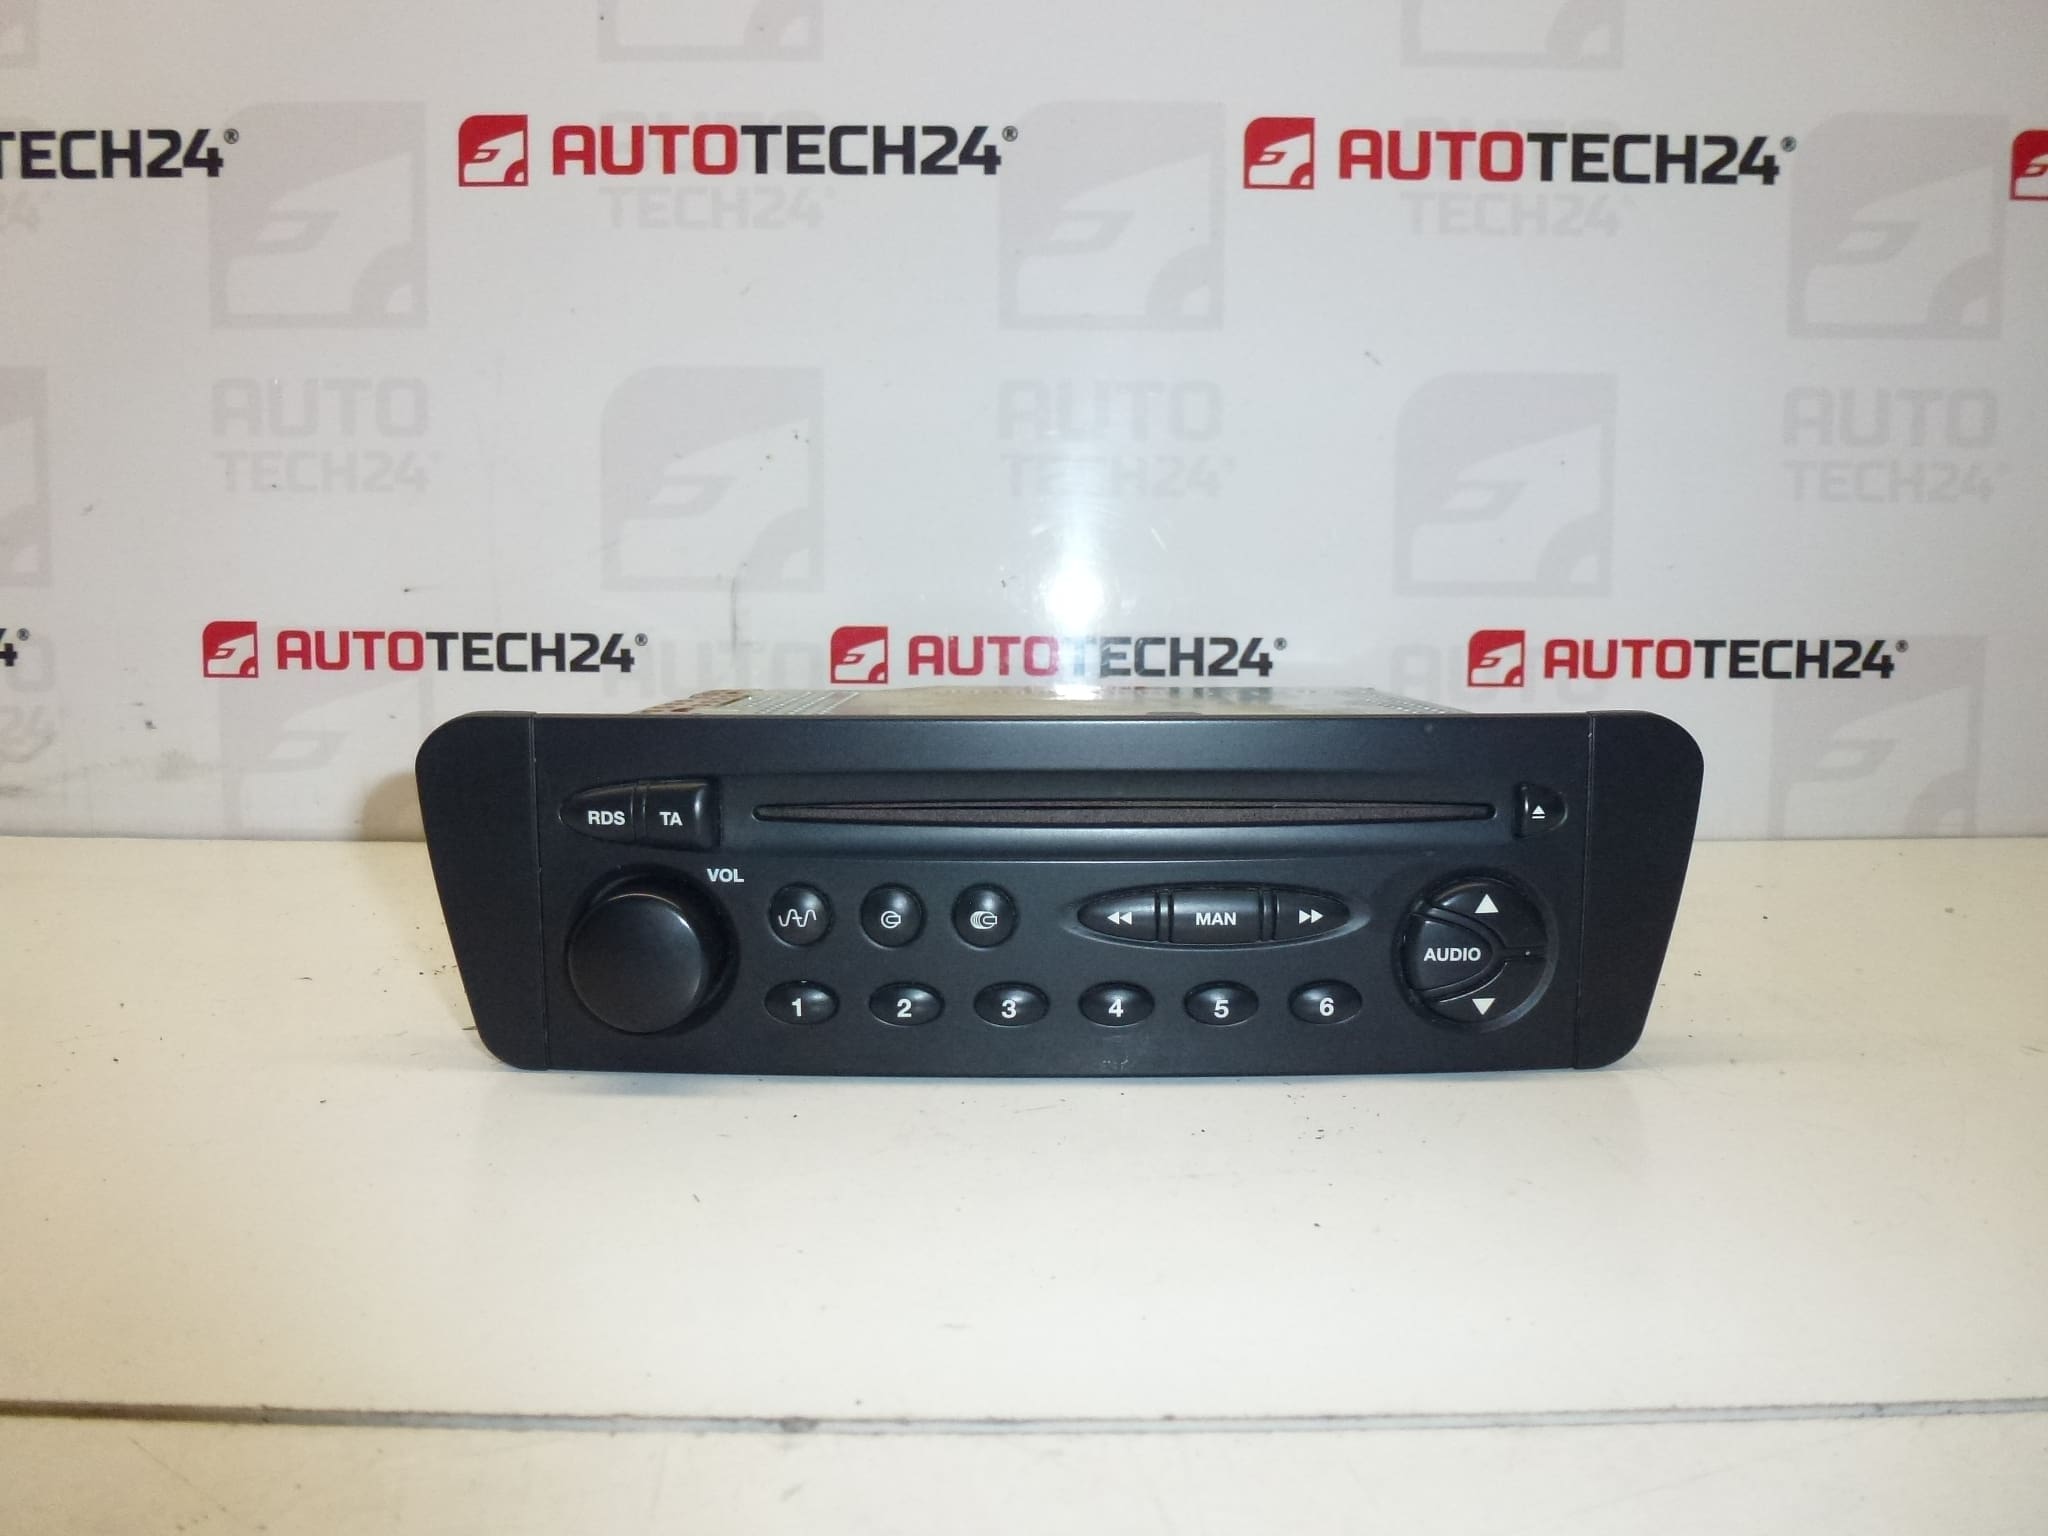
Car radio with CD for CITROEN XSARA PICASSO cars
Part description
A used car radio with CD for Citroën Xsara Picasso is a suitable choice when replacing a damaged or non-functional radio. When looking for a replacement part, the product number 96475709ZL00 and the conformity of the design with the original part are especially important.
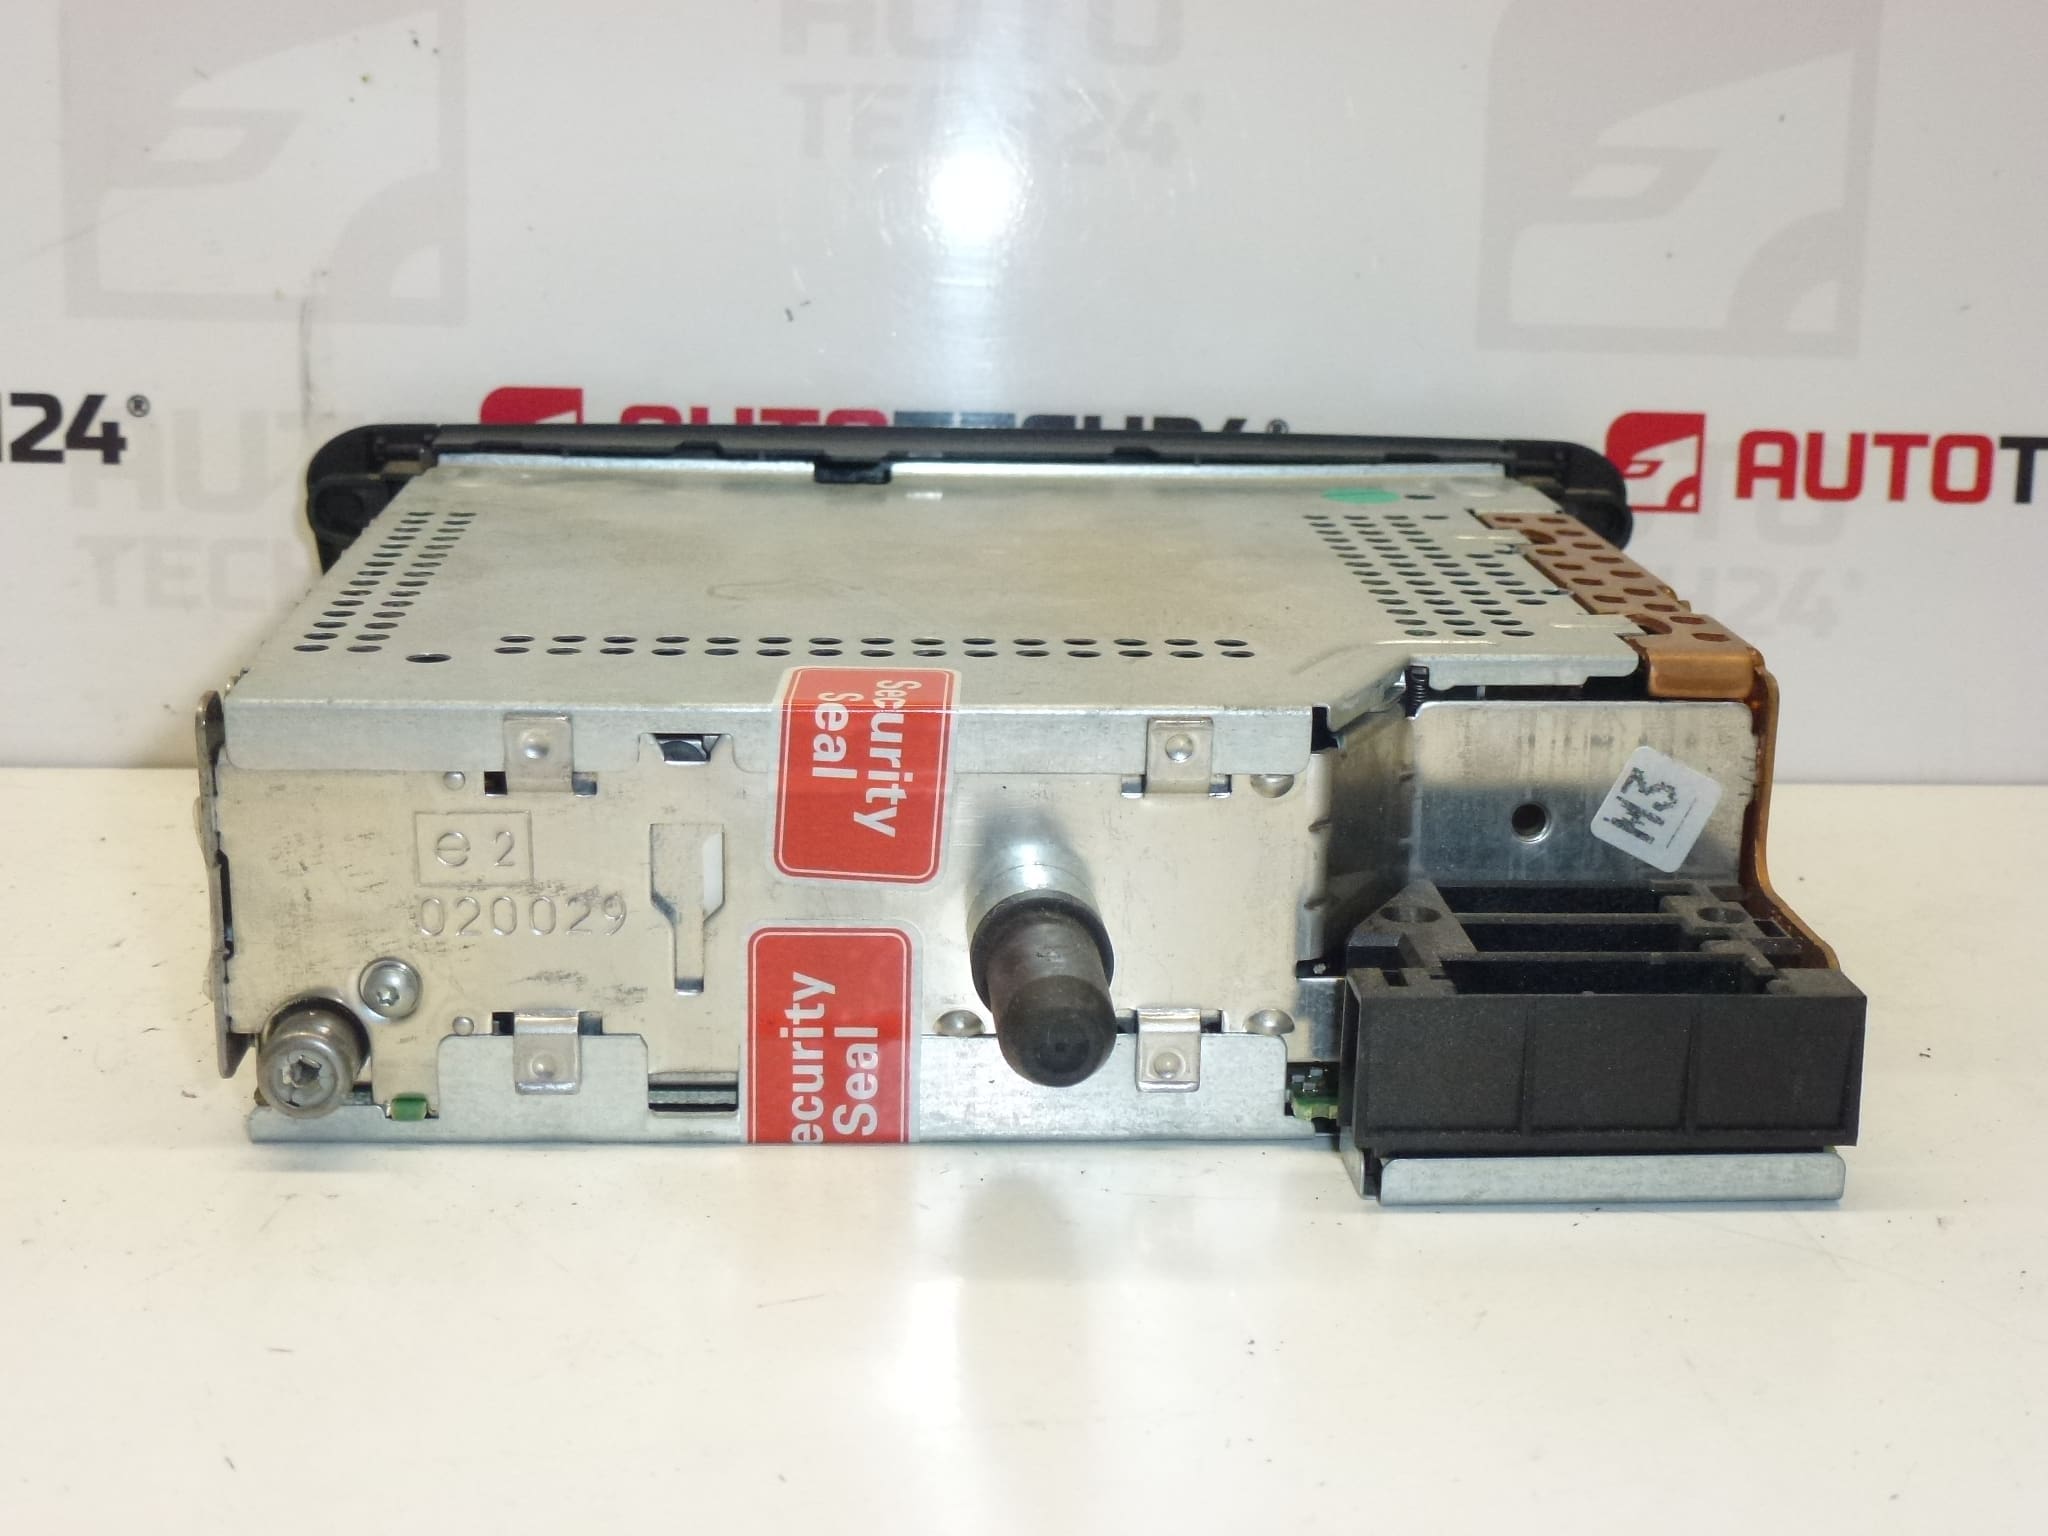
The radio combines radio reception with CD playback. Replacing it with a suitable design can preserve the original appearance of the interior without having to switch to another audio system solution. Before purchasing, compare the markings, connectors, front panel and mounting with your existing car radio; the name of the car model alone may not be enough for selection.
Technical information
- Manufacturer: not specified
- Model: Citroën Xsara Picasso
- Type of part: car radio with CD
- Condition: used part
- Main product number: 96475709ZL00
- Other numbers: 6564ZL, 656474, 656475
- Other designations in the documents: NFP
Product codes
Product codes: 96475709ZL00, 6564ZL, 656474, 656475.
The given numbers are used to identify the part and find the corresponding car radio. Compare them with the markings of the original piece; the documents do not specify the differences between the individual codes or the conditions for their mutual interchangeability.
Installation recommendations
In general, for this type of part: the following procedure is a general recommendation for replacing a car radio. The exact disassembly steps, how to disconnect the power and any settings depend on the specific design of the car and the radio.
1) Before assembly
- Compare the product numbers, dimensions, faceplate, mounting and all connectors with the original piece.
- Check the cover, latches and contacts of the used part. Look for cracks, bent pins, corrosion, or signs of moisture and overheating.
- Inspect the wiring in the car. A faulty power supply or a damaged connector can cause problems even after the radio has been replaced.
- Find out in advance from the service documentation whether the replacement requires unlocking or configuration. These requirements are not listed in the documents for the offered piece.
2) Necessary tools and materials
Typically, tools for removing the radio that match its mounting, plastic disassembly pry bars, suitable screwdrivers, a flashlight, and protection of surrounding surfaces are used. A multimeter and a car-specific wiring diagram can be useful for checking the electrical wiring.
3) Step-by-step assembly procedure
- Stop the vehicle safely, turn off the radio and ignition, and remove the key if the vehicle is in use.
- According to the manufacturer’s procedure, allow the electronics to go to rest and safely disconnect the battery.
- Protect the surrounding paneling and, depending on the specific attachment, provide access to the radio lock. Do not force the panel to release.
- Unfasten with a suitable tool and carefully pull the radio out without straining the cables.
- Record the original wiring, unlock the connectors and disconnect them by pulling on their bodies, not the wires.
- Compare the removed and replacement radio including connectors and fasteners. If there is a discrepancy, interrupt the assembly.
- Check the integrity of the harness and connectors. Remove any wiring defects before connecting the spare part.
- Connect the appropriate connectors and antenna cables. Verify that the latches are fully engaged and locked.
- Store the wiring so that it is not pinched, bent or stretched. Seat and secure the radio as prescribed.
- Restore power according to the manufacturer’s instructions, verify function, and make any required adjustments using the appropriate service procedure.
-
4) Post-assembly checks and function verification
In a stationary vehicle, try switching on, volume control, radio reception and playback, and ejecting an undamaged CD. Verify the sound from the connected speakers, the stability of operation and the firm seating of the radio. Check for possible breakdowns or vibrations during a short test drive without distracting the driver; entrust the radio control to the passenger.
5) The most common assembly mistakes and how to avoid them
- Choose only by appearance: always compare numbers, connectors and mounts as well.
- Force insertion of connectors: verify their orientation and condition of latches; do not improvise different connectors.
- Pinched wires: check the clearance behind the radio before finally inserting it.
- CD drive wear and optical contamination that can impair loading or ejecting discs.
- Moisture and corrosion damaging contacts and electronics.
- Power failures or unprofessional interventions in the cabling which can lead to blackouts or circuit damage.
- Mechanical damage during disassembly, especially torn connectors, broken latches and damaged front panel.
- Long-term thermal stress and aging of components which can cause irregular function.
Reasons why the part is damaged
In general, the following causes of malfunctions can occur with CD car radios; it is not a description of the condition of the offered piece: