Description
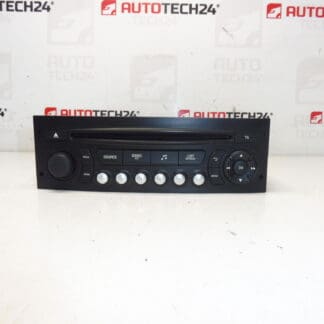
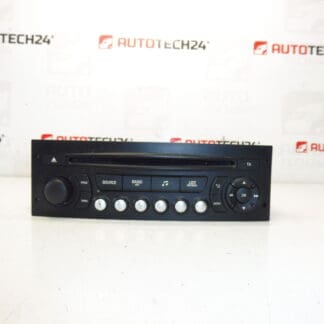
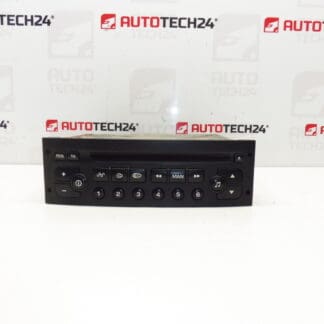
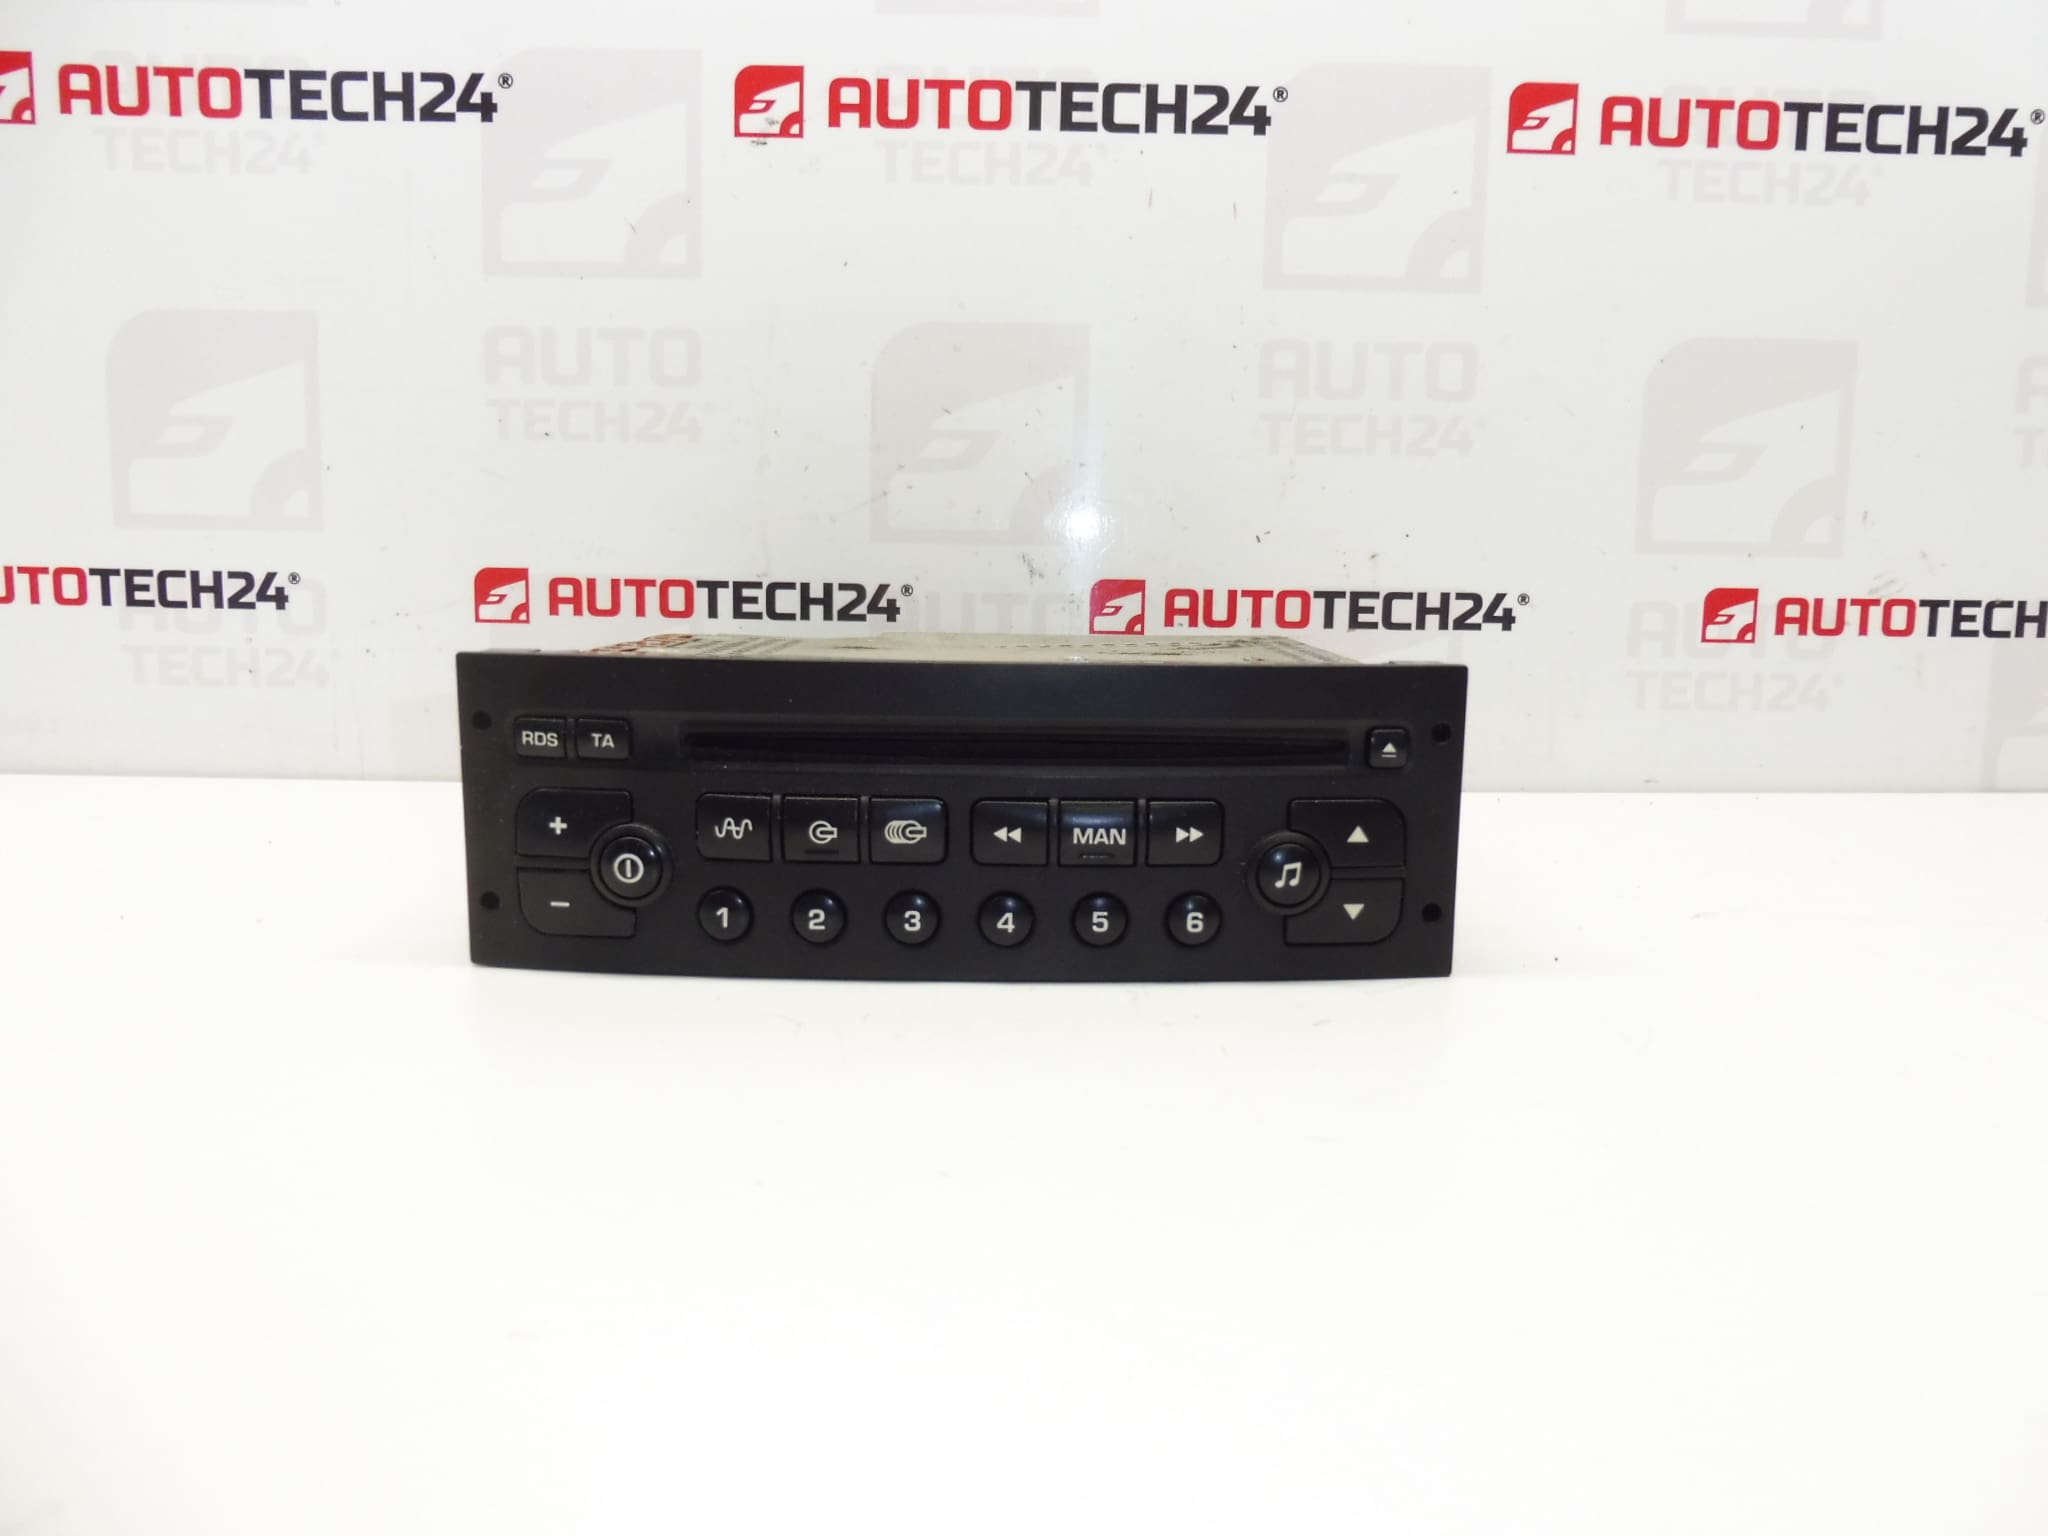
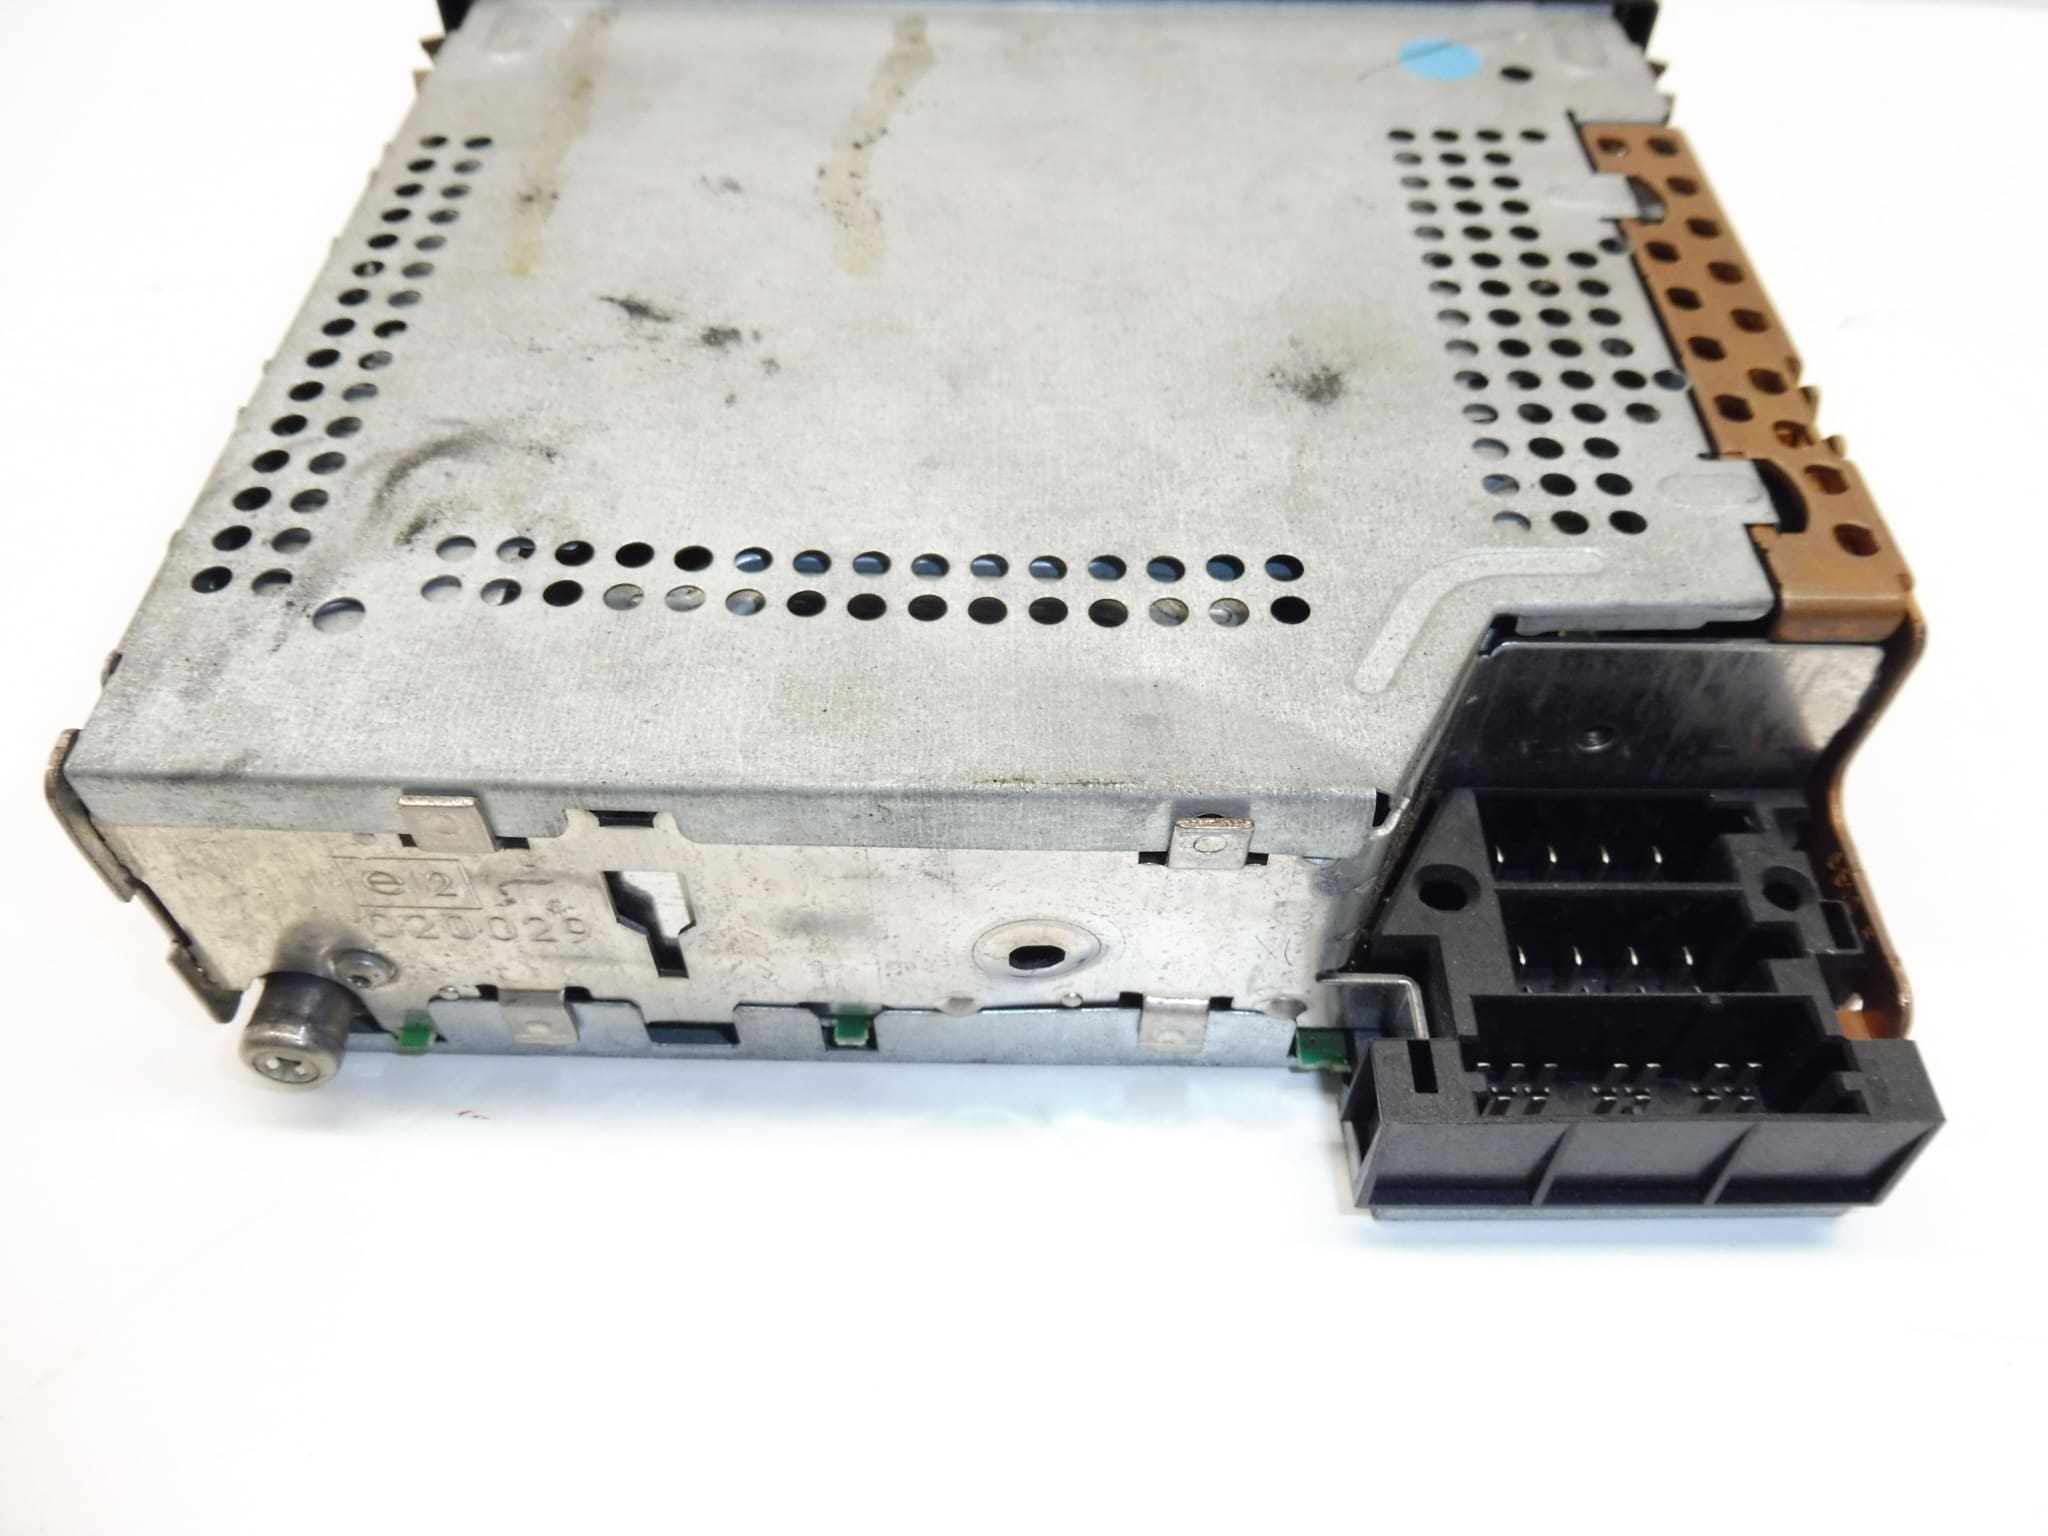
CD car radio Siemens VDO for Citroën and Peugeot vehicles. The radio must be coded to the vehicle using diagnostic equipment. Fully functional – tested.
Replace a worn or non‑working factory radio with an original Siemens VDO CD unit designed for many Citroën and Peugeot models. This OEM radio preserves the factory appearance and retains compatibility with the vehicle’s wiring and controls while restoring CD playback and standard radio functions. Ideal for professional workshops and experienced DIY mechanics who need a direct-fit replacement identified by part numbers commonly used in searches.
Key Features
- Original Siemens VDO construction tailored for Citroën/Peugeot dashboards.
- Integrated CD player with radio tuner and standard PSA connectors.
- Direct replacement for vehicles using part codes 964514597700, 6564RT, 6564V.
- Maintains factory look and steering wheel control compatibility where originally fitted.
Fitment / Compatible Models
Commonly fitted to the following models (model generation indicated where relevant): Peugeot 307 I, Peugeot 807, Citroën Berlingo II, Citroën C2, Citroën C3 I, Citroën C8, Citroën Partner II. Compatibility depends on vehicle trim and preinstalled harness; the unit corresponds to the PSA/Stellantis radio family identified by the listed part numbers.
Technical Information
- Manufacturer: Siemens VDO (Original Equipment for Citroën/Peugeot)
- Model: OEM CD Radio For Citroën/Peugeot
- Product Codes: 964514597700, 6564RT, 6564V
- Additional Numbers: NFP
Installation Recommendations
- Disconnect the vehicle battery before starting work to avoid short circuits and prevent damage to electronics.
- Remove trim panels and use proper radio keys or tools to extract the radio cage without damaging the dash.
- Carefully disconnect antenna, power/speaker harnesses and any auxiliary or steering control connectors.
- After mechanical installation, the radio must be coded/programmed to the vehicle using diagnostic equipment (DiagBox or equivalent PSA tool) to restore full functionality and retain preset memory, if applicable.
- For coding and advanced configuration, use a workshop with PSA diagnostic tools or an experienced technician familiar with PSA systems.
Why This Part Fails Most Often
CD radios of this generation commonly develop faults over time due to mechanical wear of the CD mechanism (laser pickup, spindle motor), accumulation of dust, humidity ingress, brittle solder joints from thermal cycling, or failed capacitors in the power supply. Symptoms include inability to read CDs, intermittent audio, loss of presets or display issues. Electrical connector corrosion and supply issues (fuses/ignition feed) can also mimic radio failure.
How To Replace
- Disconnect the negative battery terminal.
- Remove surrounding trim carefully to access the radio bezel.
- Use radio removal keys to slide the radio out of its cage.
- Unplug the antenna and wiring harness connectors, noting their positions.
- Install the replacement unit by reversing removal steps, reconnect all plugs and antenna.
- Reconnect the battery and perform diagnostic coding/programming so the radio is recognized by the vehicle.
This Siemens VDO CD radio with part numbers 964514597700 / 6564RT / 6564V is a practical choice for restoring original audio functions on compatible Citroën and Peugeot vehicles. The presence of OEM connectors ensures a clean installation, while professional coding guarantees full system integration.