
Description
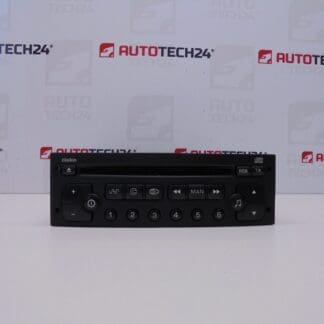
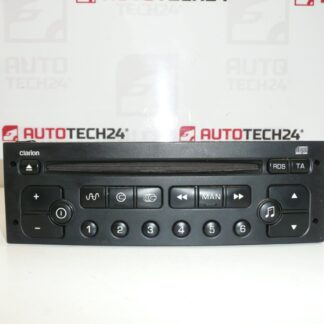
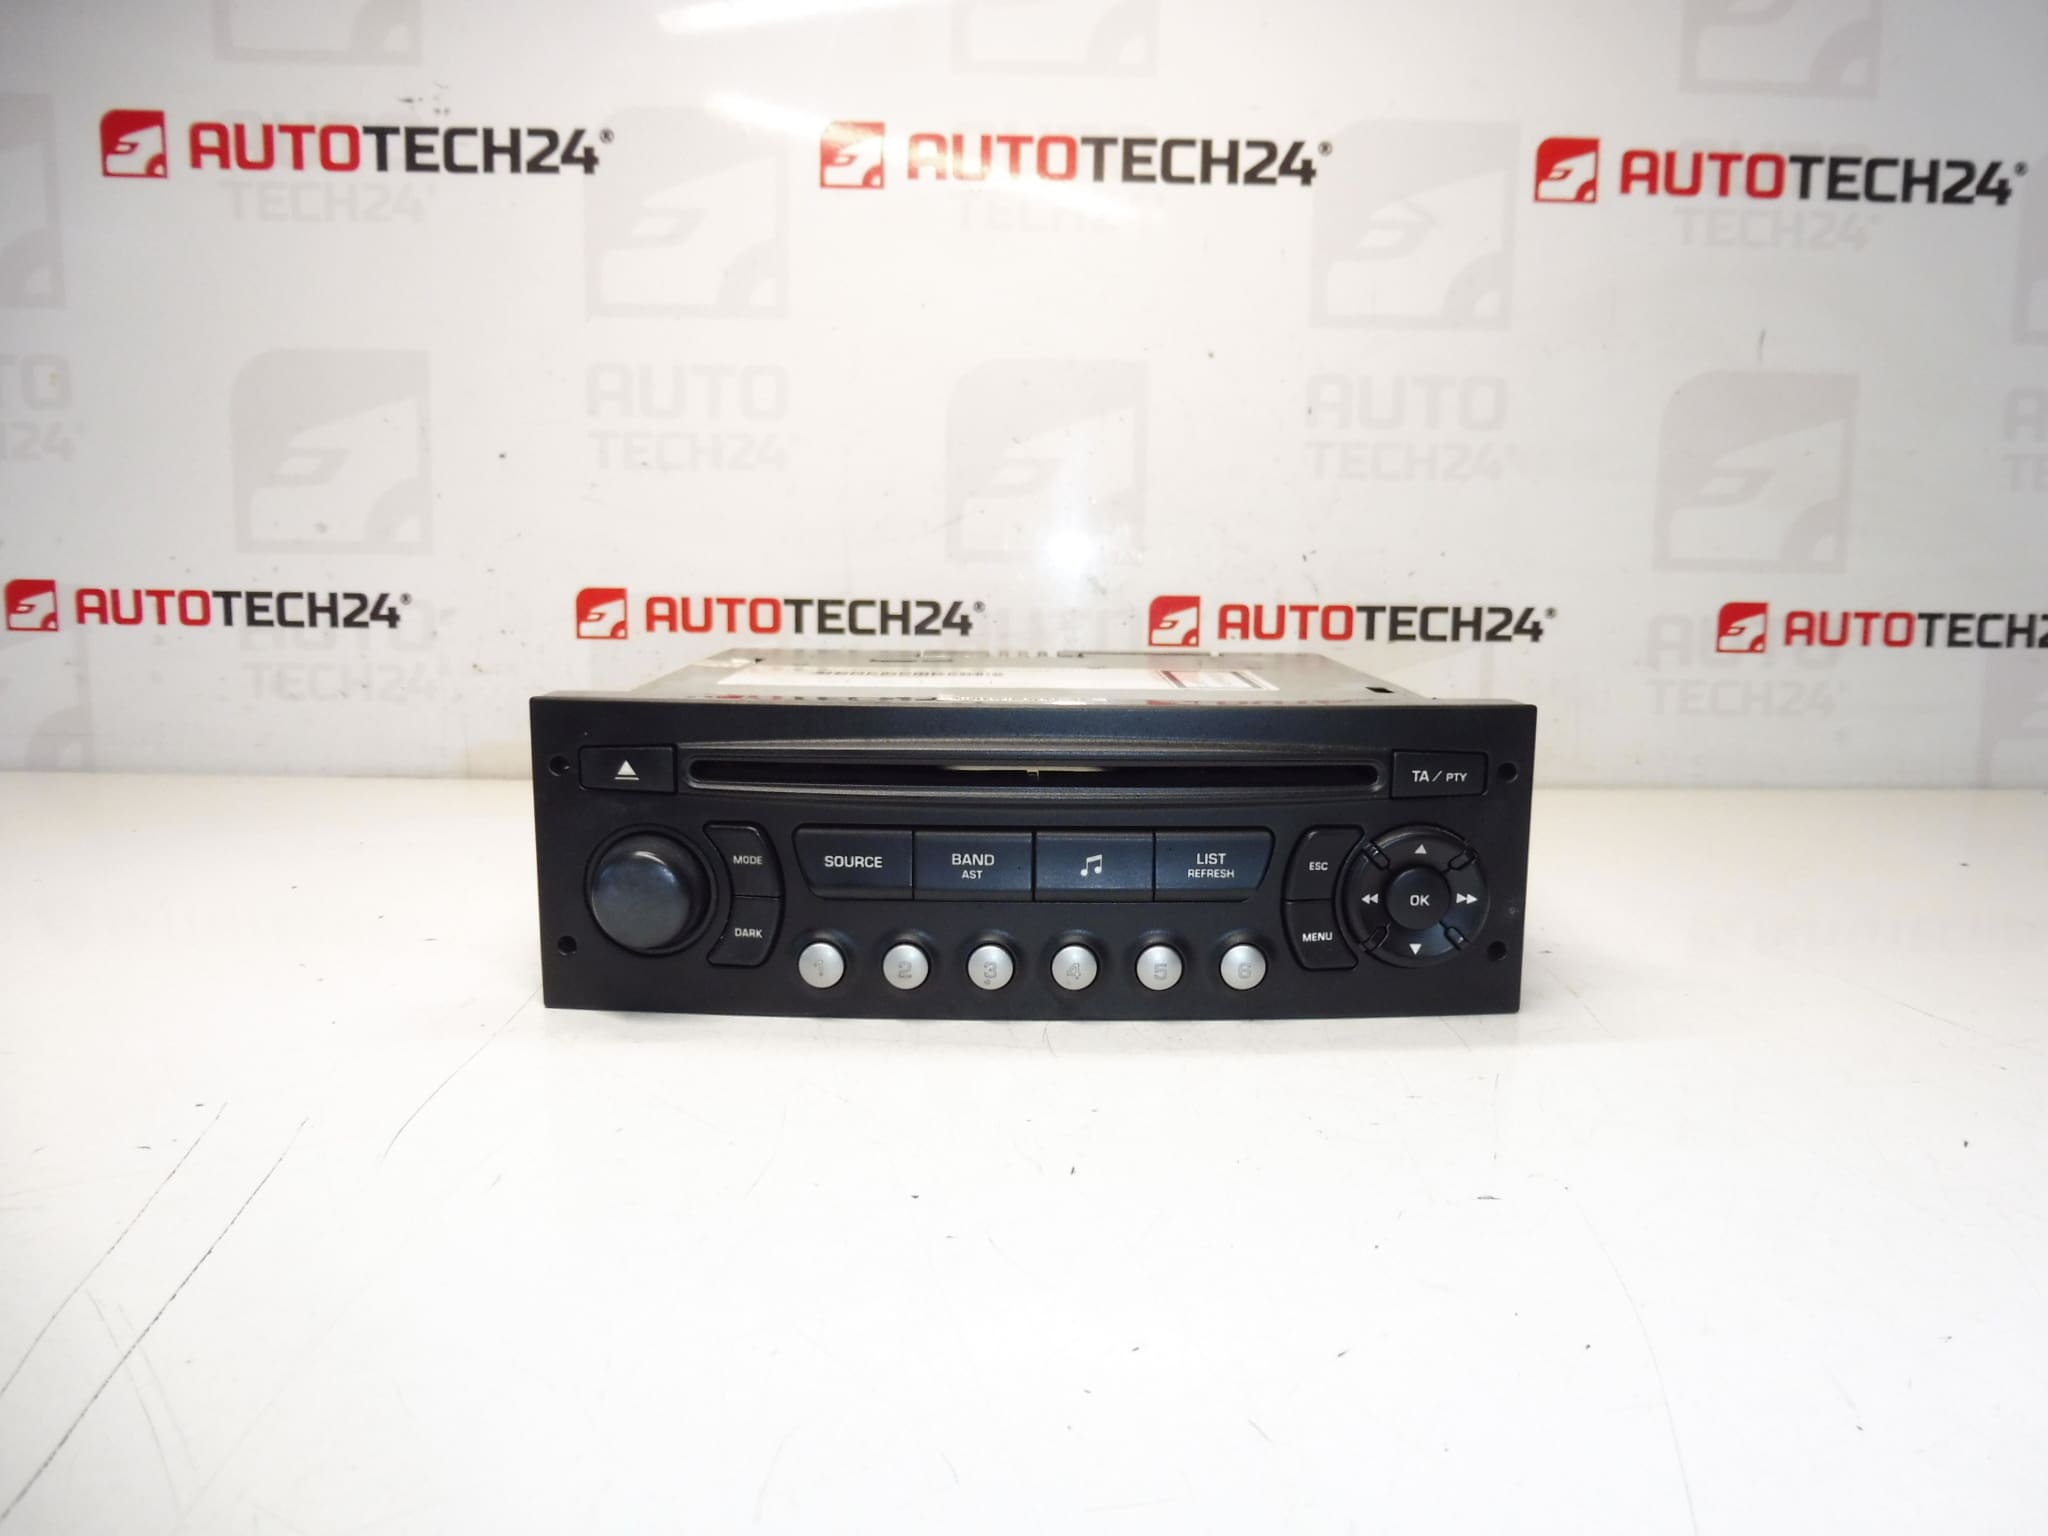
Car radio with CD Blaupunkt RD4 T5 N2
The radio must be uploaded to the car with diagnostics
It has 2 antenna inputs
Part description
Used Blaupunkt RD4 T5 N2 car radio for cars of the Stellantis group (Citroën/Peugeot). It is an original OEM radio with a CD, which is often searched for by serial numbers – that is why it is an ideal choice when replacing a non-functioning unit or when dealing with audio dropouts, CD not reading or other defects of the original radio.
Important: the unit needs to be loaded/adapted to the car by diagnostics after assembly. The radio has 2 antenna inputs – before assembly, check the compatibility of the connectors and design with the original piece.
Technical information
- Manufacturer: Blaupunkt
- Model: RD4 T5 N2
- Other numbers: 6564QT, 6564QV, 6579PS
Product codes
- Product codes: 9660646577, 6564QT, 6564QV, 6579PS
Installation recommendations
Generally/typically for this type of car radio: compare the connectors before installation, and after installation, the radio must be “uploaded” (paired/configured) to the car by diagnostics, otherwise it may not work properly. The exact steps may vary depending on the specific car model.
1) Before assembly
- Check the nameplate and compare the codes 9660646577 / 6564QT (or 6564QV, 6579PS) with the old radio.
- Check the design compatibility: Blaupunkt RD4 T5 N2, radio with CD.
- Compare connectors and accessories: power/speaker harness and 2 antenna inputs (type and number).
- Visually check the condition: connector damage, bent pins, cracks, traces of moisture.
2) Necessary tools and materials
- Basic set of hand tools (screwdrivers/ratchets according to dashboard design)
- Preparations for dismantling the radio (if required by the specific design)
- Clean cloth or contact cleaner (for connectors)
- Diagnostics for uploading/adapting the radio to the car (according to service equipment)
3) Step-by-step assembly procedure
- Turn off the ignition and disconnect the battery (to minimize the risk of short circuits and errors in the electronics).
- Remove the surrounding dashboard covers to gain access to the radio (the procedure varies by car).
- Unfasten and remove the original car radio.
- Disconnect all connectors – power/speakers and antennas; note their position.
- Compare the new (used) radio with the old one: connectors, mounts, label codes.
- Plug the power/speaker connector and both antenna inputs into the new radio.
- Insert the radio into the hole and secure it in place (without force, so as not to damage the connectors).
- Reinstall the removed covers and frames.
- Connect the battery.
- Perform recording/adaptation of the radio to the car by diagnostics (according to the equipment and procedure for the given car).
-
4) Post-assembly checks and functional test verification
- Verify radio power on, control function and backlight.
- Check reception on both antenna branches (if the car uses them) and signal quality.
- Test the CD drive (on clean, undamaged media).
- When driving, check that the sound does not interrupt and the radio does not restart on its own.
5) The most common assembly mistakes + how to avoid them
- Without post-installation diagnostics: the radio may be non-functional/limited – always consider the need to upload to the car.
- Exchanging antenna inputs or connecting only one antenna: mark the cables before disassembly, the radio has 2 antenna inputs.
- Damage to pins when inserting: insert the unit straight, do not press on the harnesses behind the radio.
- Working with the battery connected: risk of short circuits and errors – disconnect/connect the battery in the correct order.
Reasons why the part is damaged
- Age and wear of the CD drive (not reading, jamming, noise).
- Voltage fluctuations in the vehicle network, bad contact in the harness or transient resistances in the connectors.
- Moisture in the dashboard / leakage and subsequent corrosion of the contacts.
- Improper assembly/disassembly (bent pins, cracked mounting, damage to connectors).
- Vibration and long-term stress – micro-cracks in joints, sound interruptions.