Description
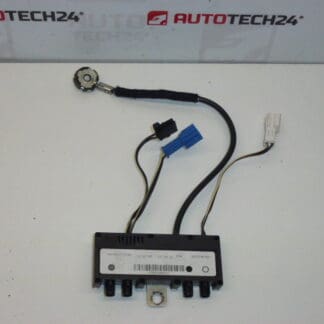
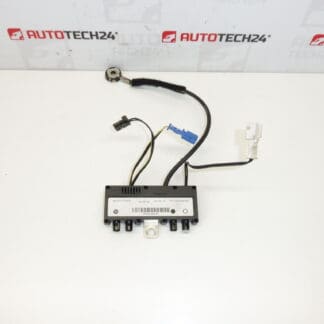
Antenna impedance module, impedance adapter for Peugeot 307 CC
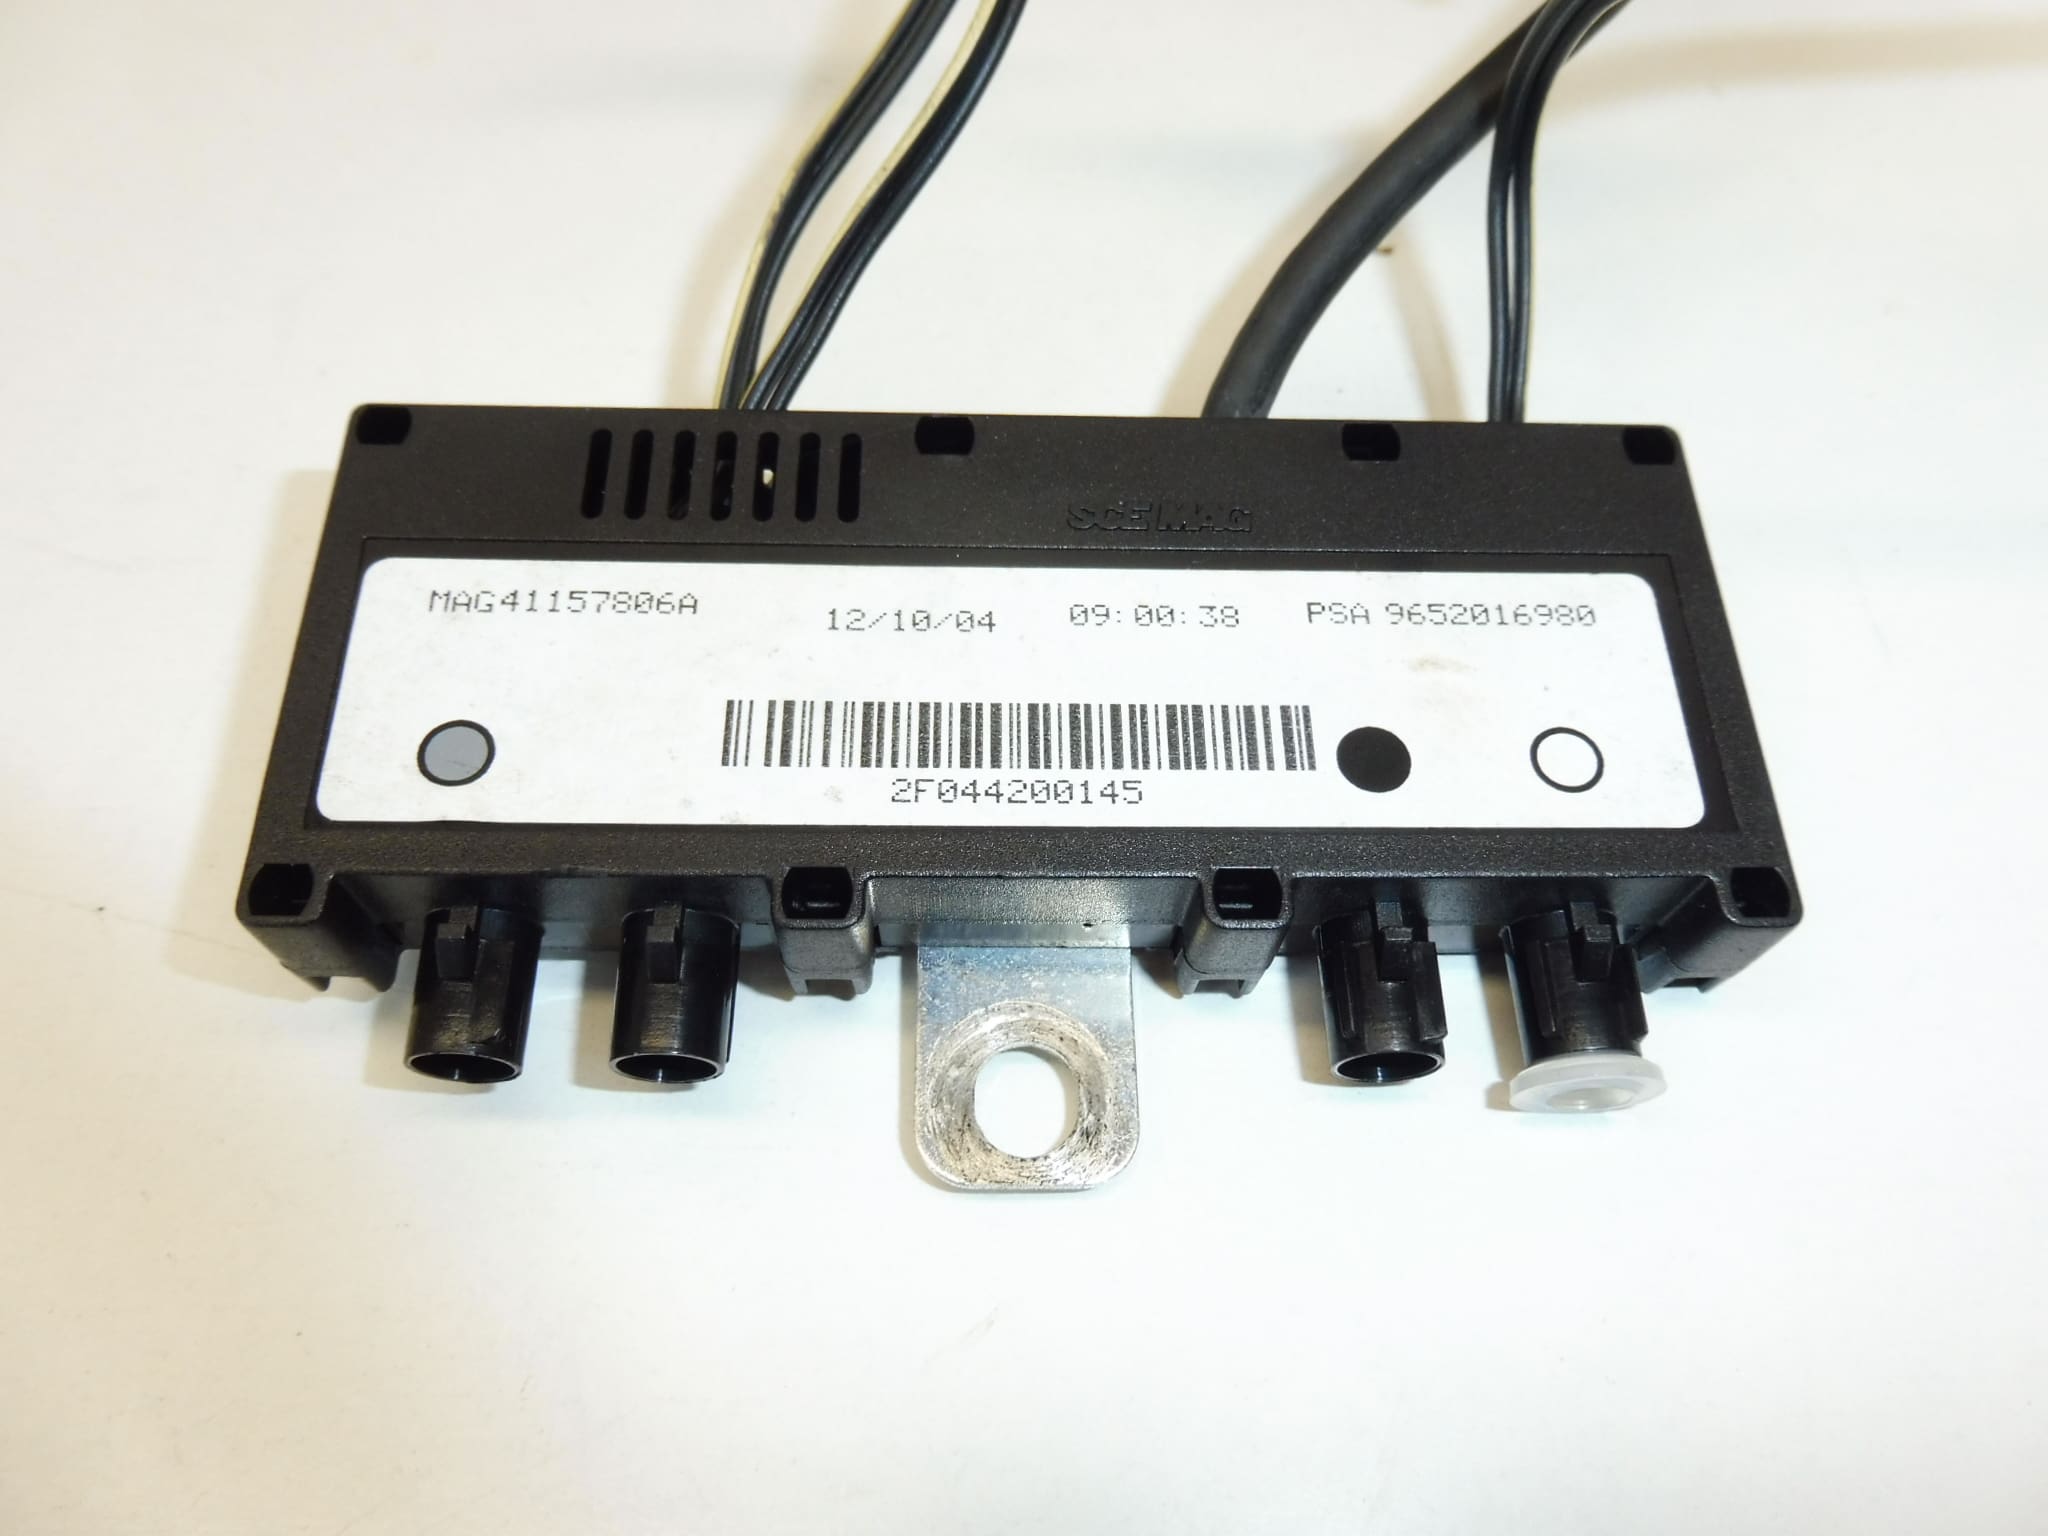
Restore proper radio performance in your Peugeot 307 CC with this Antenna Impedance Module (OE 9652016980 / 6561R5). Designed for professional autoshops and DIY mechanics, this impedance adapter ensures correct matching between the vehicle antenna and the head unit to reduce signal loss, minimise noise and improve FM/AM reception. Often searched by product numbers 9652016980 and 6561R5, it is a compact and direct solution when antenna-related reception problems appear.
Key Benefits
- Ensures correct impedance matching between antenna and radio to reduce reflections and signal loss.
- Direct fit for the Peugeot 307 CC antenna system — quick replacement for worn or faulty modules.
- Improves reception quality and reduces intermittent reception, static and weak stations.
- Compact construction with vehicle-specific connector for straightforward installation.
Technical Information
- Manufacturer: Stellantis / Peugeot
- Model: Peugeot 307 CC
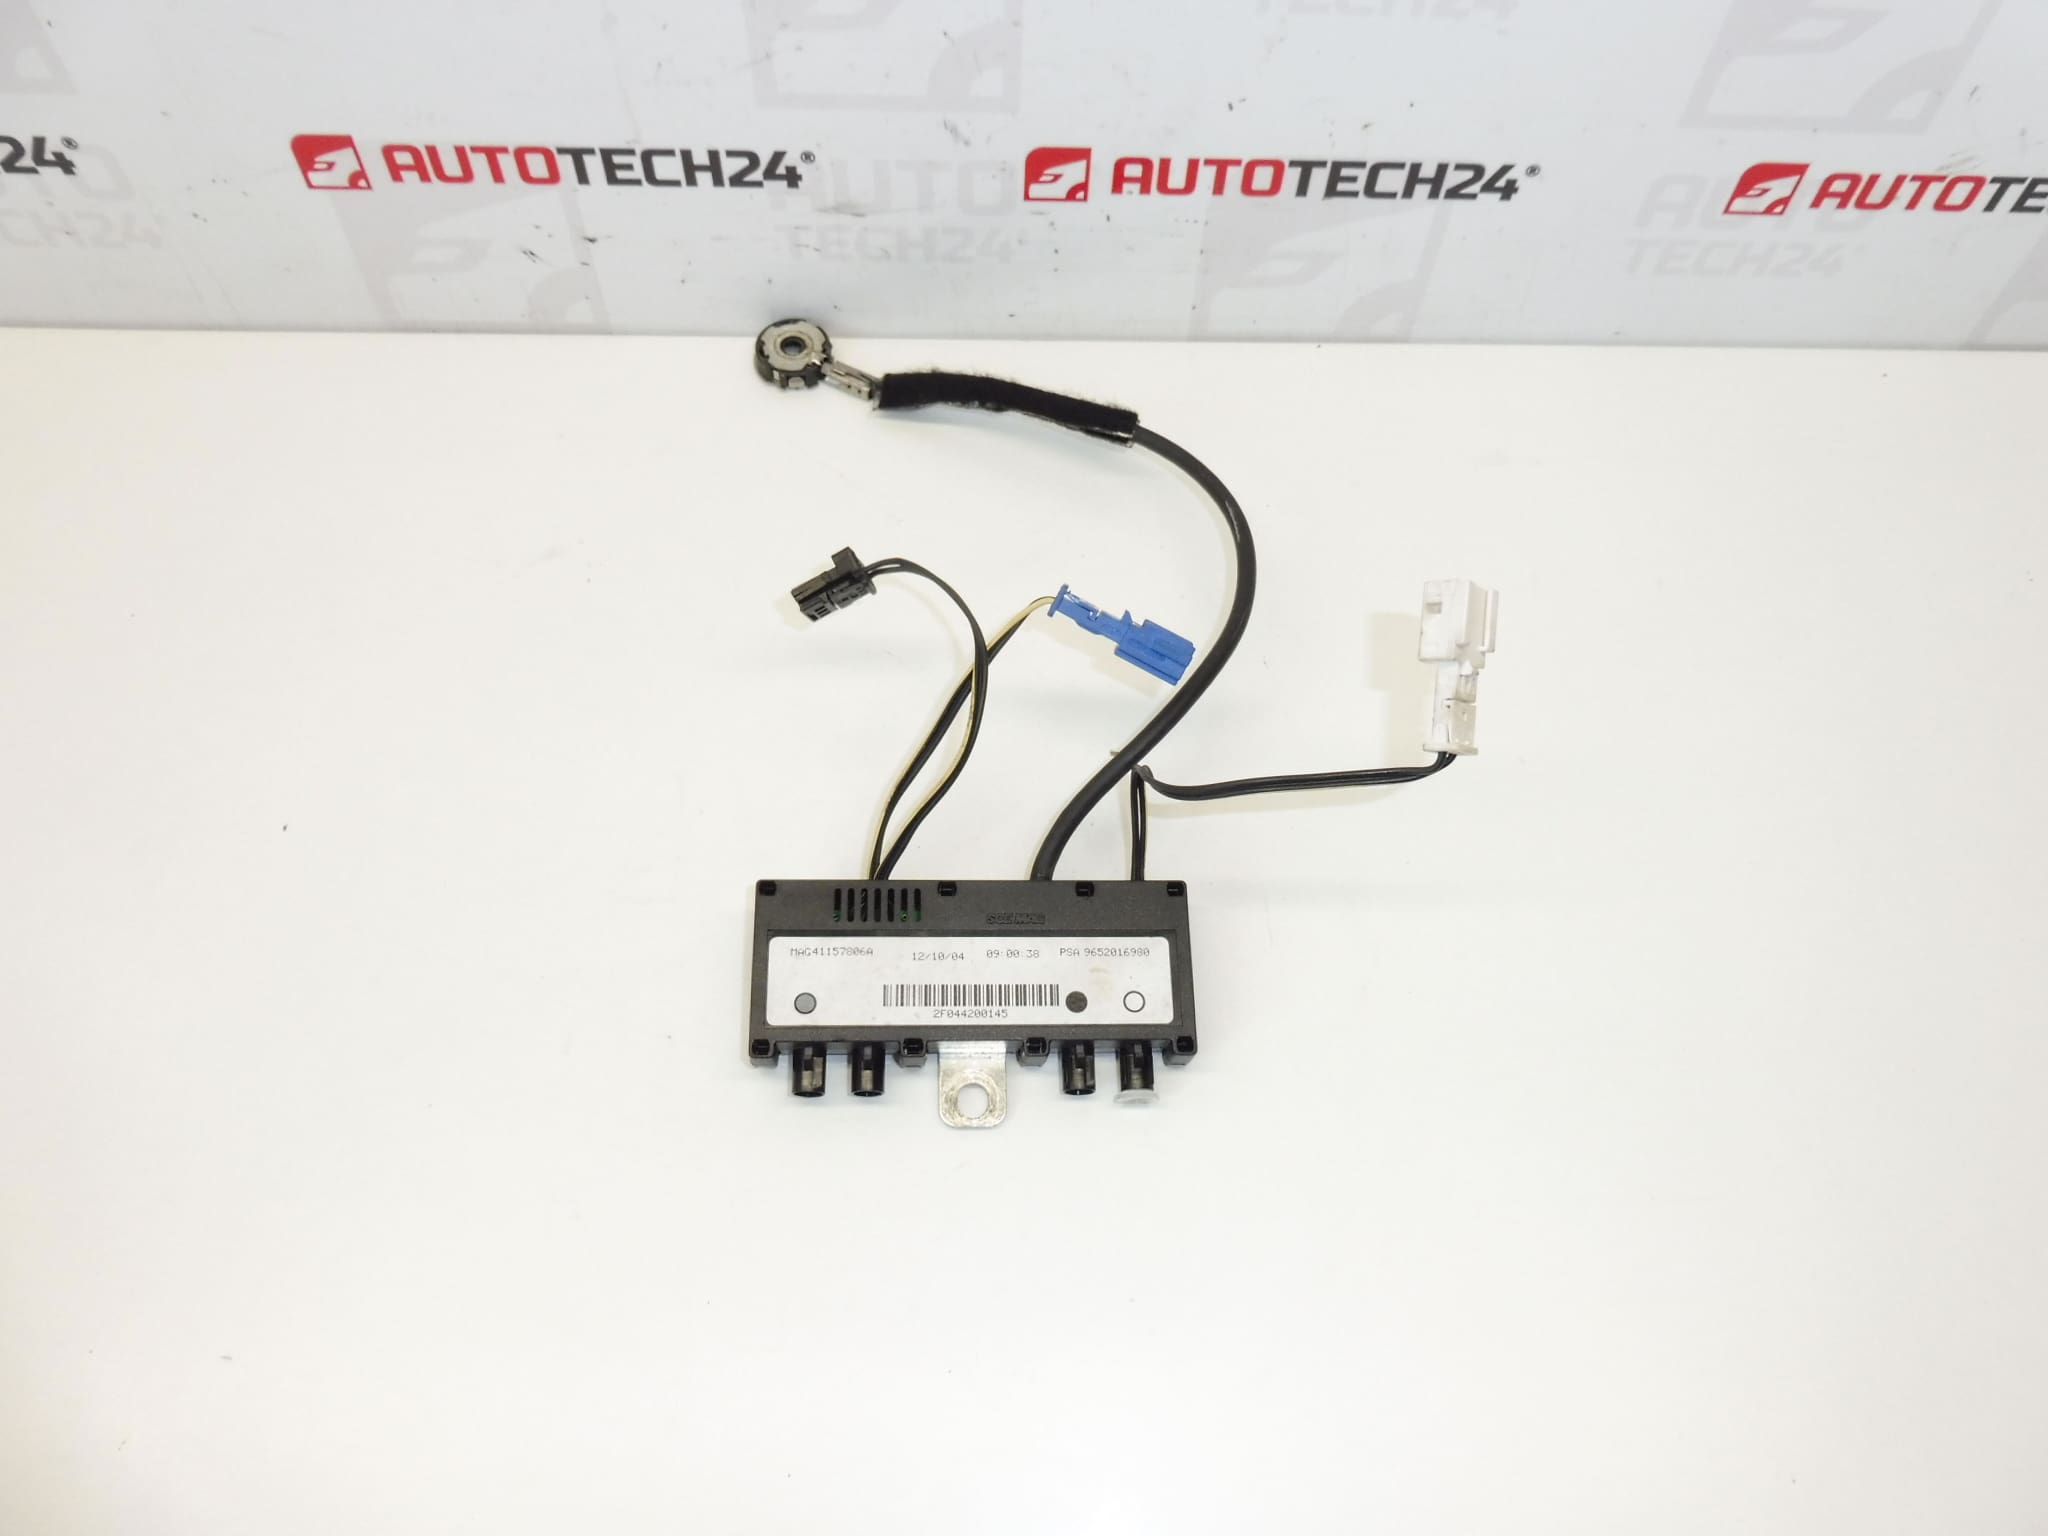
- Product Codes: 9652016980
- Additional Numbers: 6561R5
Recommended Installation
Ideal for experienced technicians and competent DIYers. Typical replacement steps:
- Prepare: Park on level ground, switch off ignition and, as a precaution, disconnect the negative battery terminal to avoid short circuits when handling connectors.
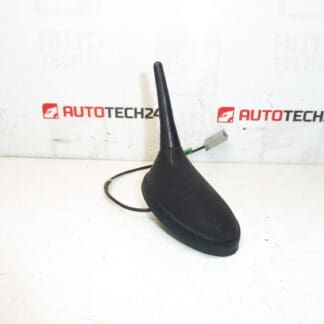
- Access: Remove the rear trim/headliner or antenna cover to reach the antenna base or amplifier module—depending on the antenna installation on the 307 CC.
- Disconnect: Carefully unplug the antenna connector and any retaining clips. Note connector orientation for correct reassembly.
- Replace: Fit the new impedance module, ensure secure connector engagement and proper seating; use a small amount of dielectric grease on contacts if available to reduce future corrosion.
- Test: Reconnect the battery, switch on the radio and verify improved reception on several stations before refitting trim panels.
- Finish: Reassemble interior panels and check for rattles or pinched wiring.
Most Common Failure Reasons
- Moisture Ingress And Corrosion: Water penetration at the antenna base or connector corrodes contacts and degrades the module.
- Mechanical Damage: Impact or forced removal of the antenna mast can damage the adapter or connector pins.
- Connector Wear And Oxidation: Oxidized contacts increase resistance, causing intermittent reception or complete signal loss.
- Age-Related Electronic Degradation: Internal components can fail over time, especially in vehicles exposed to harsh environments.
- Electrical Disturbances: Lightning strikes, jump-start faults or poor grounding may damage the module.
If your Peugeot 307 CC is showing weak, intermittent or noisy radio reception and the antenna and head unit are known to be functional, replacing the impedance module identified by OE 9652016980 / code 6561R5 is a targeted repair that often restores reliable performance. Order now to get the correct part quickly and minimise workshop downtime.