Description
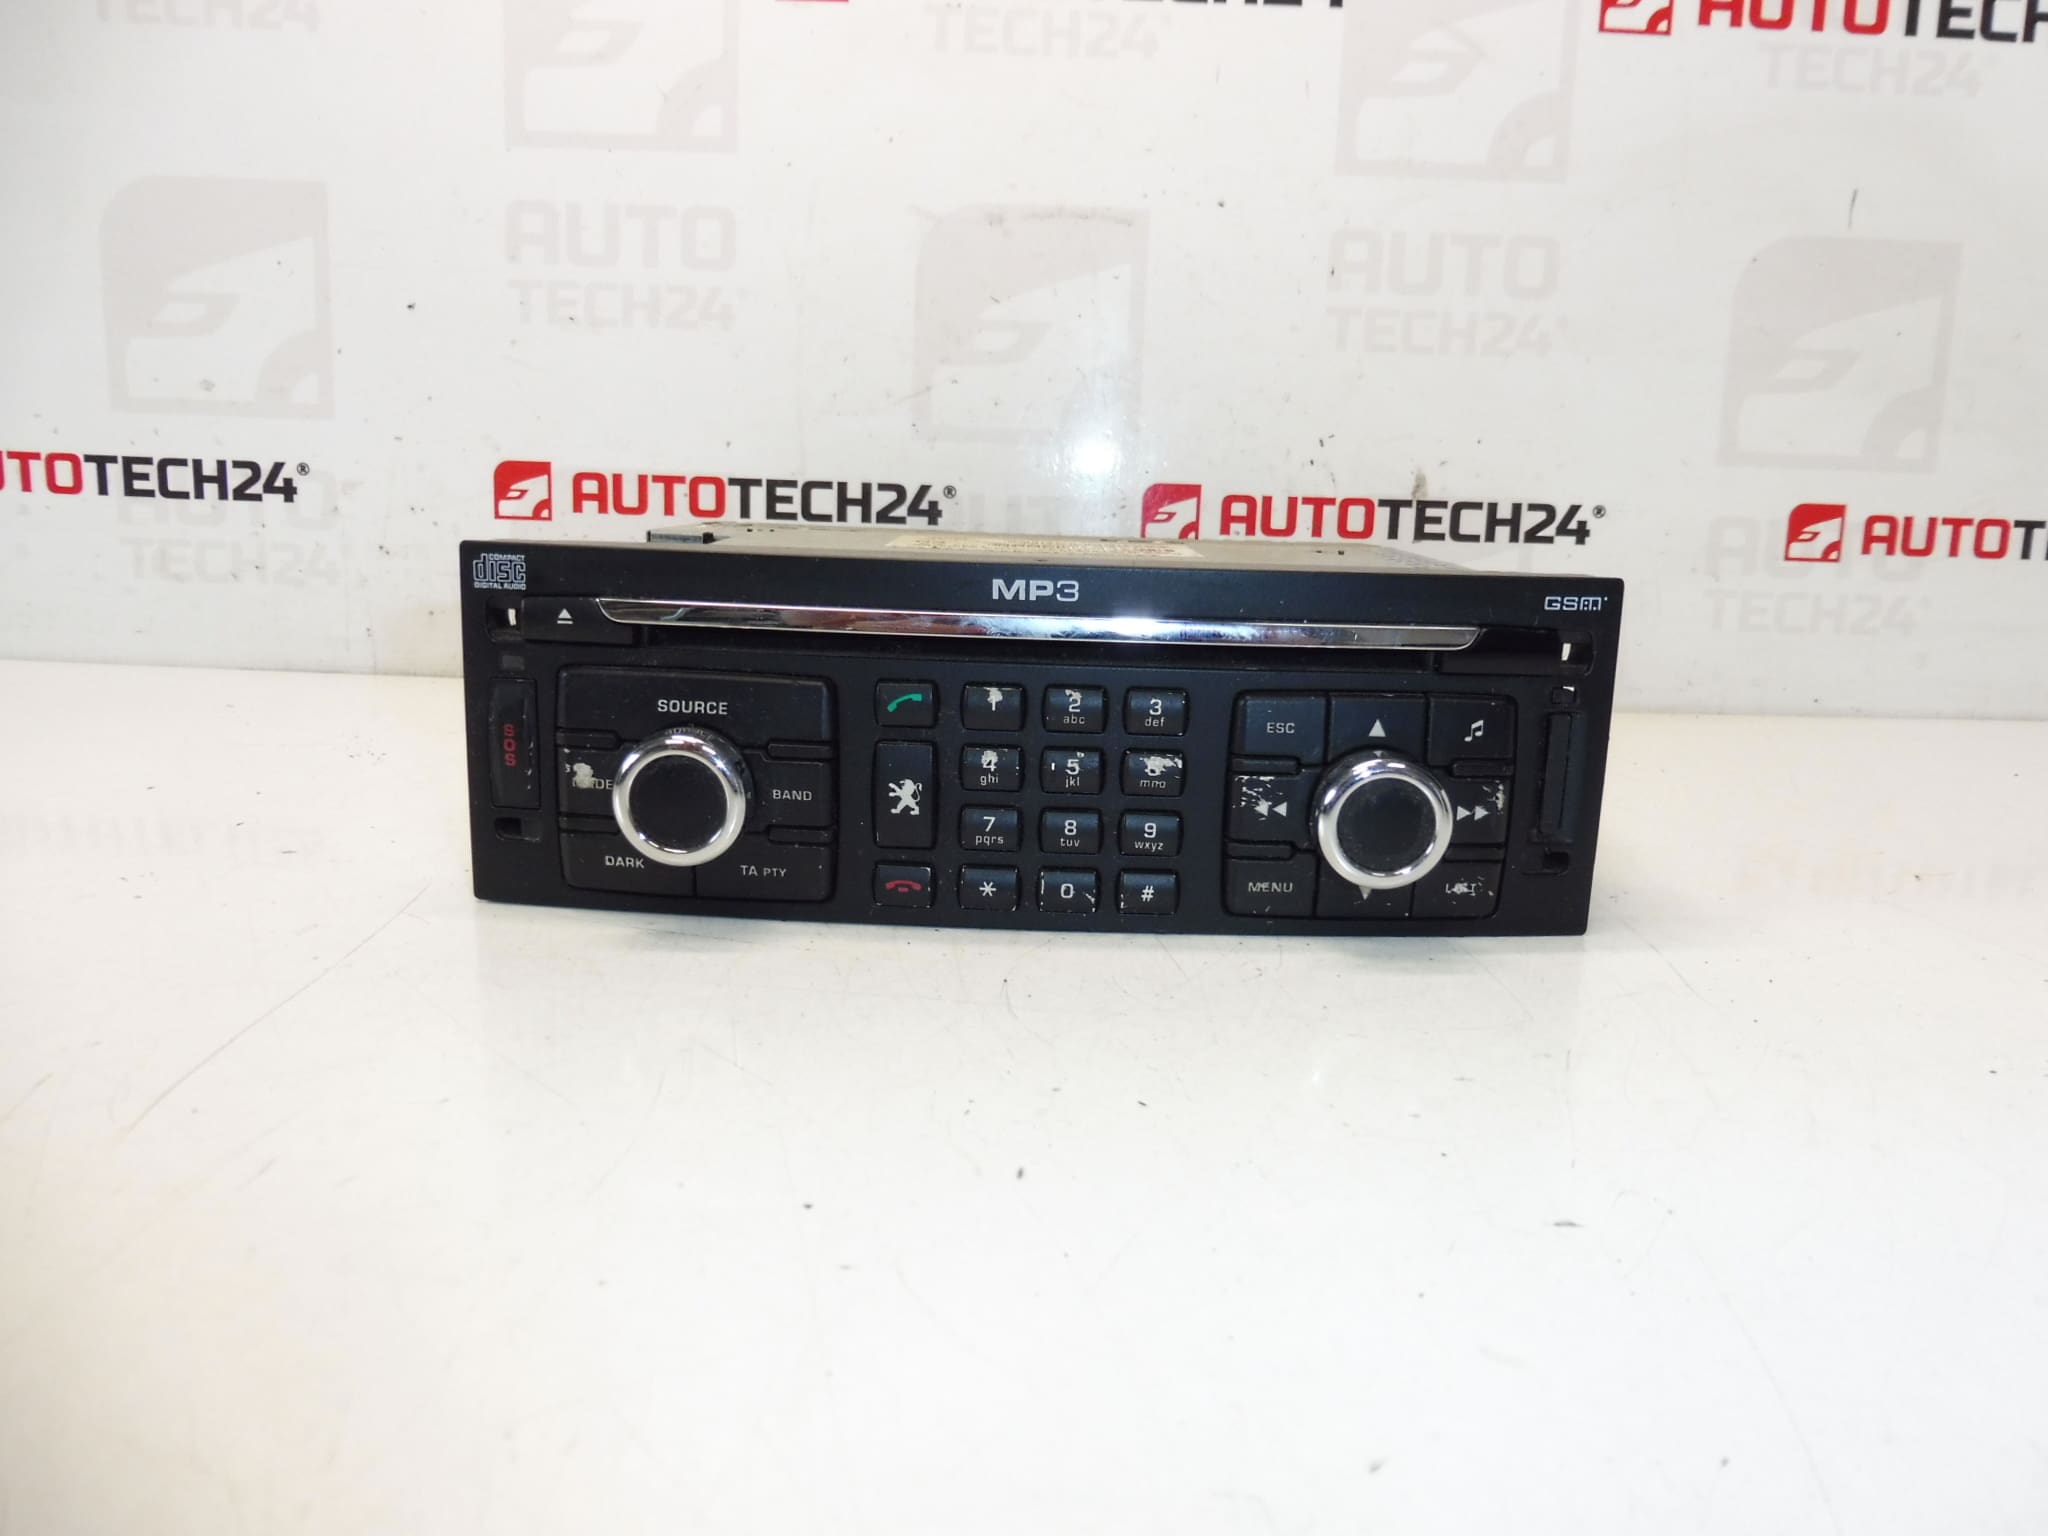
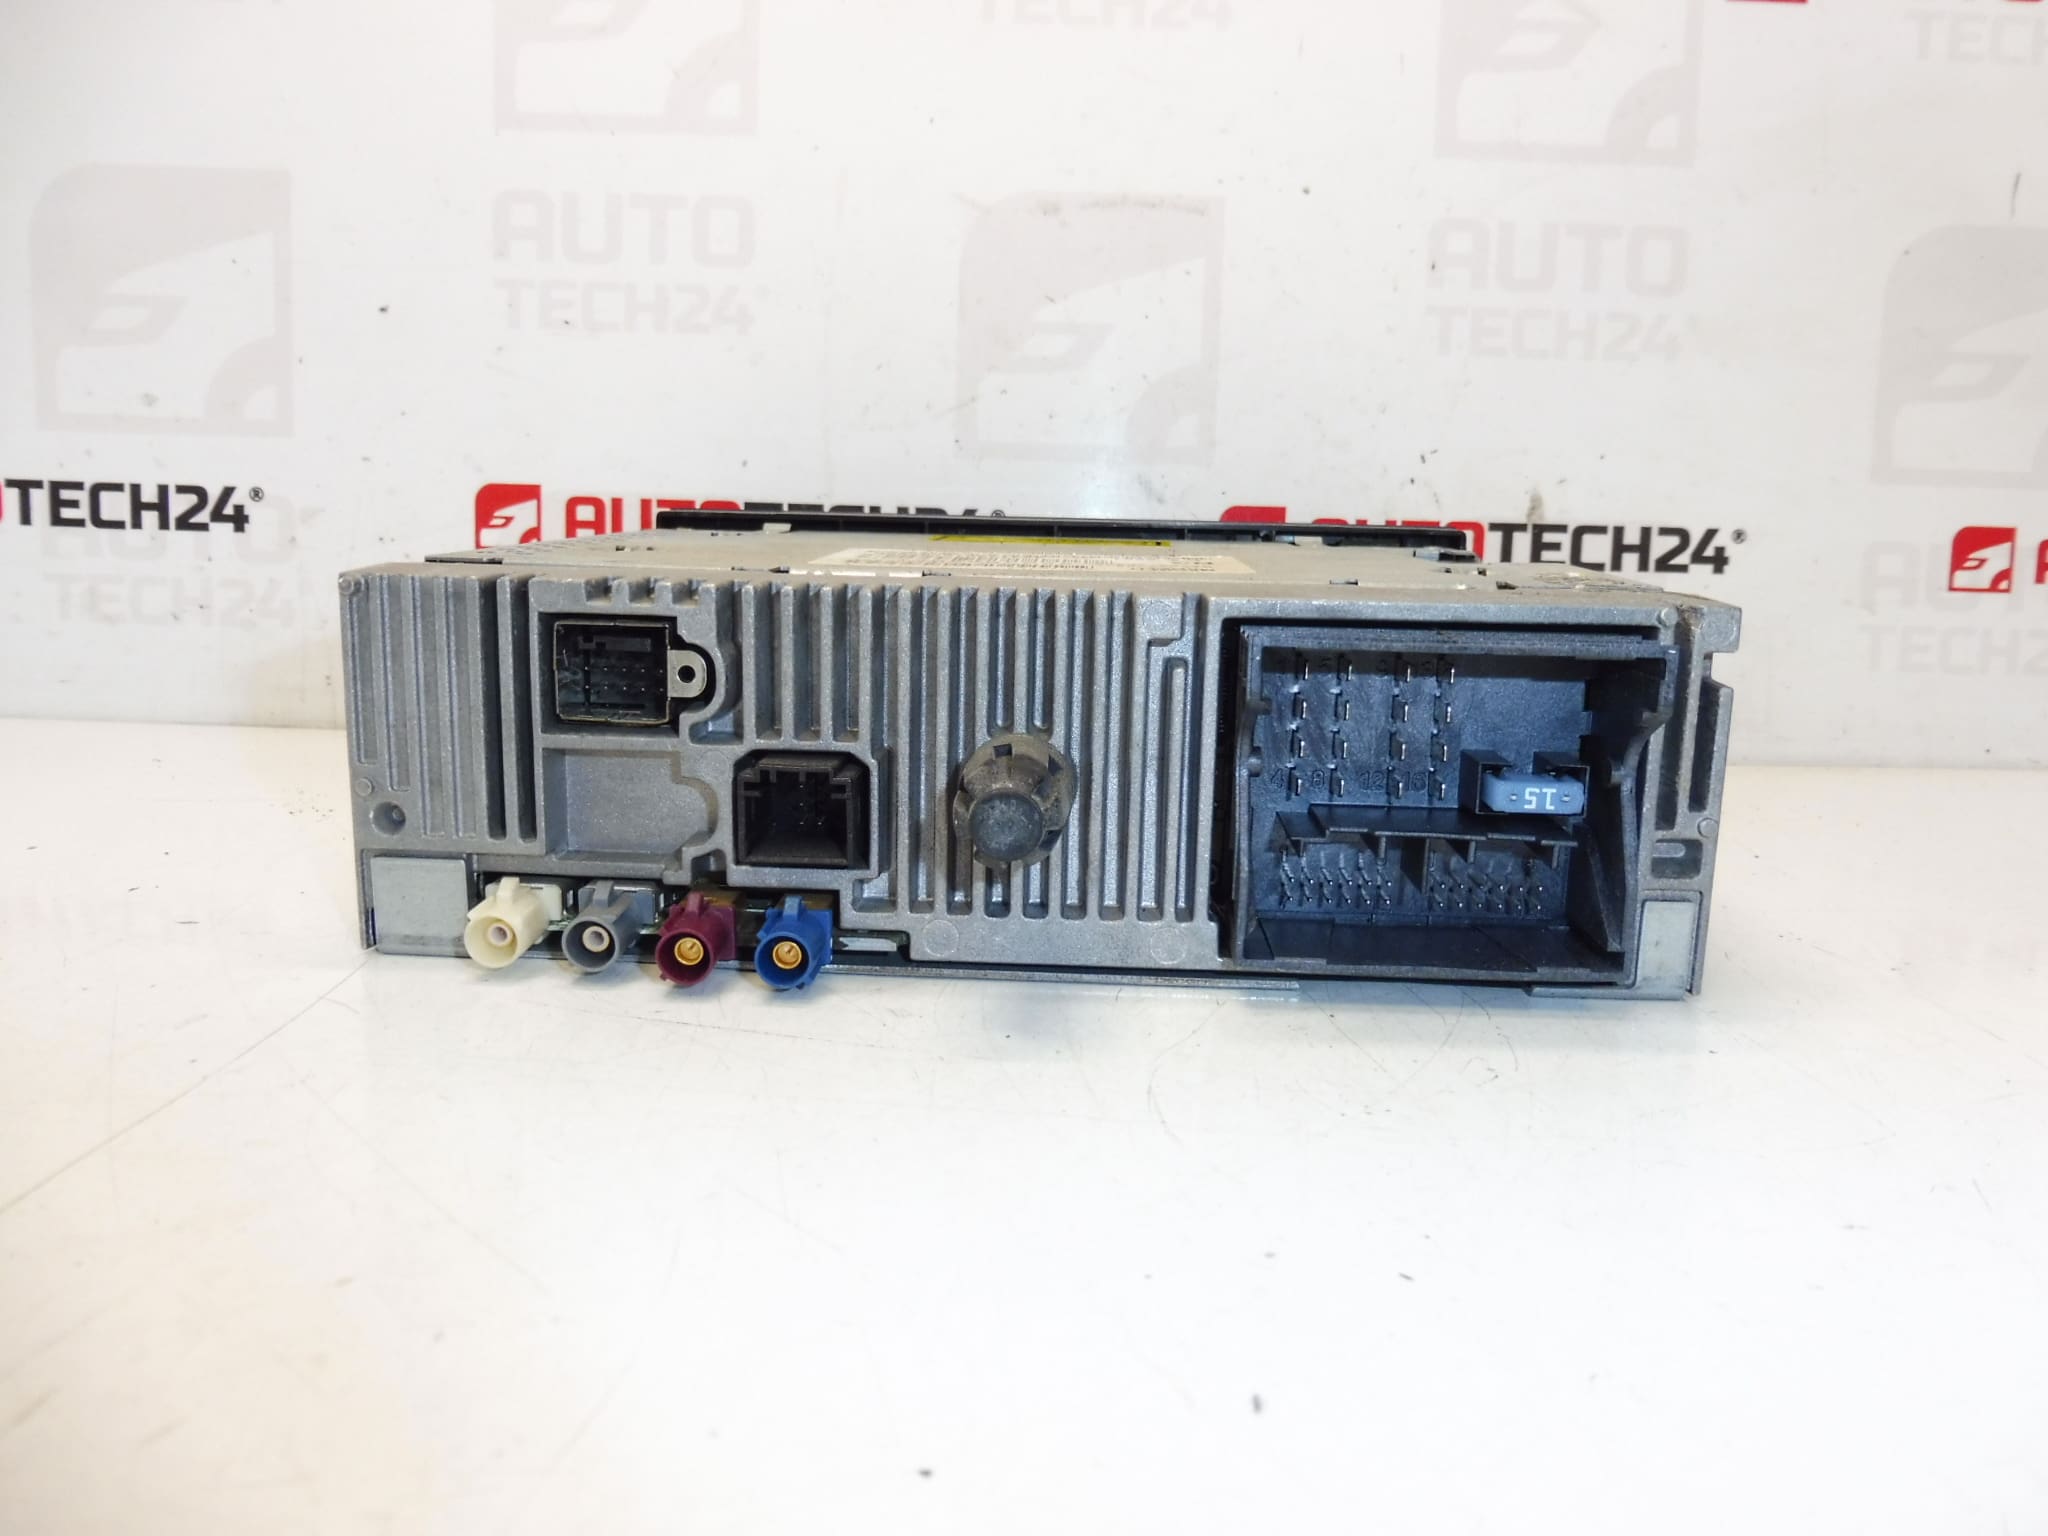
Car radio with CD navigation and HDD GSM RT3 T6-N3
The radio must be added to the car through diagnostics
It is from a PEUGEOT 307 2006
Tested, it is fully functional
Part description
This used Peugeot 307 RT3 T6-N3 car radio is an original electronic part designed for Peugeot cars. It is a unit with CD navigation, HDD and GSM, which is searched mainly according to specific product numbers. This makes it suitable for repairing the original equipment of the car, replacing a non-functioning radio or replacing a damaged original part.
The part comes from a Peugeot 307 and according to the documents supplied, it has been tested and is fully functional. With this type of car radio, it is necessary to take into account that after installation, the radio must be added to the car with diagnostics.
Technical information
- Manufacturer: Stellantis Citroën Peugeot
- Model: Peugeot 307
- Other numbers: 6574CK, 6574CJ, NFP, RT3 T6-N3
Product codes
Product codes: 96640238XT, 6574CK, 6574CJ
Models from labels/backgrounds: Peugeot 307
Installation recommendations
For this part, according to the documents, the radio must be added to the car with diagnostics. The procedure below is therefore a combination of known information from the documents and general practice typically for replacing the original car radio in PSA cars. The exact steps may vary depending on the specific car model and equipment.
1) Before assembly
- Check that all markings on the original and new part match, especially 96640238XT, 6574CK, or any other numbers listed.
- Compare the connectors, mounts and overall type of the unit with the old car stereo.
- Check the condition of the connector pins, the front panel, the mechanics and the box of the car radio.
- Verify that the used part is not mechanically damaged and does not show signs of leakage or excessive corrosion.
2) Necessary tools and materials
- Basic set of hand tools
- Disassembly tools for interior plastics and car radio
- Cleaning agent for electrical contacts
- Soft cloth or protective mat for working with interior parts
- Diagnostic equipment for connecting the radio to the car
3) Step-by-step assembly procedure
- Turn off the ignition and disconnect the battery according to the usual safety procedure before starting work.
- Carefully dismantle the surrounding covering parts of the central part of the interior so as not to damage the plastic handles.
- Remove the original car radio using suitable tools or disassembly tools.
- Disconnect all electrical connectors and any antenna or data connections.
- Compare the original and new part visually and by product numbers.
- If necessary, gently clean the connectors and check that they are not loose, dirty or deformed.
- Connect the connectors to the installed car radio and make sure they are properly seated without using excessive force.
- Sit the unit into the mounting space and check that the wiring is not pinched anywhere.
- Temporarily connect the battery and perform a basic power and communication check of the unit.
- Perform the radio to the car with diagnostics as indicated in the documents.
- After successful pairing, check basic radio functions, controls and display.
- After verifying the function, complete the installation of the interior panels and perform the final seating of the unit.
-
4) Post-assembly checks and test drive/function verification
- Check that the radio turns on correctly and responds to controls.
- Verify the operation of the display, media playback, navigation functions and other available functions of the unit.
- Check the unit for dropouts, spontaneous restarts, or communication problems.
- During the test drive, watch for power outages or interference with vehicle operation.
5) The most common assembly mistakes + how to avoid them
- Part exchange based on similar appearance – always compare exact product numbers, not just faceplate shape.
- Damage to the connectors – connect the connectors without force and check their condition before assembly.
- Insufficient cable routing – make sure cables are not pinched behind the unit.
- Omission of diagnostic assignment – for this part, according to the documents, it is necessary to pass the diagnostic to the car.
- Careless disassembly of interior parts – use suitable plastic pry bars to avoid damaging the trim.
Reasons why the part is damaged
- normal wear and tear of electronics and internal components during long-term operation,
- voltage fluctuations in the on-board network or power supply problems,
- damage to connectors during unprofessional disassembly or assembly,
- moisture, dripping or condensation in the interior of the vehicle,
- mechanical damage to the front panel, buttons or display part,
- repeated interruption of unit communication when connected incorrectly.