Description
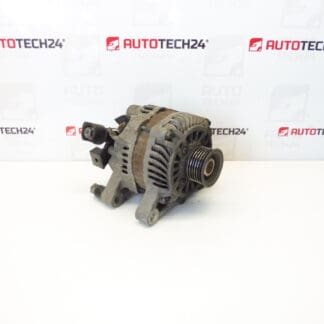
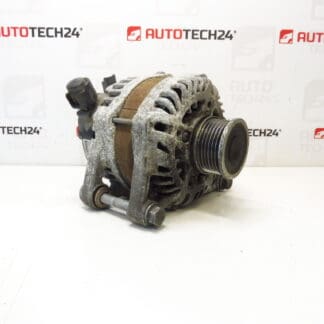
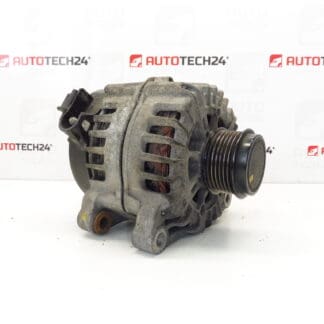
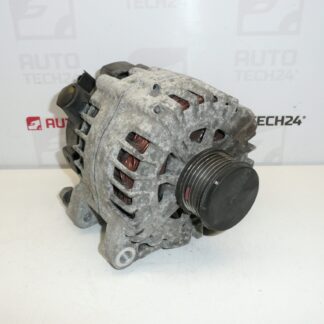
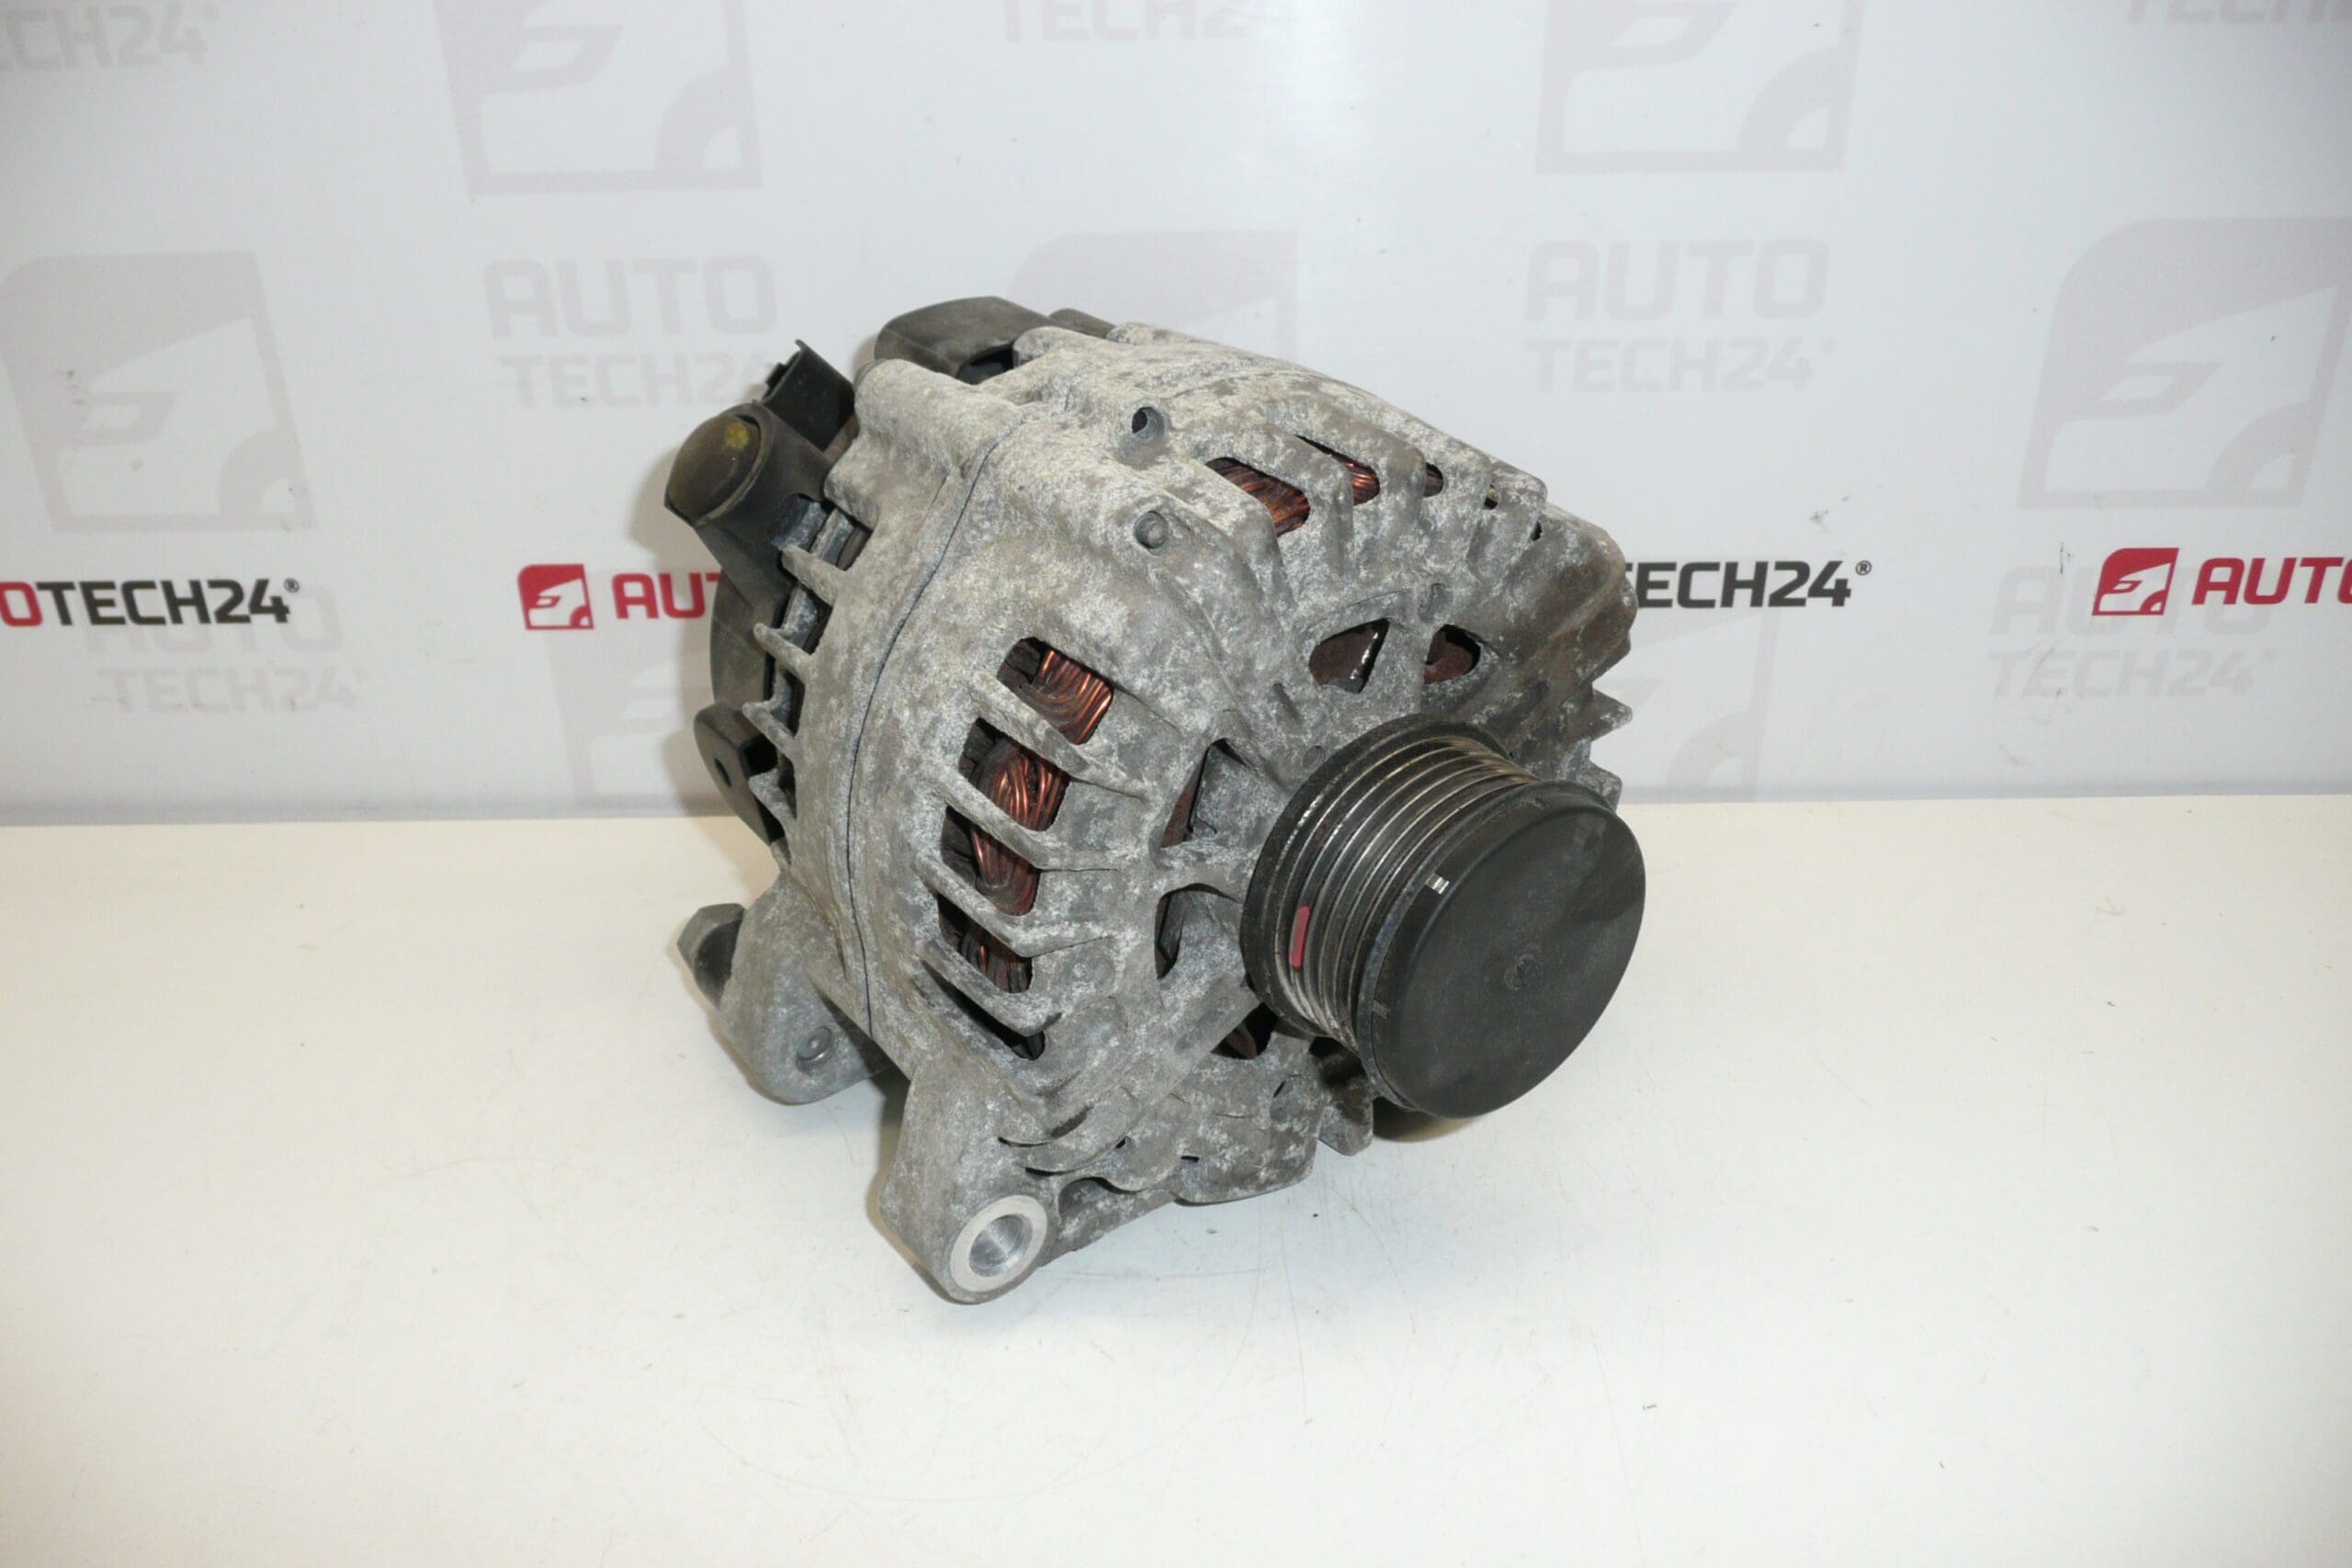
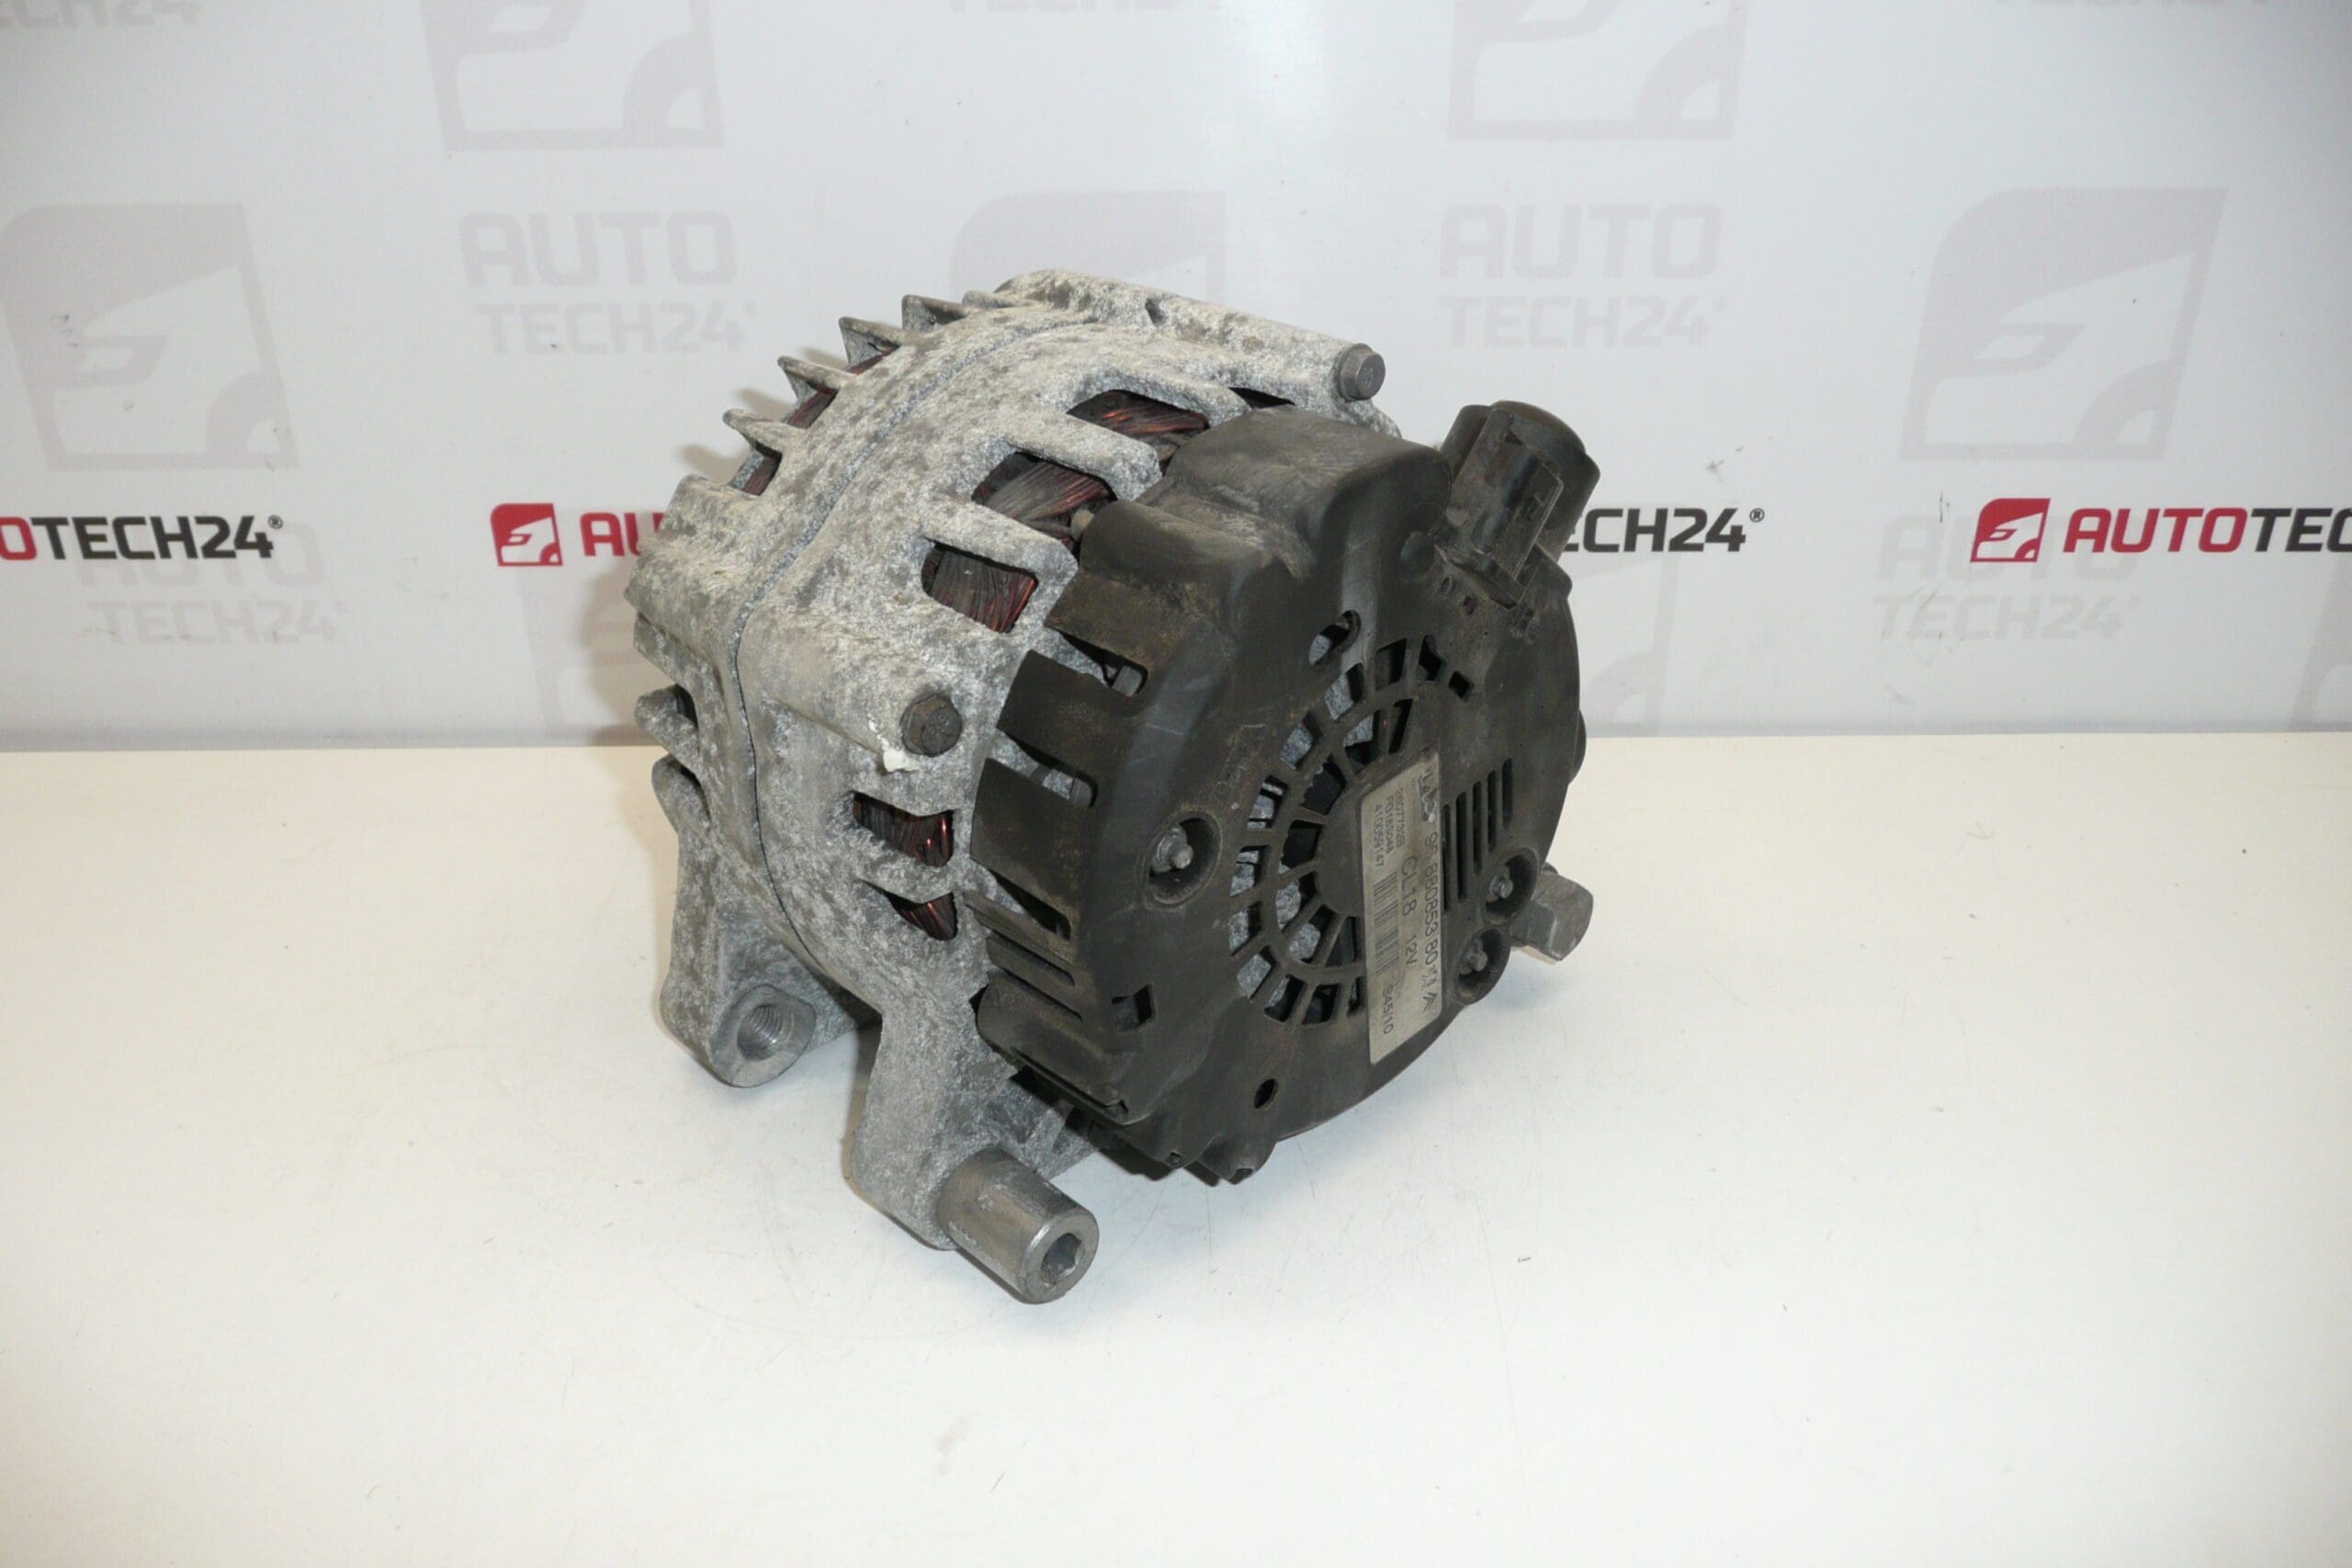
VALEO CL18 Alternator For 2.0 And 2.2 HDi Engines For Citroën And Peugeot Vehicles With Freewheel Pulley
The Valeo CL18 180A alternator is a high-output charging unit designed for PSA Group vehicles equipped with 2.0 and 2.2 HDi diesel engines. Built with a freewheel (one-way) pulley to protect the belt drive from torsional shocks, this alternator supplies stable current for heavy electrical loads found in modern Citroën and Peugeot cars. Ideal for professional mechanics and experienced DIYers who need a reliable replacement part that meets the electrical demands of late-model HDi powertrains.
Key Features
- High output: 180 A nominal capacity suitable for vehicles with multiple electrical consumers (heated seats, infotainment, extra lighting).
- Freewheel Pulley: Integrated overrunning pulley to reduce belt stress and extend accessory drive life.
- Direct Fit: Designed as a replacement for Valeo CL18 alternators used on PSA 2.0/2.2 HDi engines.
- Multiple Cross-References: Compatible with a range of OEM/product numbers (see Technical Information).
Compatibility And Applications
Suitable For Citroën And Peugeot Models Equipped With 2.0L And 2.2L HDi Engines. Examples Include Common PSA Platforms Fitted With CL18/180A Alternators (e.g., Certain Citroën C5/C6 And Peugeot 407/607 Applications). Always Fit According To Vehicle Specification And Engine Variant.
Technical Information
- Manufacturer: Valeo
- Model: CL18 (180 A), Freewheel Pulley
- Product Codes: 9661544880; 9688085380; 5702K8; 5705AX; 5705EE; 5705JF; 5705E7; 5705NG; 5702F4; 5702G2
- Additional Numbers: 180A; CL18
How The Alternator Works
The alternator converts mechanical energy from the engine into electrical power to charge the battery and supply vehicle electrical systems. The voltage regulator controls output to maintain system voltage (typically around 13.8–14.6 V under load). The freewheel pulley decouples torsional vibrations from the accessory belt, reducing stress on the belt and bearings.
Replacement Procedure (Overview)
- Safety First: Disconnect the negative battery terminal before any work on the charging system.
- Remove Drive Belt: Relieve tension from the accessory belt and remove it from the alternator pulley.
- Disconnect Electrical Connectors: Unplug the alternator electrical connector and battery feed (observe nut size and connection orientation).
- Unbolt Alternator: Remove mounting bolts and extract the unit from its brackets.
- Install New Alternator: Position new alternator, tighten mounting bolts to manufacturer specification, reconnect electrical plugs and battery feed, and fit the drive belt with correct tension.
- Verification: After reconnecting the battery, start the engine and check charging voltage and belt alignment. Inspect for abnormal noise indicating pulley or bearing issues.
Installation Recommendations
- Always Disconnect The Battery Before Starting Work And Follow Manufacturer Procedures.
- Inspect Drive Belt And Tensioner; Replace If Worn Or Damaged To Prevent Premature Alternator Failure.
- Check Battery Condition Prior To Installation—A Weak Battery Can Overload A New Alternator.
- Ensure Electrical Connections Are Clean And Secure; Corroded Terminals Can Cause Voltage Drops.
- After Installation, Measure Charging Voltage Under Idle And Load To Confirm Proper Operation (Approx. 13.8–14.6 V).
- If The Freewheel Pulley Is Replaced Or Disturbed, Ensure Correct Orientation And That The Pulley Frees In The Correct Direction.
Why Alternators Like This Fail
- Bearing Wear: Bearings Exposed To High Loads Or Contamination Can Produce Noise And Eventually Seize.
- Brush And Slip Ring Wear: Mechanical Wear Of Brushes Leads To Poor Contact And Reduced Output.
- Rectifier/Diode Or Regulator Failure: Electronic Components Can Fail Due To Heat Or Electrical Surges.
- Contamination: Oil, Coolant, Or Debris Entering The Unit Can Damage Bearings And Electronics.
- Accessory Overload: Additional Electrical Equipment Or A Failing Battery Increases Stress On The Alternator.
Part Numbers And Cross-Reference Codes Are Included In The Technical Information Section To Help Locate The Correct Replacement. For Professional Fitment, Use Proper Tools And Observe Manufacturer Torque And Safety Guidelines.