Description
DENSO CL15 Alternator for Citroën and Peugeot
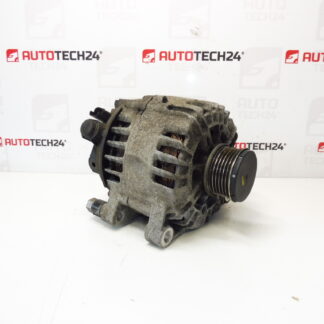
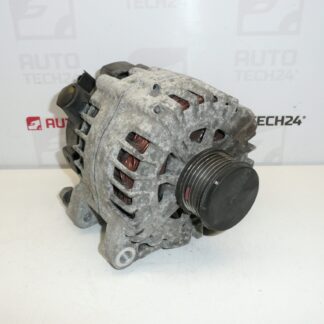
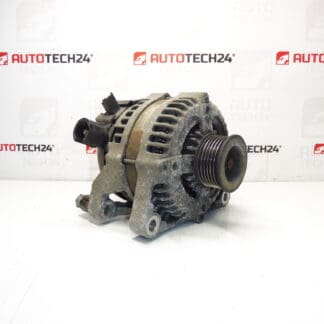
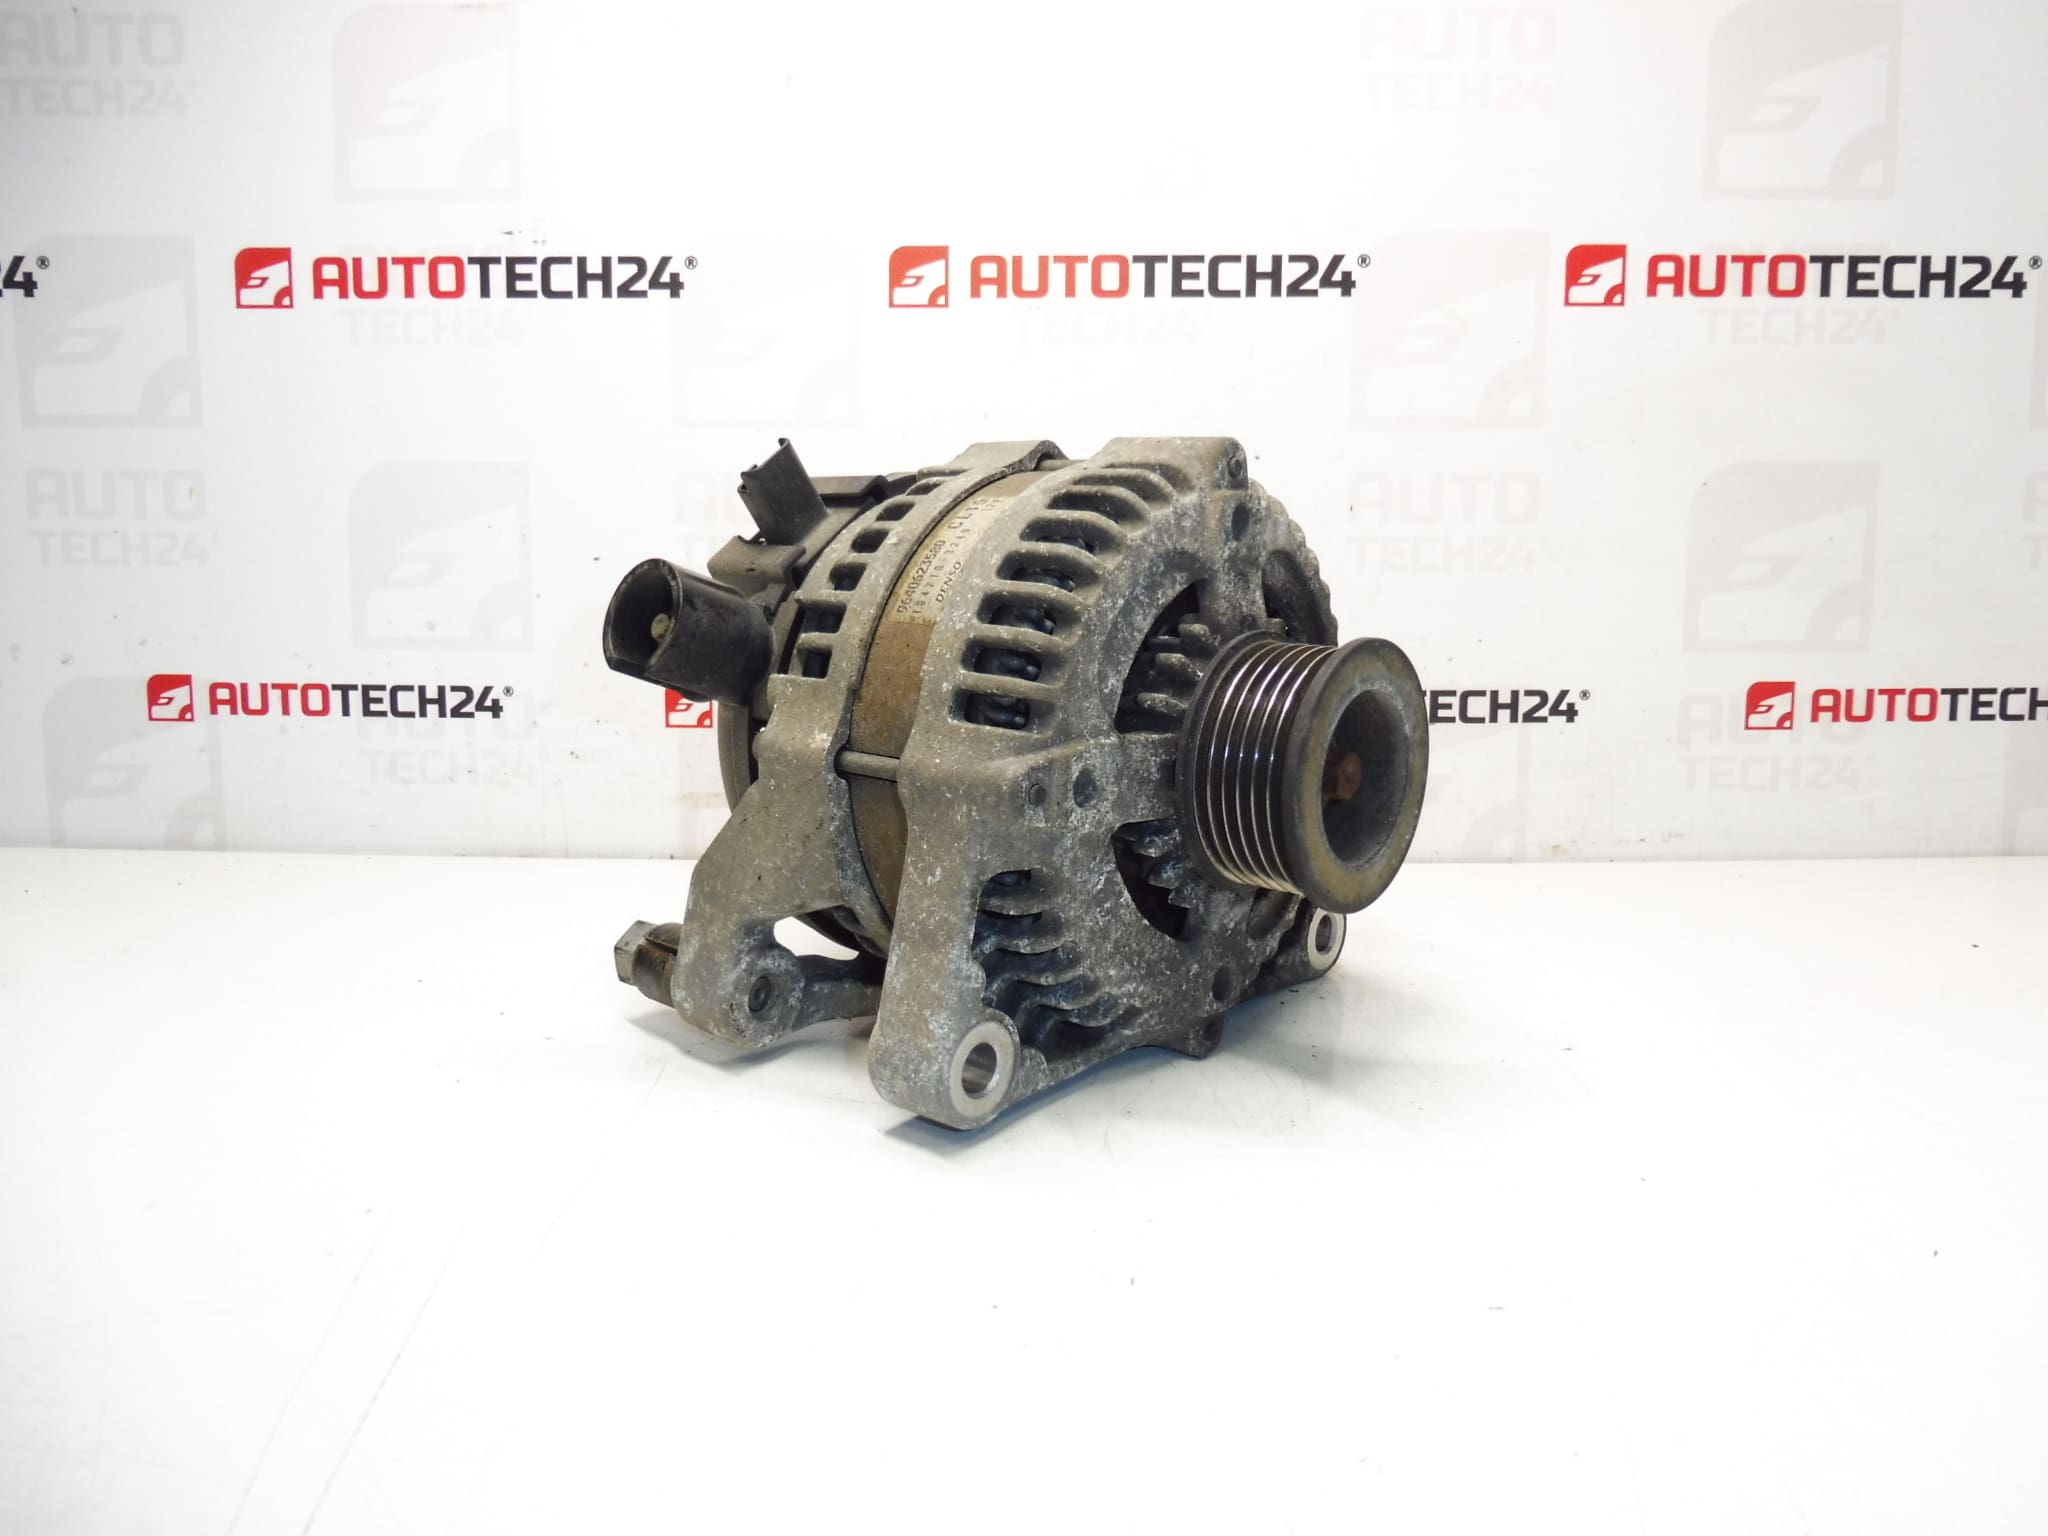
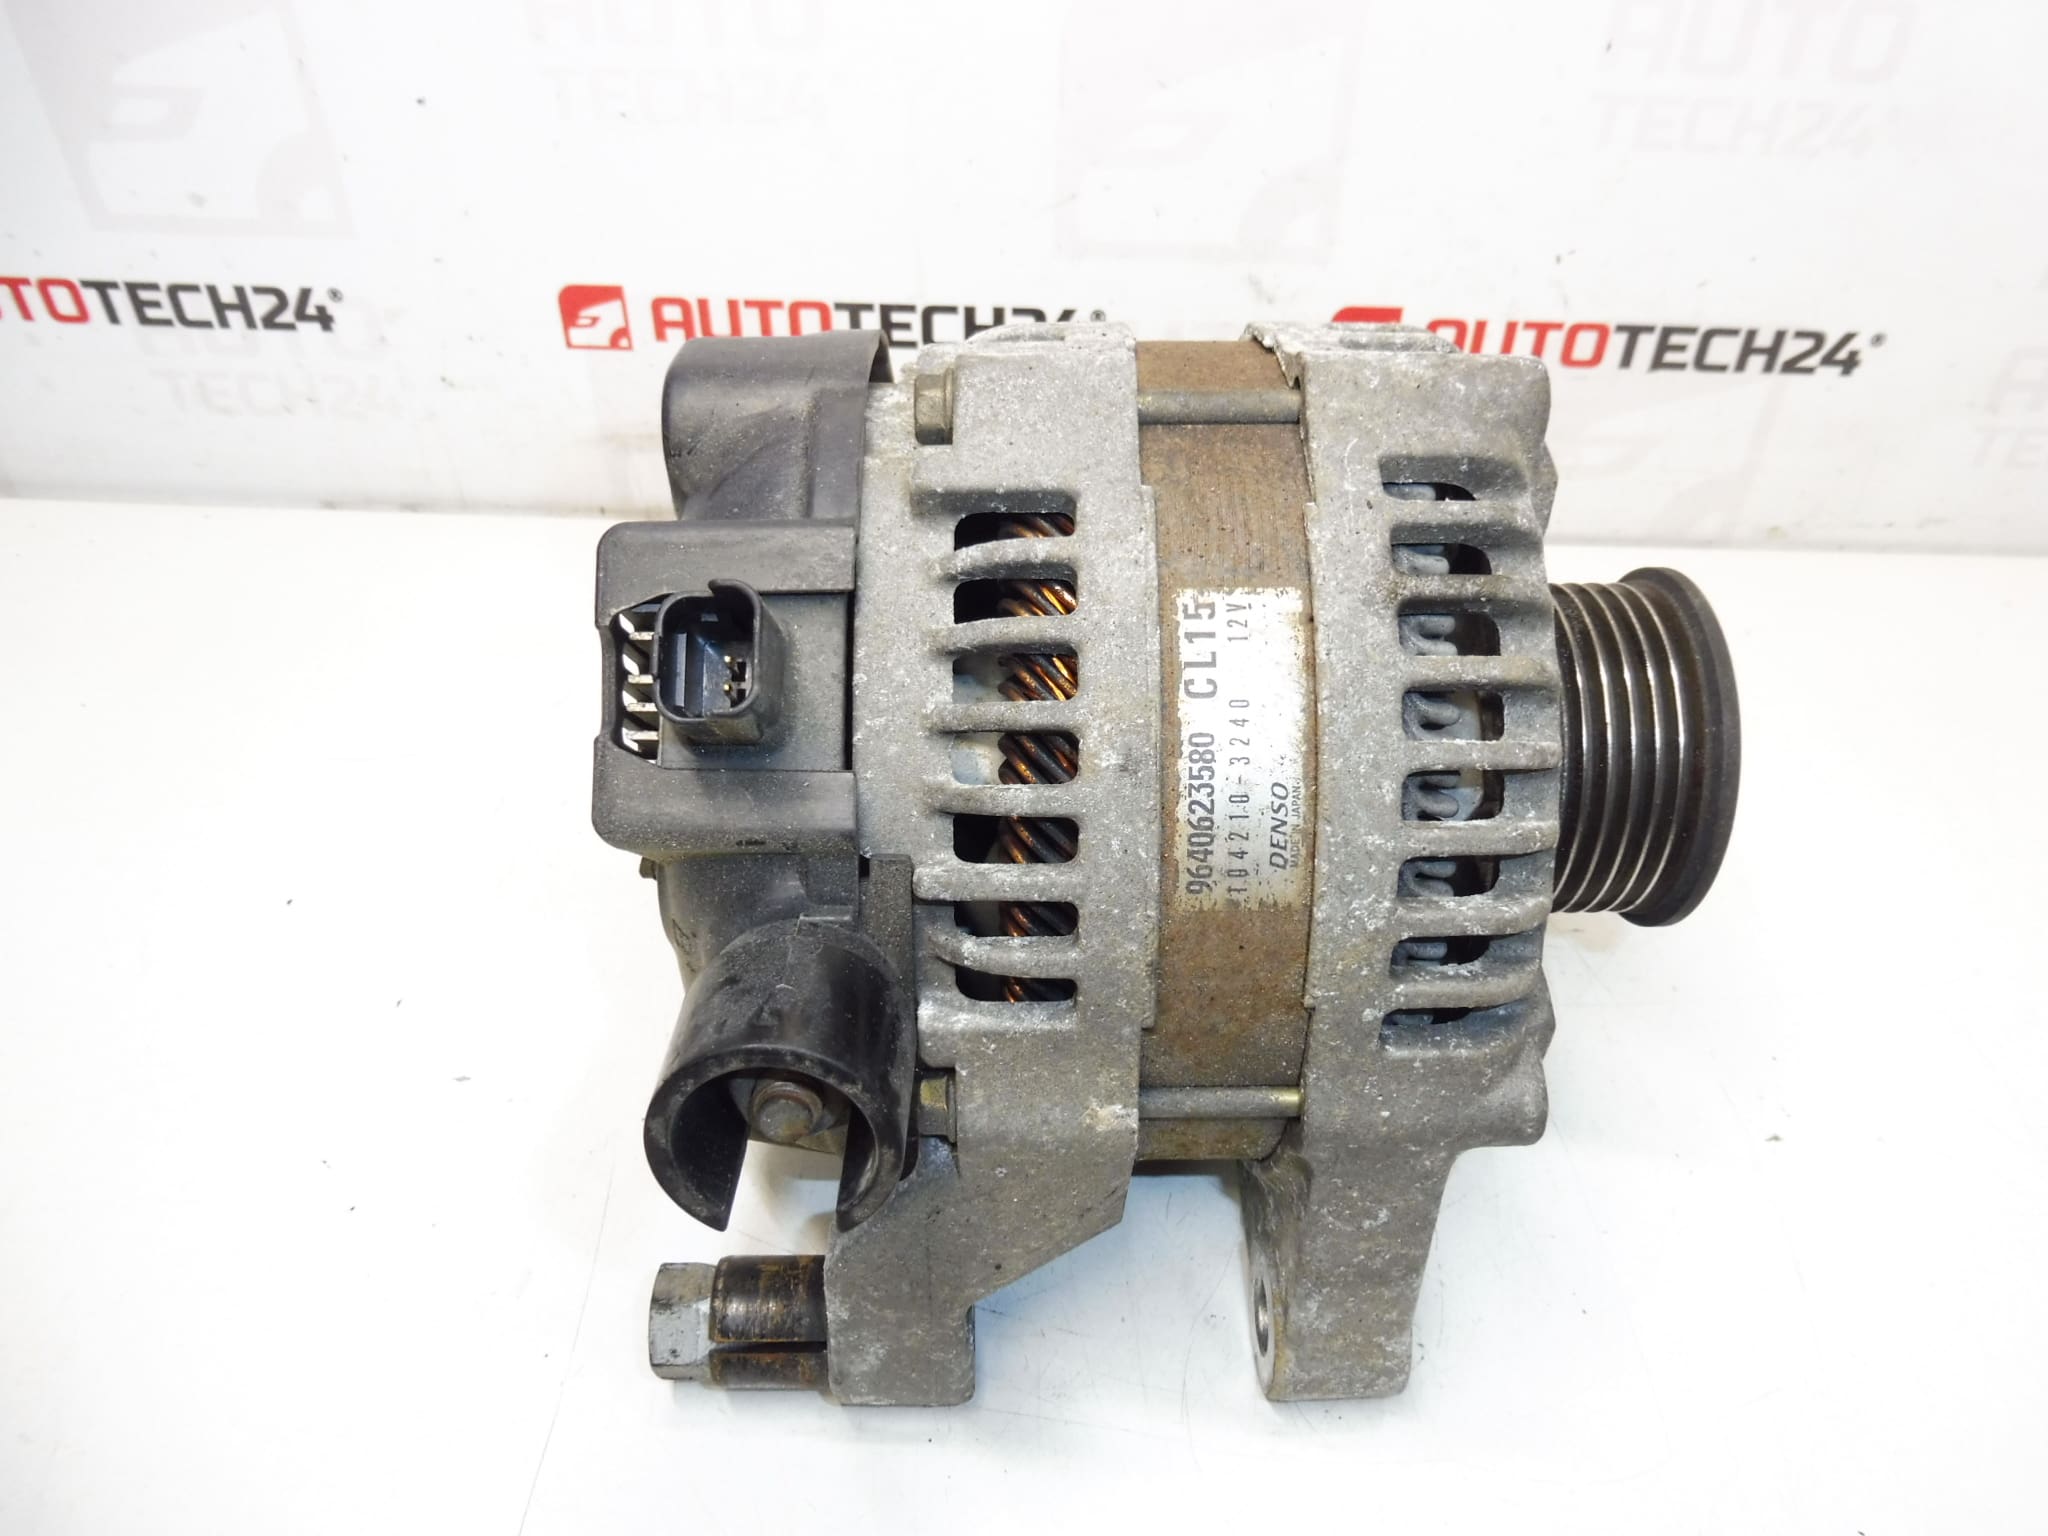
This Denso CL15 alternator is a direct-fit replacement for many Citroën and Peugeot vehicles and is a common spare for 2.0i 130 kW petrol applications. Often searched by part numbers 104210-3240, 9640623580, 5705AC and 5705ES, this alternator restores the vehicle charging system, ensuring stable voltage for ignition, injection and in-cabin electronics. Designed with professional workshops and experienced DIYers in mind, the unit offers reliable electrical performance and straightforward fitment to original mounting points.
For mechanics and home repairers looking to replace a failing alternator, this Denso CL15 is a practical choice. It typically includes the necessary internal components found in modern alternators such as a built-in voltage regulator and rectifier diodes, delivering consistent charging under typical load conditions. Using the correct part number makes ordering quick — the alternator is widely referenced across Citroën/Peugeot parts catalogues and by independent suppliers.
Technical Information
- Manufacturer: DENSO
- Model: CL15
- Product Codes: 104210-3240
- Additional Numbers: 9640623580, 5705AC, 5705ES
Typical fitment examples: Citroën C4; Peugeot 206; Peugeot 307 — commonly used in 2.0i 130 kW petrol engine variants. Use the listed product codes to confirm fitment for specific engine and year combinations.
Installation Recommendations
Follow these general steps for safe and effective replacement: disconnect the negative battery terminal first; remove the drive belt and any ancillary components obstructing access; unplug electrical connectors and remove the alternator mounting bolts; transfer any required brackets or spacers and fit the new unit in reverse order. Always secure mounting bolts to the manufacturer’s torque specifications and re-tension the drive belt to the correct tension. After installation, verify charging system voltage (engine running) and check for abnormal noises or belt slip. Wear appropriate personal protective equipment and follow lift/jack safety when working under the vehicle.
Most Common Failure Reasons
Alternator failures are usually caused by one or more of the following:
- Worn Brushes Or Slip Ring Wear — Causes poor contact and intermittent charging.
- Failed Voltage Regulator Or Diode Pack — Leads to undercharging or overcharging and electrical faults.
- Bearing Wear — Produces noise and can seize, risking belt damage.
- Oil Or Coolant Contamination — Leaks from the engine can degrade internal components.
- Electrical Overload Or Corroded Connections — High accessory loads or poor connections accelerate failure.
Preventive checks: inspect belt condition and tension, verify battery health and terminal condition, and ensure engine seals are intact to avoid contamination. Addressing charging-system symptoms early—dimming lights, battery warning lamps, strange noises—reduces risk of being stranded and prevents collateral damage to the battery and electronics.