Description
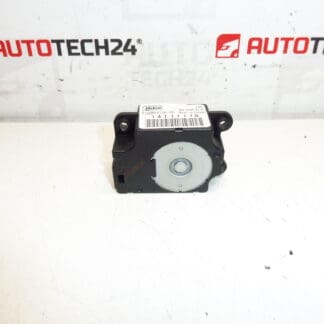
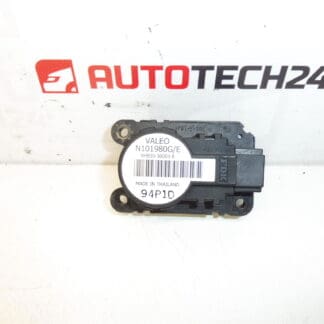
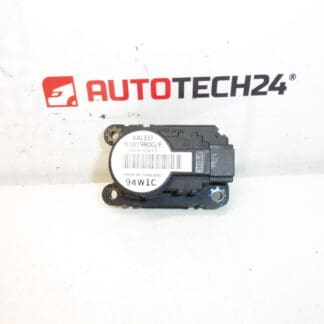
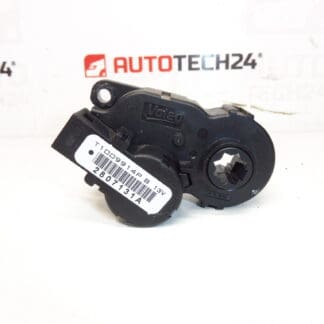
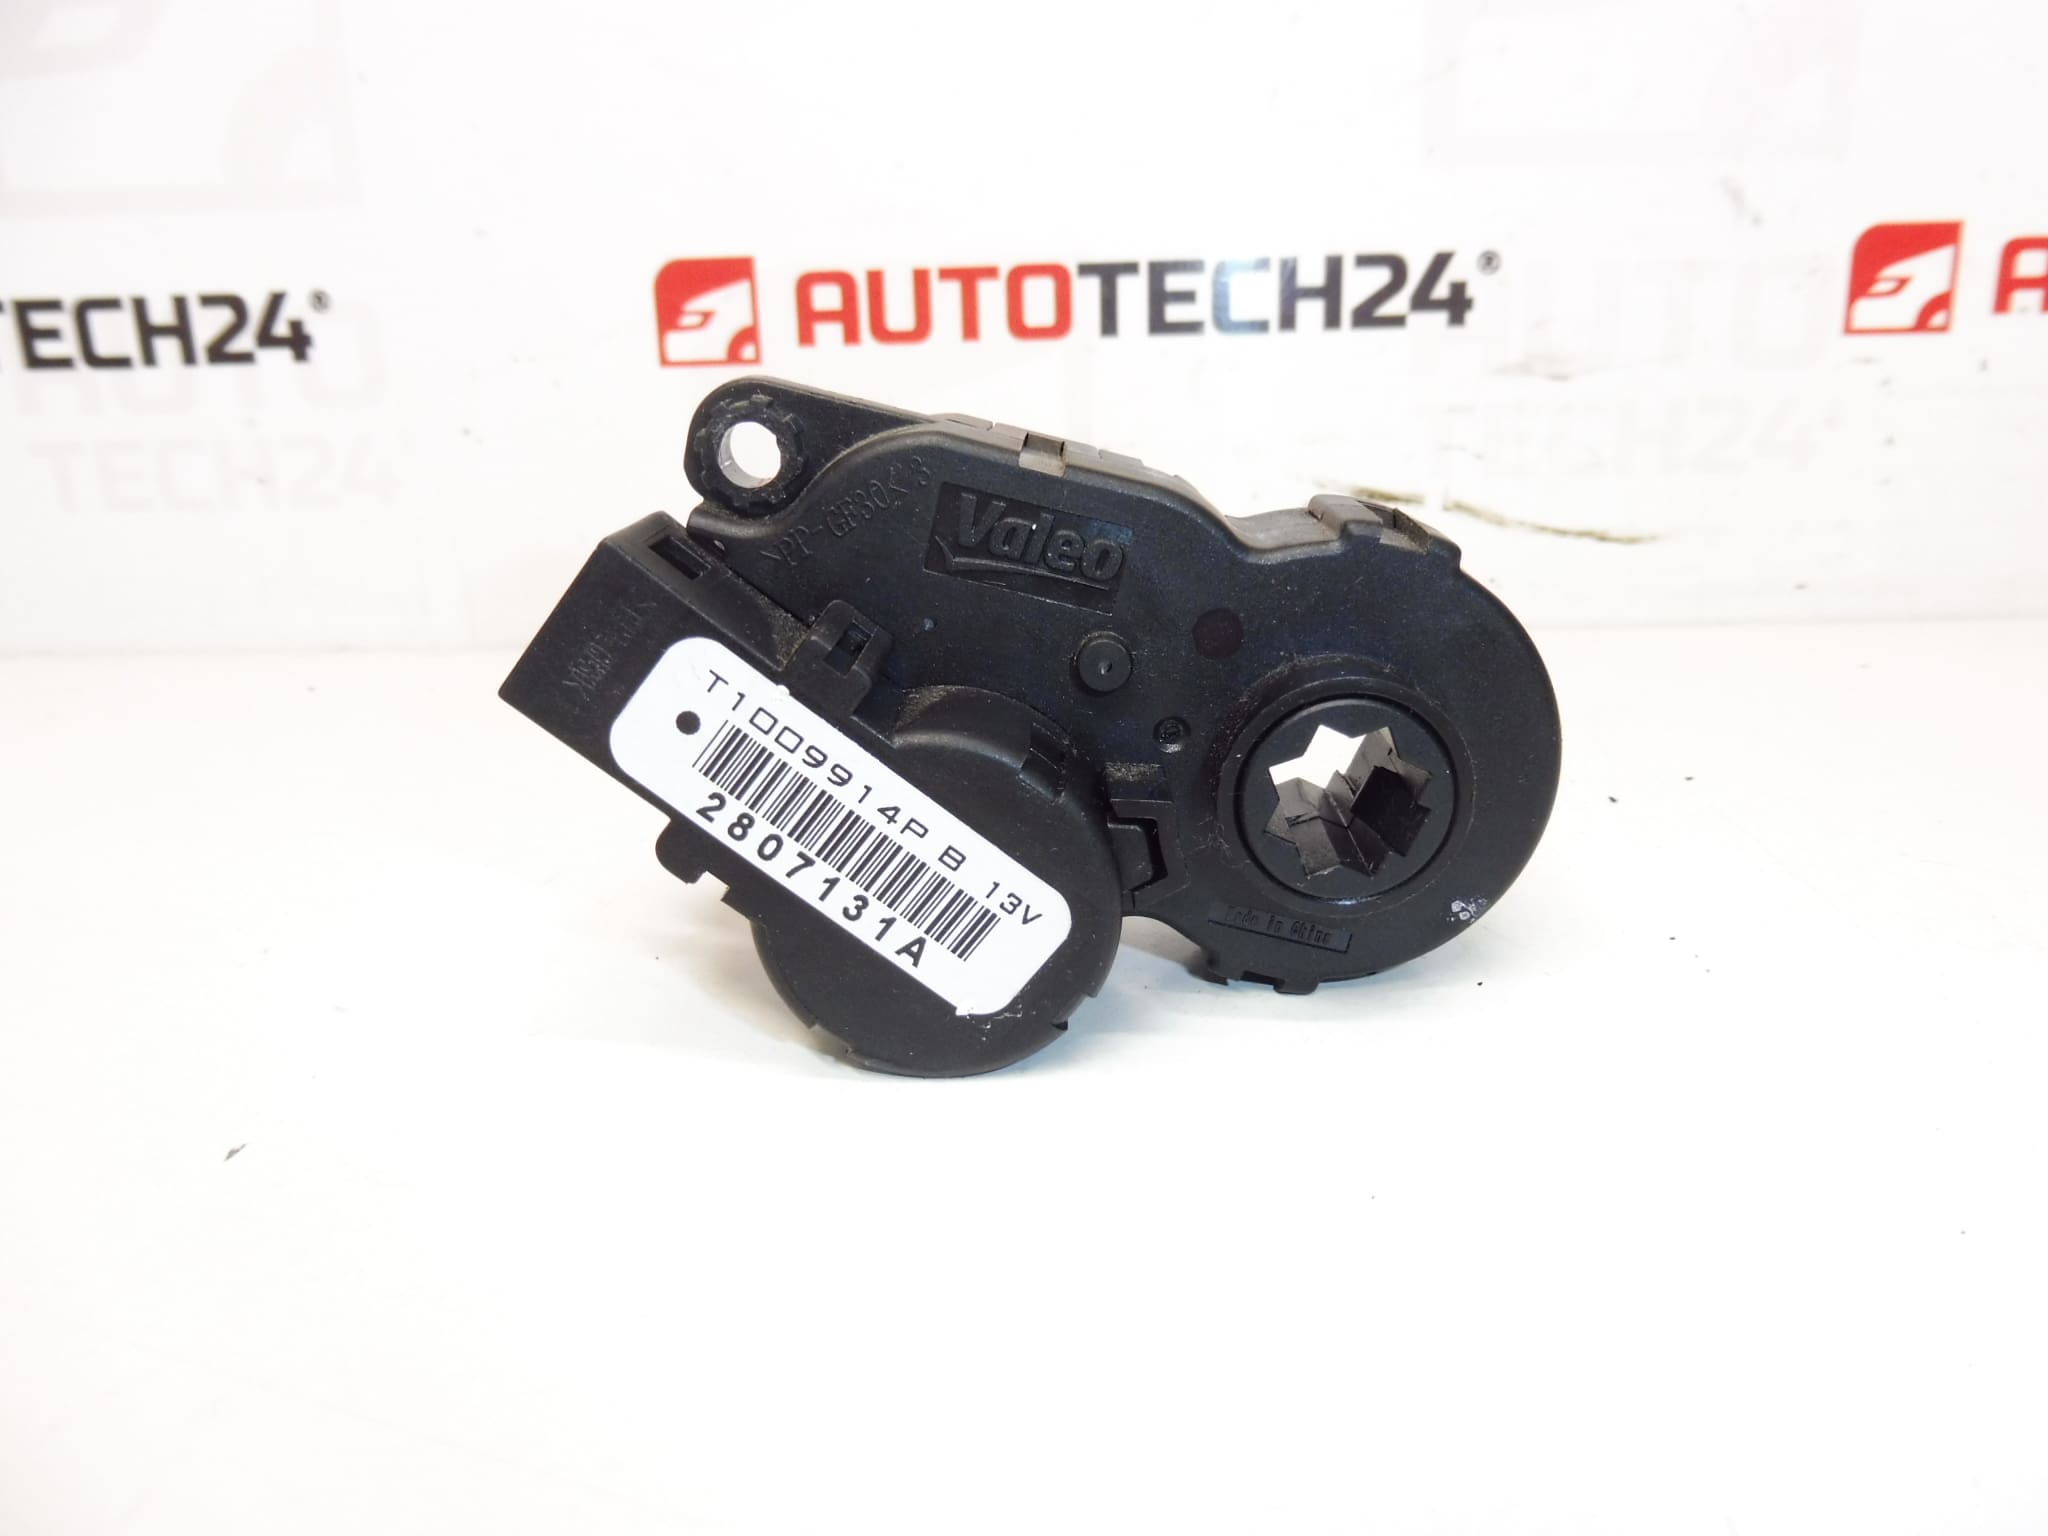
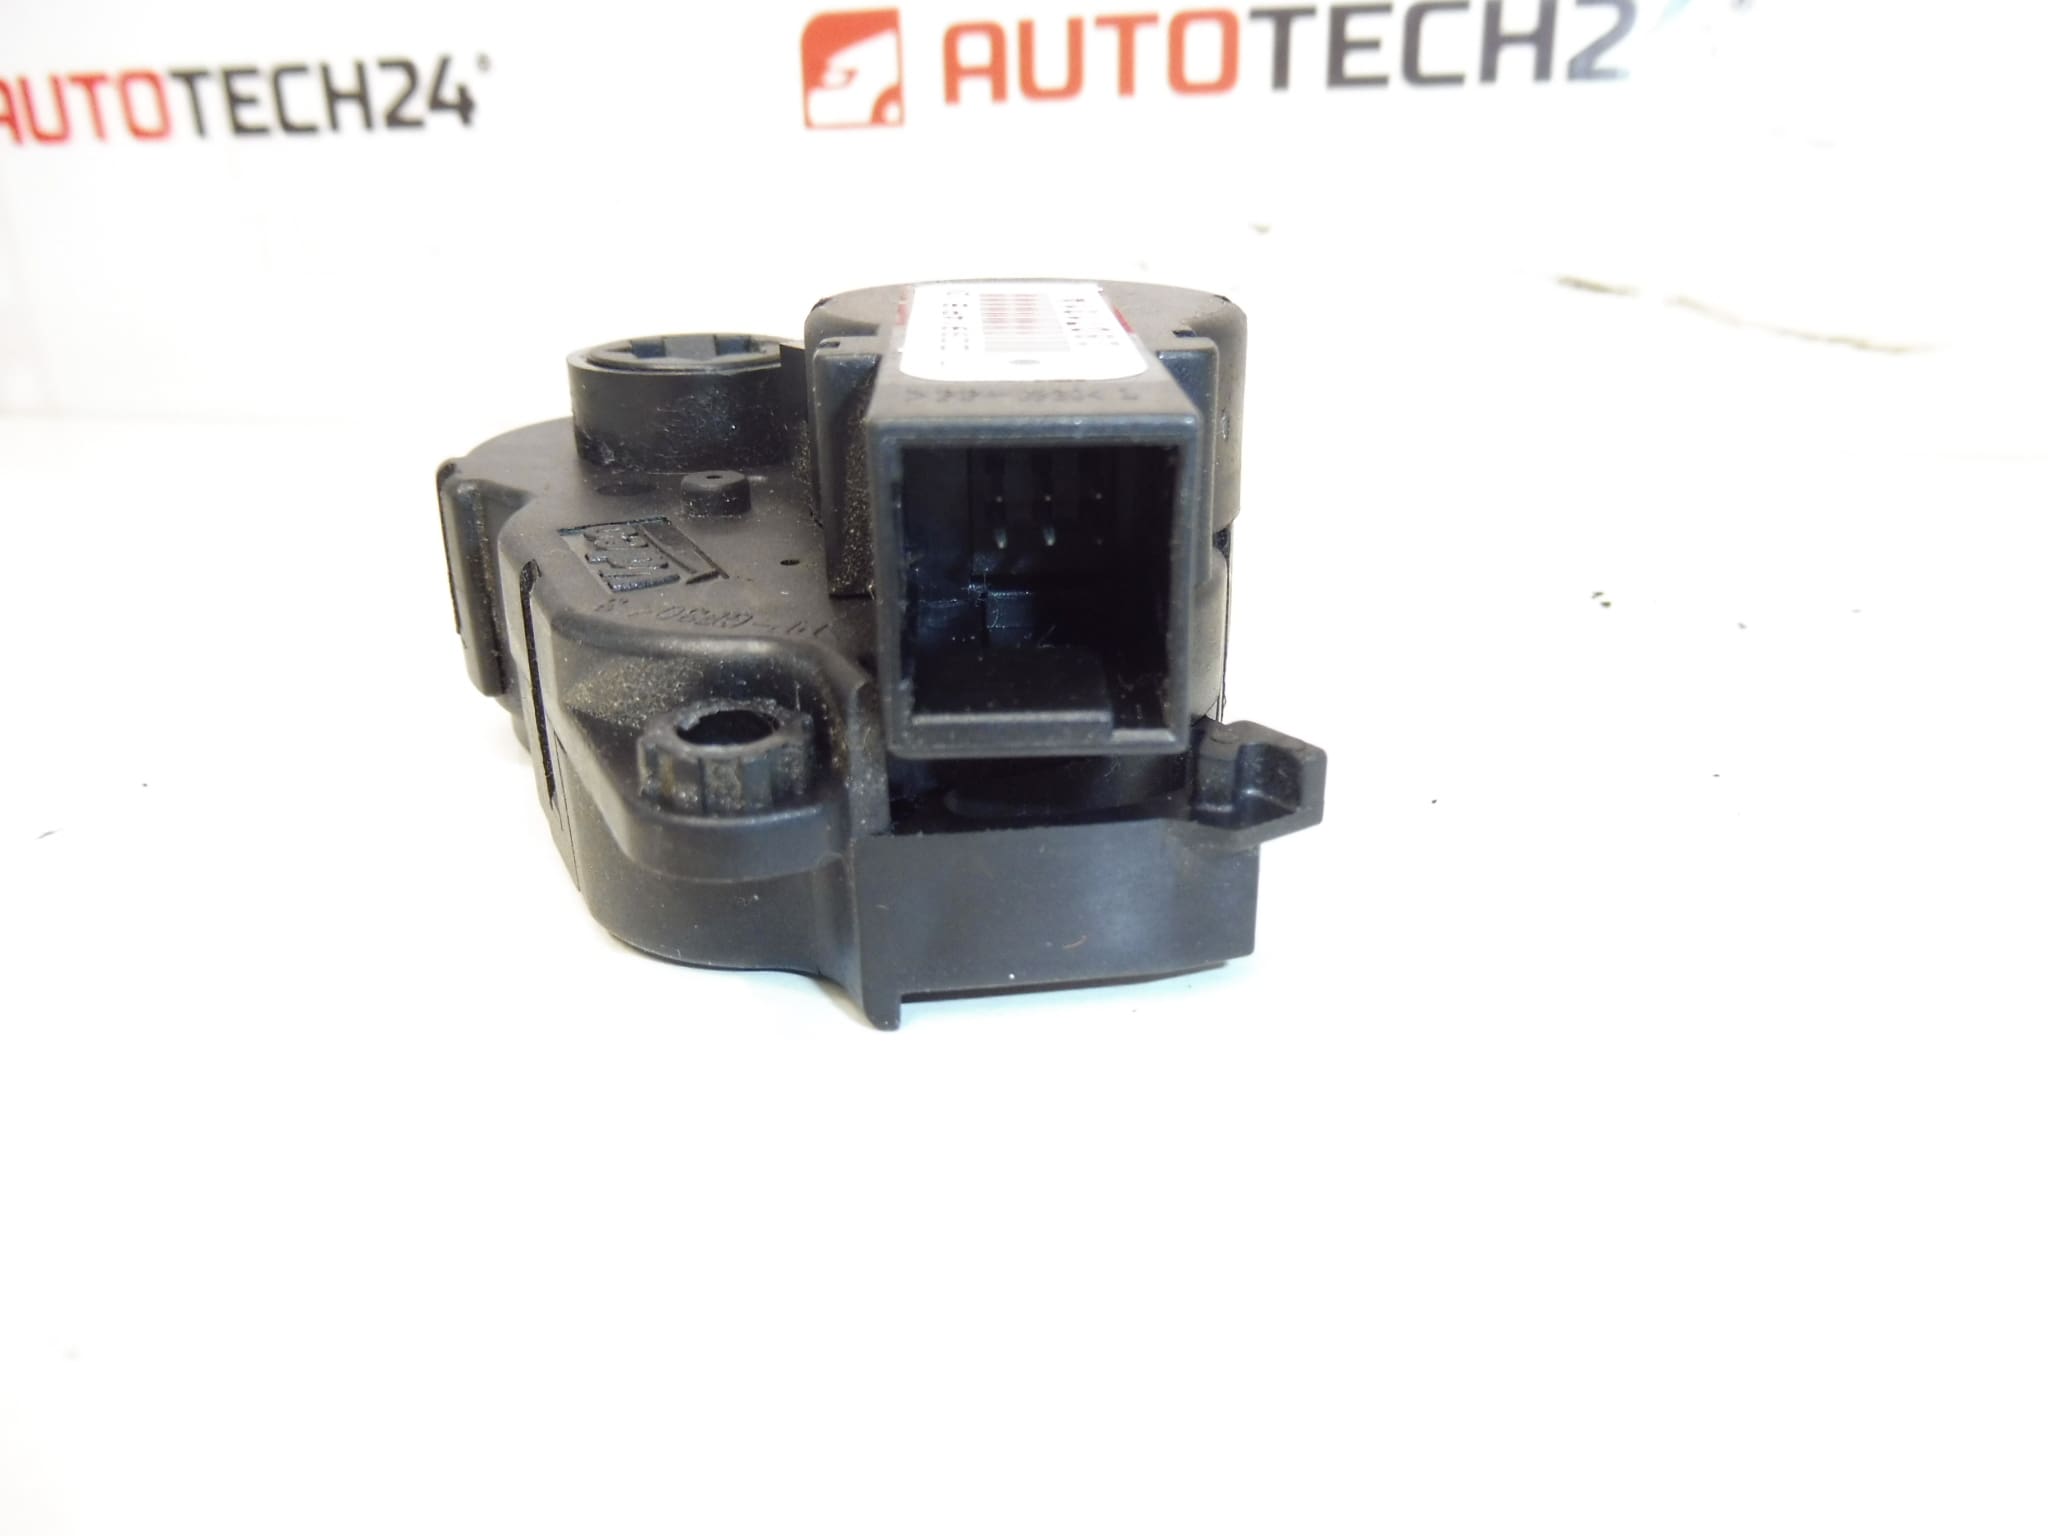
Heater servo motor for CITROEN and PEUGEOT cars
Part description
Used Valeo T1009914P / 6479E7 heating servomotor is an electric part for controlling the heating and ventilation of Citroën and Peugeot cars. This type of servo motor is used to adjust the dampers in the heating and ventilation system. Its malfunction can be manifested by non-functioning regulation, clicking when adjusting the flaps or by the fact that the air flow does not respond to the setting.
The documents include Citroen C4 II and Peugeot 308 models, the categories also include C2 and C3. To select a spare part, it is important to compare the product numbers, connector, mounting and design of the drive with the old part. The model name alone does not guarantee the compatibility of all heating variants.
If the cause of the problem is a faulty damper drive, replacing the servomotor itself allows for a targeted repair without the unnecessary replacement of other functional components.
Technical information
- Manufacturer: Valeo
- Model: Citroen C4 II, Peugeot 308; in categories C2 and C3
- Other numbers: not specified
- Part type: heater servo motor
- Condition: used car part
- Area of use: heating and ventilation
- Specific controlled damper and system design: not specified
Product codes
- Product codes: T1009914P, 6479E7
When looking for a heater servomotor, compare these markings with the data on the original part. At the same time, check the conformity of the mechanical and electrical design.
Installation recommendations
The following procedure is general, typically for electric servomotors of heating flaps. The exact access to the part, the method of disassembly and the possible setting of the end positions depends on the specific model and design of the car. Follow the manufacturer’s service procedure.
1) Before assembly
- Compare the product numbers, body shape, attachment points, connector and output drive with the disassembled piece.
- Inspect the used part: check for cracks, damaged handles, the condition of the contacts and possible traces of moisture.
- Verify that the fault is not caused by damaged wiring, a loose connector or a blocked flap.
- Do not turn the output of the servo motor by force and do not connect it directly to the power supply without knowing the connection.
2) Necessary tools and materials
- Normal hand tools appropriate to the fasteners used.
- Plastic tools for gently releasing the covers, a lamp and a container for small fasteners.
- A clean cloth and possibly a product suitable for electrical contacts.
- According to the service procedure, diagnostic equipment to check the function or initialize the drive.
3) Step-by-step assembly procedure
- Secure the vehicle against movement, switch off the ignition and follow the prescribed procedure for shutting down the electrical systems. Disconnect the battery according to the vehicle manufacturer’s instructions.
- According to the service documentation, access the relevant servo motor. Loosen the covers carefully so as not to damage their fasteners.
- Before disassembly, take a photo of the position of the part, the wiring route and how it connects to the flap mechanism.
- Release the connector lock and disconnect the connector by pulling on its body, not the wires.
- Undo the fasteners and carefully remove the original servo motor. Follow the method of its deployment on the damper drive.
- Check the damper mechanism and its connection to the actuator. To the extent permitted by the service procedure, verify that the mechanism is not blocked; do not overcome resistance by force.
- Compare the two parts again and check the correct mounting position of the replacement servo motor. Make any settings only in the prescribed manner.
- Place the servomotor so that the connection with the flap fits correctly. The part must seat without violence; do not tighten an incorrectly seated body with screws.
- Secure the fixture according to the service procedure, connect the connector and verify that its fuse engages. Route the cabling away from moving parts and possible pinch points.
- Restore power according to manufacturer’s instructions and perform any prescribed flap initialization or calibration.
- Verify response to heating and ventilation controls. After a successful check, refit the dismantled covers and check their seating.
-
4) Post-assembly checks and function verification
- With the vehicle stationary, gradually test the settings related to the replaced drive and observe the corresponding change in the heating or ventilation function.
- Listen for repetitive clicking, skipping or unusual buzzing.
- If the system does not respond properly, check the seat of the part, the connector and any need for initialization before attempting the replacement again.
- The behavior of the system during normal operation can be verified during a short test drive. Make settings safely and without distracting from driving.
5) The most common assembly mistakes and how to avoid them
- Replacement without valve check: a blocked mechanism can also strain the replacement motor. First remove the cause of the resistance.
- Force application of the actuator: can damage the gears or the connection with the damper. Always verify correct relative position.
- Too much tightening of the fastening: can damage the body or the mounts. Follow the manufacturer’s instructions.
- Omitted initialization, if prescribed: check the drive setting procedure in the service documentation of the specific car.
- Wear of gears and motor during long-term repeated adjustment of flaps.
- Increased drag or flap lock that overloads the actuator and its gear mechanism.
- Moisture and contact corrosion which can disrupt the electrical connection.
- Damaged wiring or unstable power supply which may cause the drive to malfunction.
- Reckless disassembly or assembly, especially violent rotation of the outlet, incorrect fitting or damage to the handles.
Reasons why the part is damaged
The following causes can generally apply to heating servomotors. It is not a description of the ascertained condition of the offered piece.