Description
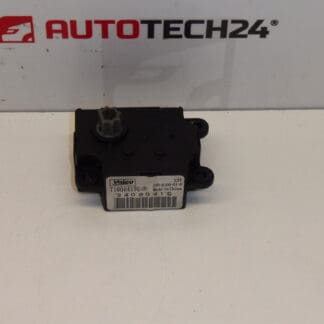
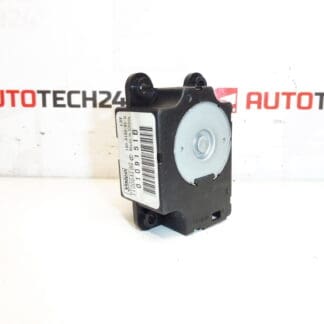
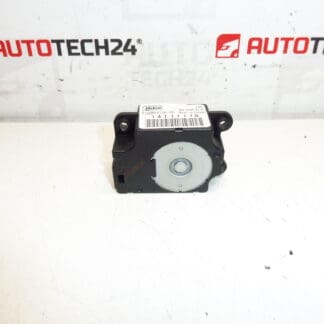
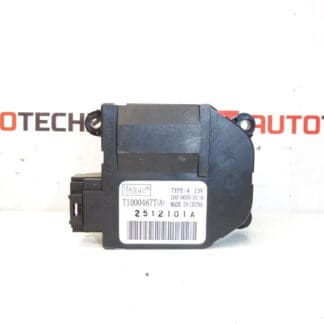
Air Conditioning Motor-Reducer For Citroën And Peugeot Vehicles.
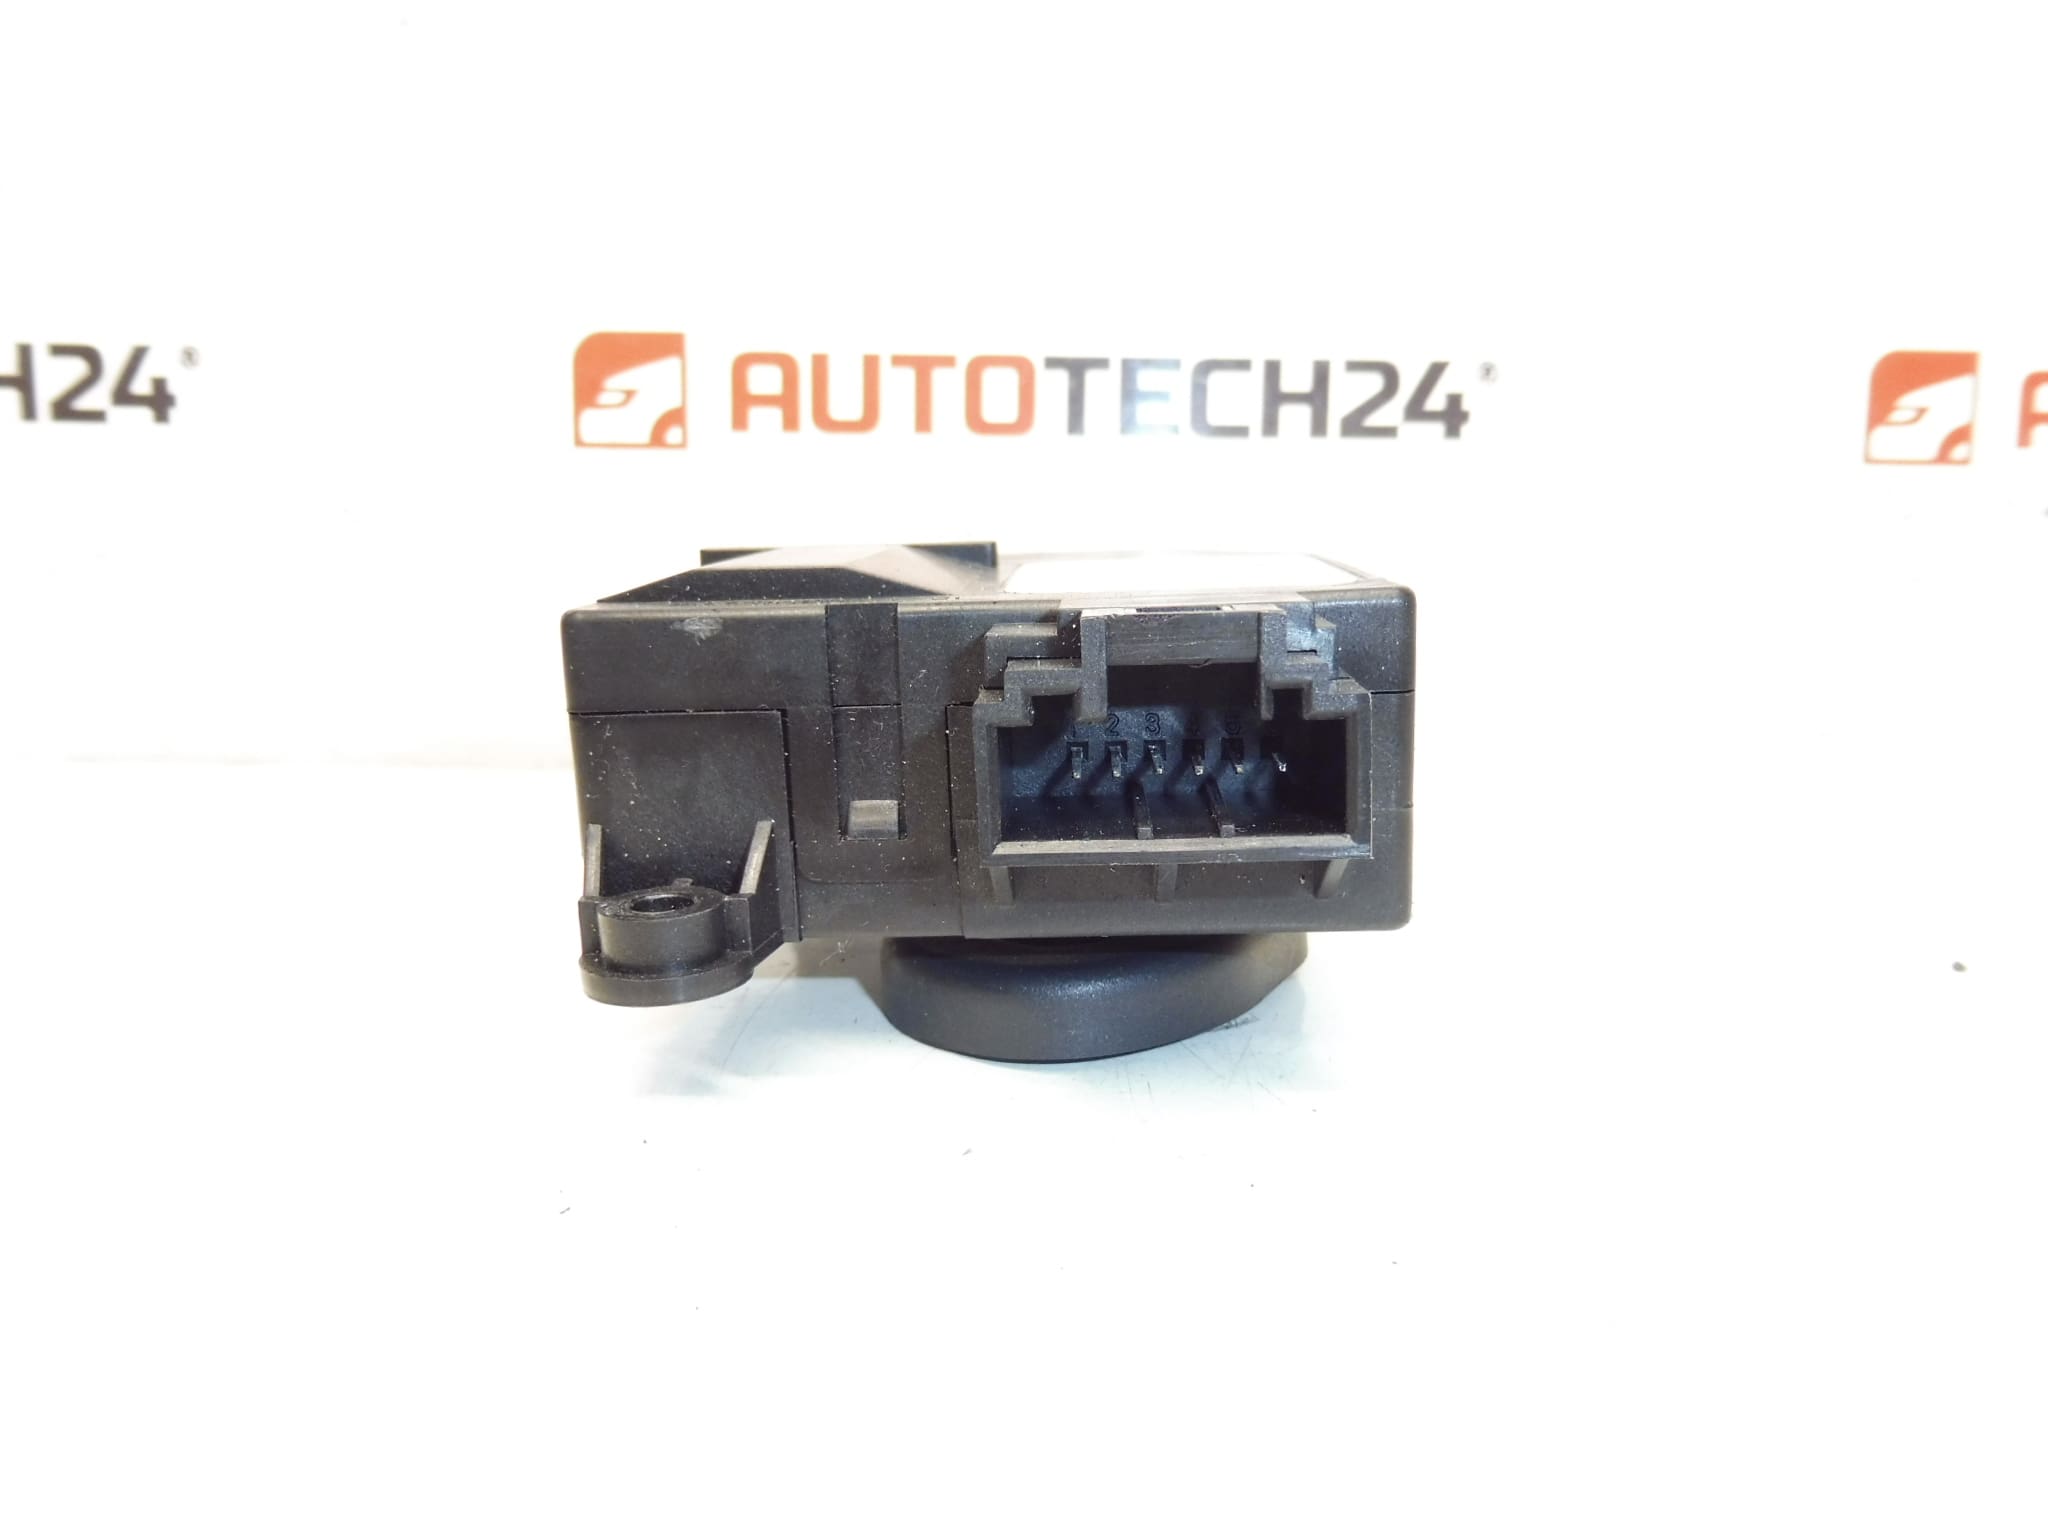
High-quality Valeo HVAC servo motor designed as a direct-fit motor-reducer for climate control systems on selected Citroën and Peugeot models. Ideal for professional workshops and experienced DIY mechanics, this servo restores precise flap movement and reliable airflow direction control in the HVAC unit. Frequently searched under product codes T1000467T, 2512101A and 647914, this part is a common replacement when doors stick, make noise, or fail to respond to climate system commands.
Key Features And Benefits
– Direct-fit replacement for the original HVAC actuator with internal reduction gearing for increased torque and smooth operation.
– Restores correct distribution of air (mode doors) and contributes to proper temperature regulation when the blend door is affected.
– Commonly used by garages and home mechanics as a cost-effective repair to avoid more complex HVAC disassembly.
– Supplied with standard electrical connector compatible with original harness (verify pin layout before installation).
How It Works And Typical Symptoms
This motor-reducer drives the HVAC flaps (mode/blend/recirculation as applicable) to control airflow direction and mixing of hot/cold air. Typical failure symptoms include clicking or grinding noises from the dashboard, vents stuck in a single position, incorrect airflow direction, fluctuating cabin temperature, or no response when changing climate settings. In some vehicles the climate system may report a fault code related to flap position or actuator circuit.
Replacement Guide
Basic replacement steps (vehicle-specific access may vary):
1. Disconnect the negative battery terminal before beginning work.
2. Remove the necessary trim panels or glovebox to access the HVAC housing (locations differ by model).
3. Unplug the electrical connector from the actuator and remove the securing screws or clips.
4. Carefully extract the old unit, noting the orientation and spline alignment of the drive shaft.
5. Fit the new motor-reducer, align the splines, secure with screws, and reconnect the electrical plug.
6. Reassemble trim and reconnect the battery. Run the climate controls through full cycles to confirm correct movement and operation.
Installation Recommendations
– Always disconnect the battery before removal and follow the vehicle manufacturer’s instructions to avoid damage to electrical components.
– Verify connector pinout and physical fit before final installation.
– After fitting, operate the HVAC through its full range (hot/cold and all mode positions) to ensure proper calibration and that no obstructions remain in the ducting.
– If access is restricted or calibration is required beyond simple cycling, have the job performed by a qualified technician.
Most Common Failure Causes
– Worn or broken plastic gears inside the reducer due to age and repeated motion.
– Water ingress or contamination from leaks in the HVAC housing or cowl area.
– Overheating or electrical faults causing motor failure.
– Mechanical obstruction or collapsed ducting placing extra load on the actuator.
Technical Information
- Manufacturer: Valeo
- Model: Citroën C2; Citroën C3; Citroën C3 Picasso; Citroën C4 II; DS4; Peugeot 308
- Product Codes: T1000467T, 2512101A, 647914
- Additional Numbers: 2512101A, 647914, T1000467T
Notes For Mechanics
This actuator is aimed at professionals and competent DIYers. Keep replacement parts and fasteners organized during disassembly to ensure correct reinstallation. If the HVAC system continues to behave irregularly after replacing the actuator, inspect ducting, flap mechanisms and electrical supply for related issues.