Description
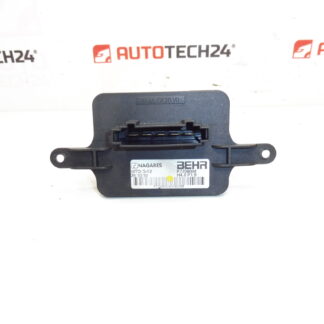
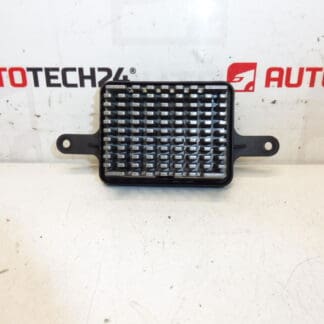
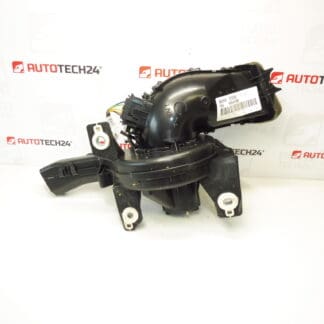
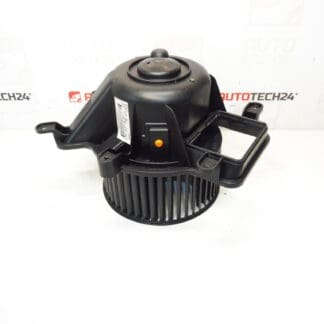
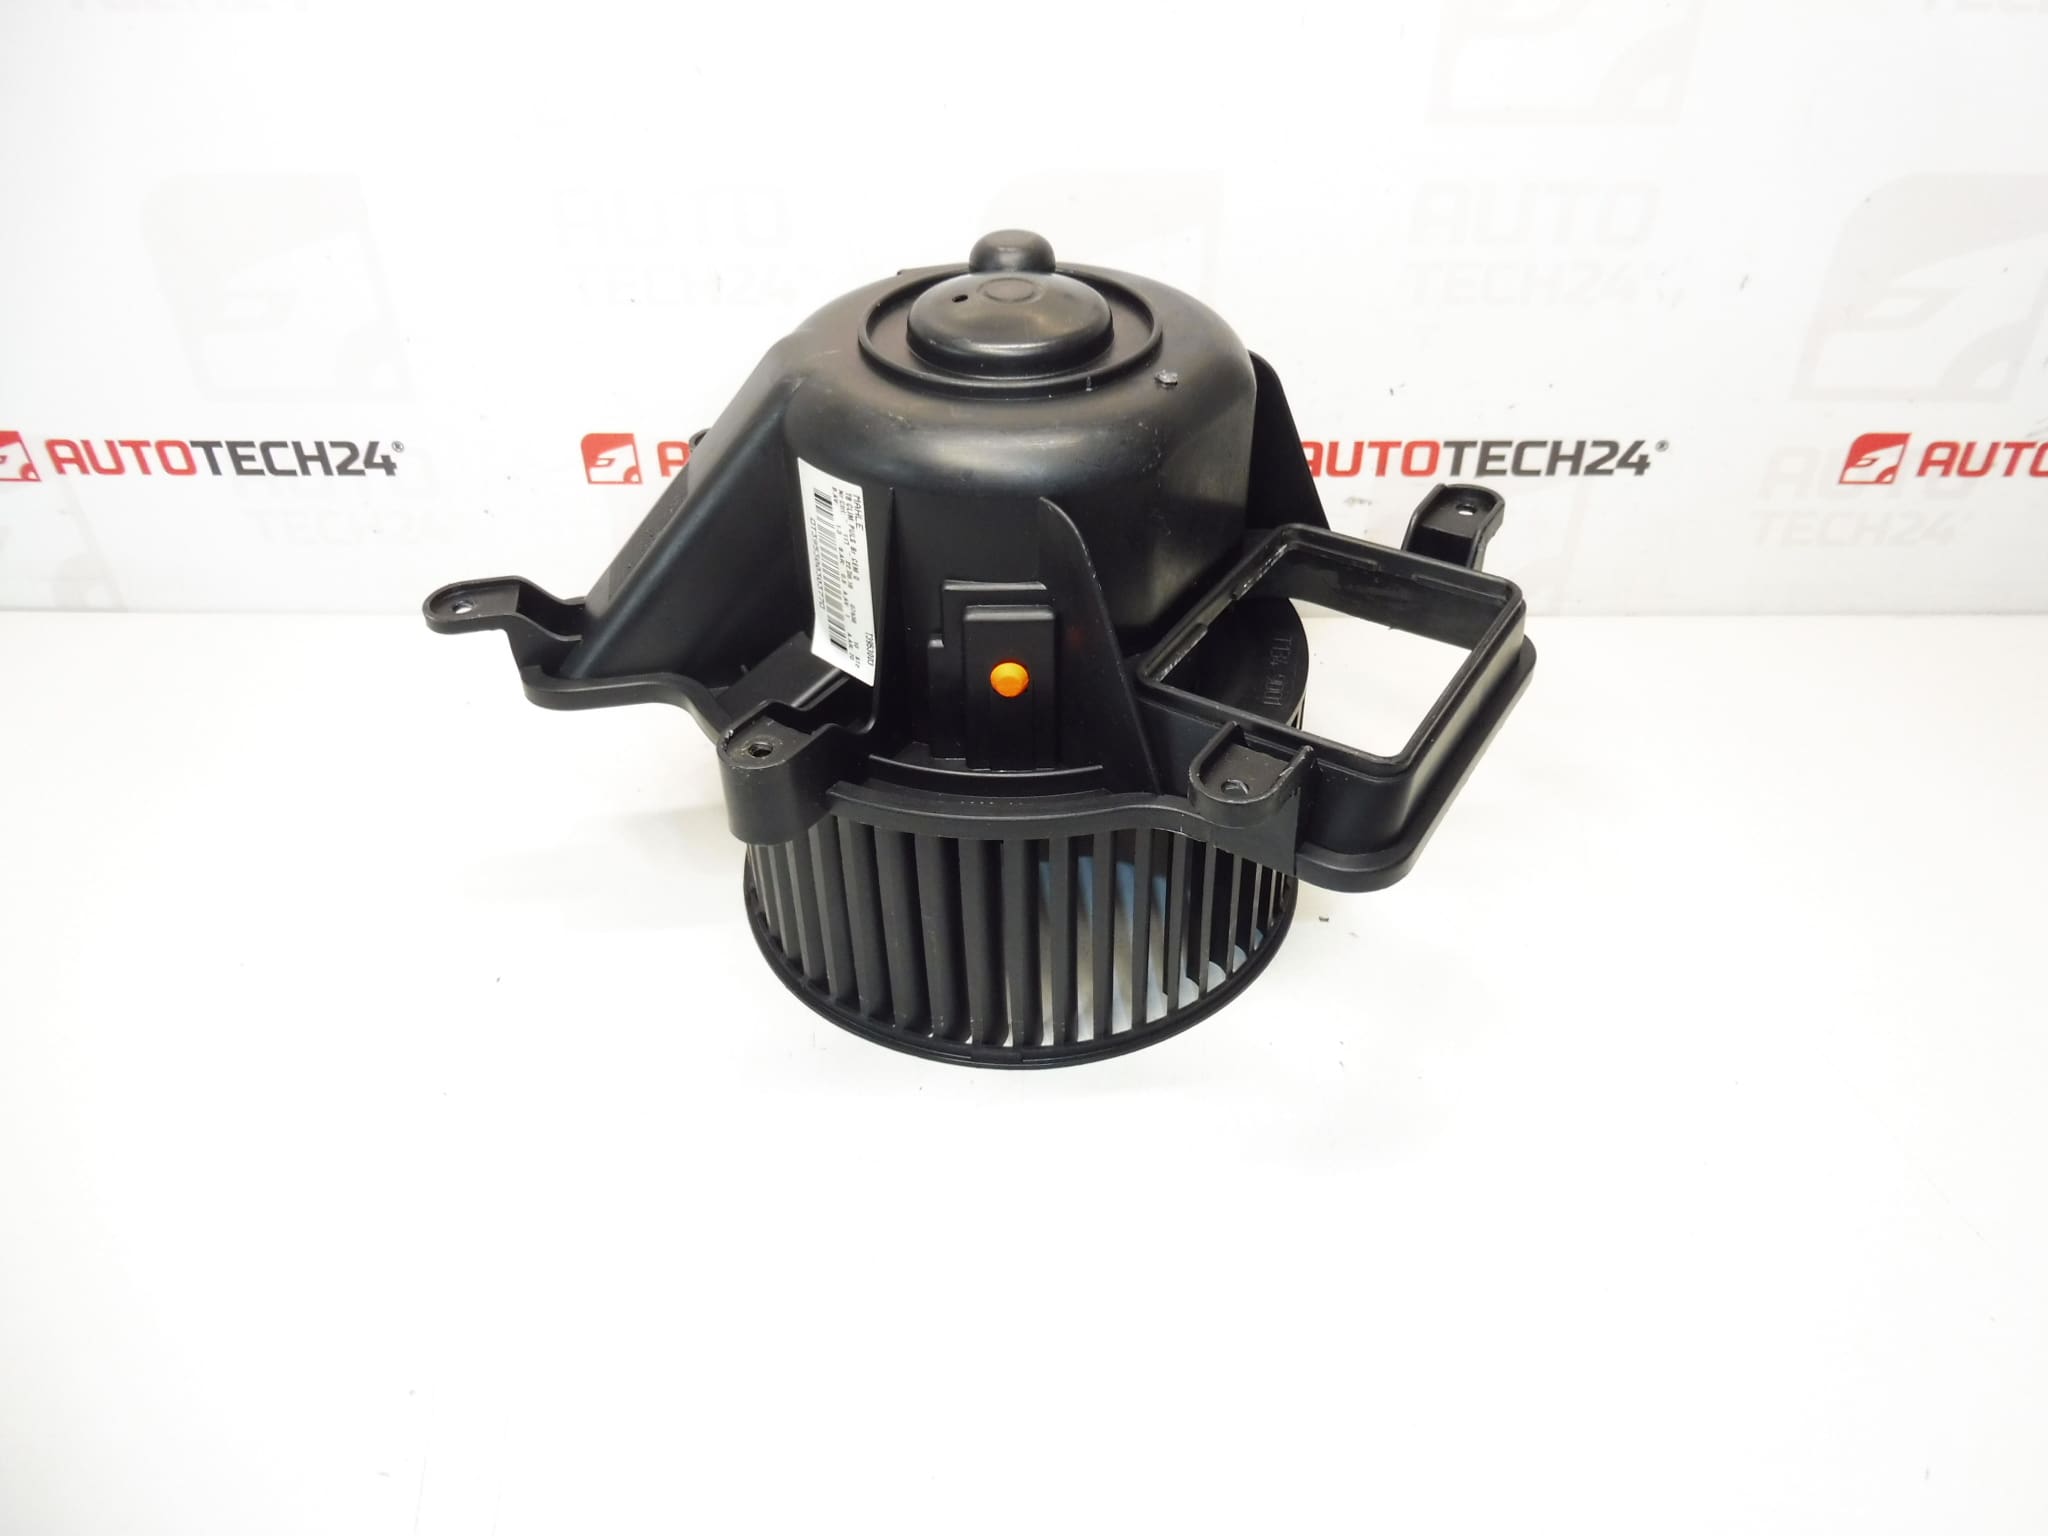
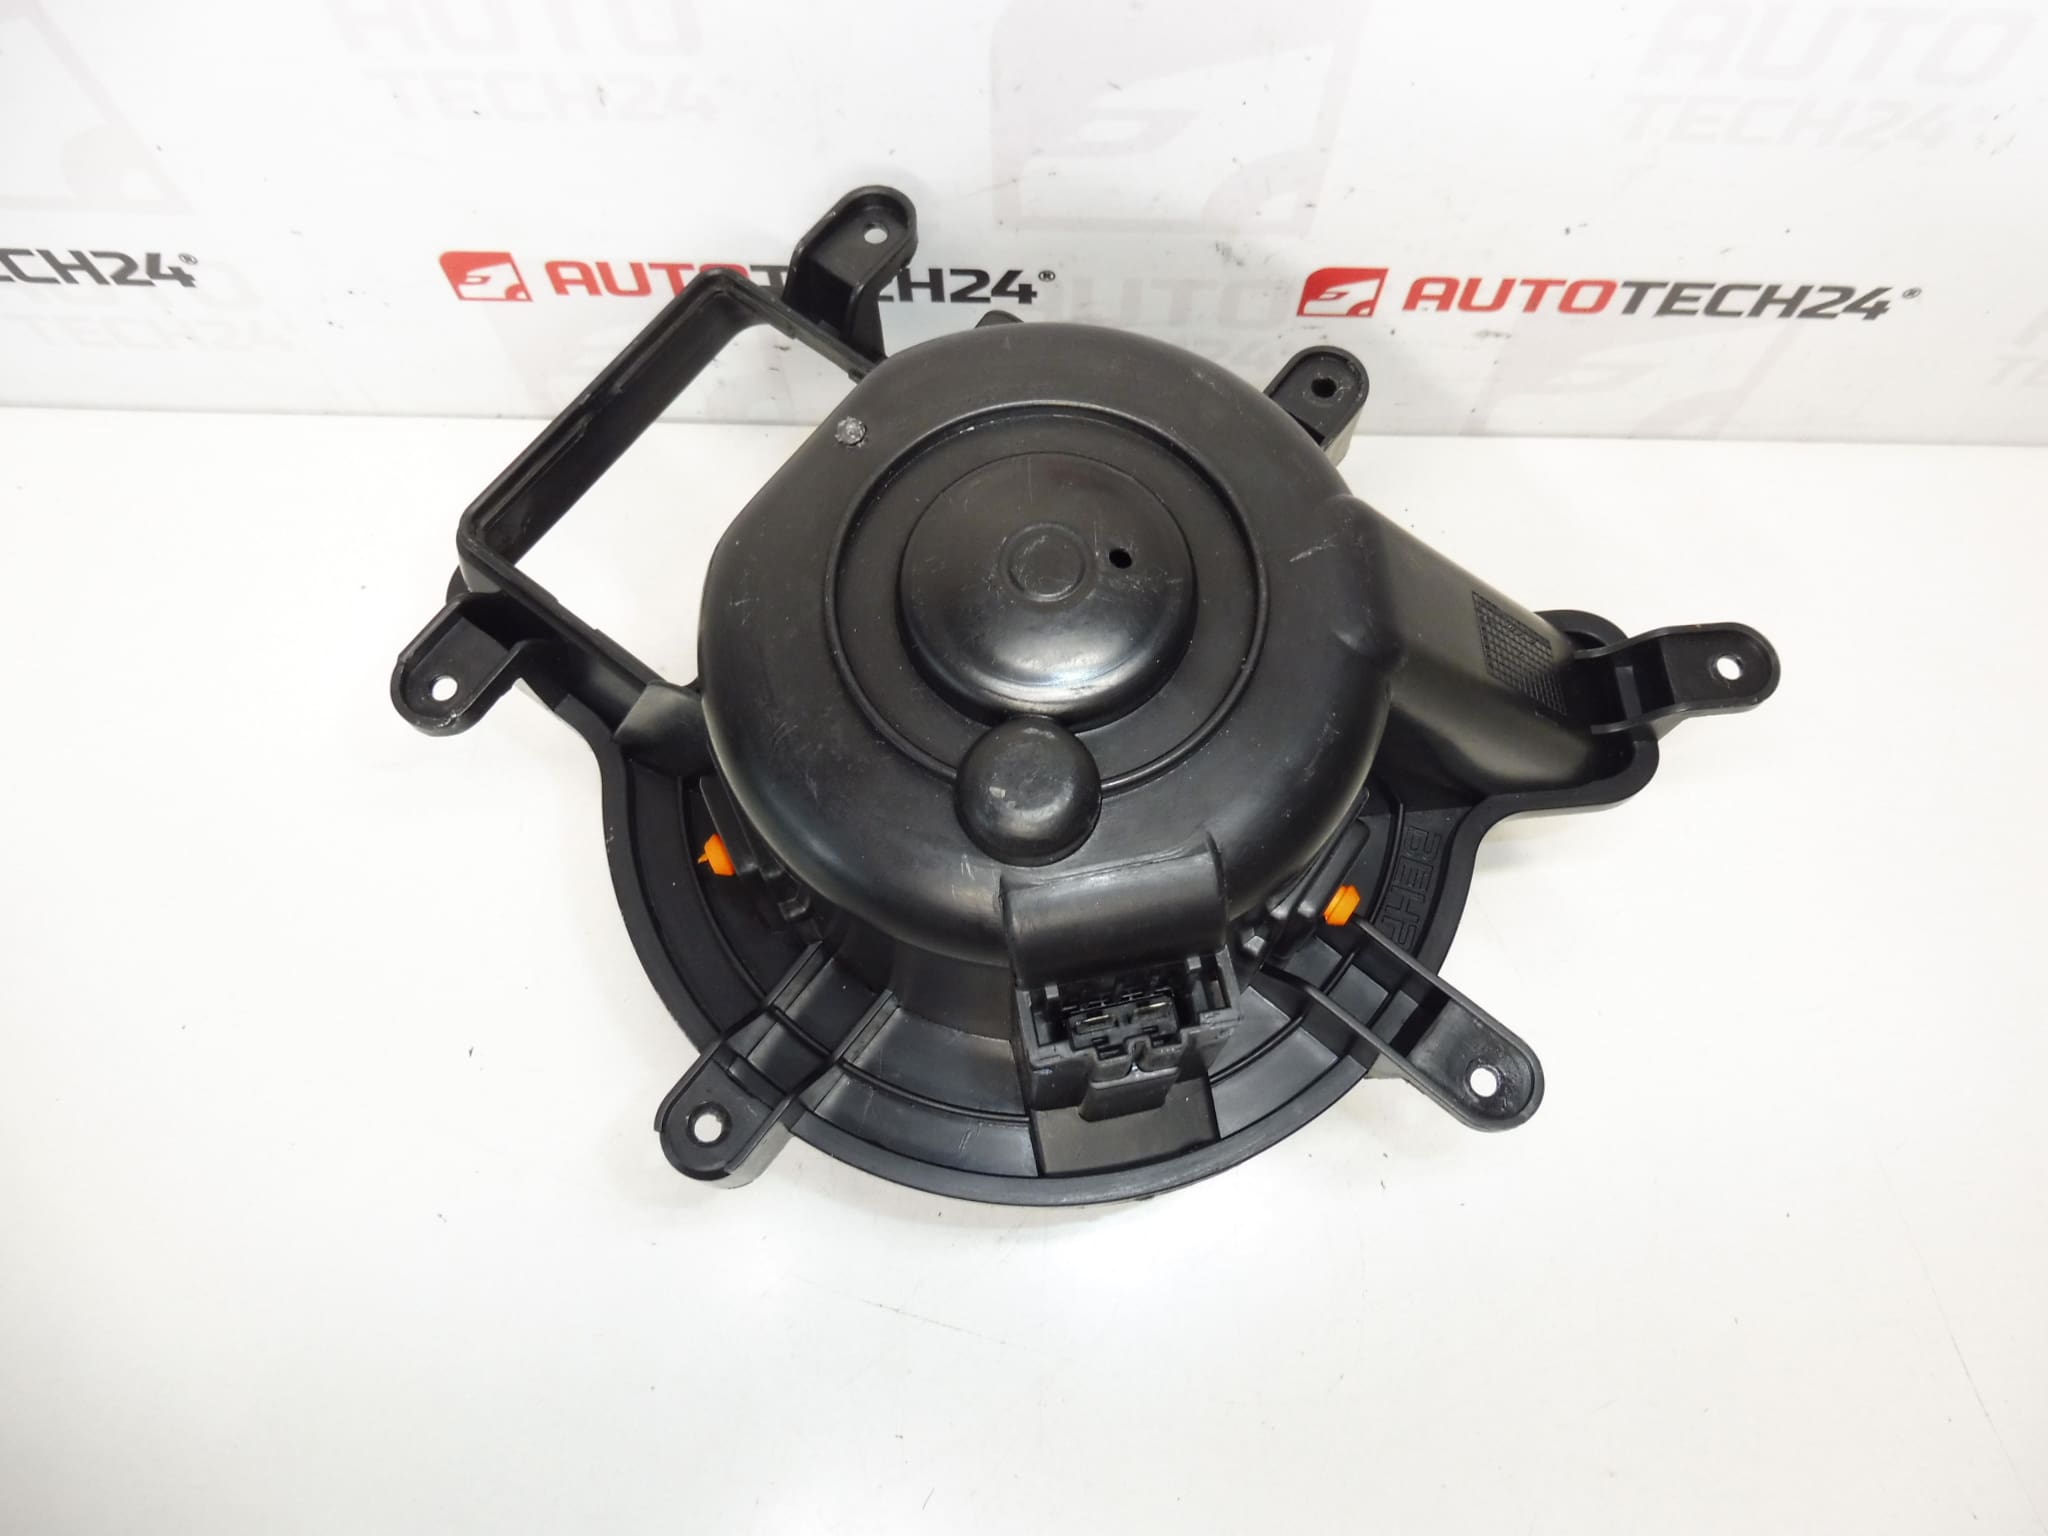
Heating fan for PEUGEOT 3008 T84 and 5008 T87
The BEHR
system
Part description
This heating fan is designed for Peugeot 3008 and Peugeot 5008 cars and is fitted with the BEHR system. It is an important part of heating and ventilation, which ensures the flow of air into the interior of the car. A properly functioning fan has a fundamental effect on the comfort of the crew, the demisting of the windows and the overall function of the heating and ventilation system.
The product is also often searched by serial numbers, especially T3953003 and 6441CP, which makes it easier to identify the correct part when repairing or replacing the original part.
Technical information
- Manufacturer: Stellantis Citroën Peugeot
- Model: Peugeot 3008 T84, Peugeot 5008 T87
- Other numbers: T3953003, 6441CP
Product codes
Installation recommendations
Generally/typically the replacement of the heater fan may vary depending on the specific design of the car and access to the part. Below is a general and safe procedure for this type of electrical part.
1) Before assembly
- Check that the new and original part match in shape, connector, mounting and marking T3953003 or 6441CP.
- Inspect the connector and contacts for damage, oxidation or mechanical deformation.
- Inspect the fan blades and the body of the part for cracks, deformation or debris.
- Disconnect the battery before starting work, especially if you are going to interfere with the car’s electrical installation.
2) Necessary tools and materials
- A common set of hand tools
- Screwdrivers and socket wrenches
- Plastic pry bar for panel removal
- Flashlight
- Cleaning agent for electrical contacts
- A cloth or a soft brush for cleaning the surroundings
3) Step-by-step assembly procedure
- Turn off the ignition and disconnect the battery.
- Ensure access to the heater fan according to the design of the specific car.
- Remove the obstructing covers or trim so that you can get to the part without damaging the surrounding parts.
- Disconnect the fan electrical connector carefully without pulling on the wiring.
- Unfasten the original fan and remove the part.
- Check the part storage area and remove dust, leaves or other debris that could affect the operation of the fan.
- Compare the removed piece with the assembled part, especially the mounting, body diameter, connector and mounting orientation.
- Put the fan in place and seat it so that it seats properly without force.
- Secure the part with the original method of attachment.
- Connect the electrical connector and check that it is firmly seated.
- Reinstall all covers and removed interior parts.
- Connect the battery and perform a basic functional test.
-
4) Post-assembly checks and test drive/function verification
- Verify that the fan runs smoothly and without unusual noises.
- Check the blowing function in different ventilation setting modes.
- Observe for vibration, rubbing or stalling.
- During the test drive, check that the heating and ventilation work stably even after the car has warmed up.
5) The most common assembly mistakes + how to avoid them
- Exchanging a part – always compare the numbers and design with the old part.
- Damage to the connector – disconnect and connect the connector carefully, never by pulling on the wires.
- Incorrect seating – the part must fit exactly in its position, without crossing or forcefully tightening.
- Omission of functional test – after assembly, always verify the operation of the fan before completely closing all covers, if access allows.
- Normal wear and tear during long-term use
- Clogging with dirt, dust or leaves
- Excessive load on the fan electric motor
- Damage to the fan blades or bearing
- Moisture, contact oxidation or electrical connection problems
- Vibration and mechanical stress during vehicle operation