Description
Air Conditioning Refrigerant Pipe For Citroën C5 X7 And Peugeot 407
Product Overview
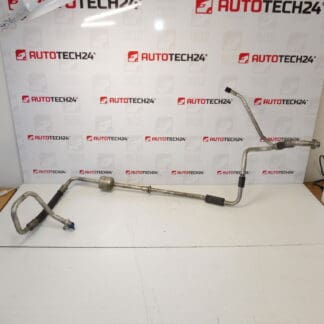
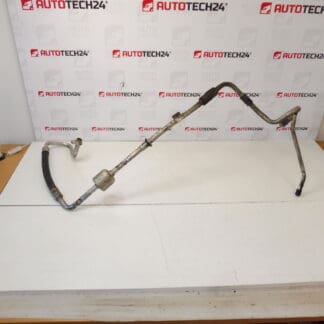
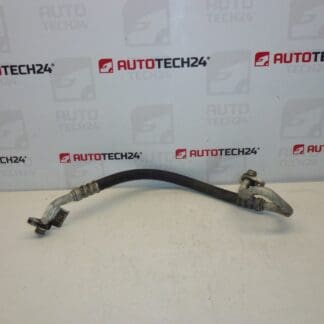
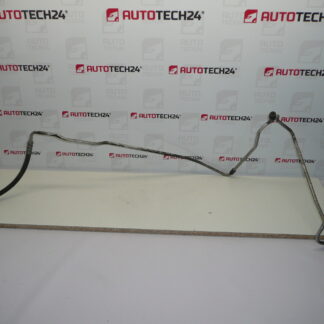
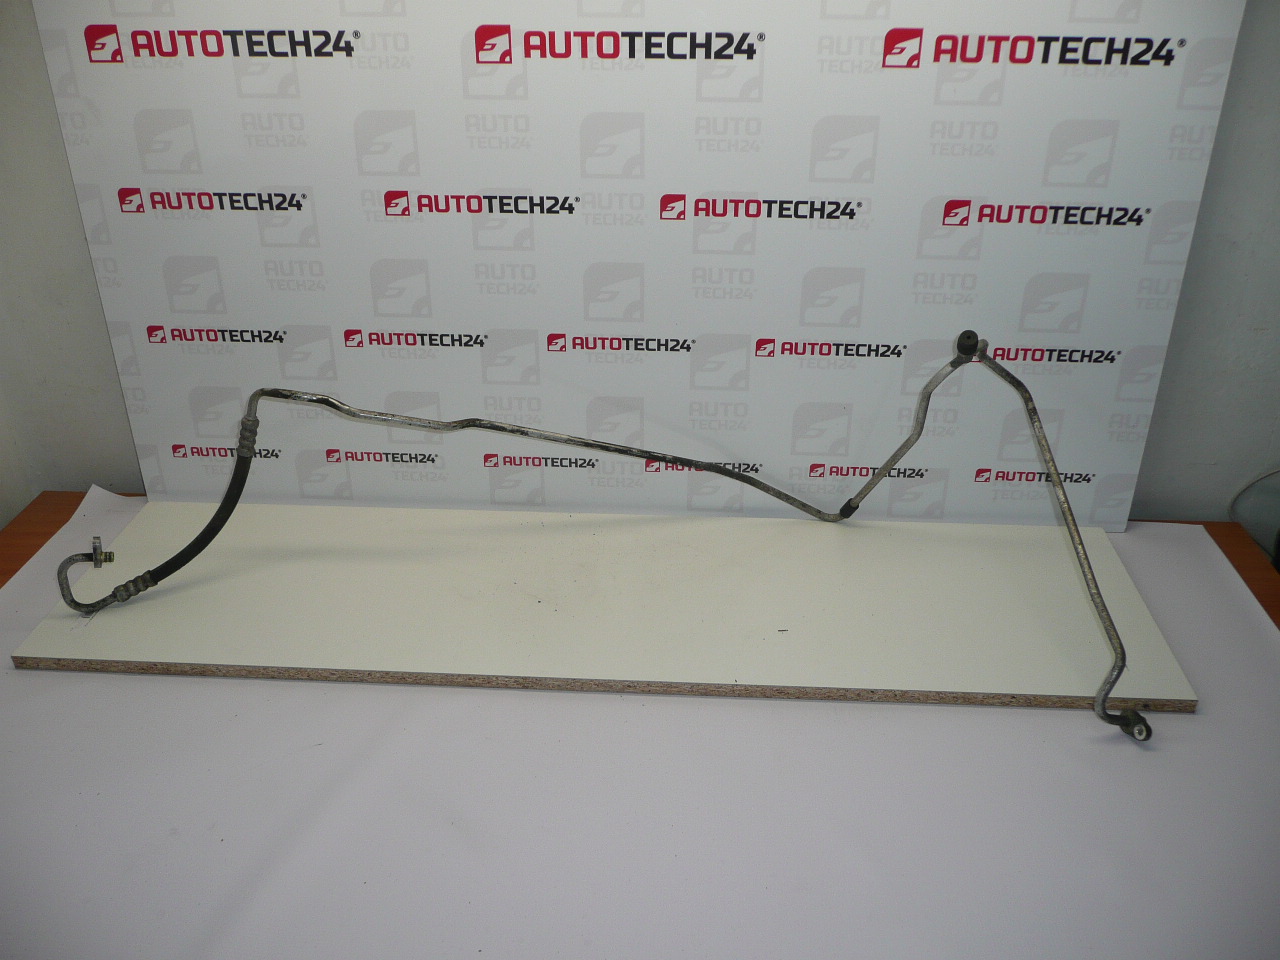
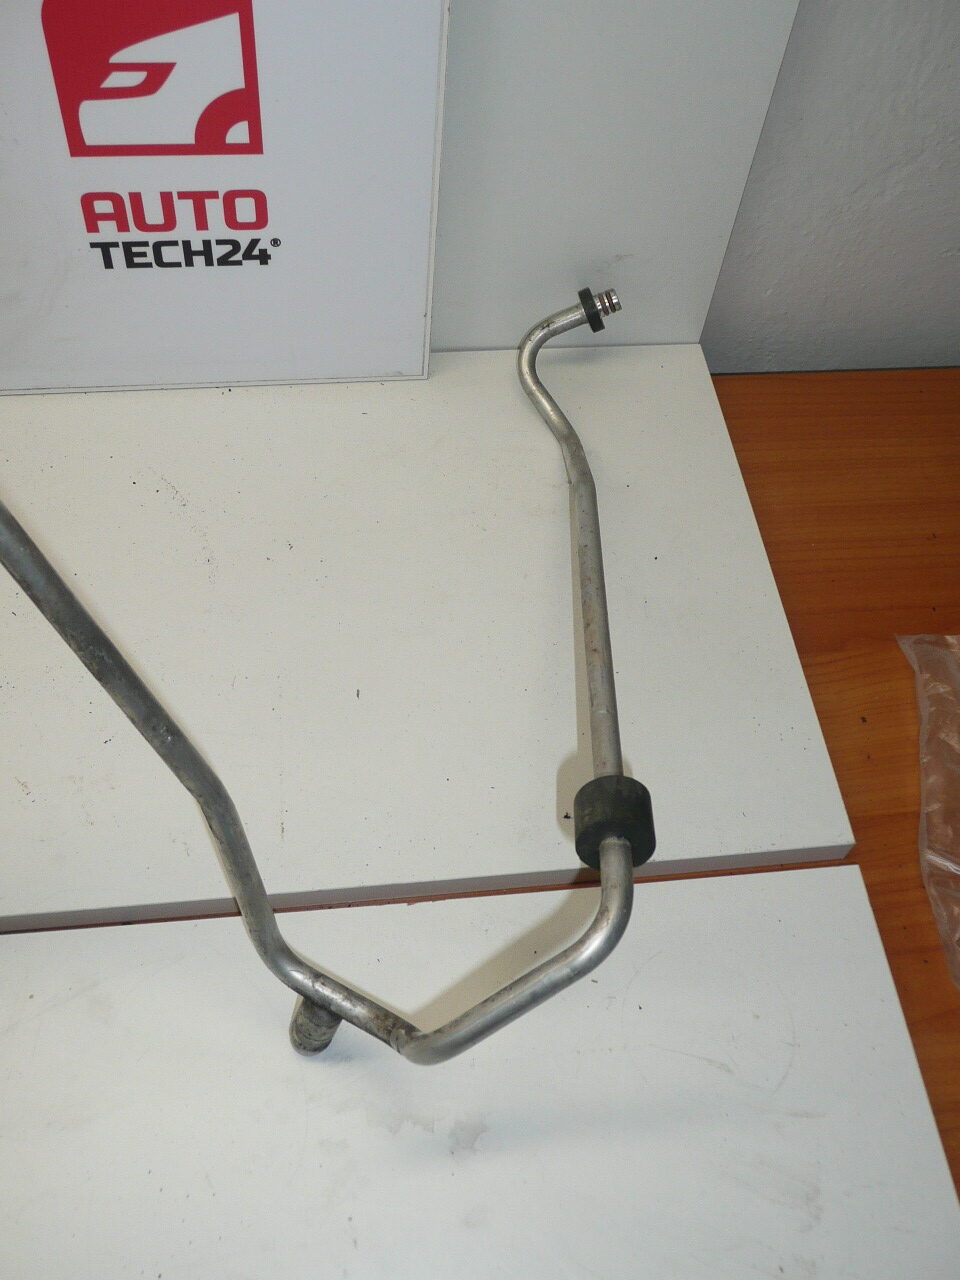
This air conditioning refrigerant pipe is an OEM-style component for Citroën C5 X7 and Peugeot 407 models. Designed to carry refrigerant within the vehicle’s A/C system, the pipe connects evaporator, condenser and compressor circuits depending on the specific routing. The part is commonly referenced by manufacturer numbers 9659576280 and 647773, which makes it easy to find by part number during repairs or ordering.
Why This Part Matters
Properly functioning refrigerant pipes ensure efficient cooling performance and a sealed A/C system. A damaged or leaking pipe leads to loss of refrigerant, reduced cooling, and potential contamination of the system. Professional mechanics and experienced DIYers will appreciate the fitment to PSA/ Stellantis platforms and the straightforward replacement procedure when performing A/C repairs or component upgrades.
Technical Information
- Manufacturer: Stellantis (Citroën/Peugeot)
- Model: Citroën C5 II / Citroën C5 X7 / Peugeot 407
- Product Codes: 9659576280, 647773
- Additional Numbers: NFP
Installation Recommendations
- Recover Refrigerant Using Certified Equipment: Always evacuate and recover refrigerant with approved recovery machines before opening the A/C system to comply with regulations and protect components.
- Replace Seals And O-Rings: Install new O-rings sized to the factory specification and lubricate with the correct PAG oil to ensure a long-lasting seal.
- Vacuum Test And Leak Check: After fitting the pipe, perform a vacuum hold test and leak detection (electronic detector or UV dye) before recharging the system.
- Recharge With Correct Refrigerant: Refill the system with the manufacturer-specified refrigerant (R134a for these model years) and the correct oil charge. Observe refrigerant weight and pressures per service manual.
- Use Proper Tools And Torque: Use appropriate spanners and follow tightening guidelines for flare or threaded fittings to avoid distortion or damage.
- Professional Service Recommended For Full A/C Work: While a competent DIYer can replace the pipe, gas recovery, vacuuming and accurate recharge are best done with professional A/C service equipment.
Most Common Failure Reasons
- Corrosion From Road Salt And Moisture: Metal pipes and joints exposed to road salt and moisture can corrode, leading to pinhole leaks.
- O-Ring Deterioration: Aging O-rings lose elasticity and begin to leak at fittings and unions.
- Mechanical Damage: Impact from road debris or improper handling during repairs can dent or crack the pipe.
- Vibration And Thermal Cycling: Repeated heating and cooling plus engine vibration can fatigue joints or cause stress fractures over time.
Compatibility And Search Tips
Search by the OEM numbers 9659576280 or 647773 for fastest results. The pipe is intended for Citroën C5 II / C5 X7 and Peugeot 407 platforms—verify model generation and engine bay routing when ordering replacement parts.