Description
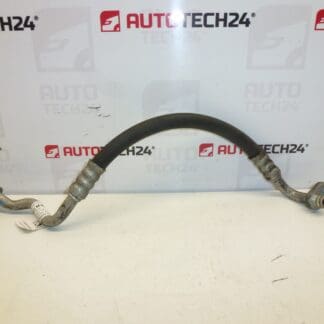
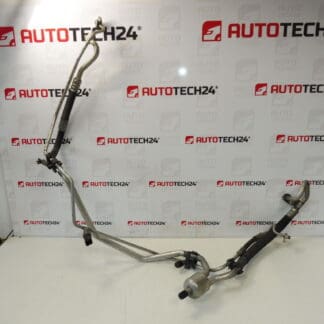
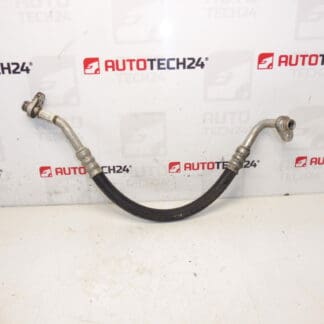
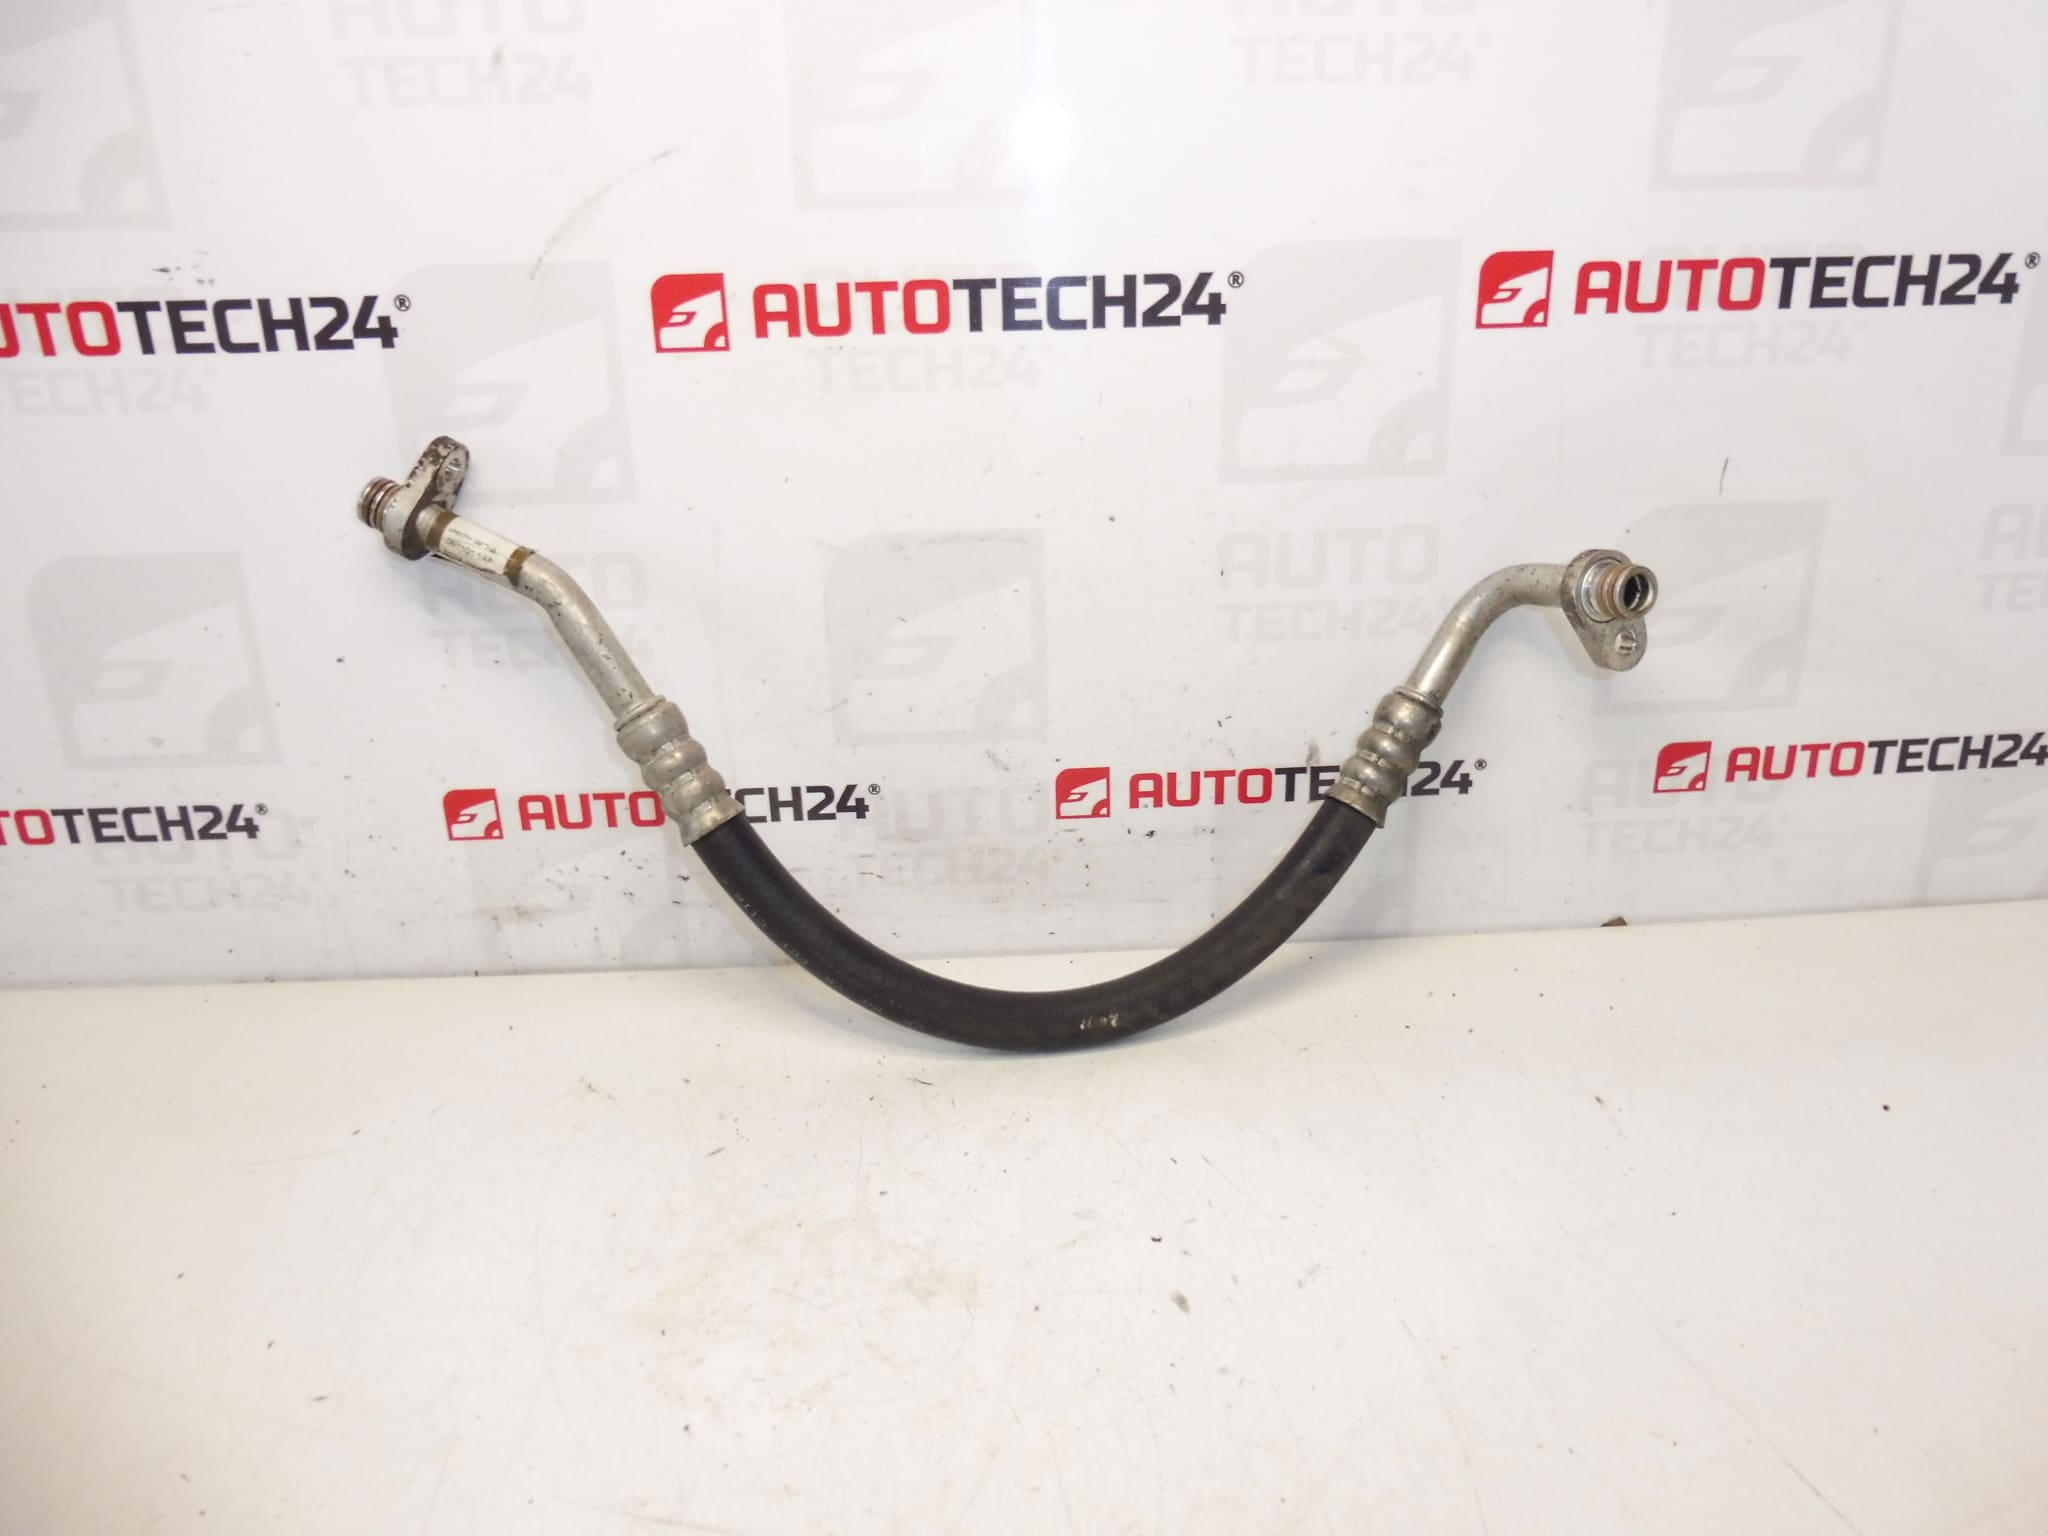
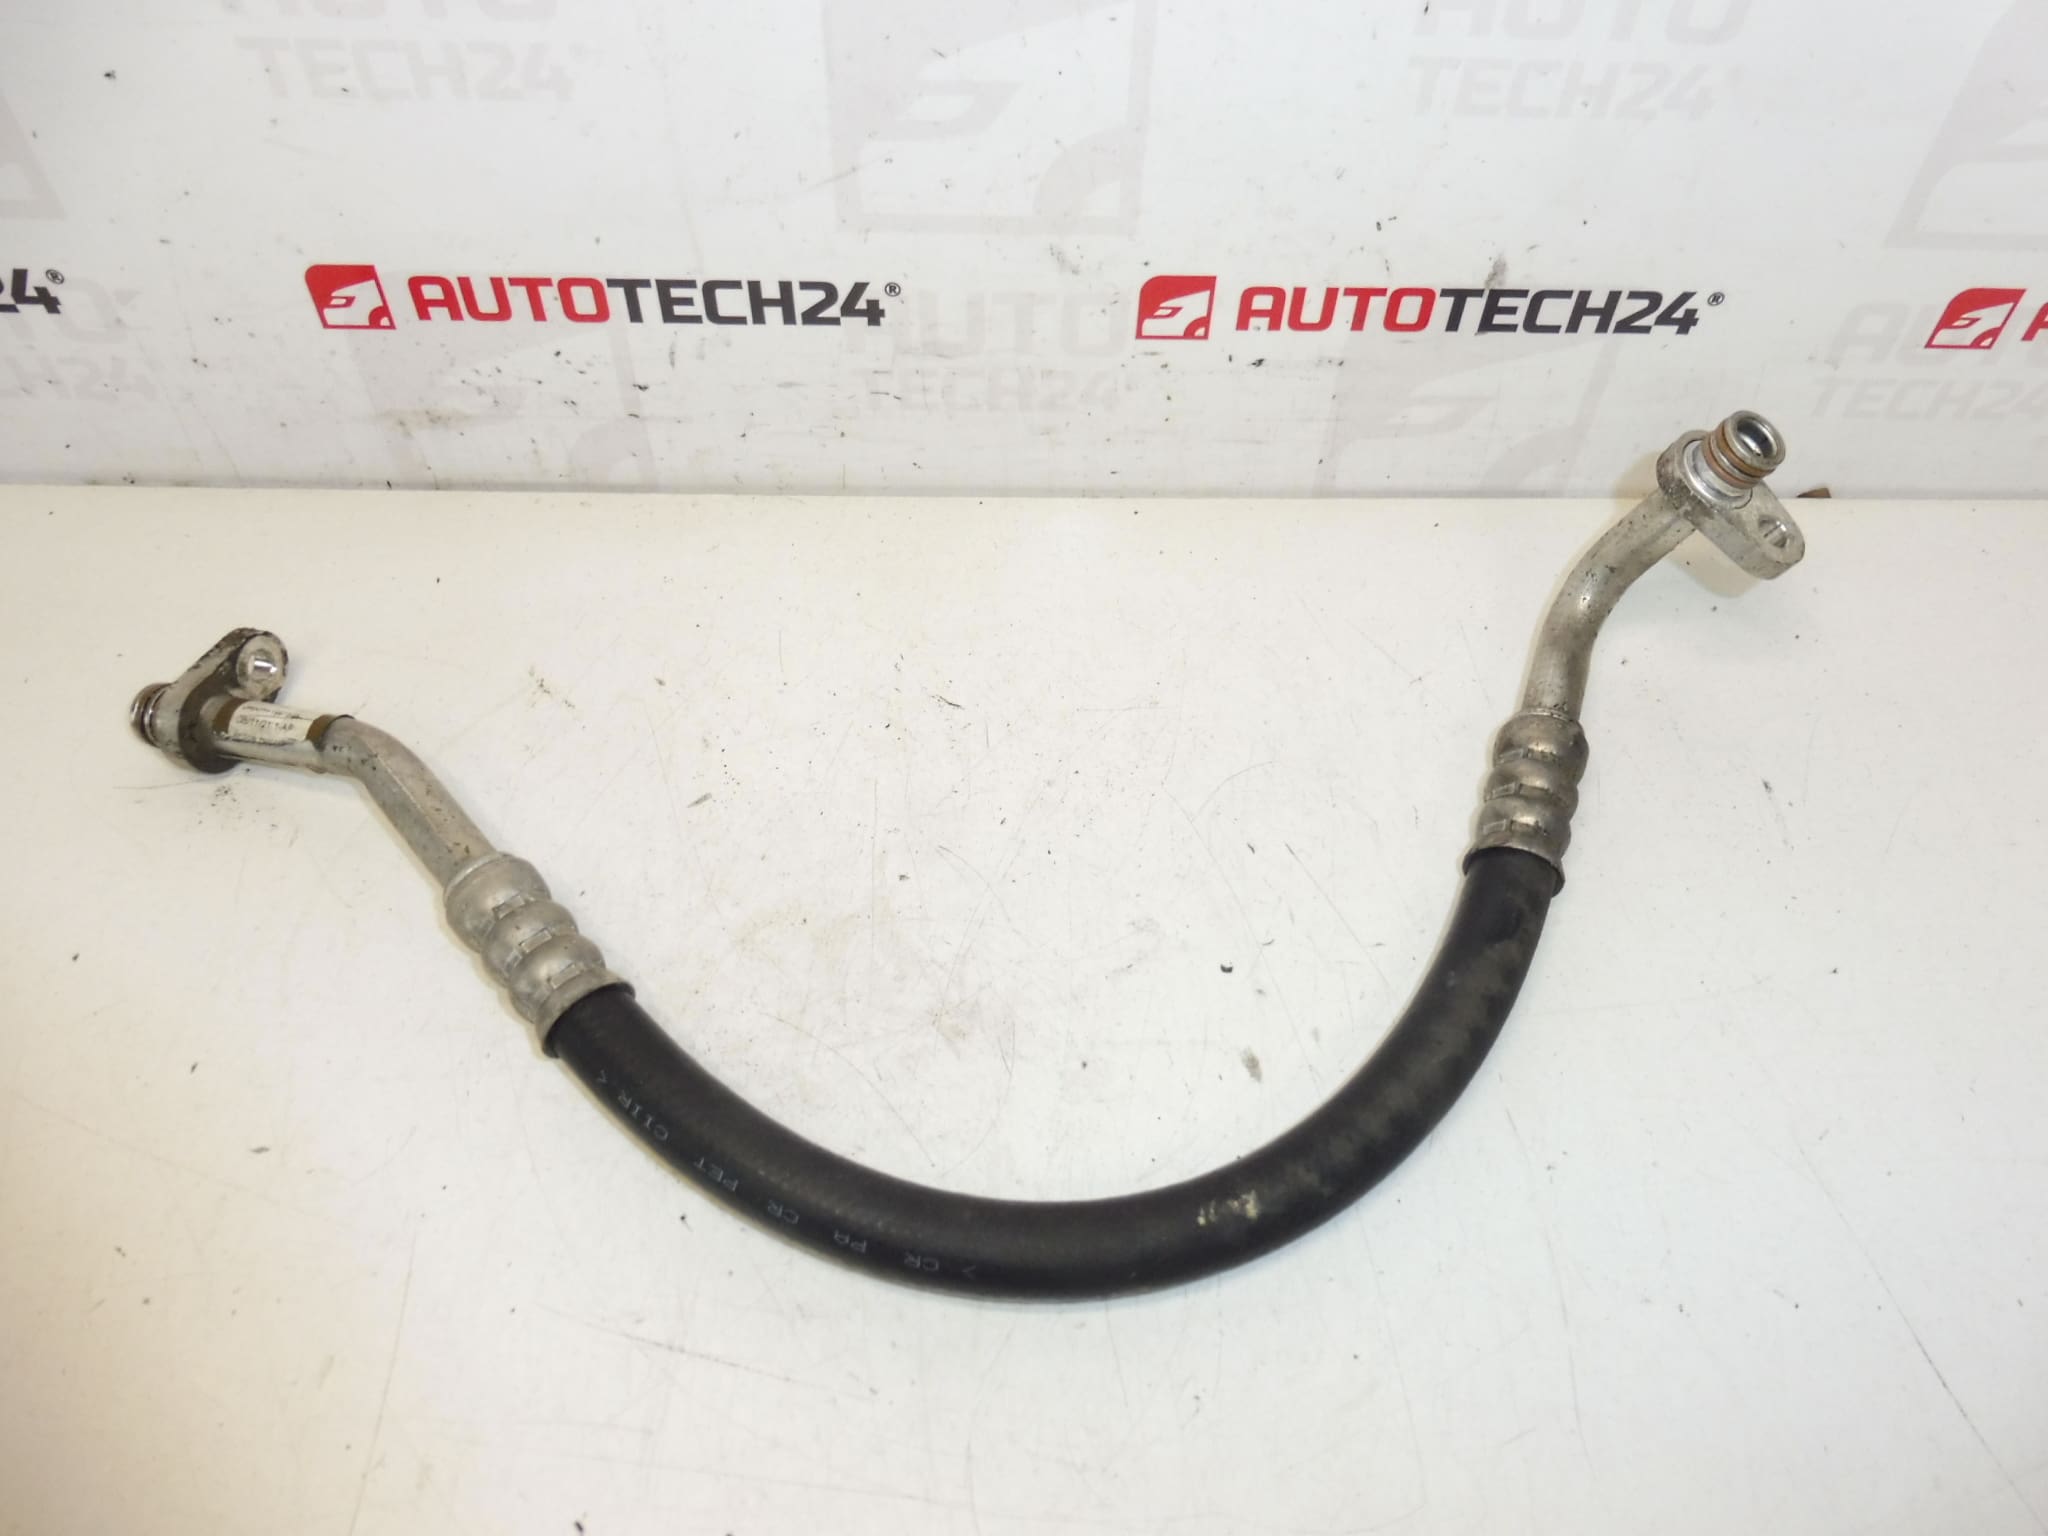
Refrigerant Pipe For Citroën C4 Picasso Vehicles With RH02 Engine
Product Overview
Direct replacement refrigerant pipe designed for Citroën C4 Picasso models equipped with the RH02 engine. Supplied with the OE cross-references 9681781280 and 6477H9, this air conditioning line restores proper refrigerant flow between AC components and helps bring the system back to correct pressure and cooling performance. Ideal for professional workshops and experienced DIY mechanics who require a reliable part that exactly matches OE fitment numbers.
Technical Information
- Manufacturer: Stellantis (Citroën/Peugeot)
- Model: Citroën C4 Picasso
- Product Codes: 9681781280, 6477H9
- Additional Numbers: 6477H9 | 9681781280
Function And Application
This refrigerant pipe is a part of the vehicle’s air conditioning circuit. Its role is to transport refrigerant between components (compressor, condenser, evaporator and receiver/drier) under the required operating pressures and temperatures. Proper sealing and corrosion resistance are essential to prevent leaks and maintain system efficiency.
Typical Failure Modes And Service Life
Failures usually occur through gradual deterioration: corrosion, mechanical damage from road debris or impact, chafing against adjacent parts, or degraded O-rings and seals at the connections. Vehicles exposed to salty roads or harsh environments are more prone to leaks. There is no fixed replacement interval; pipes commonly fail on higher-mileage or older cars (for example after several years of service), but should be inspected whenever the AC system loses cooling performance or when other components are replaced.
Installation Recommendations
Recommended procedure for replacement (intended for qualified technicians or experienced DIYers with proper equipment):
- Recover Refrigerant Safely: Recover the refrigerant using an R134a/R1234yf recovery/recycle machine in compliance with local regulations.
- Access And Remove: Remove any obstructing components to gain access to the pipe. Carefully disconnect fittings; mark routing to ensure correct refit.
- Replace Seals: Always replace O-rings/seals at each connection with correctly sized, lubricant-coated new O-rings compatible with the system oil and refrigerant.
- Install New Pipe: Fit the new pipe and tighten connections to manufacturer recommended procedures. Avoid kinking or undue stress on the line.
- Evacuate And Charge: Evacuate the system to remove moisture and air, then charge with the correct refrigerant type and specified oil quantity. Perform leak and pressure checks.
- Final Checks: Start the engine and confirm proper system pressures and cooling performance. Re-inspect fittings after a short test drive.
Important: Refrigerant handling requires certified equipment and adherence to safety and environmental rules. If you are not equipped to recover and recharge the AC system, entrust this step to a qualified workshop.
Why The Part Is Often Replaced
Most replacements are due to refrigerant leaks that cause loss of cooling, often detected as reduced AC performance or visible oil traces around pipe joints. Corrosion at the pipe or fittings, damage from road debris, or hardening of connection O-rings are the most common root causes. Replacing the pipe and seals together addresses the leak source and prevents repeat failures.
Compatibility And Fitment Tips
Fitment is intended for Citroën C4 Picasso vehicles with the RH02 engine that use the OE references listed above. Always verify the part numbers stamped on the original pipe against the product codes 9681781280 / 6477H9 to ensure direct compatibility with your vehicle model and year.
Buying Advice
Choosing a direct-fit pipe with the correct OE numbers minimizes installation time and reduces the risk of leaks. For a long-lasting repair, replace connection O-rings, inspect surrounding AC components (compressor, condenser, dryer/accumulator), and ensure the system is properly evacuated and charged.