Description
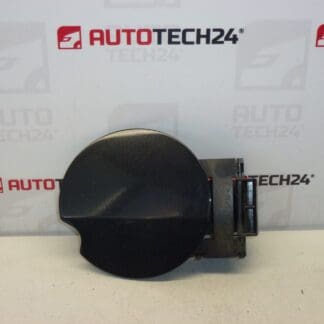
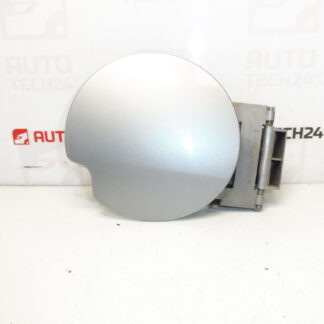
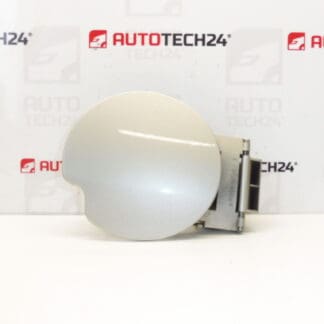
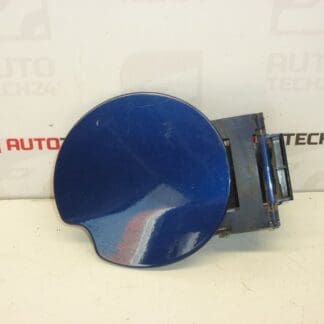
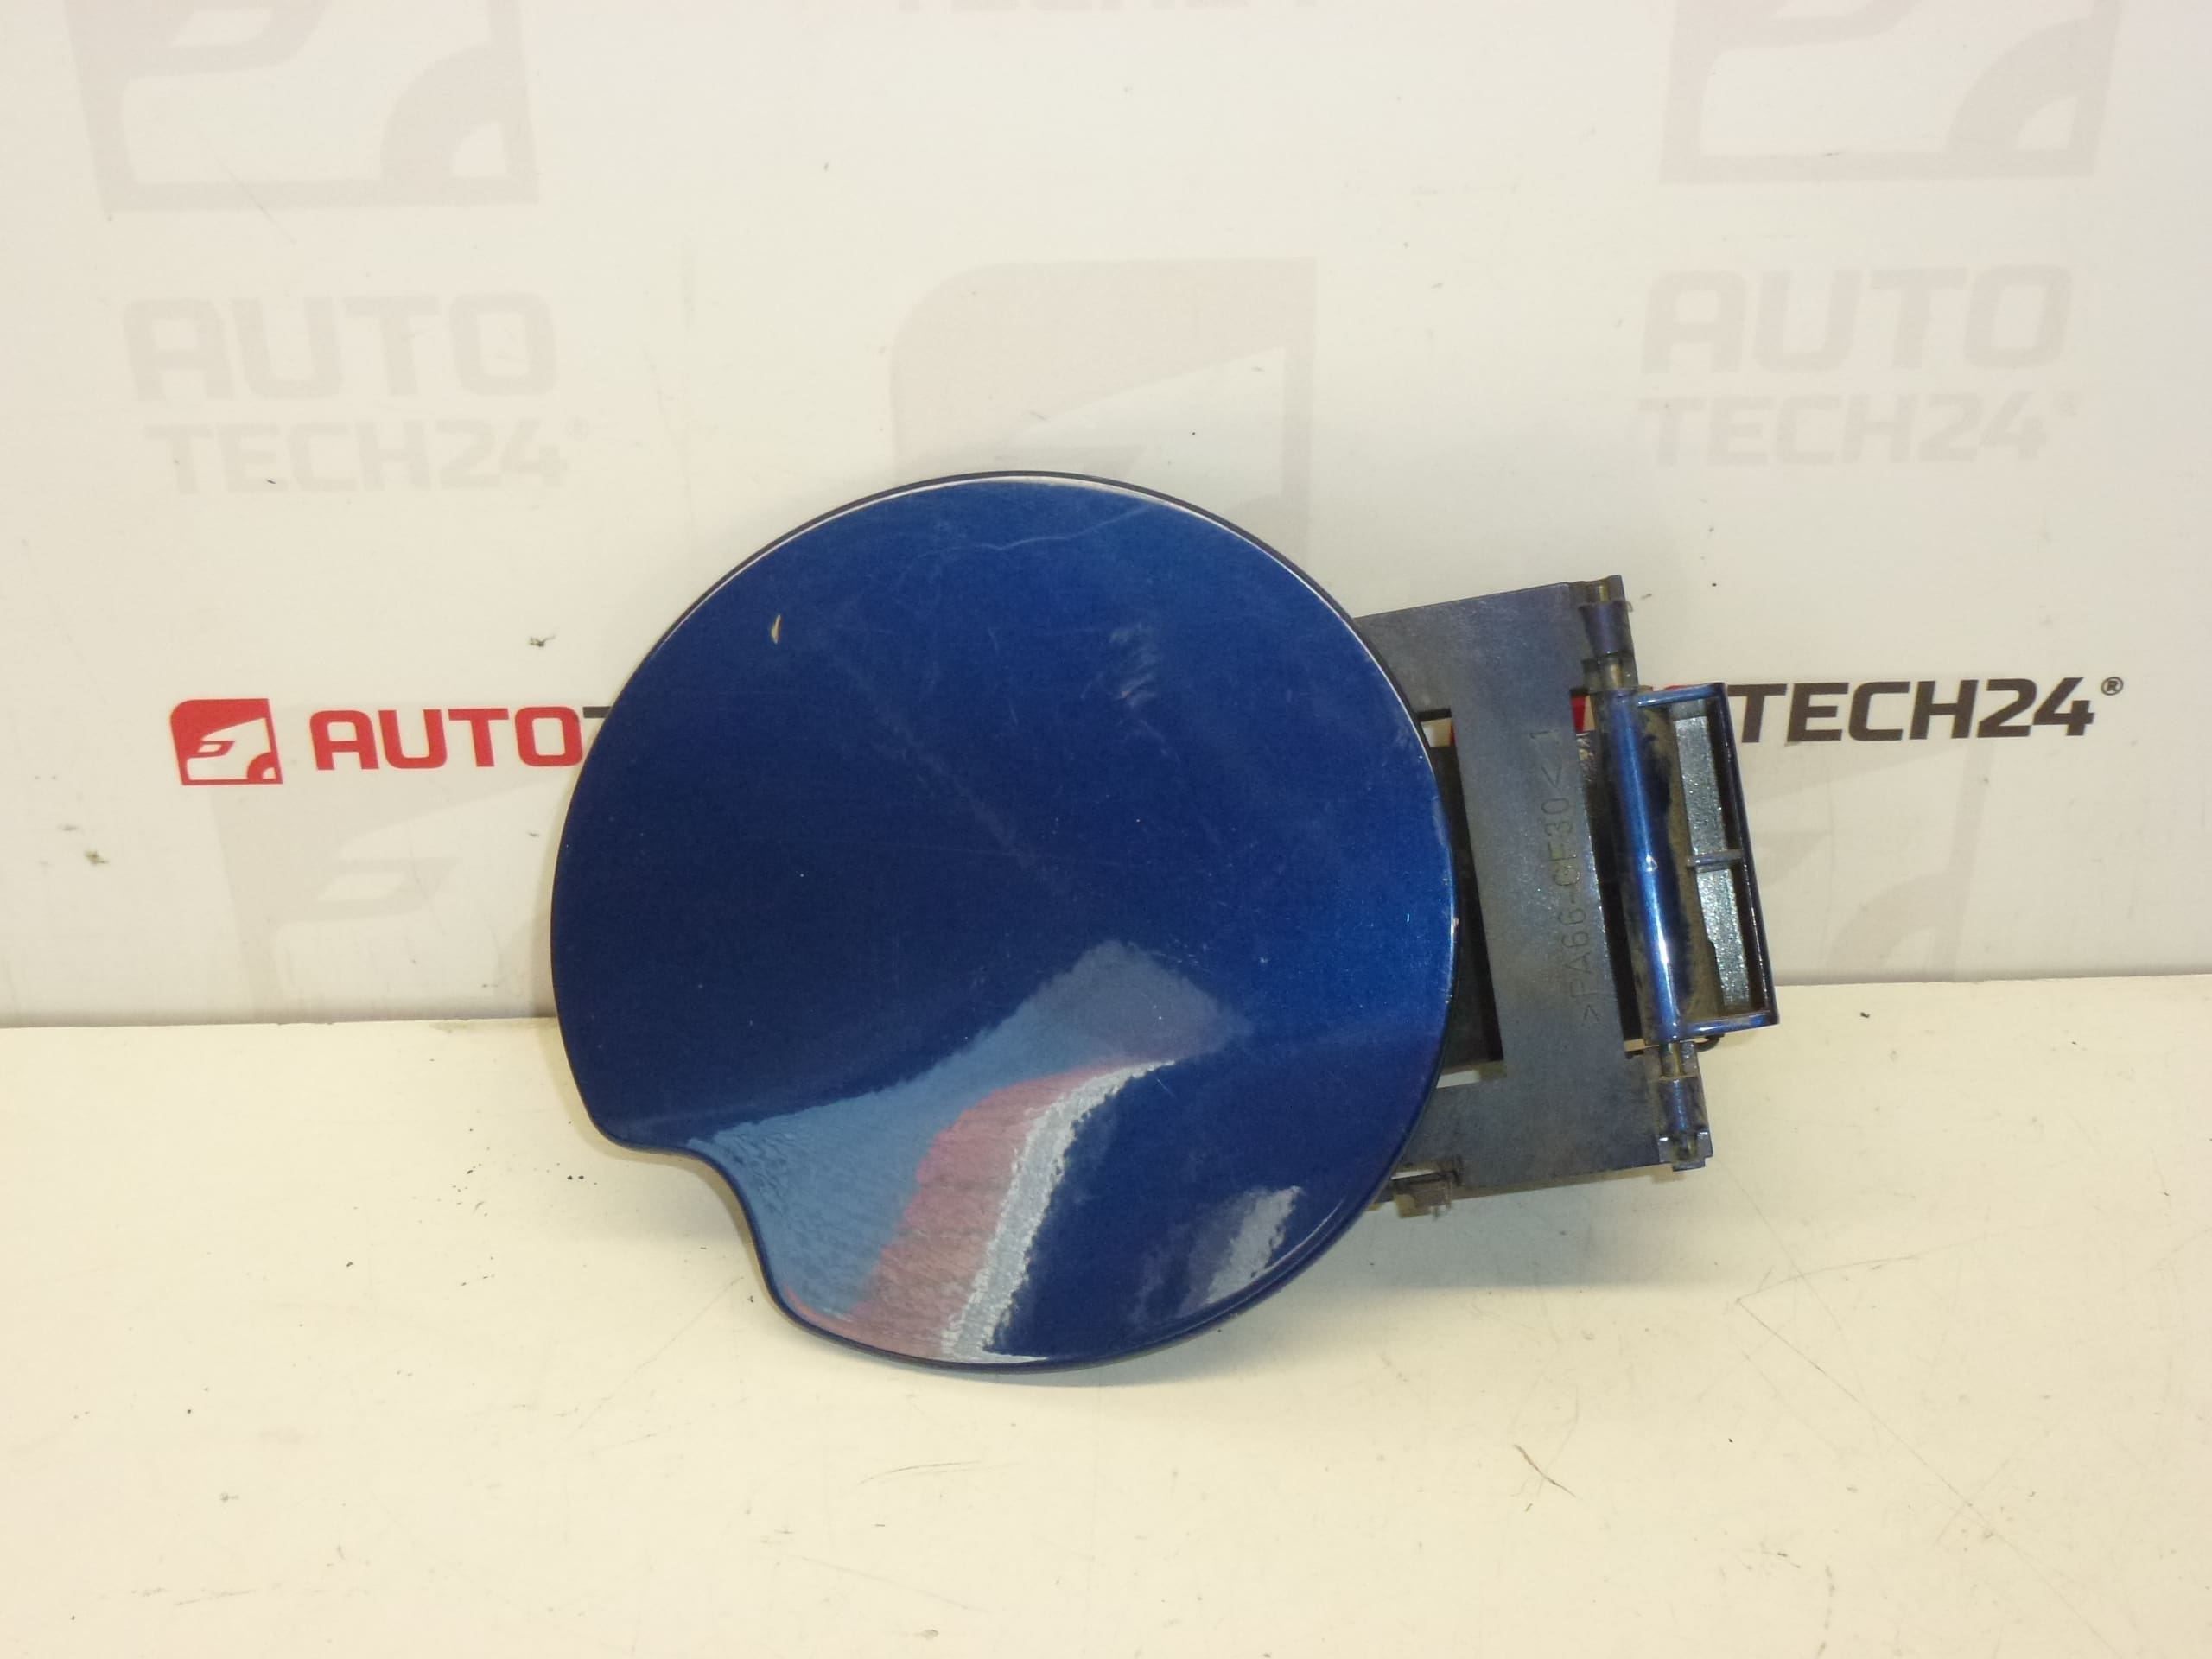
Cap tank cover for PEUGEOT 307 cars
Color EGE BLUE CHINE
We have different colors in stock
Part description
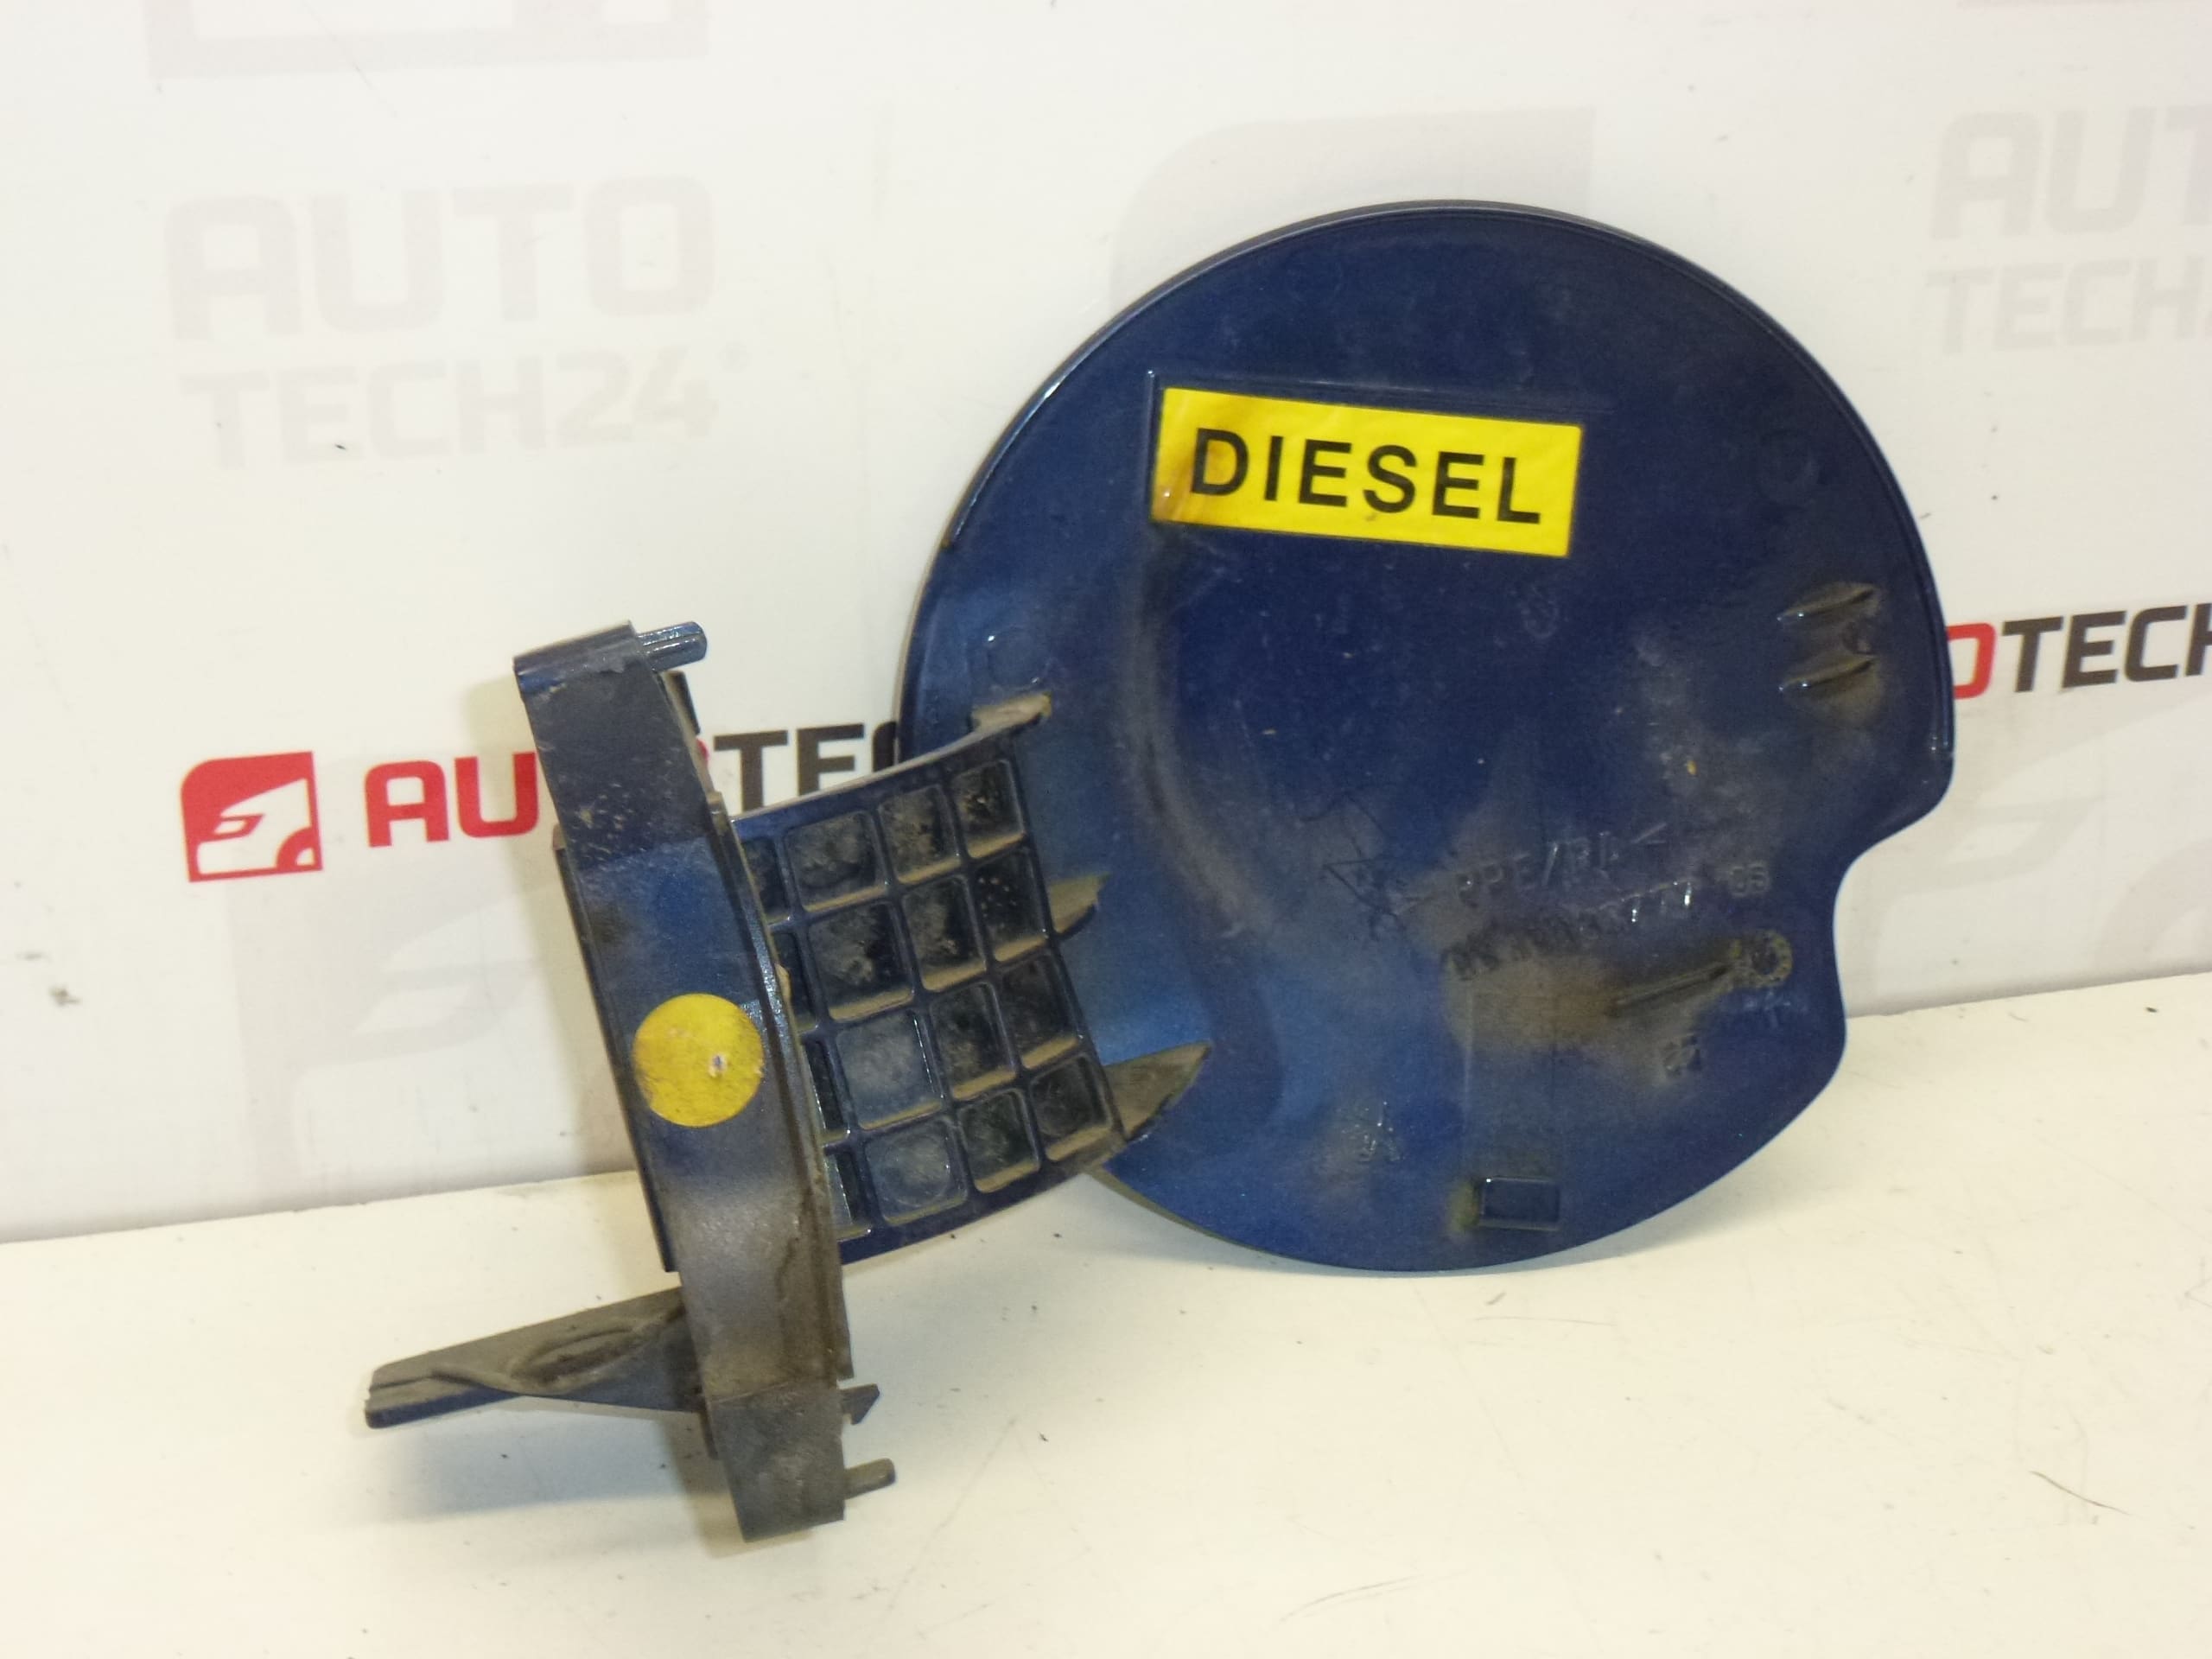
Used fuel tank cover for Peugeot 307 in EGE – blue Chine color. It serves to close the filler neck and at the same time completes the appearance of the bodywork. Search by part number makes it ideal if you need to replace a damaged or lost piece and want to be sure of the correct design as per the label.
Note about the color: this piece is in the shade EGE, at the same time other colors are available (in stock) depending on the materials.
Technical information
Product codes
- Product codes: 9643083777
Installation recommendations
Generally/typically for the tank cap/cover, the following applies: the exact method of attachment may vary depending on the car design and the specific design of the cover, so always follow the way the original part was installed.
1) Before assembly
- Compare with the old part: shape, attachment, seating surfaces and color code match (EGE) if you are looking for appearance.
- Check that the latches/grips are not damaged and that the lid fits properly.
- Clean the contact surfaces of dirt so that the cover fits flush after assembly.
2) Necessary tools and materials
- Clean cloth and gentle cleaner (to remove dirt from contact surfaces)
- Typically plastic pry bars (if needed to release caps/clips without damaging the paintwork)
3) Step-by-step assembly procedure
- Open the lid area and ensure good access to the attachment.
- If you remove the old cap, loosen it carefully so as not to damage the surrounding paintwork.
- Clean the surroundings and the landing surfaces (dust and dirt often cause a bad landing).
- Check the butt/mount on the body for cracks or wear.
- Place the new cap in the correct position and align it according to the shape and guide elements.
- Push gently to snap/lock (without force).
- Check that the cap fits evenly with the body and does not rub anywhere.
- Perform repeated opening/closing and check that the mechanism holds and does not move.
-
4) Post-assembly checks and function verification
- Check for fit and stability – the lid must hold firmly and should not have any play.
- Verify that the lid opens/closes smoothly and without stuttering.
5) The most common assembly mistakes + how to avoid them
- Force snapping → can break handles; always align the position first and only then push.
- Mounting over dirt → does not fit and rub against the bodywork; clean the contact surfaces before assembly.
- Unchecked counter parts (worn handle on the car) → the lid does not hold well; before assembly, check the condition of the attachment on the car.
Reasons why the part is damaged
- Mechanical damage during refueling (impact, careless handling).
- Fatigue of plastic handles and latches over time (repeated opening/closing).
- Frost damage – embrittlement of the plastic and subsequent cracking during handling.
- Abrasion and paint damage due to dirt between the lid and the body or poor fit after previous assembly.
- Loss of a part after failure to finish or damage to the attachment.