Description
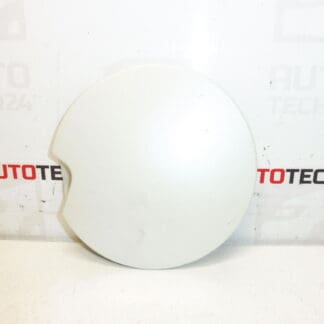
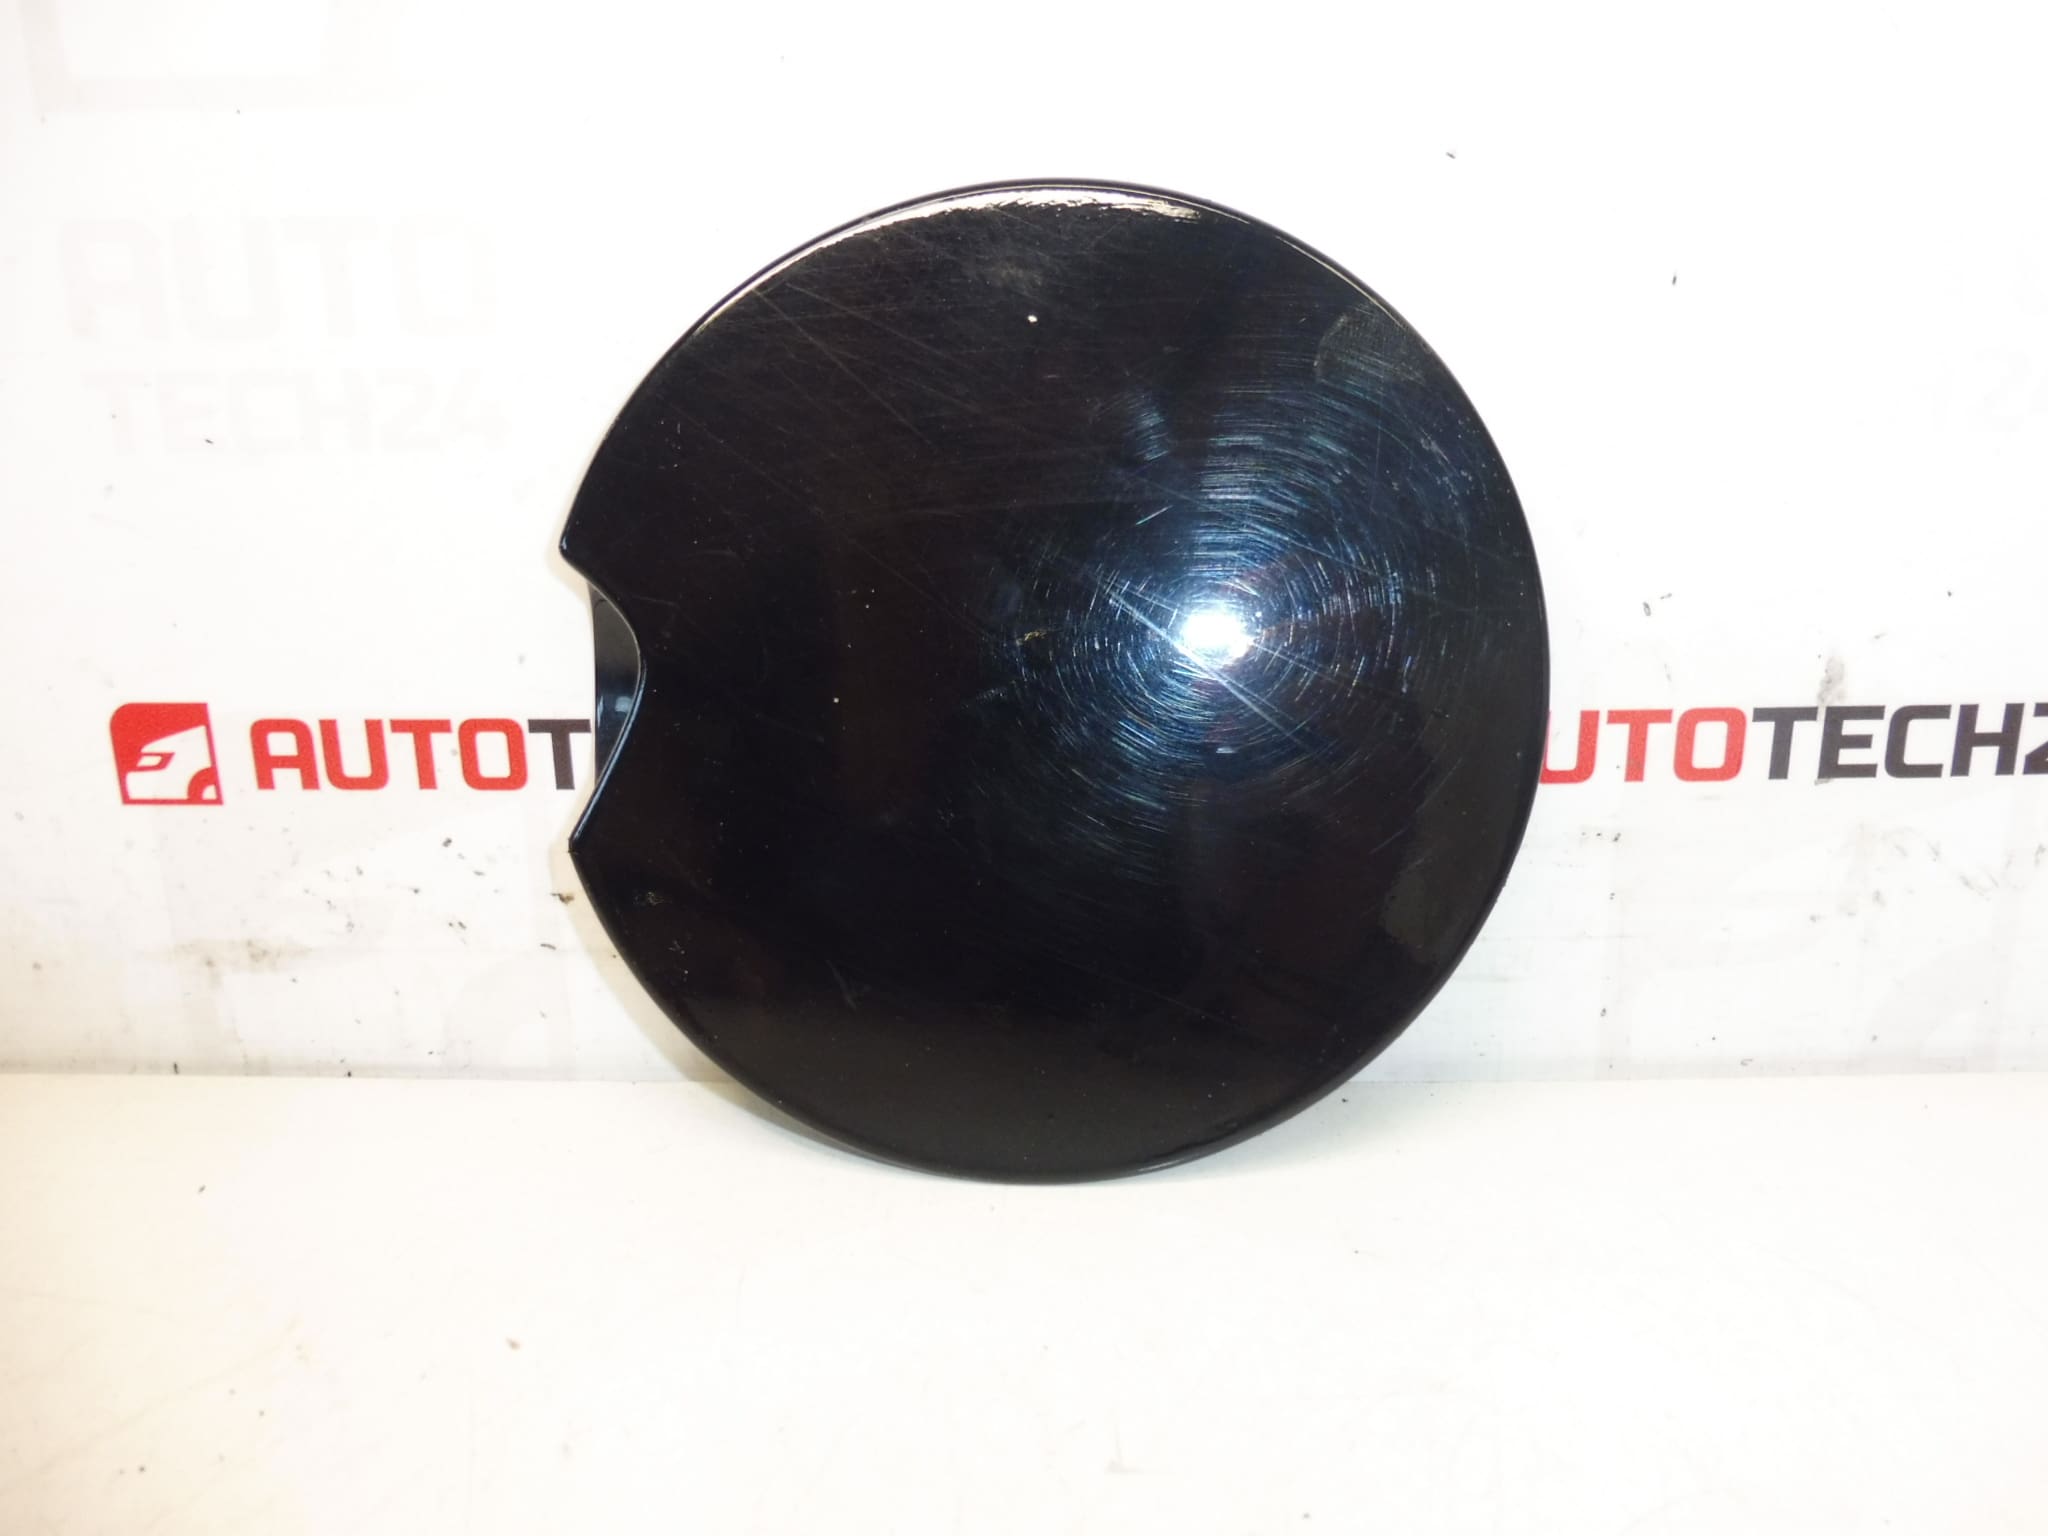
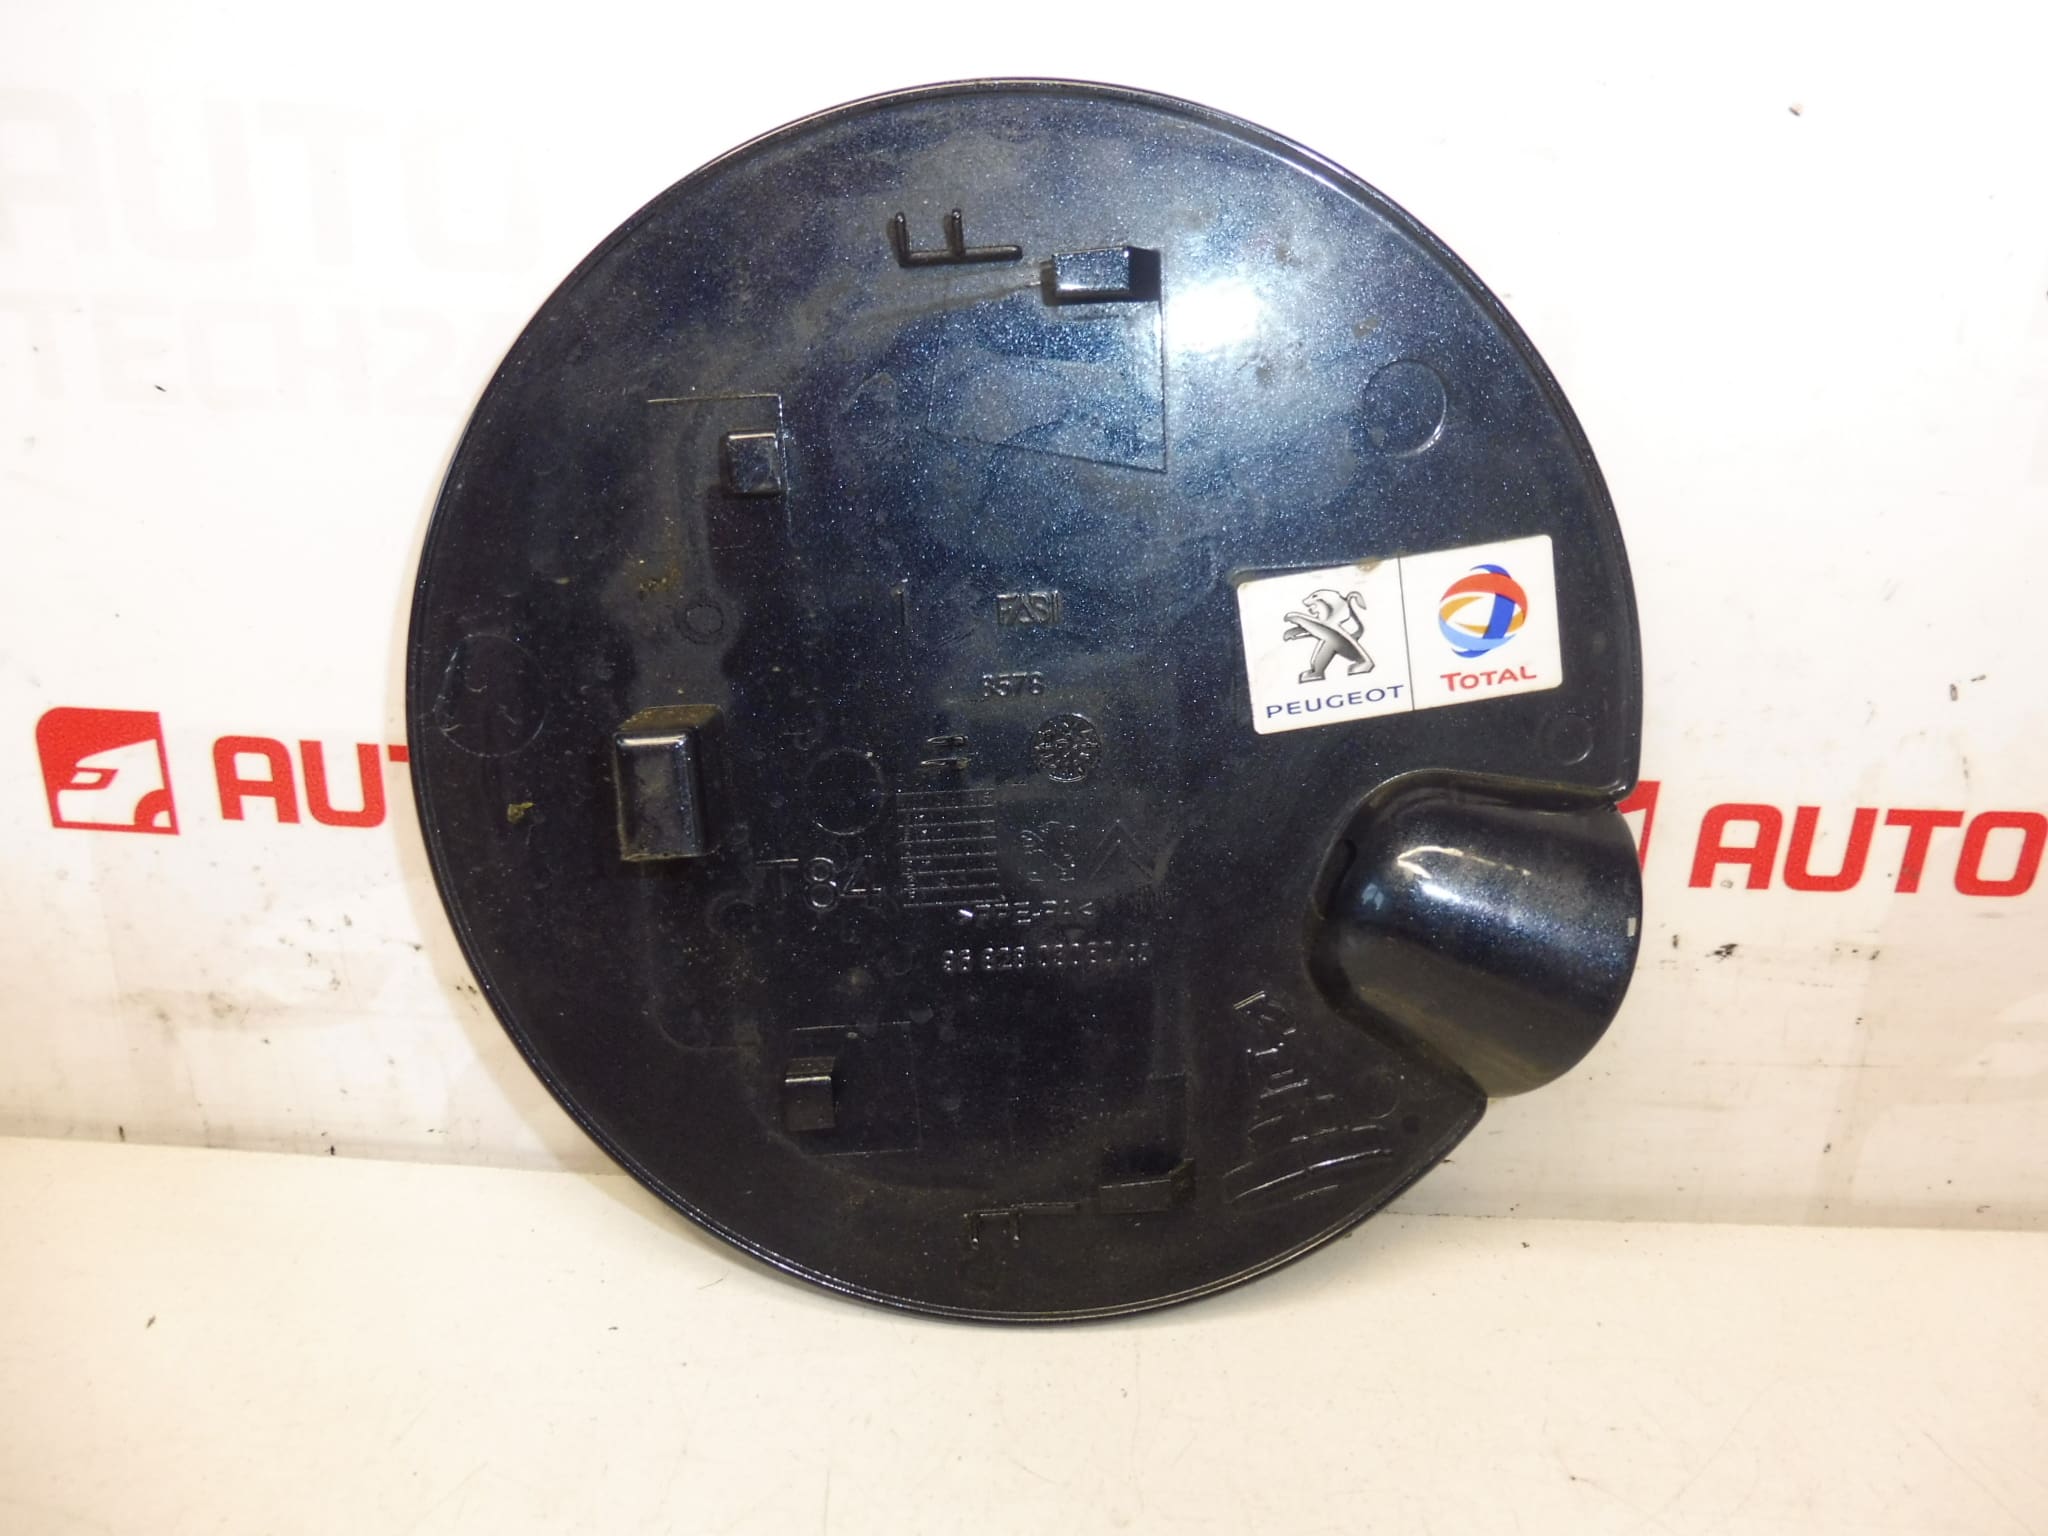
Fuel Filler Cap Cover For PEUGEOT 3008 First Generation
Color KGN – LAK BOURRASQUE
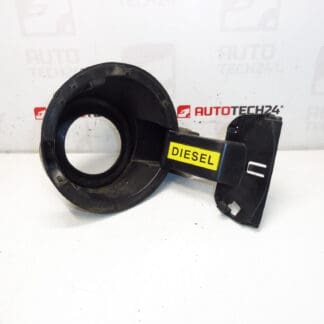
Filler Neck Housing In Stock Under Code 1518E2
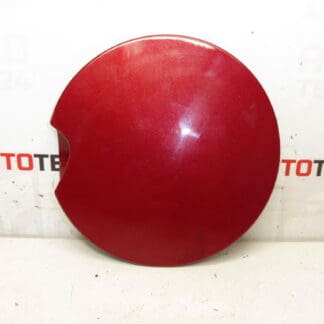
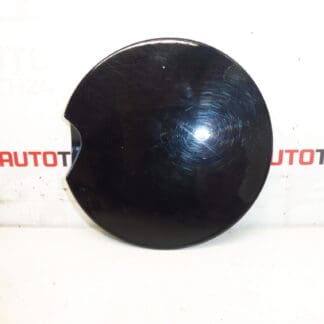
We Also Have Other Colors In Stock
Overview
This painted fuel filler cap cover is a direct-fit exterior part for the Peugeot 3008 first generation. It restores the original appearance of the fuel door area, protects the filler neck from dirt and moisture and maintains a factory-matched finish in color KGN (LAK BOURRASQUE). The cover is ideal for professional workshops and DIY mechanics looking for a correct-looking replacement by product code (useful when searching by part number).
Benefits
- Direct Fit For Peugeot 3008 I – Designed To Match Factory Mounting Points.
- Painted Finish KGN (LAK BOURRASQUE) – Ready To Install Without Additional Painting.
- Improves Vehicle Aesthetics And Protects Filler Neck From Contaminants.
- Availability In Multiple Colors – Useful For Color-Matched Repairs.
Technical Information
- Manufacturer: Stellantis / Peugeot
- Model: Peugeot 3008 I (First Generation, 2008–2016)
- Product Codes: 9682803080, 1517G9
- Other Numbers: 151800, 1518E2
Fitment / Compatible Vehicles
Primary fitment: Peugeot 3008 (First Generation). When searching, customers commonly use the OEM part numbers 9682803080 or 1517G9 to ensure correct match. The filler neck housing referenced under code 1518E2 is a related item and may be required in case of damage to the internal assembly.
Installation Recommendation
Replacement is straightforward for most technicians and experienced DIYers. Typical steps:
- Open The Fuel Door And Inspect Fasteners, Hinge And Retaining Clips.
- If Held By Clips: Carefully Release Retaining Clips Using A Trim Tool Or Flat Screwdriver To Avoid Damaging Surrounding Paint.
- If Screwed: Remove Fasteners And Retain Them For Reinstallation.
- Align The New Cover With The Hinge And Snap Or Screw It Into Place. Check Free Movement And Closing Action.
- Verify That The Filler Cap And Neck Seal Properly After Installation.
Recommended Tools: Trim Pry Tool, Flat Screwdriver, Torx Or Metric Sockets (If Applicable). Work Carefully Around Painted Surfaces To Prevent Scratches.
Most Common Failure Reasons
- Impact Damage From Minor Collisions Or Parking Scrapes Causing Cracks Or Broken Hinge Points.
- Broken Or Worn Plastic Clips And Hinge Pins Leading To Looseness Or Detached Cover.
- Corrosion Or Dirt Build-Up Around The Filler Neck Causing Poor Fit Or Stiff Operation.
- Paint Damage Or Fading From Weather And UV Exposure, Prompting Replacement For Aesthetic Reasons.
Practical Tips
- Inspect The Hinge And Retaining Spring When Replacing The Cover; Replace Any Worn Clips To Avoid Repeat Failures.
- Clean The Filler Neck Area Before Fitting The New Cover To Ensure Proper Seating And To Prevent Abrasion.
- If Color Matching Is Critical, Confirm The Paint Code KGN (LAK BOURRASQUE) Against The Vehicle’s Records.
Packaging And Stock
Part Supplied Painted In KGN – Other Colors Available From Stock. Check The Listed Product Codes When Ordering To Ensure Correct Color And Variant.