Description
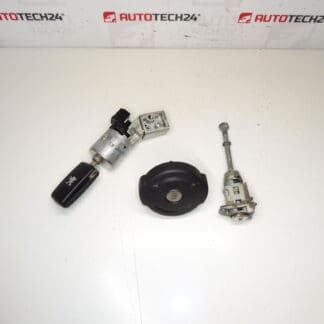
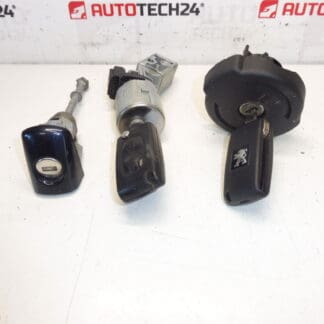
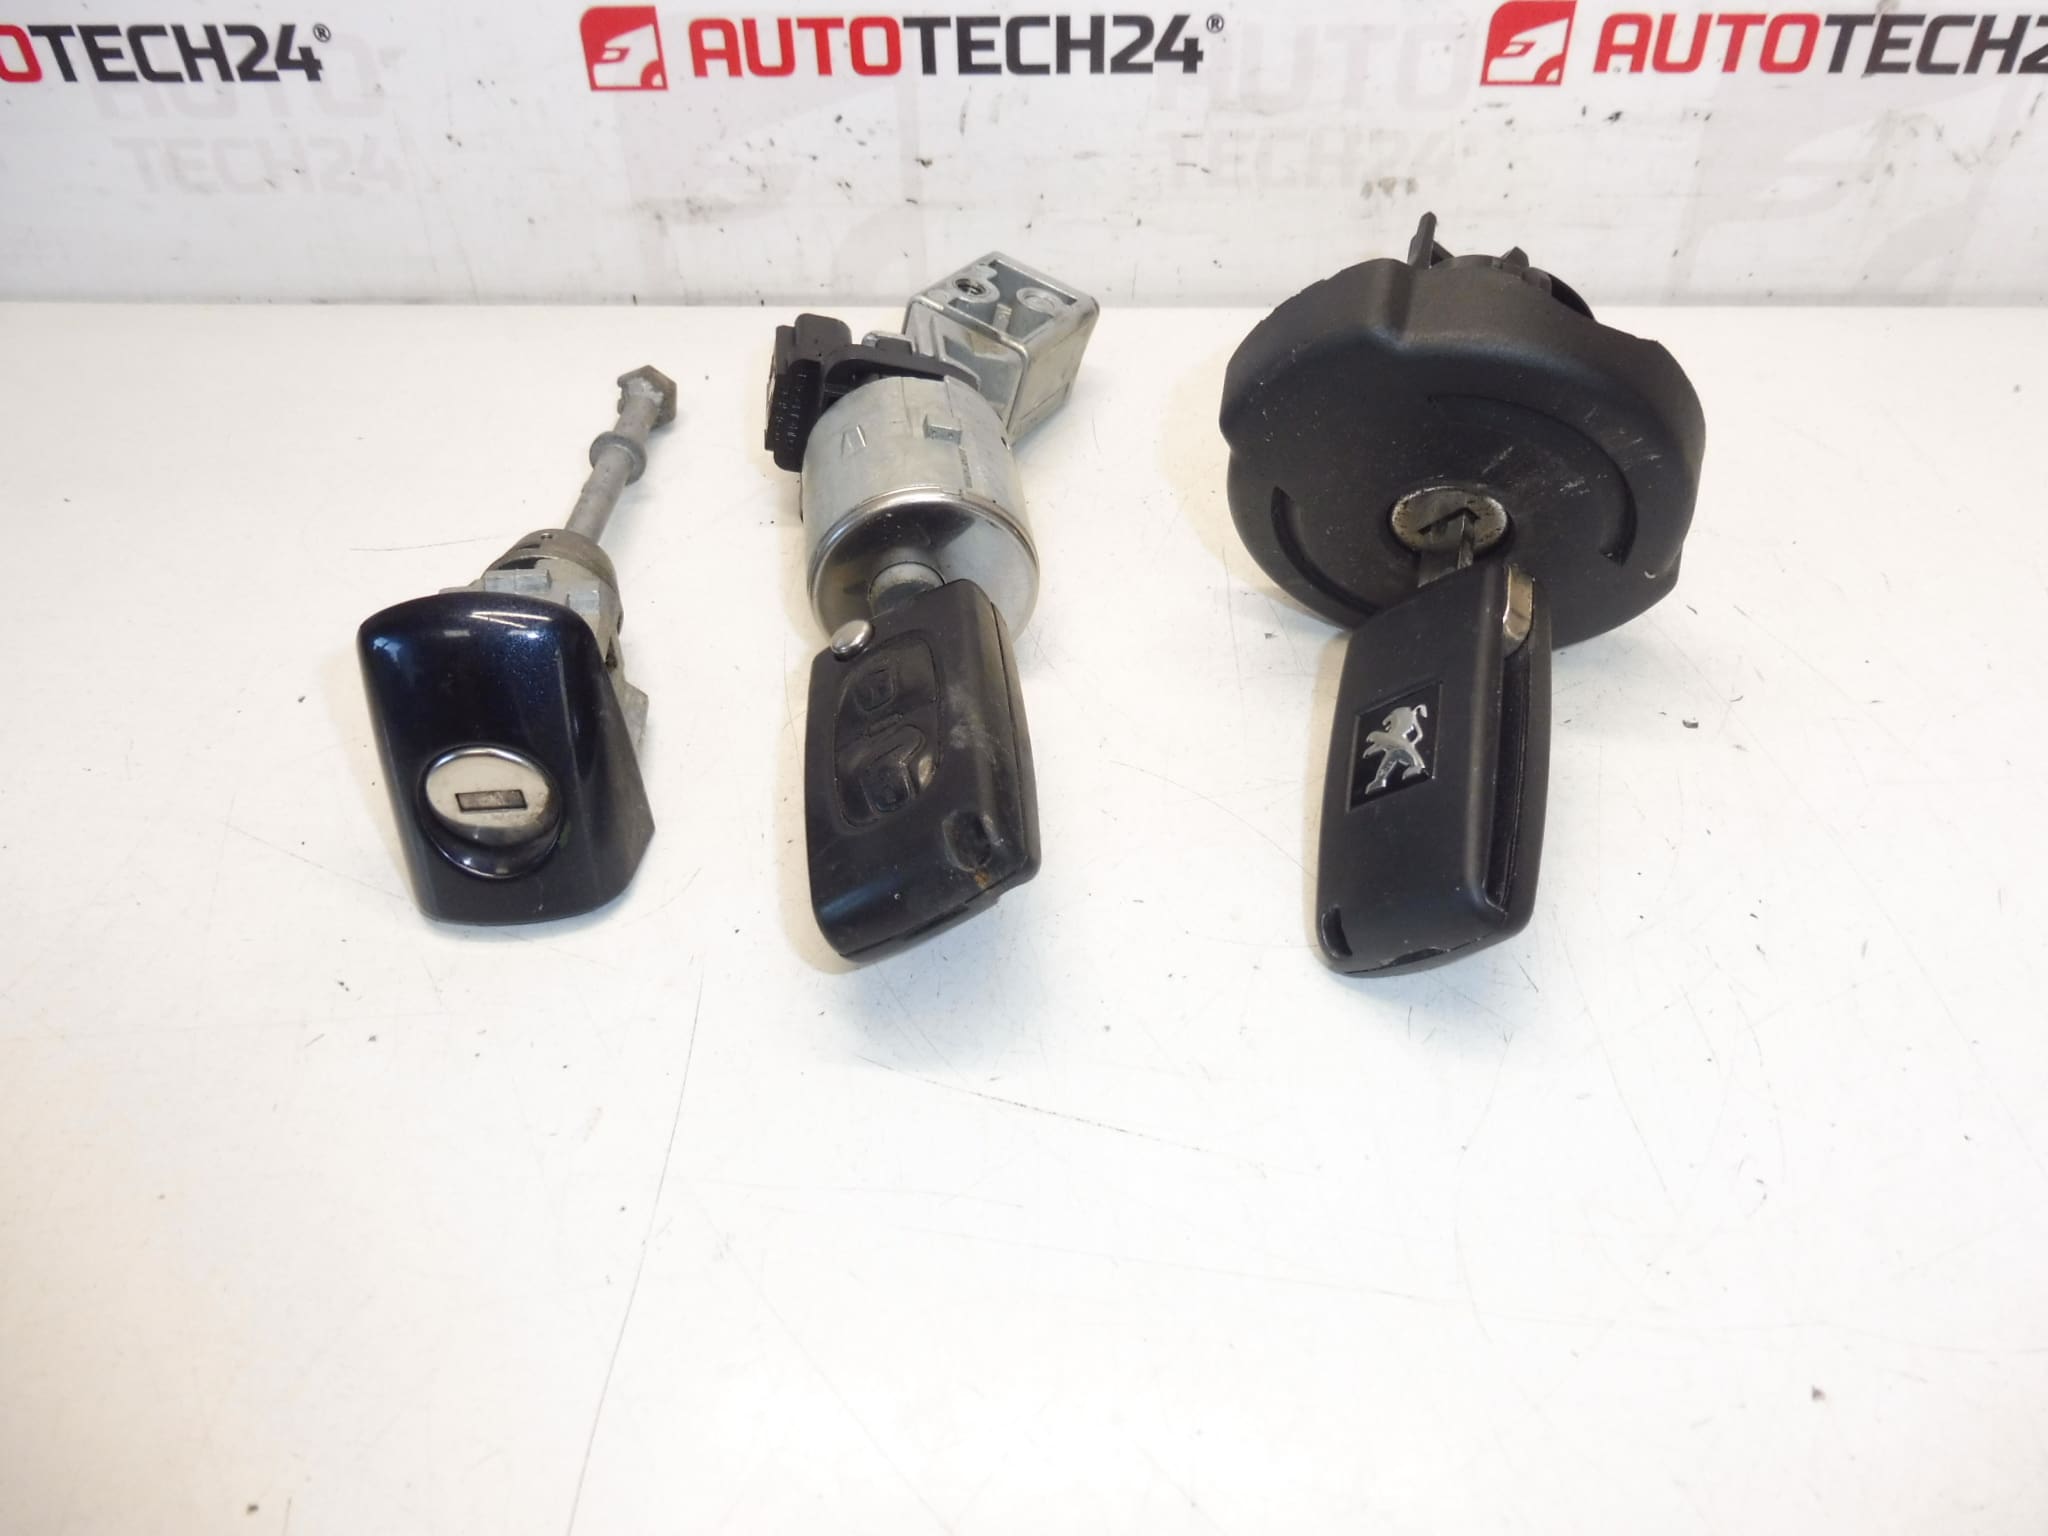
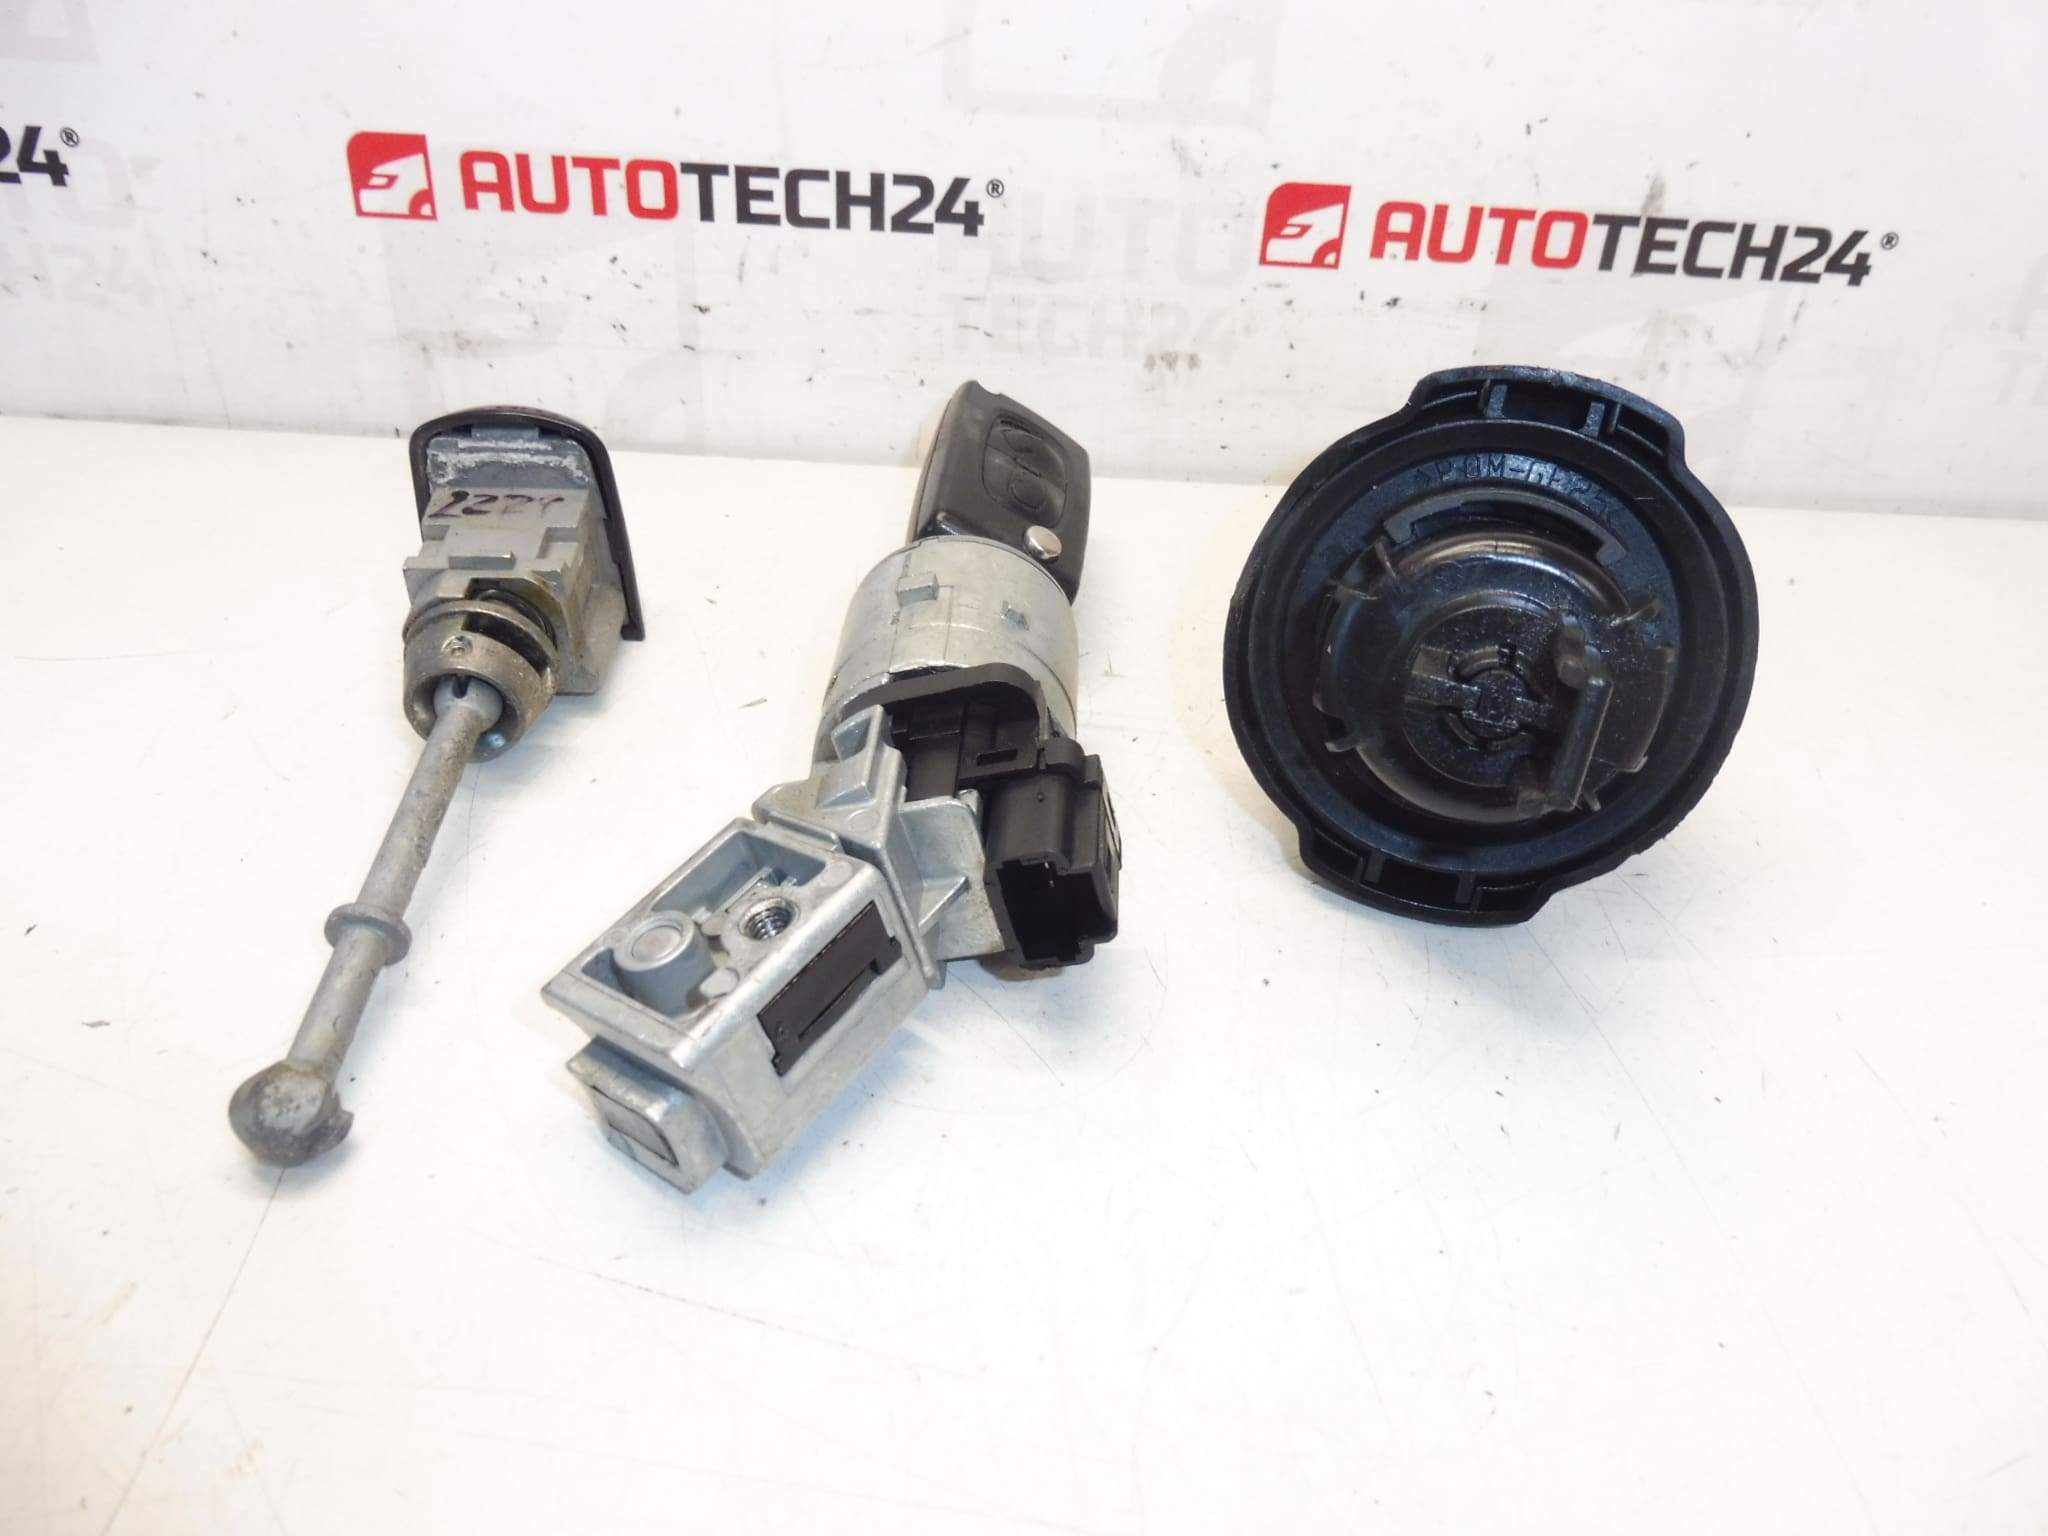
Set of locks, ignition barrel, driver’s door lock, fuel flap cap
For PEUGEOT 3008 T84 and 5008 T87 vehicles
Overview
Complete Lock Set Designed For Peugeot 3008 I (T84) And 5008 I (T87). This kit Includes The Ignition Barrel, Driver Door Lock, Fuel Flap Cap And Two Keys, Providing A Practical Solution For Mechanics And DIY Enthusiasts Who Need A Direct Replacement With Known Product Codes (4162SX / 4162KF / 4162XT). Ideal For Replacing Worn Or Damaged Locks And Restoring Secure And Reliable Operation Of The Vehicle’s Entry And Ignition System.
Key Benefits
- Direct Fit For Early-Generation Peugeot 3008 And 5008 Models (T84 / T87)
- Complete Set Including Two Keys — Saves Time Compared To Sourcing Individual Components
- Restores Mechanical Security For Doors, Ignition And Fuel Flap
- Commonly Searched By Part Numbers 4162SX, 4162KF, 4162XT — Good For SEO And Fast Identification
Function And Typical Faults
The Set Replaces The Mechanical Locking Components Responsible For:
- Allowing The Vehicle To Be Locked/Unlocked Via The Driver Door
- Enabling Ignition Turn-Over With The Key (Ignition Barrel)
- Securing The Fuel Filler Flap
Common Failure Modes:
- Mechanical Wear Of Tumblers And Barrel Leading To Difficulty Turning The Key Or Intermittent Operation
- Broken Or Worn Keys Causing Jamming In The Cylinder
- Corrosion And Dirt In Door Locks Or Fuel Flap Lock, Especially In Older Vehicles Or Cars Exposed To Road Salt
- Freezing Or Water Ingress Causing Sticking In Cold Climates
- Damage From Forced Entry Or Impact
Replacement Frequency
There Is No Fixed Interval; Lifespan Depends On Usage And Environment. Typical Causes Requiring Replacement Include Heavy Key Use, Water Or Corrosion Damage, Or Physical Breakage. In Daily-Used Cars A Mechanically Worn Barrel Or Lock May Appear After Several Years Or Tens Of Thousands Of Cycles.
How To Replace (Overview For Mechanics / Skilled DIY)
Replacing The Components Requires Basic Trim Removal And Standard Mechanical Tools. Steps Commonly Include:
- Disconnect The Battery Before Starting Work To Avoid Electrical Damage And For Safety.
- Ignition Barrel: Remove Steering Column Trims, Release The Fixing Screw/Clip, Withdraw The Old Barrel (Follow Manufacturer Clips/Retainers) And Fit The New Barrel. If Reusing The Original Key, The New Barrel Should Operate Mechanically; If Fitting New Keys, Transponder Programming May Be Required (See Notes).
- Driver Door Lock: Remove Inner Door Card, Disconnect Linkages And Electrical Connectors (If Applicable), Unscrew The Lock Mechanism And Replace With The New Unit. Check Central Locking Actuator Operation After Assembly.
- Fuel Flap Cap: Remove Access Panels If Required, Replace Locking Cylinder Or Flap Cap And Verify Smooth Operation.
- After Installation: Reassemble Trims, Reconnect Battery, Test All Locks, Check That Door Latches And Central Locking Work Correctly, And Verify That The Ignition Turns Smoothly And The Engine Starts With The Key.
Mounting Recommendations
- Always Disconnect The Battery Before Starting Work On The Ignition Or Locks.
- Use Appropriate Trim Tools To Avoid Damage To Interior Panels.
- Lubricate New Cylinders With Suitable Lock Lubricant Or Dry Graphite; Avoid Using Motor Oil Or Grease That Attracts Dirt.
- If The Kit Is Supplied With Blank Keys, Have Keys Cut To The Existing Code Or Use The Original Key If Replacing Only The Cylinders.
- If Installing New Keys With Transponders, Programming May Be Required Using PSA-Compatible Diagnostic Equipment Or An Authorized Locksmith. When In Doubt, Entrust Programming To A Professional With Experience On Peugeot/ Citroën Systems.
Technical Information
- Manufacturer: Stellantis (Peugeot / Citroën)
- Model: Peugeot 3008 I (T84), Peugeot 5008 I (T87)
- Product Codes: 4162SX, 4162KF, 4162XT
- Additional Numbers: 4162KF | 4162SX | 4162XT
Why Replacing As A Set Is Recommended
Replacing Related Locks Together Ensures Key Compatibility And Minimizes Future Visits—Worn Components In One Part (For Example The Ignition Barrel) Often Coincide With Wear In Door Cylinders. A Set With Two Keys Provides Immediate Usability For The Owner Or Technician.
Final Notes For Professionals
- Check Mechanical Fitment And Function After Installation; Minor Adjustments To Linkages Or Latches May Be Necessary.
- When New Electronic Keys Or Immobilizer Work Is Involved, Use PSA Diagnostic Tools Or A Qualified Workshop For Key Programming To Ensure Reliable Start-Up.
Reason Most Frequently Caused Failure
Most Failures Are Caused By Mechanical Wear Of The Cylinder/Tumblers And By Corrosion Or Dirt Ingress. Keys Worn By Long-Term Use Or Broken Keys Inside The Cylinder Are Also Very Common Causes.
Installation Advice And Cautions
Wear Protective Gloves And Eye Protection When Working Behind Doors Or Under The Dash. Avoid Excessive Force When Removing Or Installing Cylinders To Prevent Damage To Retaining Clips Or Steering Column Components. After Completing Work, Confirm That All Locks Operate Smoothly And That The Vehicle Starts Without Interruption.