
Description
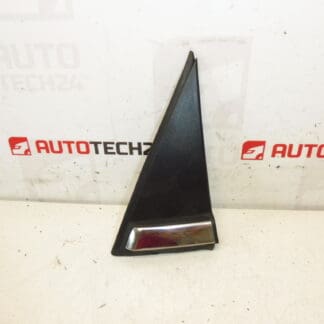
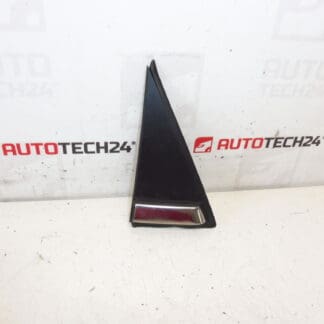
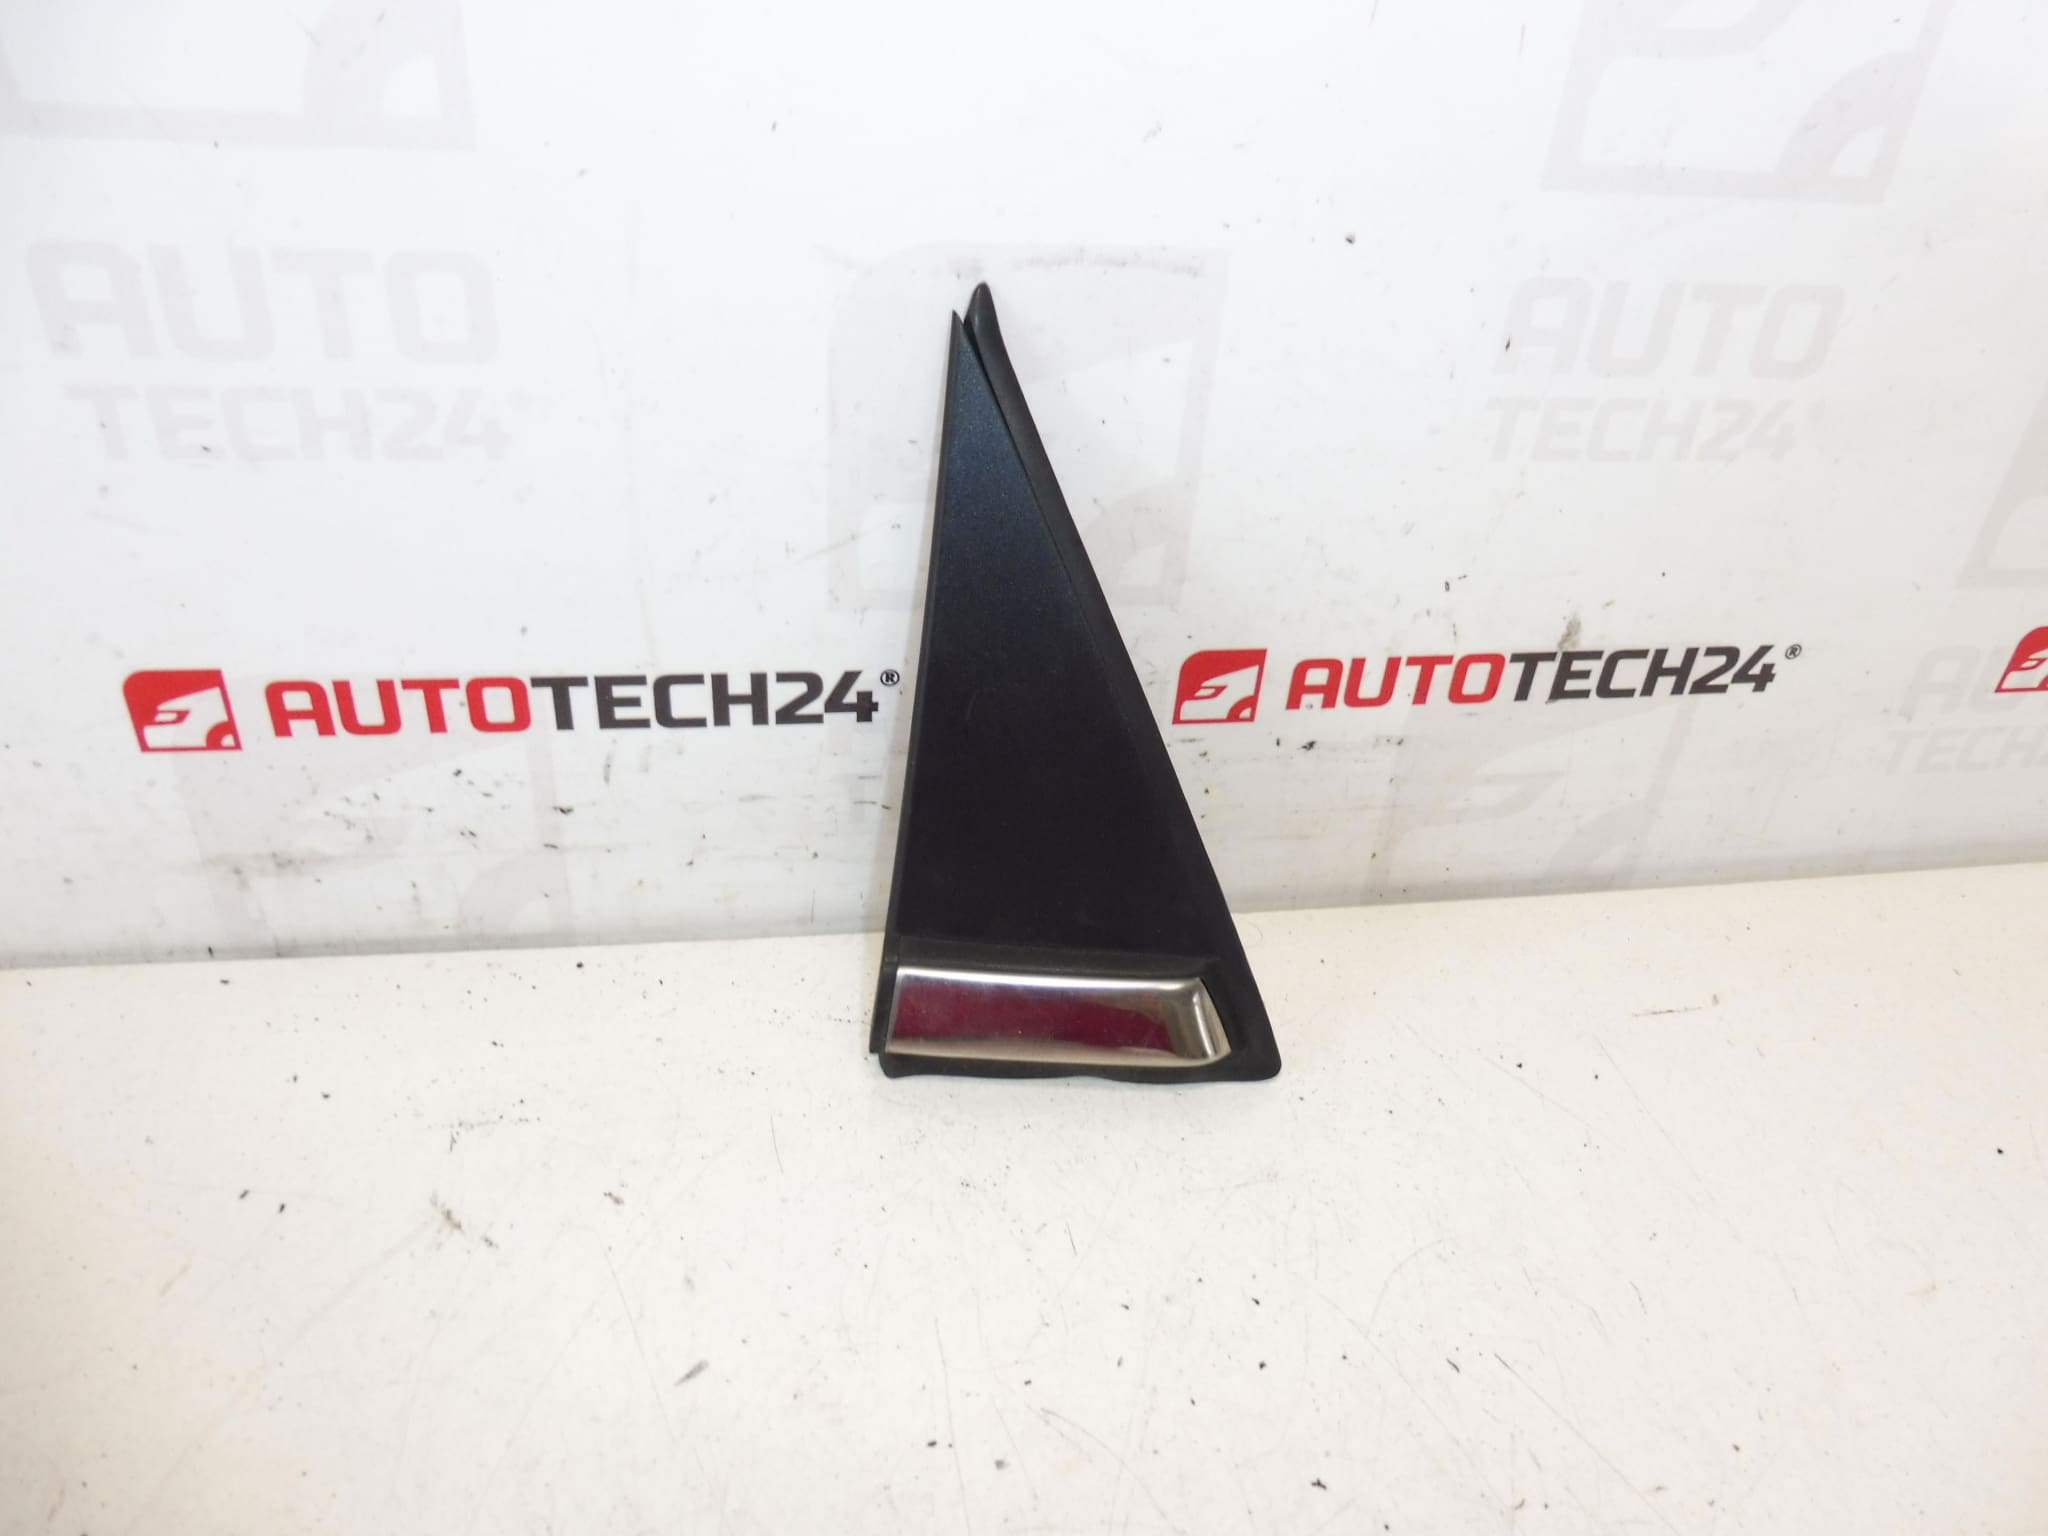
Protective trim with chrome above the right fender. Color HVD – Grey Chine upholstery. Passenger Side.
This genuine-style protective trim (part number 9025V9) is designed for the passenger-side exterior area on Citroën C3 II (A51) vehicles. The piece combines a protective function with a chrome-accented finish to restore the original appearance and protect the bodywork around the right mirror/fender area. Ideal for professional workshops and experienced DIY enthusiasts, this replacement helps maintain the vehicle’s factory look and prevents further damage to the underlying panels.
Technical Information
- Manufacturer: Citroën (Stellantis)
- Model: Citroën C3 II (A51)
- Product Codes: 9025V9
- Additional Numbers: Passenger Side / Right
Function And Fitment
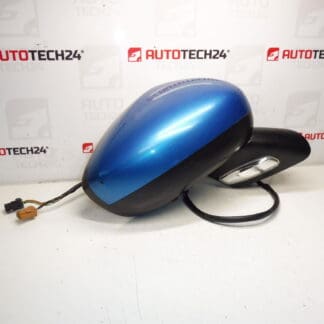
The Trim Protects The Outer Edge Above The Right Fender/Mirror Area From Stone Chips, Scratches And Weathering While Providing A Chrome Detail That Matches Factory Trim. It Sits Over The Outer Body Flange And Secures With Clips Or Tabs To The Door/Mirror Housing. Correct Fitment Restores Aerodynamics And Visual Continuity Between Mirror And Bodywork.
How To Replace
- Prepare The Vehicle: Park On A Level Surface And Protect The Paint With Soft Towels Or Masking Tape Around The Work Area.
- Access The Mounting Points: Depending On Design, Remove The Mirror Glass Or Open The Mirror Housing To Reach Retaining Clips—Use A Plastic Trim Tool To Avoid Damage.
- Remove The Old Trim: Gently Pry Off The Old Trim By Releasing Clips Or Screws. Keep Broken Clips For Replacement If Necessary.
- Fit The New Trim: Align Tabs And Clips, Press Evenly Until The Trim Clicks Into Place. Ensure All Clips Engage And The Chrome Edge Sits Flush With The Body.
- Final Check: Verify Mirror Operation And That No Seal Or Cable Is Pinched. Clean The Area To Remove Fingerprints Or Residue.
Installation Recommendations
Use Dedicated Plastic Trim Tools To Avoid Scratching Paint Or Breaking Clips. Inspect All Retaining Clips And Replace Any Damaged Fasteners To Ensure Long-Term Retention. If The Mirror Glass Must Be Removed, Handle It Carefully And Keep It Supported To Prevent Dropping. For Best Results, Fit The Trim At Moderate Temperatures To Improve Flexibility Of Plastic Clips.
Most Common Failure Causes
- Impact Damage From Road Debris Or Minor Collisions Causing Cracks Or Broken Clips.
- Plastic Fatigue And Clip Breakage Due To Age, Repeated Removal, Or Temperature Cycling.
- Surface Wear And Fading From UV Exposure, Leading To Discoloration Of The Painted/Coated Finish.
- Improper Previous Repairs Or Incorrect Reinstallation Causing Poor Fitment And Rattles.
This part Is Frequently Searched By Its Product Code 9025V9—Include The Code When Searching For Fast, Accurate Replacement Options. Suitable For Professionals And Confident DIYers Who Want A Reliable Visual And Protective Repair For The Passenger-Side Mirror/Fender Area.