Description
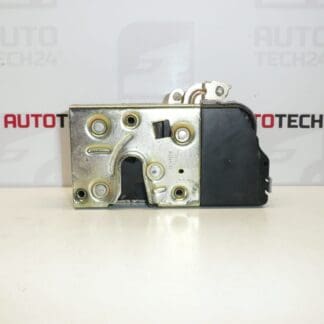
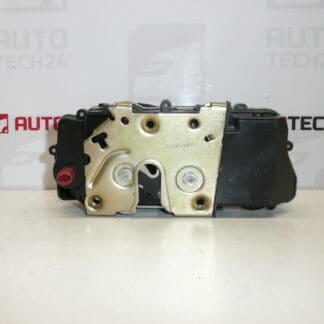
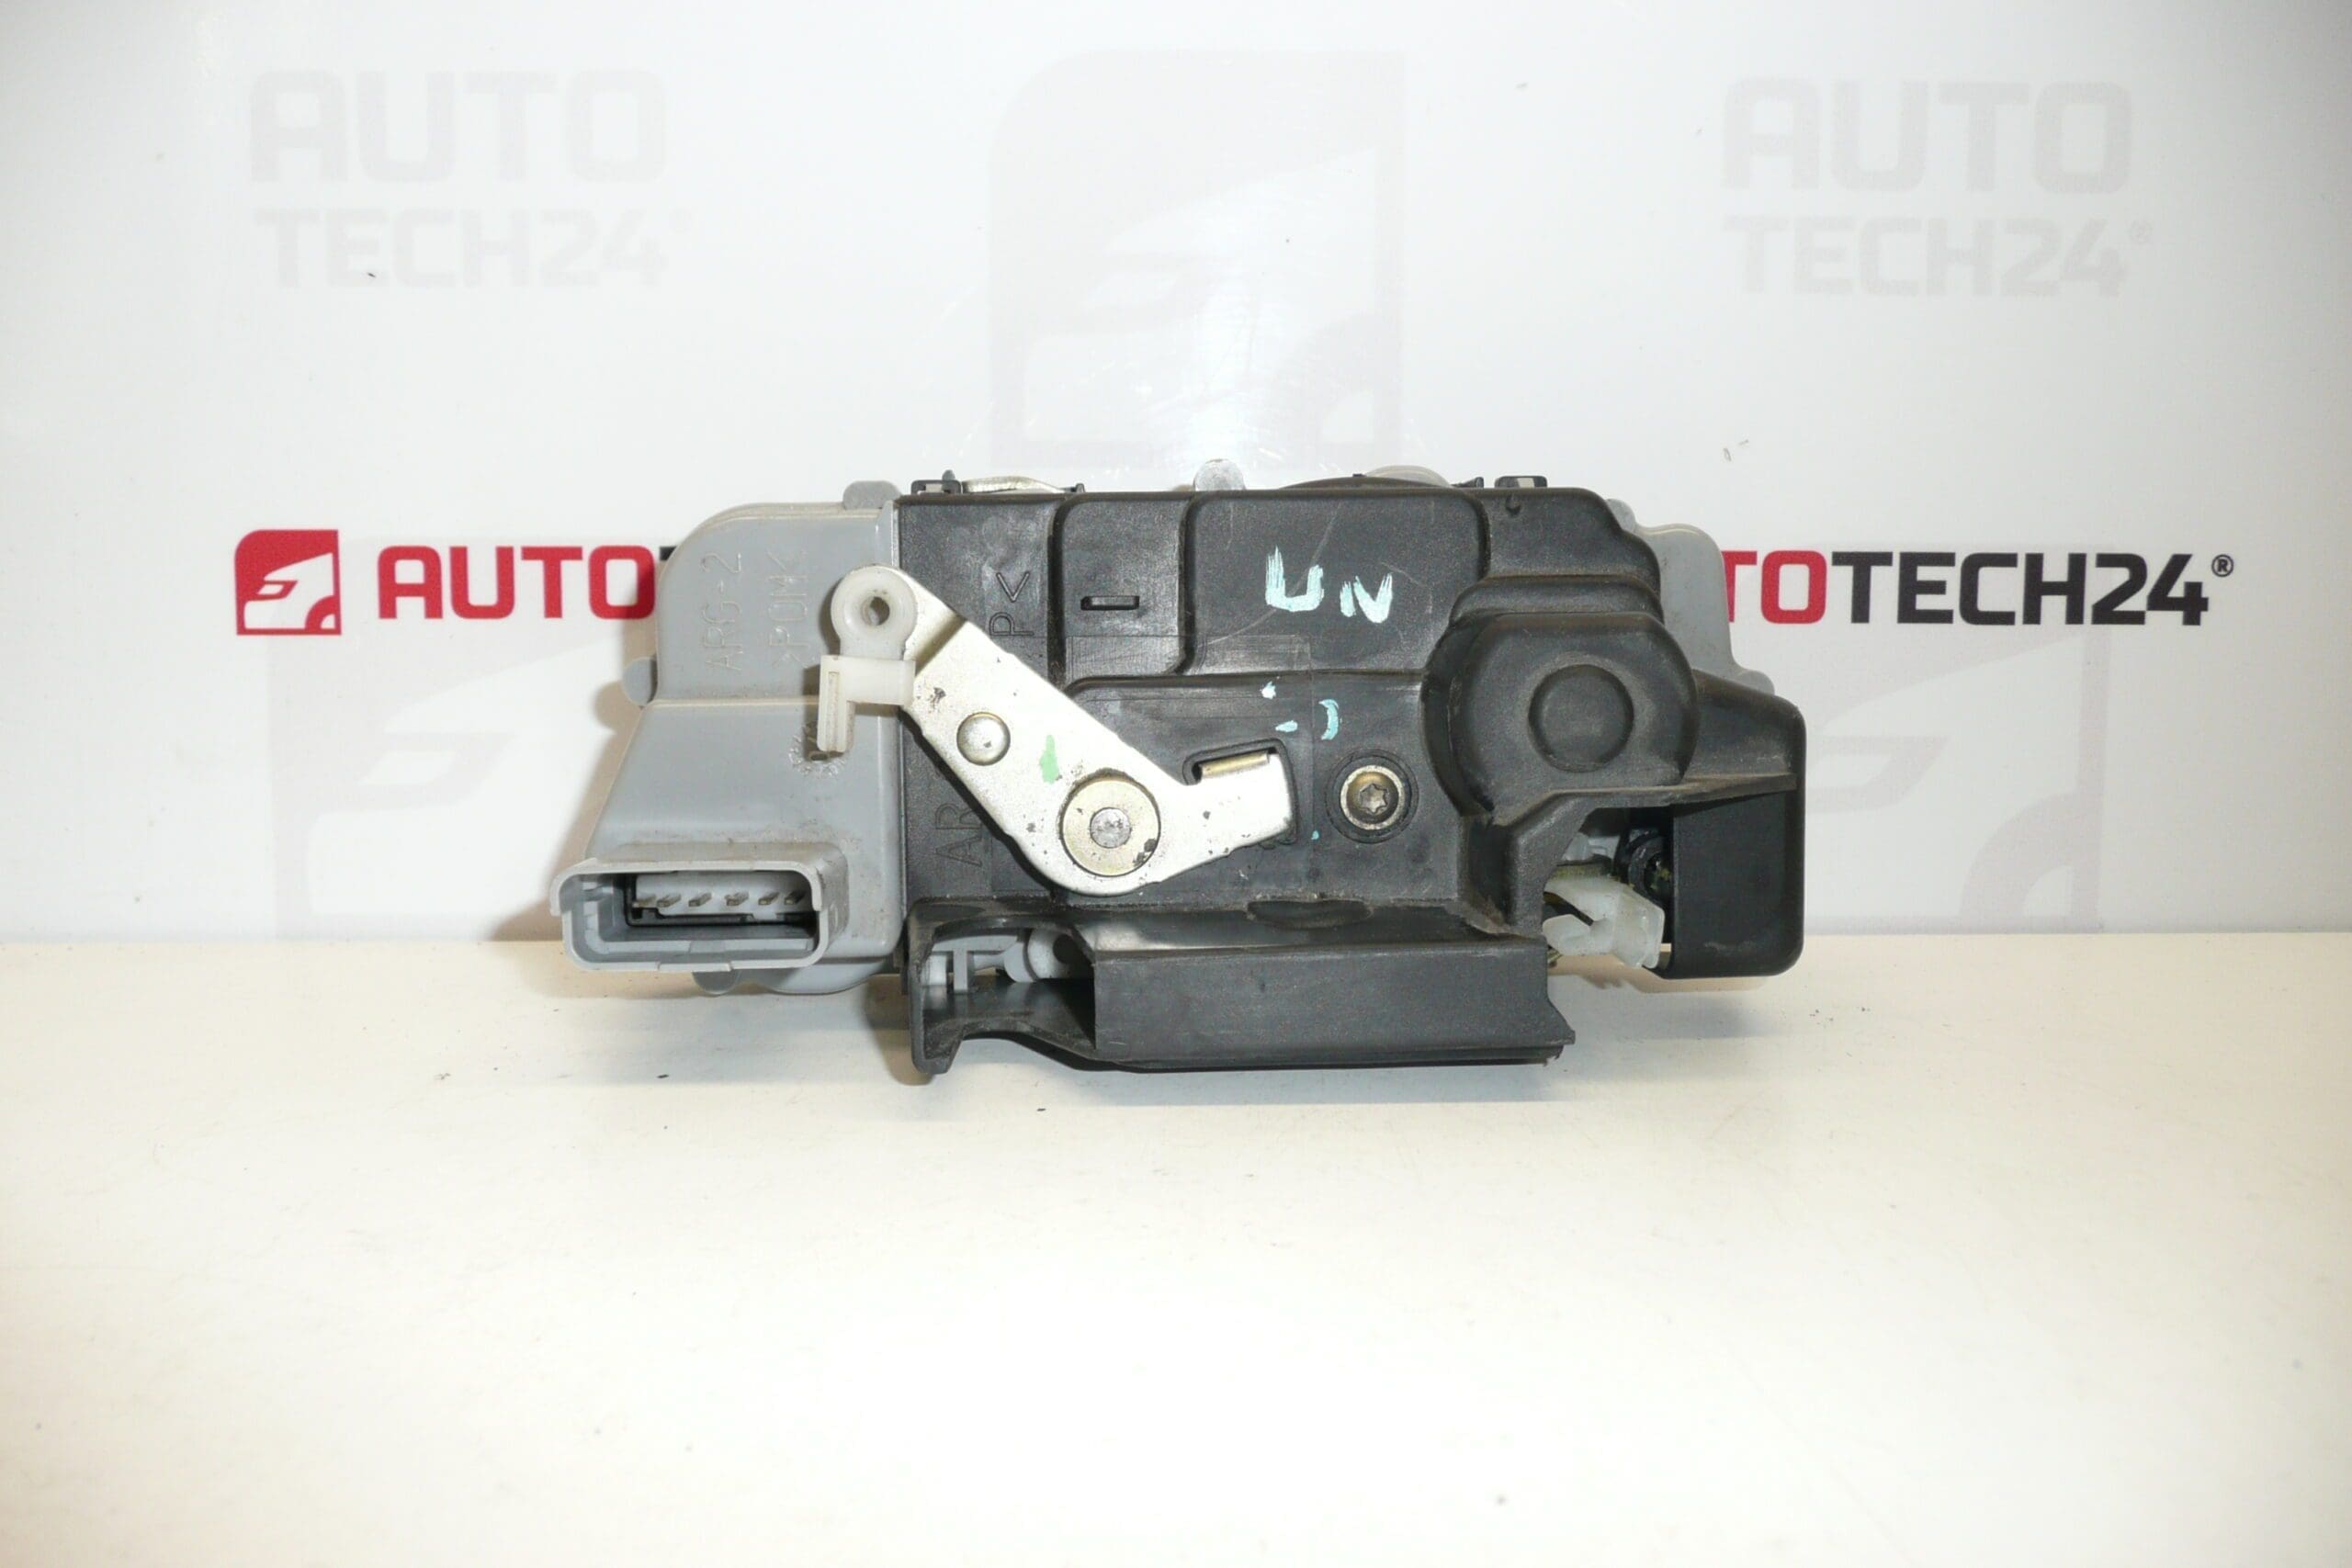
Electric central locking latch for the left rear door for CITROËN C5 I and II. Used part with functional warranty.
Product Description
This replacement electric door lock / central locking latch is intended for the left rear door of Citroën C5 first and second generation models. The unit restores reliable locking, unlocking and mechanical securing of the door and is a direct-fit replacement for worn or failed original latches. Frequently searched by part number 913784, this component is suitable for professional workshops and experienced DIY mechanics who service Citroën vehicles.
Technical Information
- Manufacturer: Citroën (Stellantis)
- Model: Citroën C5 I and Citroën C5 II
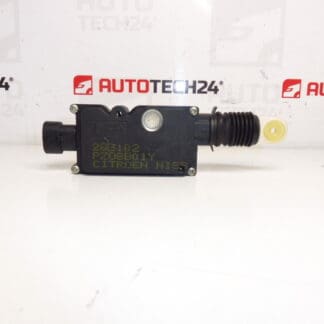
- Product Codes: 913784
- Additional Numbers: NFP
Function And Benefits
The latch integrates the mechanical locking mechanism with the central locking actuator to lock and unlock the left rear door. Proper operation ensures door security, correct door alignment and reliable activation from the central locking system and remote key. Replacing a defective latch eliminates intermittent locking, door ajar warnings and prevents possible entry of water that can cause further damage.
Common Failure Causes
Door latches are subject to mechanical wear and environmental exposure. Typical reasons for failure include:
- Wear of internal plastic gears or metal pawls due to long service life and repeated cycles.
- Corrosion and water ingress, especially if door seals or moisture barriers are damaged.
- Broken or bent mechanical linkages/rods connecting the latch to the door handle or lock cylinder.
- Electrical connector corrosion or damaged wiring affecting the actuator motor or microswitches.
Replacement Procedure
Basic replacement steps (for experienced mechanics or competent DIYers):
- Disconnect Battery: Always disconnect the negative battery terminal before beginning to avoid short circuits and protect vehicle electronics.
- Remove Door Trim: Carefully remove interior door panel fasteners and clips to access the latch area. Keep clips and screws organized.
- Peel Back Moisture Barrier: Gently peel back the foil/plastic moisture barrier to access the latch and wiring harness.
- Disconnect Electrical Connector: Unplug the latch connector and, if present, release cable/rod clips attached to the mechanism.
- Unbolt Latch: Remove the mounting screws or bolts securing the latch to the door and withdraw the unit from the door edge.
- Fit Replacement Unit: Position the new latch, secure bolts to original tightening values, reconnect rods and electrical connector, and re-seat the moisture barrier.
- Test Operation: Reconnect the battery and test locking/unlocking from switch, remote and manual handle before reassembling the door trim.
- Reassemble Door Trim: Refit the door panel and all trim pieces, ensuring seals are replaced if damaged.
Installation Recommendations
Follow these recommendations to ensure reliable operation after replacement:
- Inspect And Replace Seals: Check the moisture barrier and door seals; repair or replace any damaged material to prevent water ingress.
- Lubricate Moving Parts: Apply appropriate lubricant to moving linkages and latch pivot points to reduce wear and noise.
- Check Wiring And Connectors: Clean or replace corroded connectors and inspect wiring for chafing that could cause intermittent faults.
- Verify Door Alignment: Ensure the door striker and latch align correctly to avoid premature wear or hard closing.
- Test Central Locking Function: Operate the full locking cycle and confirm that the vehicle’s central locking responds correctly from all control points.
Why This Part Should Be Replaced
A failing latch can cause security issues, trigger door-ajar warnings, and allow water into the door cavity. Replacing the latch restores reliable door locking and prevents secondary damage to door electronics and interior trims.
Notes For Professionals
This unit is a used part offered with a warranty of functionality. It is often identified and ordered by its product code 913784. Suitable for fitment by professional technicians and competent DIYers familiar with door disassembly and reassembly procedures.