Description
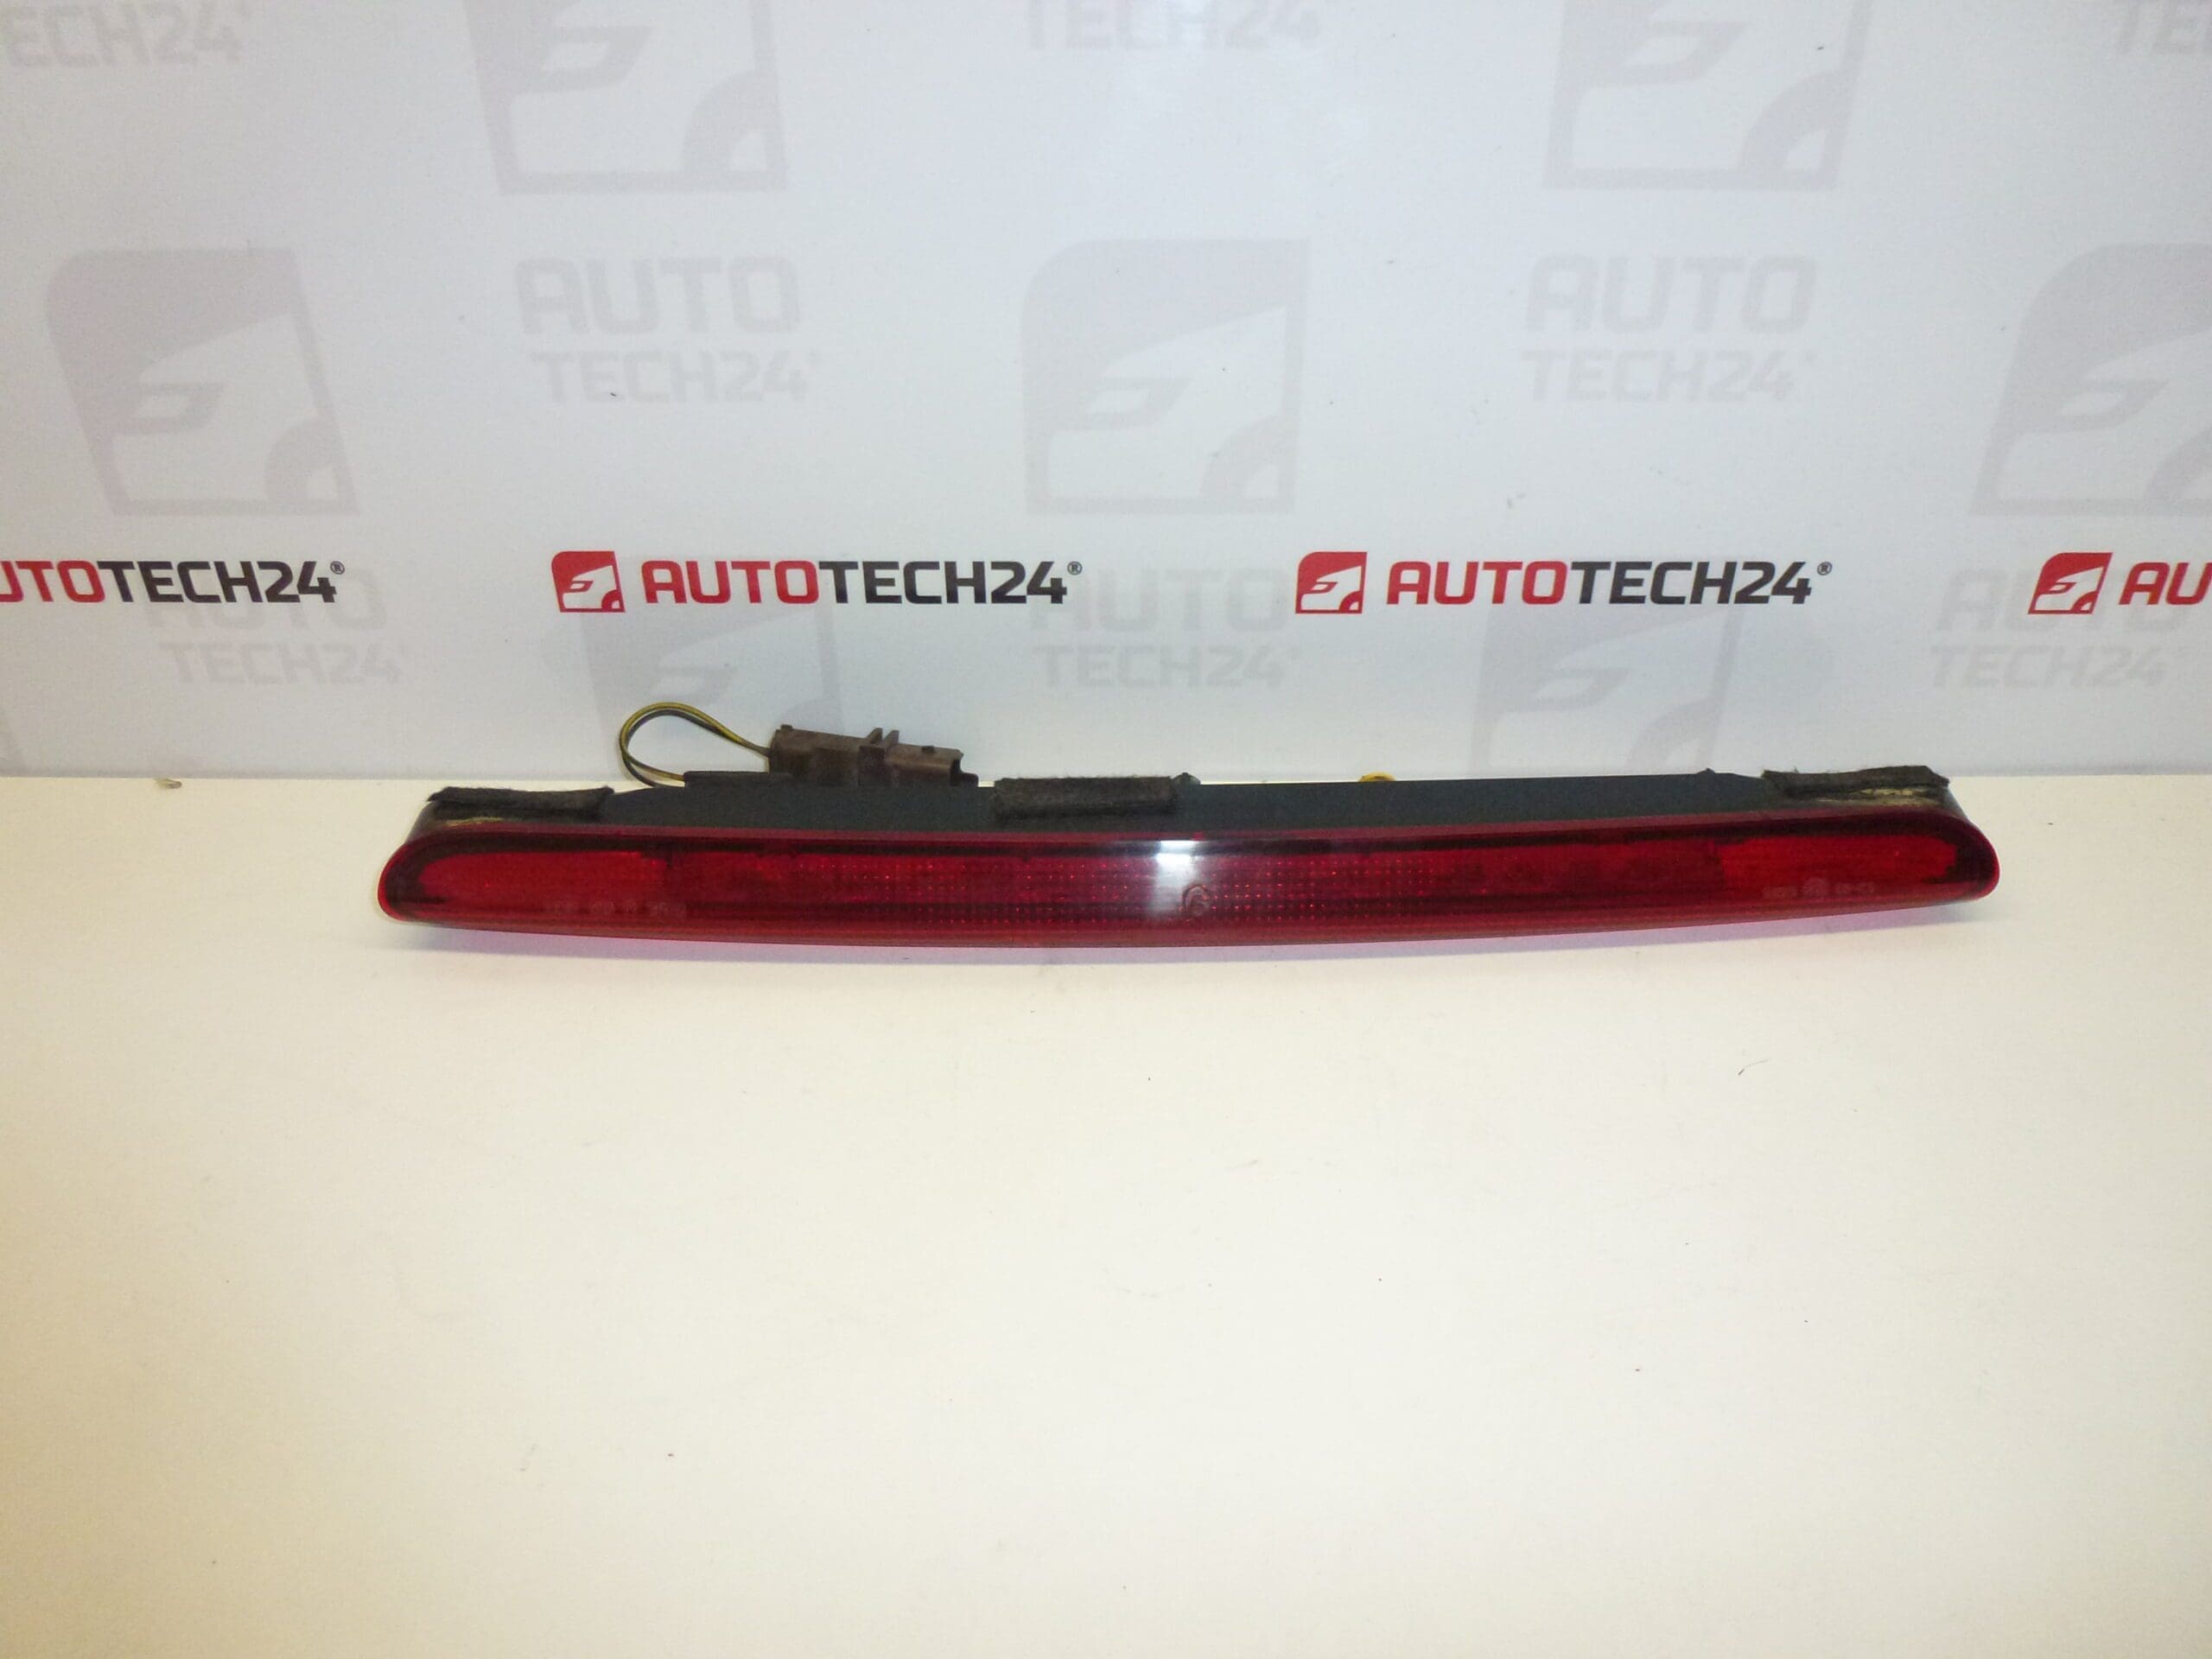
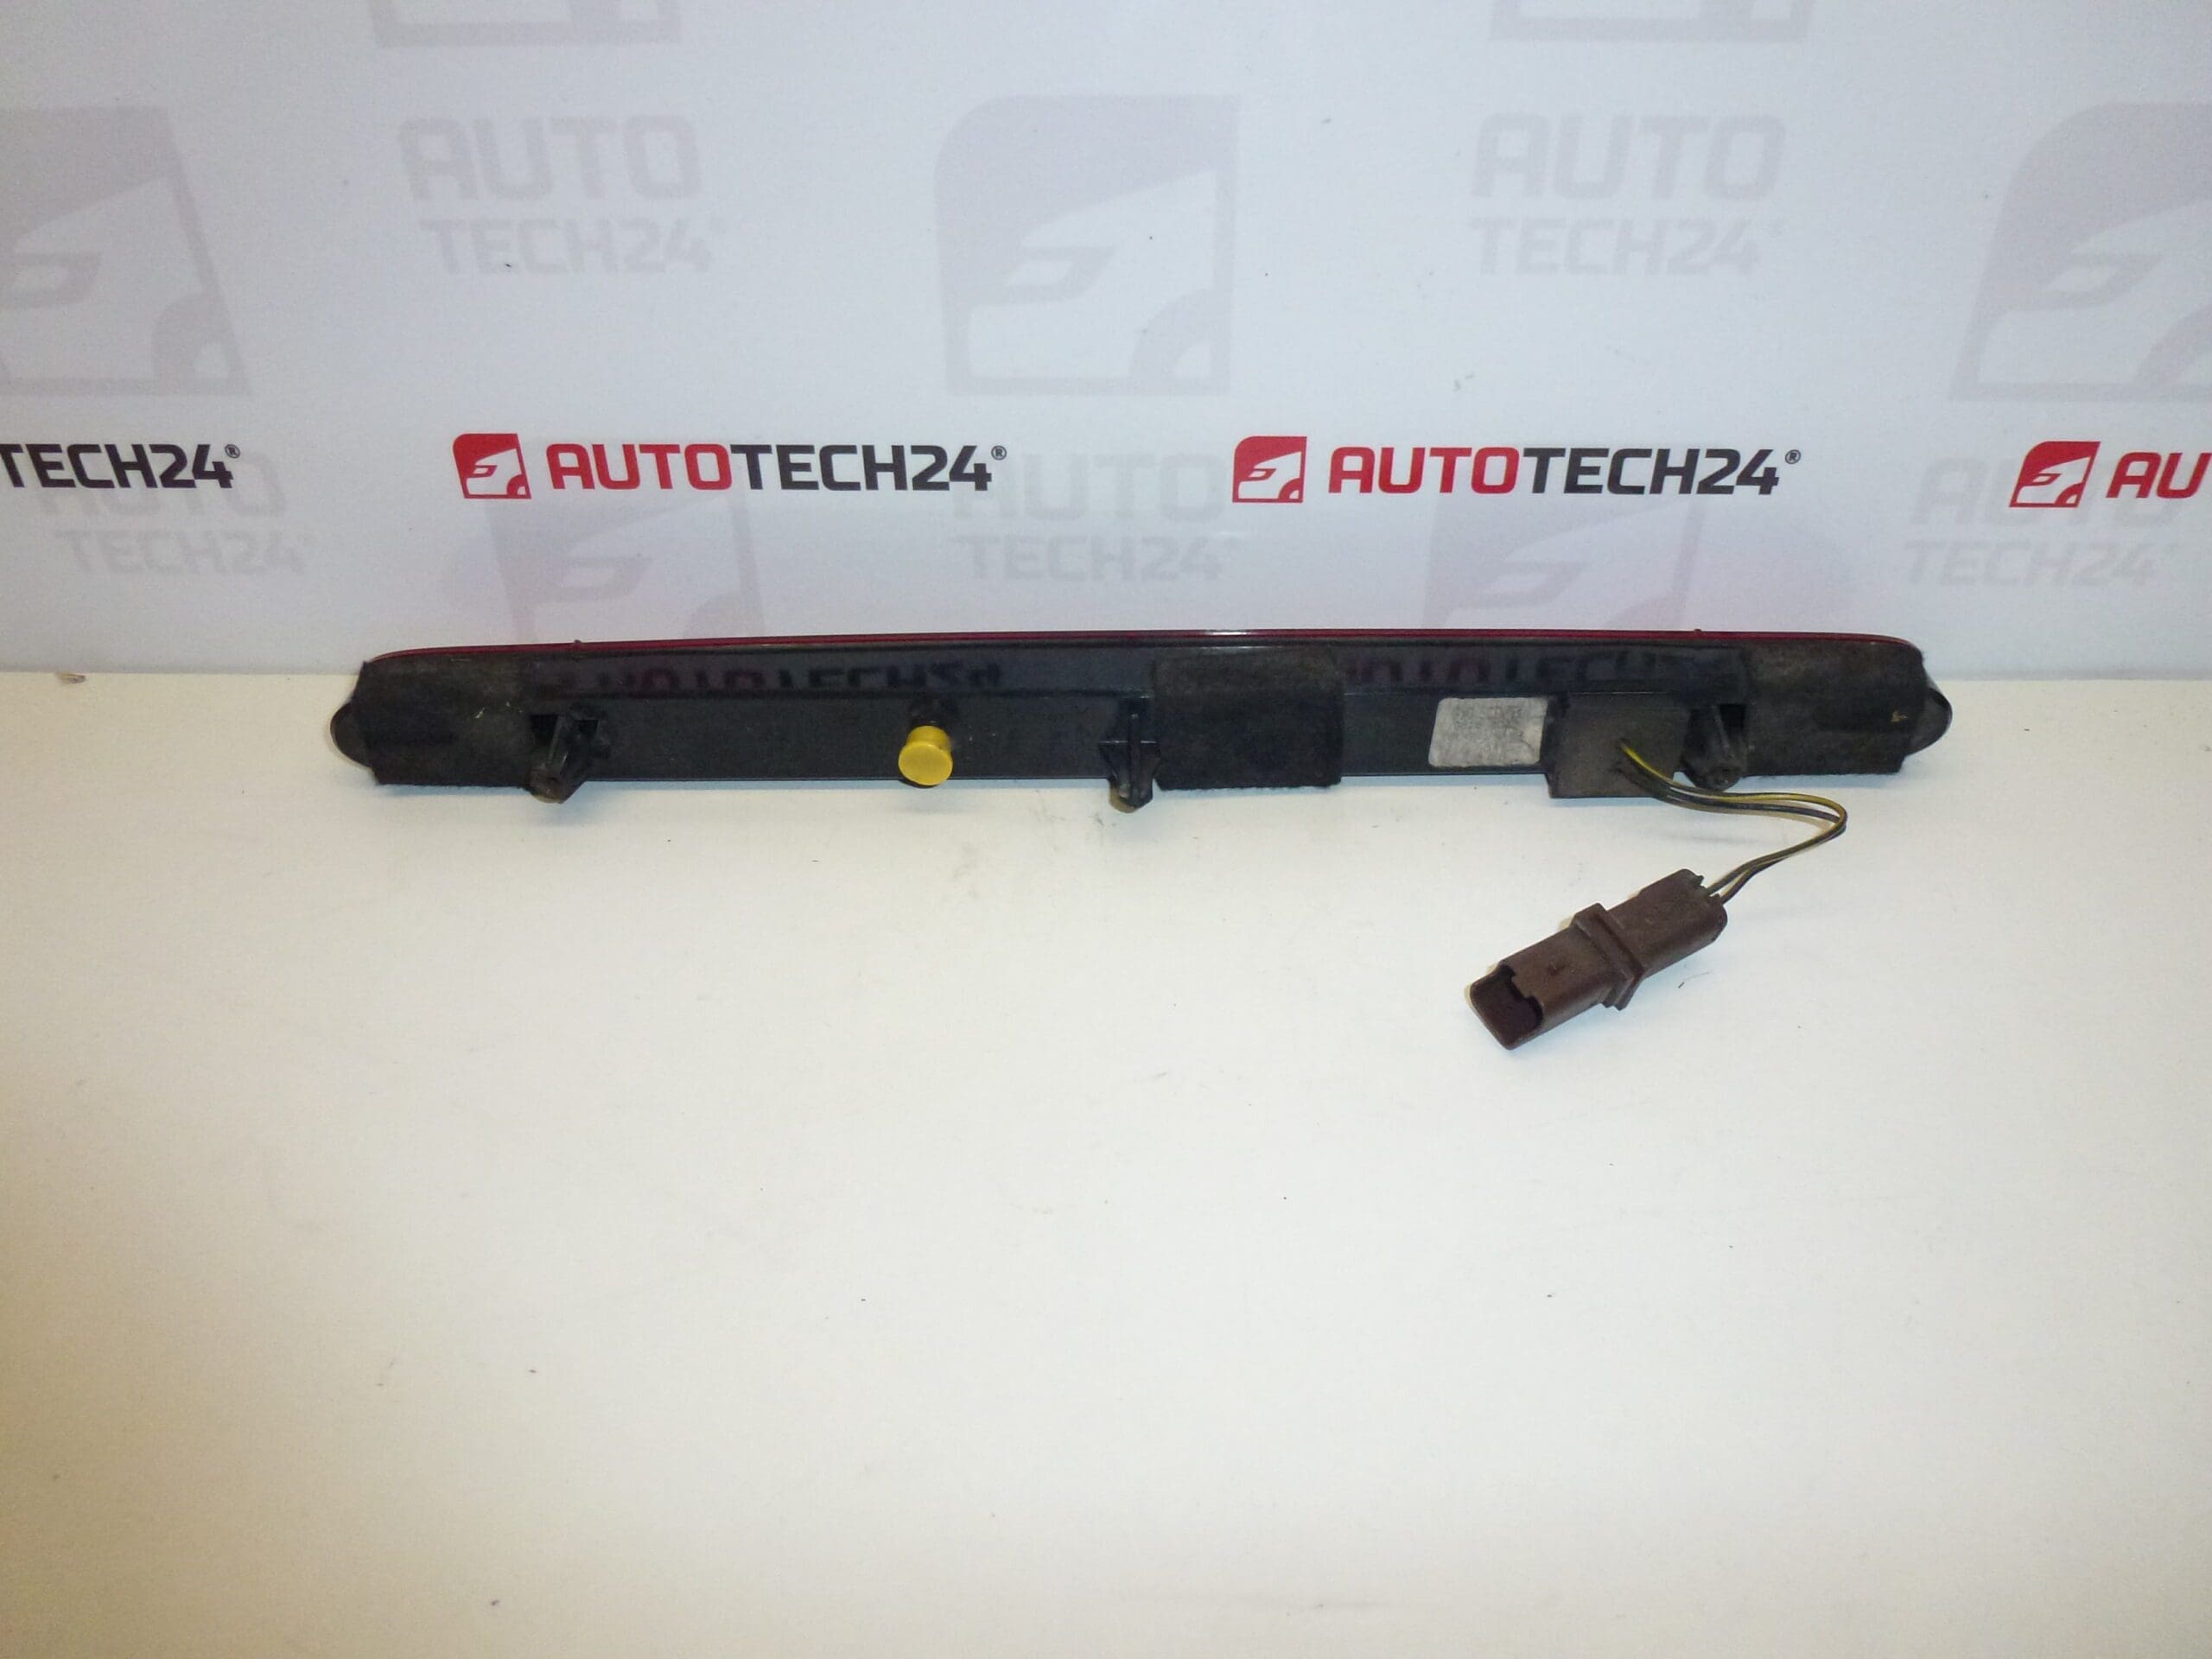
Third rear brake light CITROËN C5 I and II Estate. Part has been tested, 5 LEDs do not light, LEDs flash intermittently, part is usable.
This high-mounted third brake light is a direct-fit replacement for the Citroën C5 I and II Estate (Kombi) models and is often searched for by the product code 6350P6. Designed for workshops and DIY mechanics, the unit restores the central stop lamp function that increases visibility to following traffic and meets the practical demands of daily driving. The listing is particularly useful when searching by the OEM/product number 6350P6 to quickly locate the correct part for C5 estate vehicles.
The lamp is an LED-based rear centre brake light assembly intended to mount in the tailgate upper area. On vehicles where some LEDs have failed or where intermittent operation occurs, replacement of the entire assembly is a common and straightforward repair. This used unit has been inspected and described above: five LEDs are not illuminated and the remaining LEDs operate intermittently, but the assembly is serviceable for vehicles where full LED functionality is not required or where repair/rebuild is planned.
Technical Information
- Manufacturer: Stellantis (Citroën / Peugeot)
- Model: Citroën C5 I (Estate), Citroën C5 II (Estate)
- Product Codes: 6350P6, 6350P6 NFP
- Other Numbers: –
Installation Recommendations
Replacement is typically carried out from the inside of the tailgate. Recommended procedure:
- Open the tailgate and remove the interior trim panel to access the brake light mounting area (carefully release plastic clips to avoid breakage).
- Unscrew the mounting fasteners and gently pull the lamp assembly from the tailgate aperture.
- Disconnect the electrical connector and inspect for corrosion or damaged pins.
- Install the replacement unit, ensuring the sealing gasket sits correctly to prevent water ingress.
- Reconnect the wiring, refit fasteners and the trim panel, then test the brake light function with the ignition on and brake pedal applied.
- Use dielectric grease on connector pins if signs of corrosion are present and avoid overtightening screws into plastic housings.
Why This Part Commonly Fails
- Water ingress and moisture penetration leading to corrosion of connector pins and PCB traces.
- Thermal cycling and vibration causing cracked solder joints on the LED board or failing internal driver components.
- Impact damage to the tailgate or lens from rear collisions.
- Connector oxidation or poor mating causing intermittent flashing or multiple LEDs to stop lighting — symptoms present on this unit.
For mechanics and experienced DIYers, replacement is a routine repair. When intermittent operation or multiple non-functioning LEDs are present, replacing the entire module is usually the most time-efficient and reliable solution.