Description
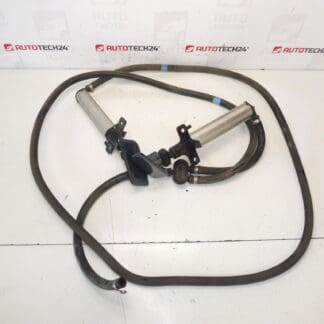
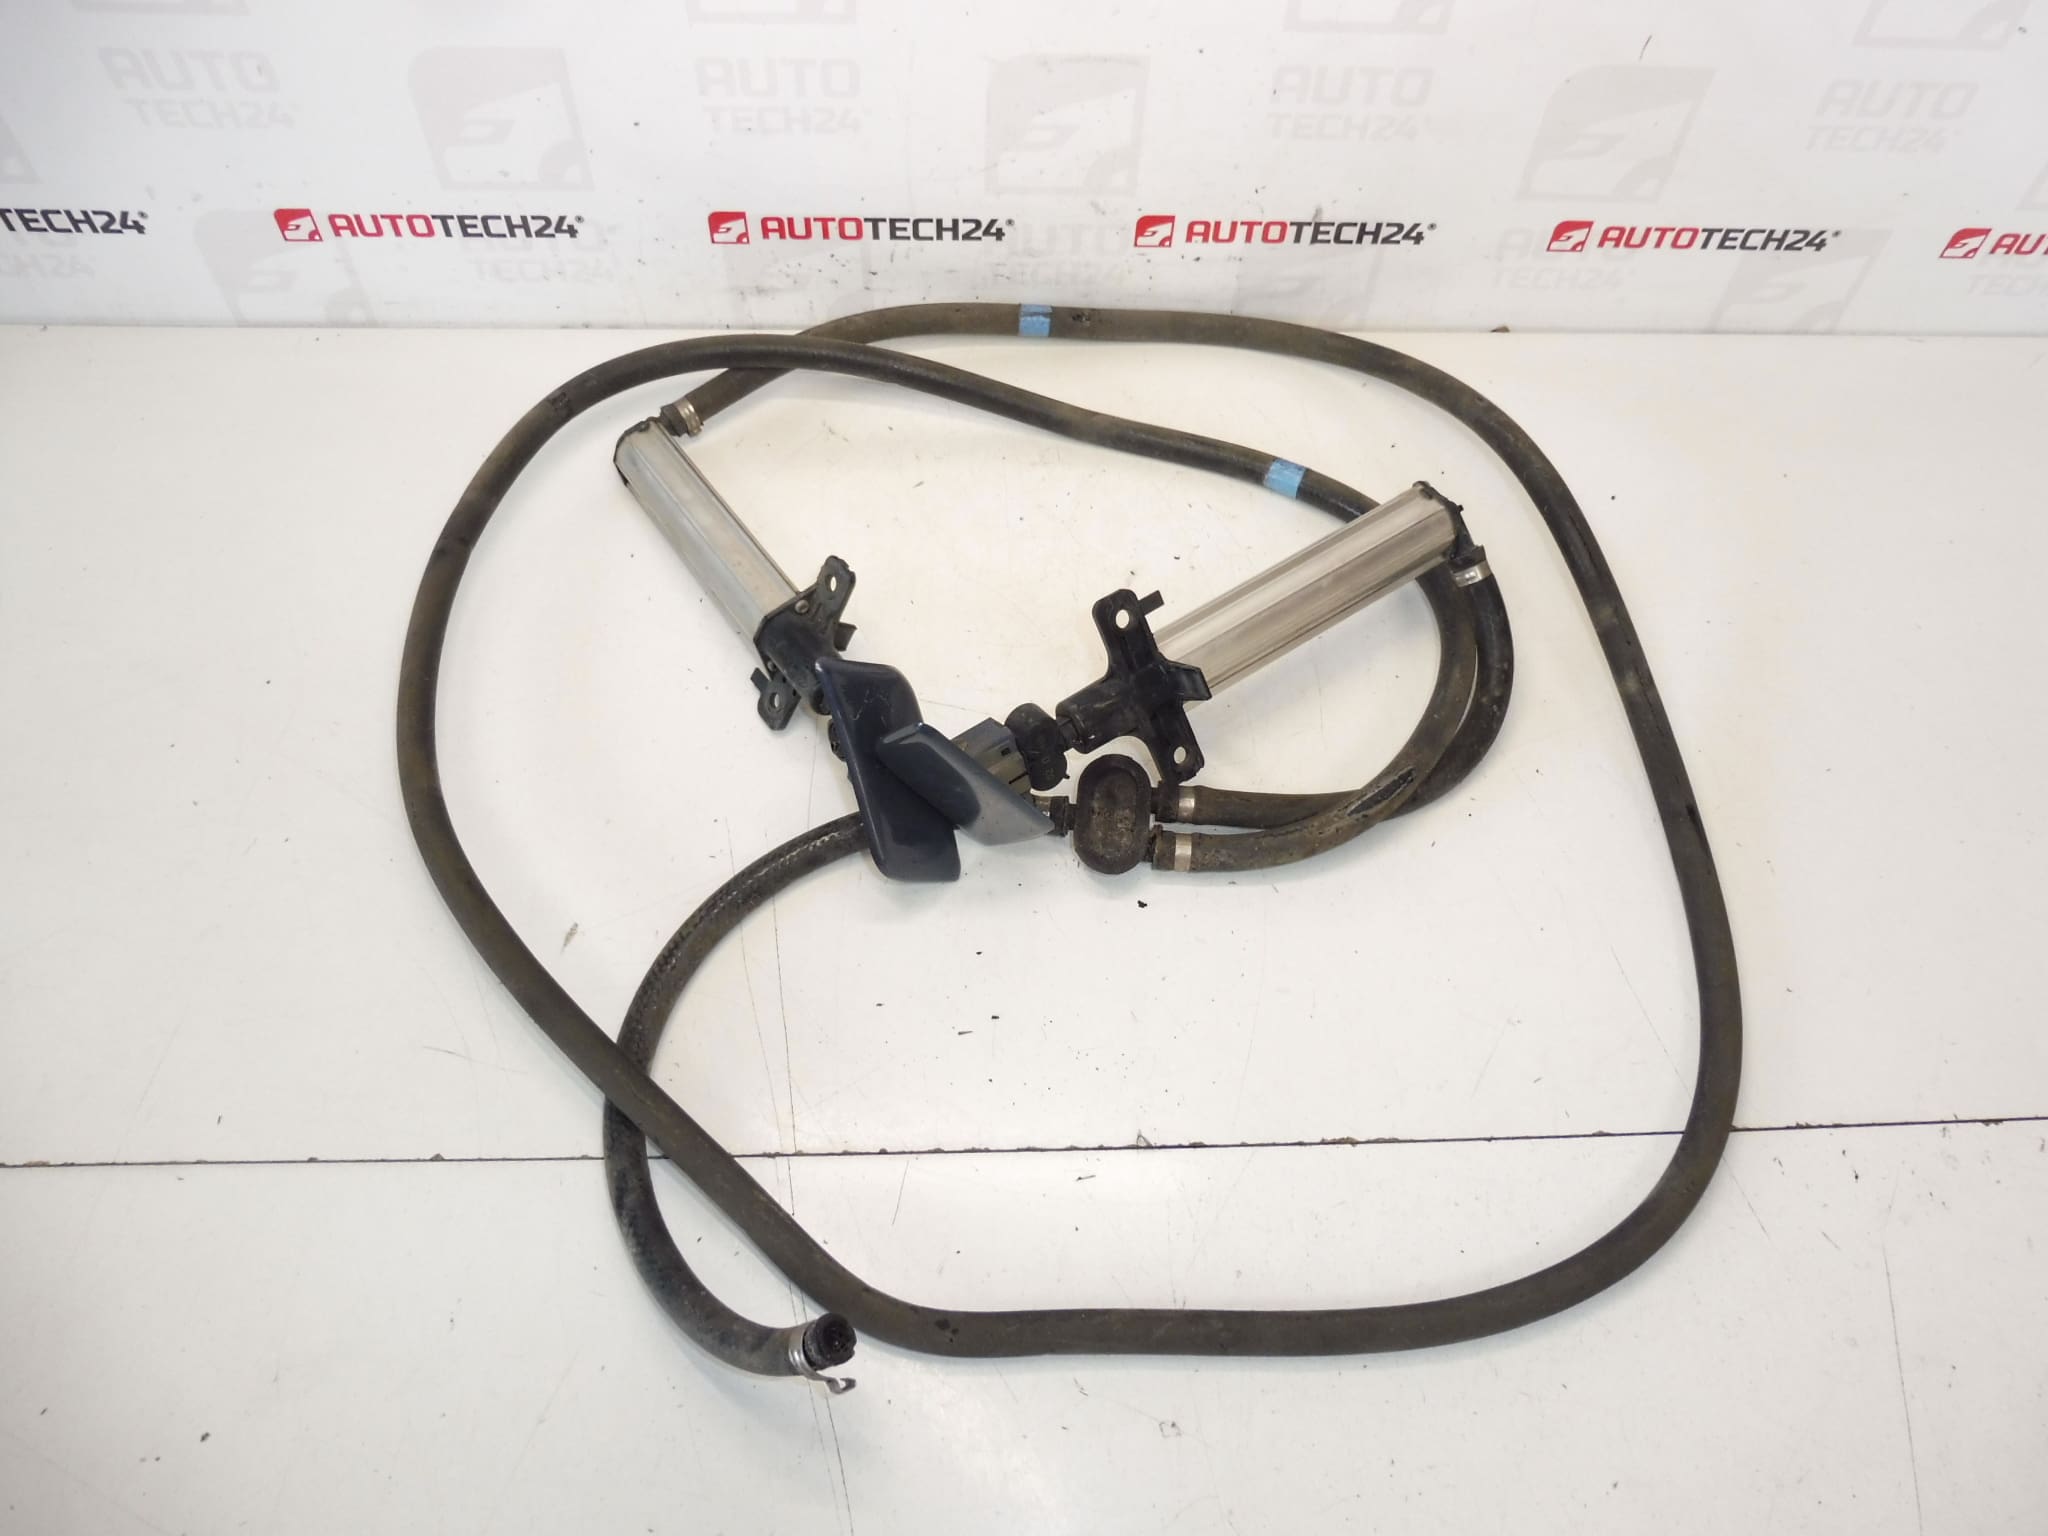
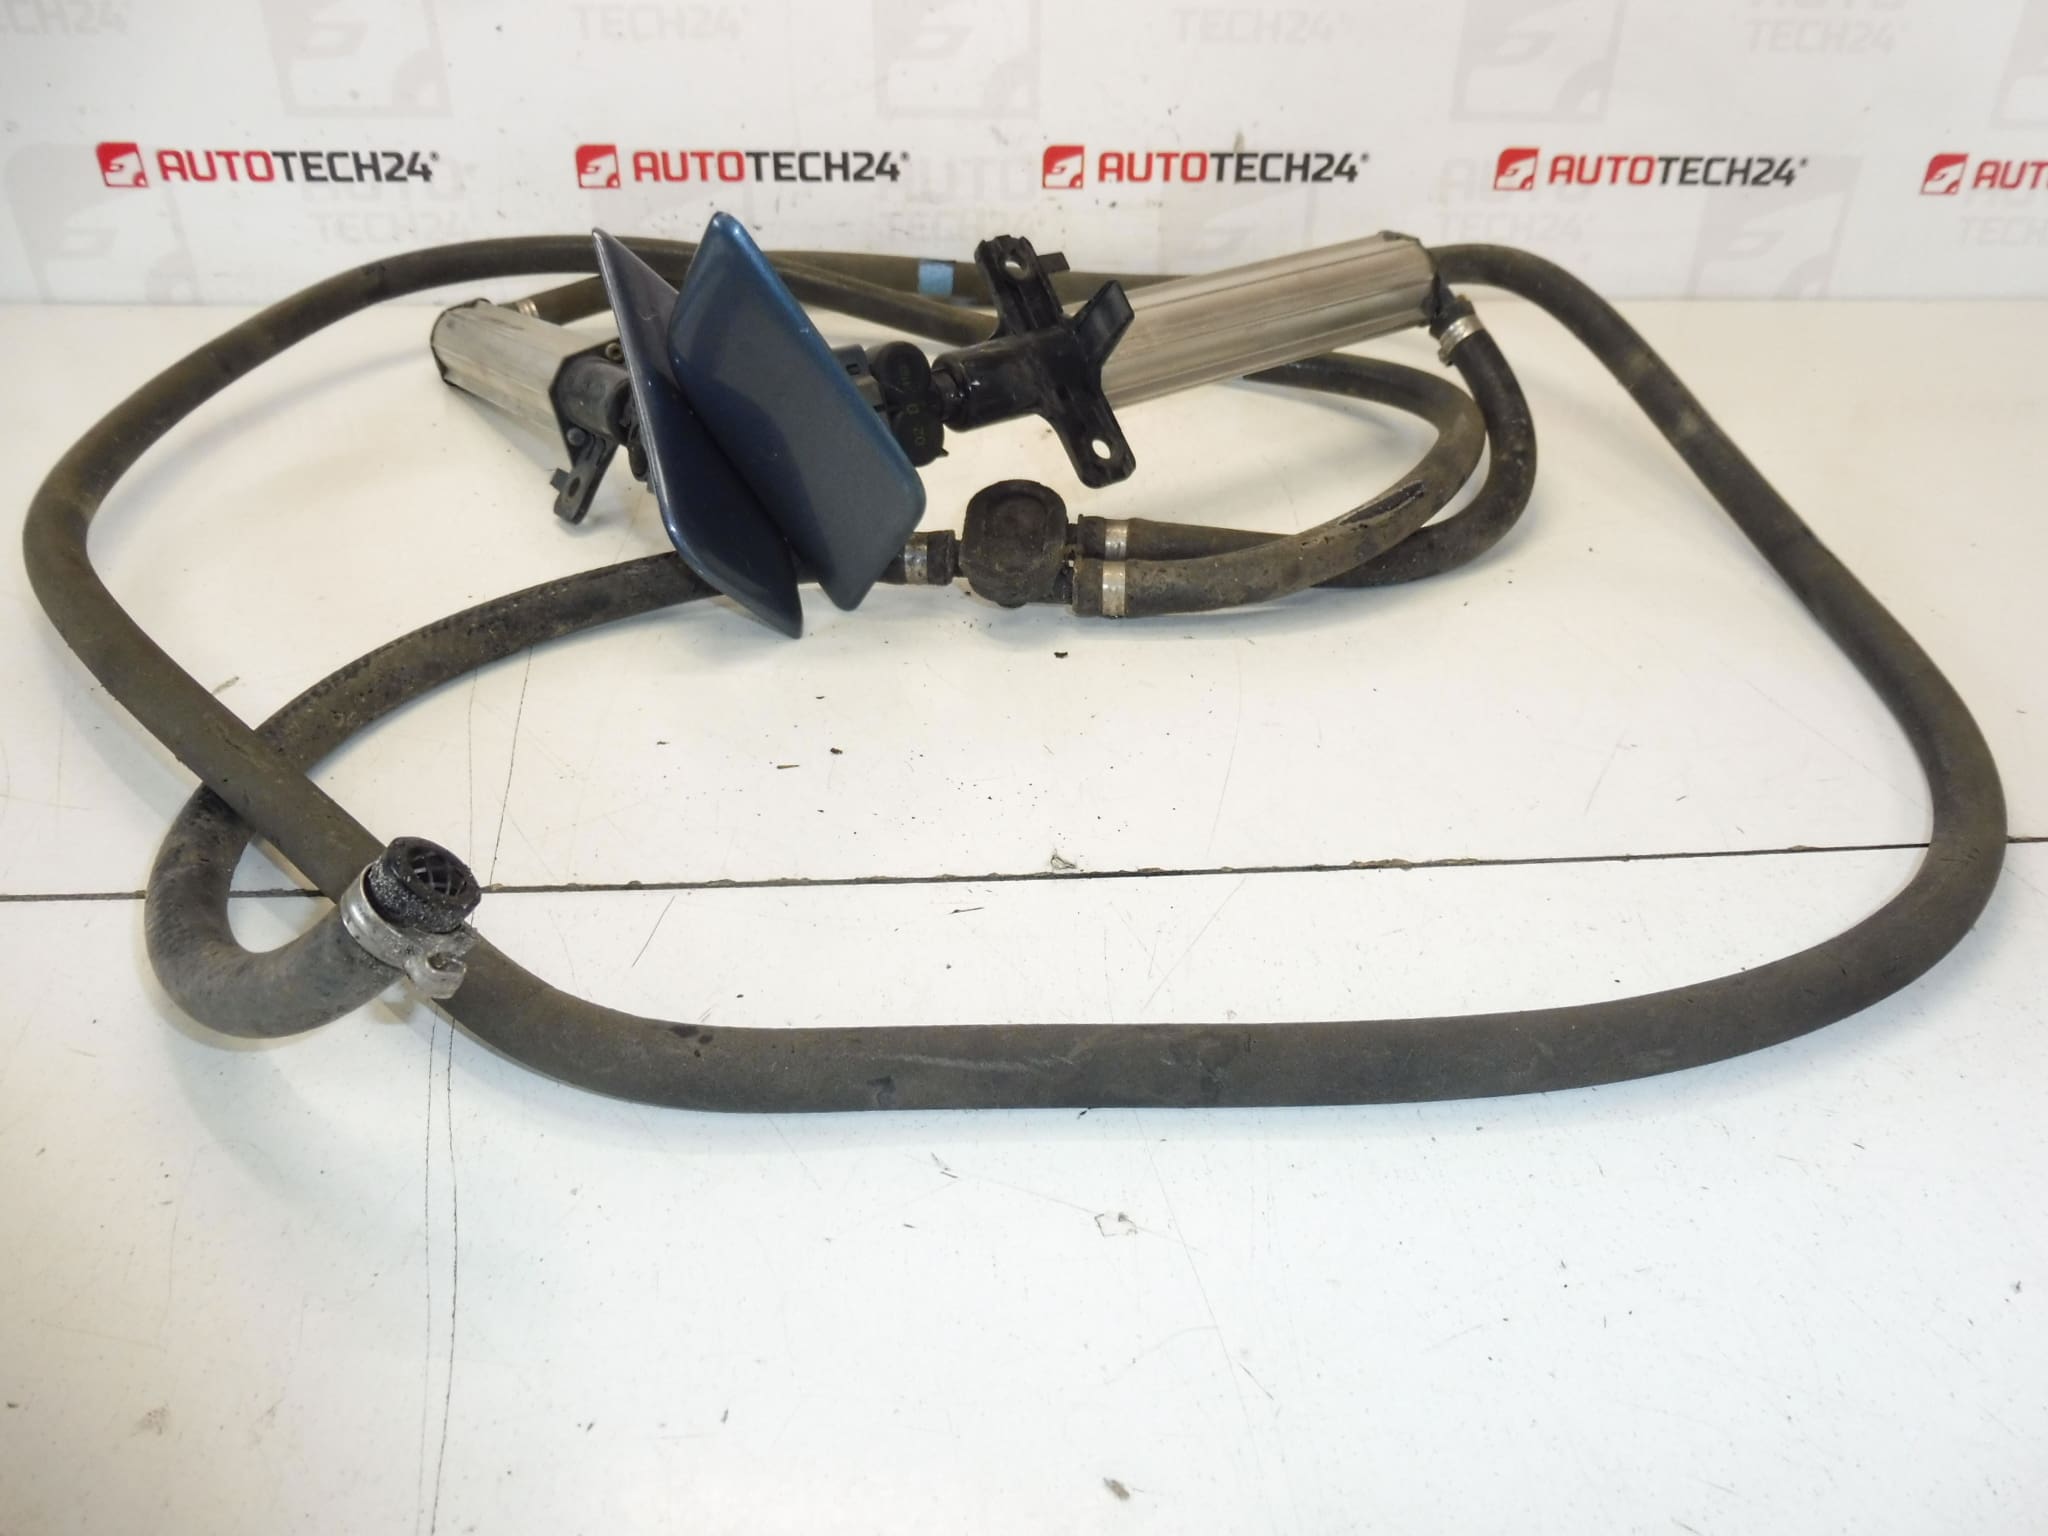
Complete set of headlamp washer nozzles including caps for CITROËN C4 PICASSO vehicles. Color KGQ – Kyanos Blue.
This Headlamp Washer Nozzle Set (KGQ Kyanos Blue) Provides A Direct Replacement For Damaged Or Missing Front Washer Nozzles On Citroën C4 Picasso Models. The Complete Kit Includes Nozzles And Painted Caps Matched To The KGQ Kyanos Blue Body Colour, Making It Ideal For Professional Garages And Do-It-Yourself Enthusiasts Who Need A Clean, Factory-Looking Finish. Customers Frequently Search By Part Numbers 6438T4, 6438T5 And 7414SG—entering These References Can Speed Up The Purchase Process.
Technical Information
- Manufacturer: Stellantis / Citroën
- Model: Citroën C4 Picasso (Including Grand C4 Picasso)
- Product Codes: 6438T4, 6438T5, 7414SG
- Other Numbers: Color Code KGQ (Kyanos Blue)
Function And Benefits
Headlamp Washer Nozzles Are Designed To Deliver A Focused Spray Of Washer Fluid Onto The Headlight Lens, Improving Night-Time Visibility And Removing Road Dirt, Salt And Insects That Reduce Light Output. This Complete Set Restores Proper Coverage And Appearance, Ensuring Even Spray Pattern And Correct Fitment With Painted Caps For A Seamless Look.
How The Part Is Replaced
Replacement Is Straightforward For A Trained Technician Or A Competent DIYer With Basic Tools. Typical Steps:
- Park The Vehicle Safely And Switch Off The Ignition.
- Relieve System Pressure By Activating The Washer Pump Until The Lines Are Emptied.
- Gain Access To The Nozzles Through The Front Bumper Opening Or Wheel Arch Liner, Depending On Model.
- Disconnect The Washer Hose (And Electrical Connector If Present) From The Old Nozzle.
- Release The Retaining Clips Or Fasteners And Remove The Old Nozzle And Cap.
- Fit The New Nozzle And Cap, Reattach Hose And Any Electrical Connections, Then Secure Retainers.
- Test The System: Check Spray Pattern, Retraction/Extension (If Applicable) And That Caps Sit Flush With Bodywork.
- Reassemble Any Removed Trim Panels.
Installation Recommendations
Use Appropriate Tools And Protective Gloves. If Access Requires Removing The Bumper Or Inner Liners, Follow Manufacturer Procedures To Avoid Damage. Check Hoses For Cracks And Replace Seals Or Clips If Worn. After Installation, Verify Correct Spray Angle And That No Leaks Occur At The Hose Connections. If In Doubt, Perform Work In A Workshop Equipped For Body Trim Removal.
Most Common Failure Reasons
Headlamp Washer Nozzles Typically Fail Due To Ageing And Environmental Exposure. Common Causes Include:
- Plastic Degradation From UV Exposure Causing Cracks Or Breakage.
- Impact From Road Debris Or Minor Collisions That Break The Nozzle Or Cap.
- Clogging From Contaminated Washer Fluid Or Sediment In The System.
- Freezing In Winter Months Leading To Cracked Housings Or Split Hoses.
- Worn Retaining Clips Or Seals Allowing Movement And Subsequent Damage.
Preventive Measures Include Using Correct Washer Fluid, Draining/Protecting The System In Freezing Conditions And Inspecting Nozzles During Routine Service Intervals.
Compatible With Workshops And DIYers Looking For A Colour-Matched, Direct-Fit Replacement For Citroën C4 Picasso Headlamp Washer Nozzles. Search By Part Numbers 6438T4, 6438T5 Or 7414SG To Find This Exact Set.