Description
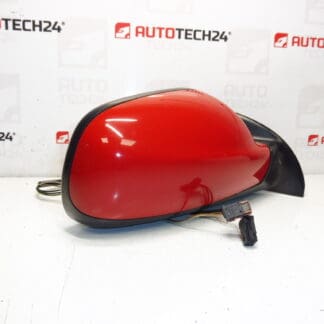
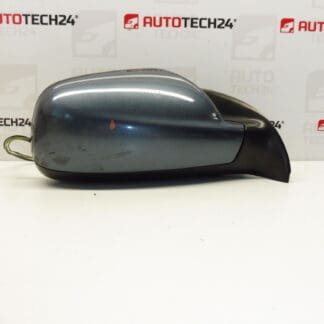
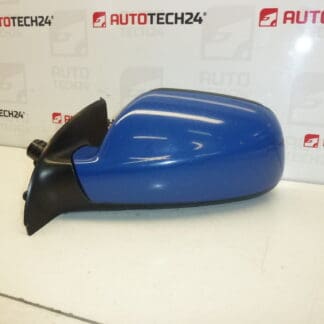
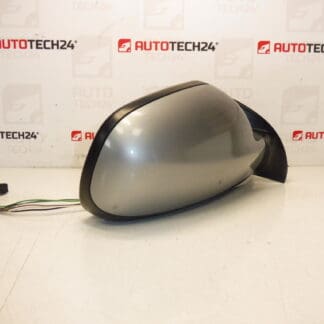
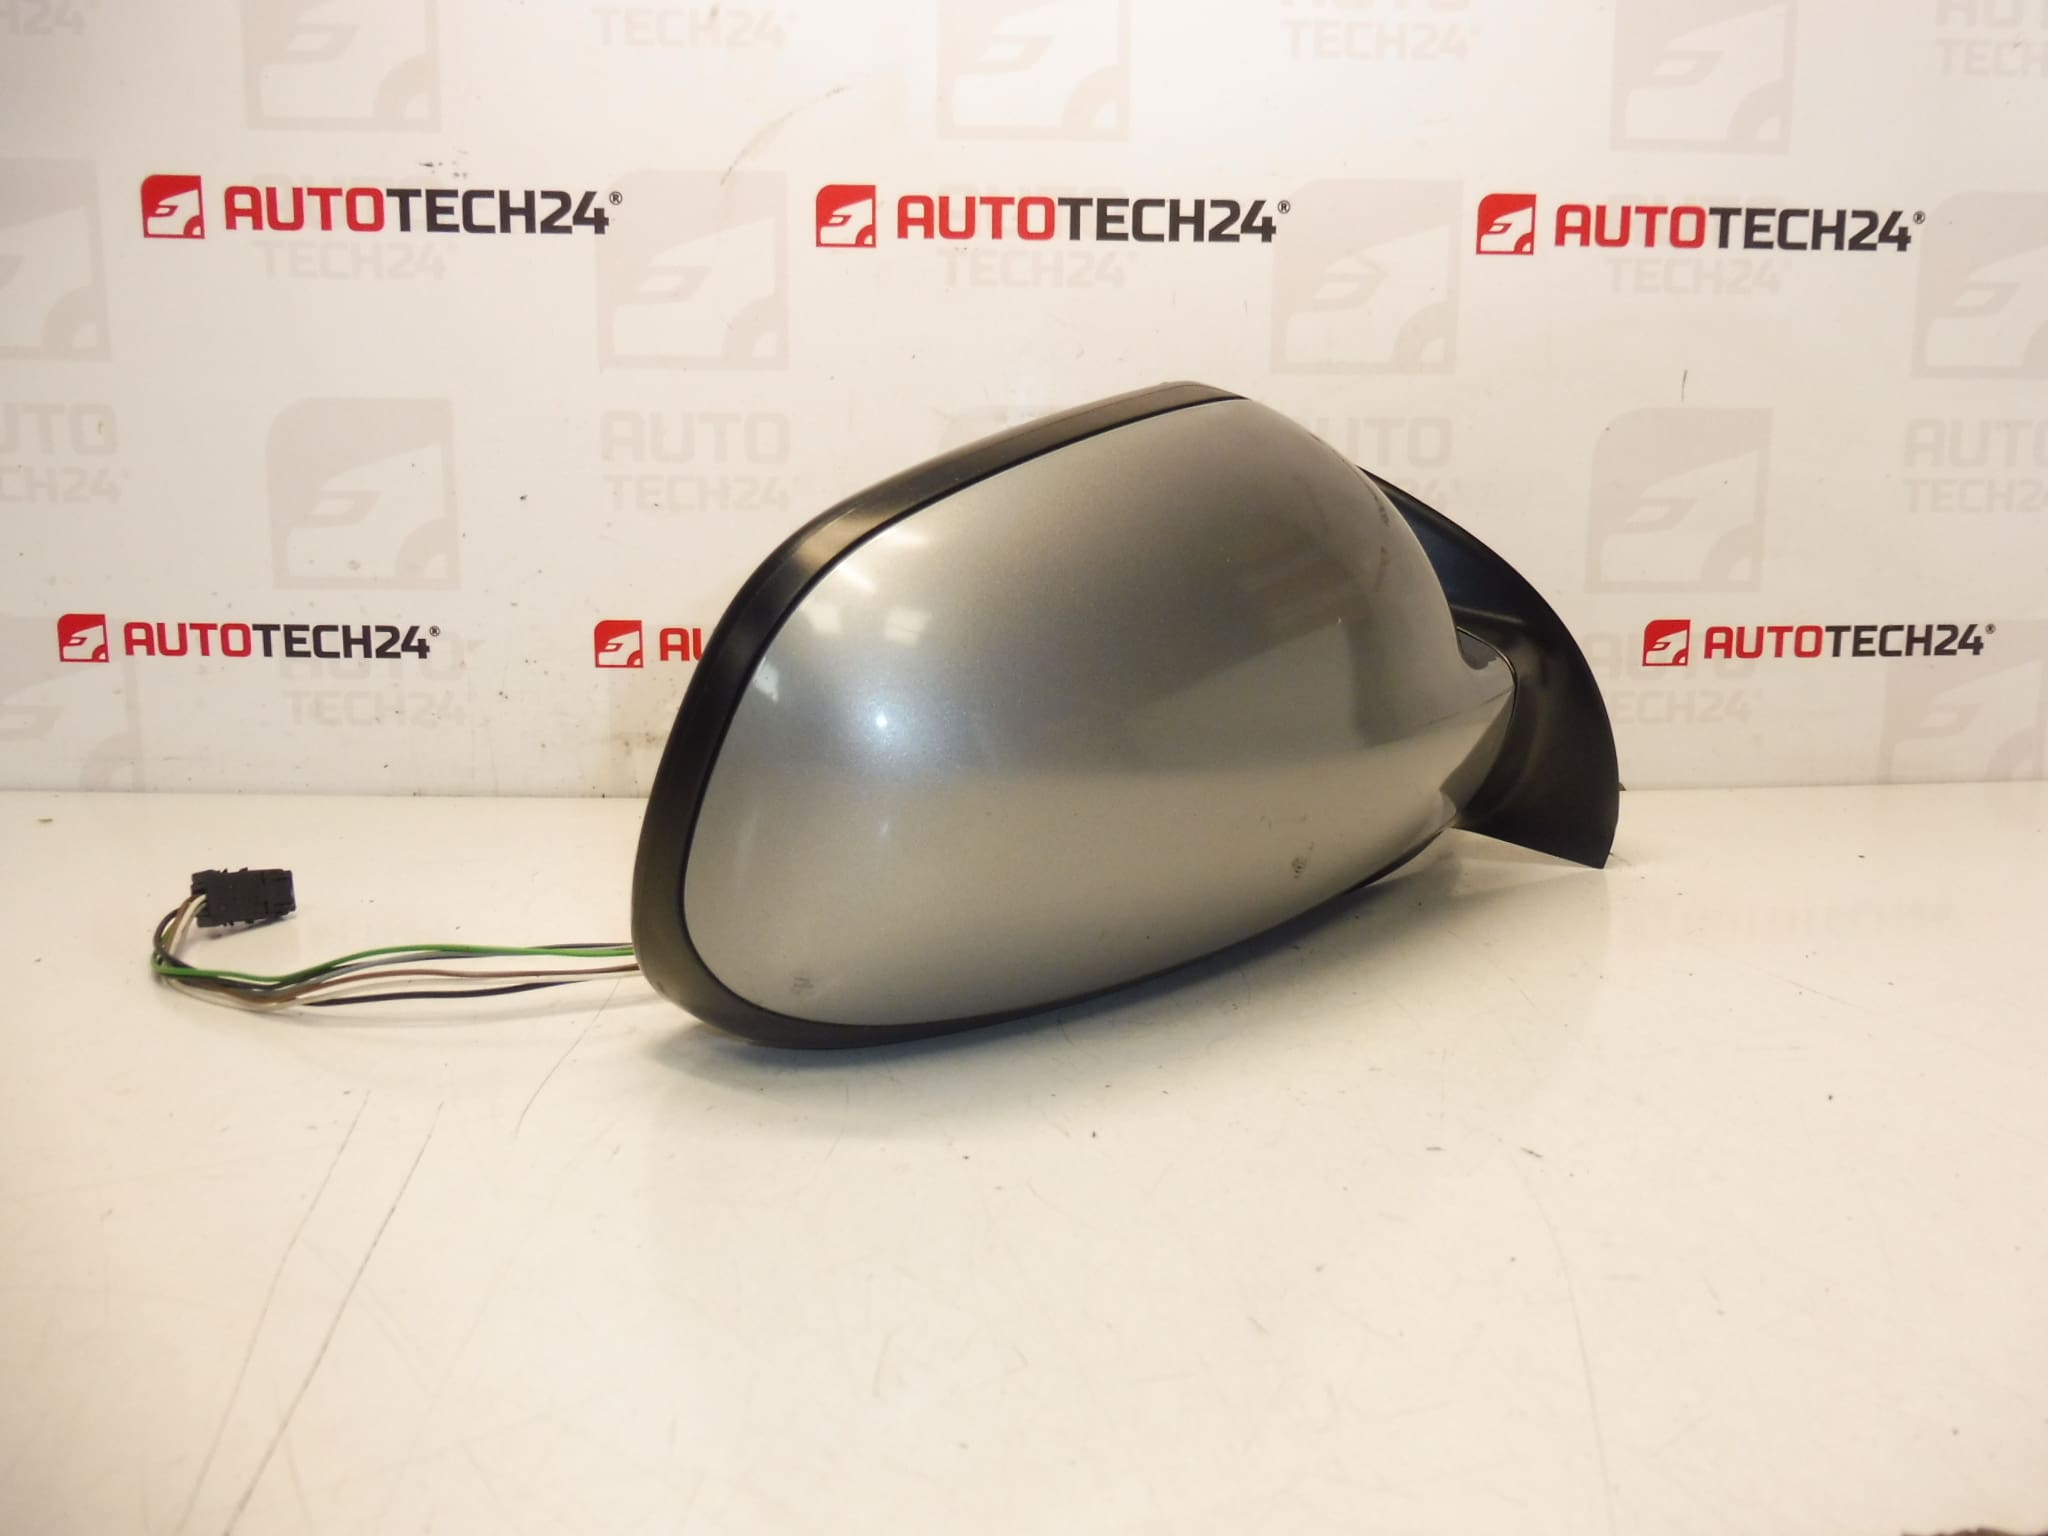
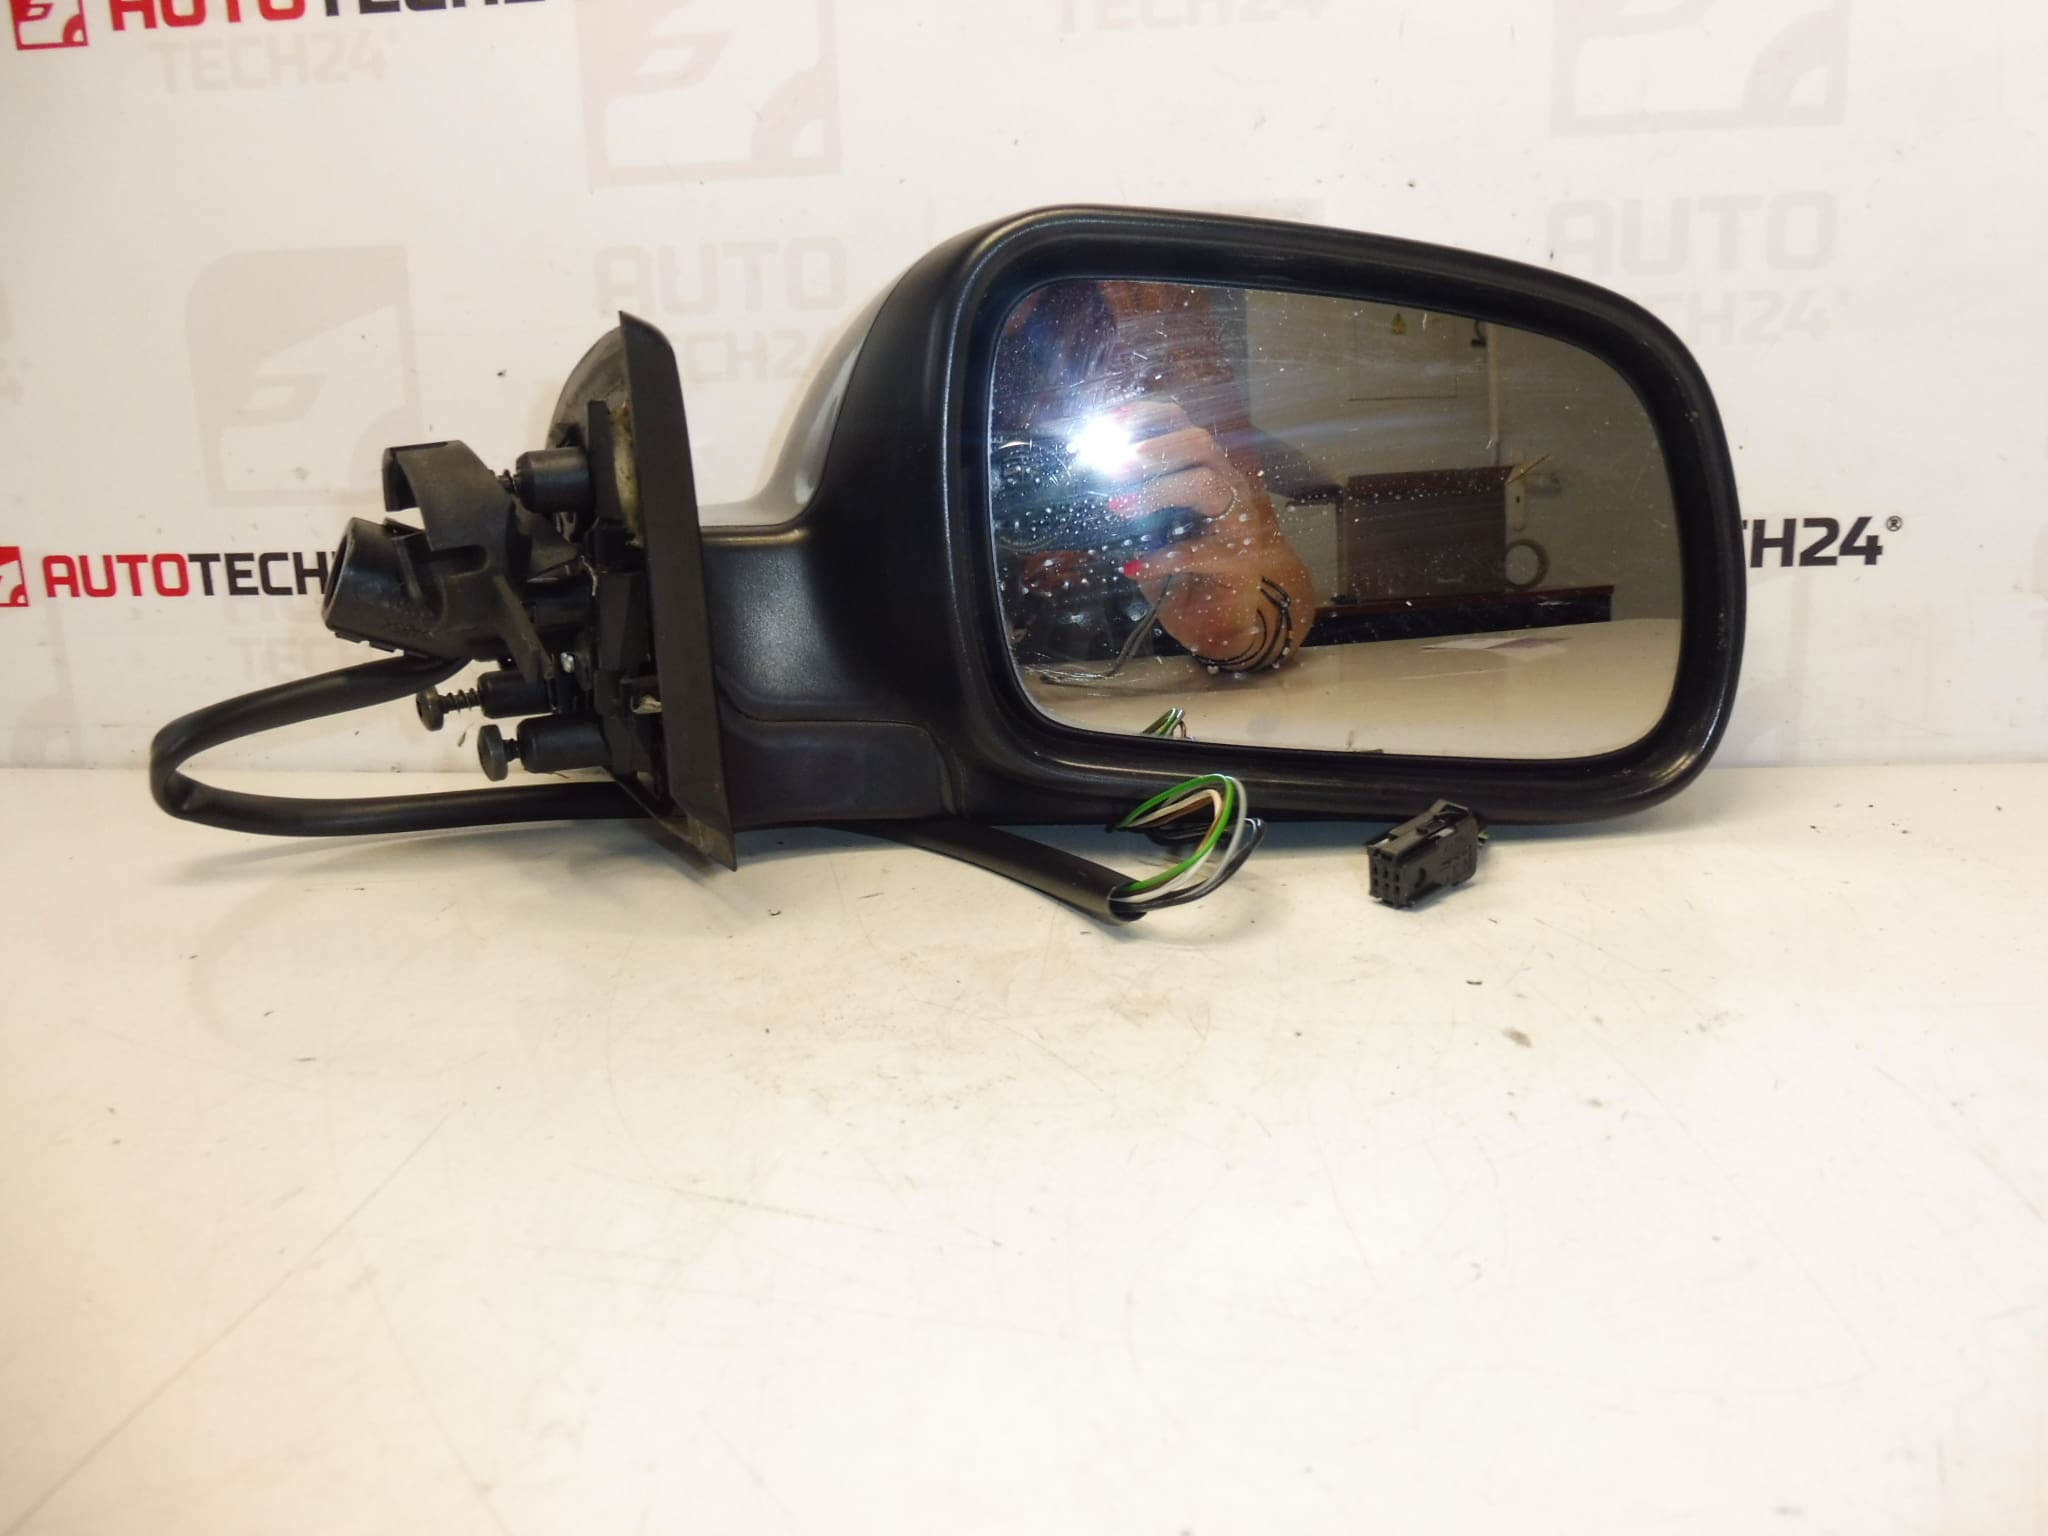
Right Side Mirror For PEUGEOT 307. May Have Slight Paint Scratches, Not Cracked, Fully Functional. Color EZA – Paint Sidobre Grey. Electrically Adjustable, 6-Pin. Passenger Side.
Upgrade or replace a worn or damaged door mirror with this direct-fit right side mirror for the Peugeot 307. Designed for mechanics and experienced DIYers, this electrically adjustable mirror ensures reliable adjustment and clear rear visibility for safe driving. The unit is in good working order though the housing may show minor paint scratches; there are no cracks and the mechanism is fully operational. The mirror uses a 6-pin connector and is finished in EZA Sidobre Grey paint.
Technical Information
- Manufacturer: Stellantis / Peugeot
- Model: Peugeot 307 (including 307 I)
- Product Codes: 8149AX, EZAC
- Other Numbers: Color Code EZA (Sidobre Grey); 6-Pin Electrical Connector
Compatibility
Intended For Passenger Side Of Peugeot 307. Commonly Used On 307 Models With Electric Mirror Adjustment And 6-Pin Connector. Always Verify Connector Type And Mounting Pattern Before Installation.
Installation Recommendations
Follow these general steps when replacing the mirror: remove the interior trim panel on the door to access the mirror bolts, disconnect the 6-pin electrical connector, unscrew and remove the old mirror, fit the replacement and reconnect the connector, test the electrical adjustment before reassembling the door trim. Use correct torque for fasteners and ensure wiring clips are secured to avoid rattles. For safety, isolate the vehicle electrical system as recommended for your workshop practices before working on door electrics.
Why This Part Most Often Fails
Side mirrors commonly fail because of impact damage (parking knocks, collisions) that breaks the housing or glass, water ingress that corrodes connectors or motors, wear of the internal adjustment motor after many cycles, or sun and temperature exposure that degrades plastic components and paint. Minor cosmetic scratches to the housing do not affect function but are common on used units.
Practical Tips
- Before fitting, inspect the 6-pin connector for bent pins or corrosion and clean if necessary.
- Test mirror adjustment and any integrated functions (e.g., heating, if present on your vehicle) before reassembling the door card.
- If the vehicle has electrical folding or heating functions, confirm those features are supported by this mirror variant.
- Keep replacement fasteners and clips in good condition to ensure a secure fit and prevent wind noise.
Condition Note
Unit May Present Minor Paint Scratches But Is Not Cracked And Is Fully Functional As Described Above.