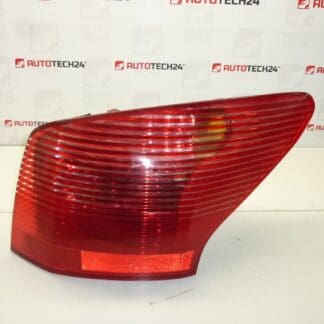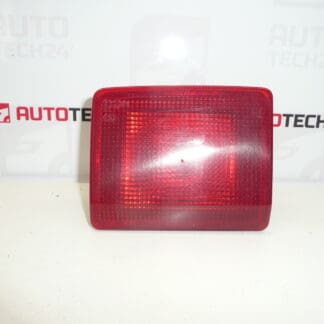
Description
Left rear fog light for Peugeot 407 SW vehicles. Complete with socket; functionality of the bulb itself is not guaranteed.
This left rear fog lamp is an OEM-style replacement for the Peugeot 407 SW, supplied complete with its bulb socket and wiring connector. Ideal for professional mechanics and competent DIY enthusiasts who search by part number (9646507480 / 6350T4). The unit restores rear fog lighting function and visibility in poor weather, improves safety compliance, and matches the original fit and mounting points for straightforward replacement.
Technical Information
- Manufacturer: Stellantis (Peugeot/Citroën)
- Model: Peugeot 407 SW
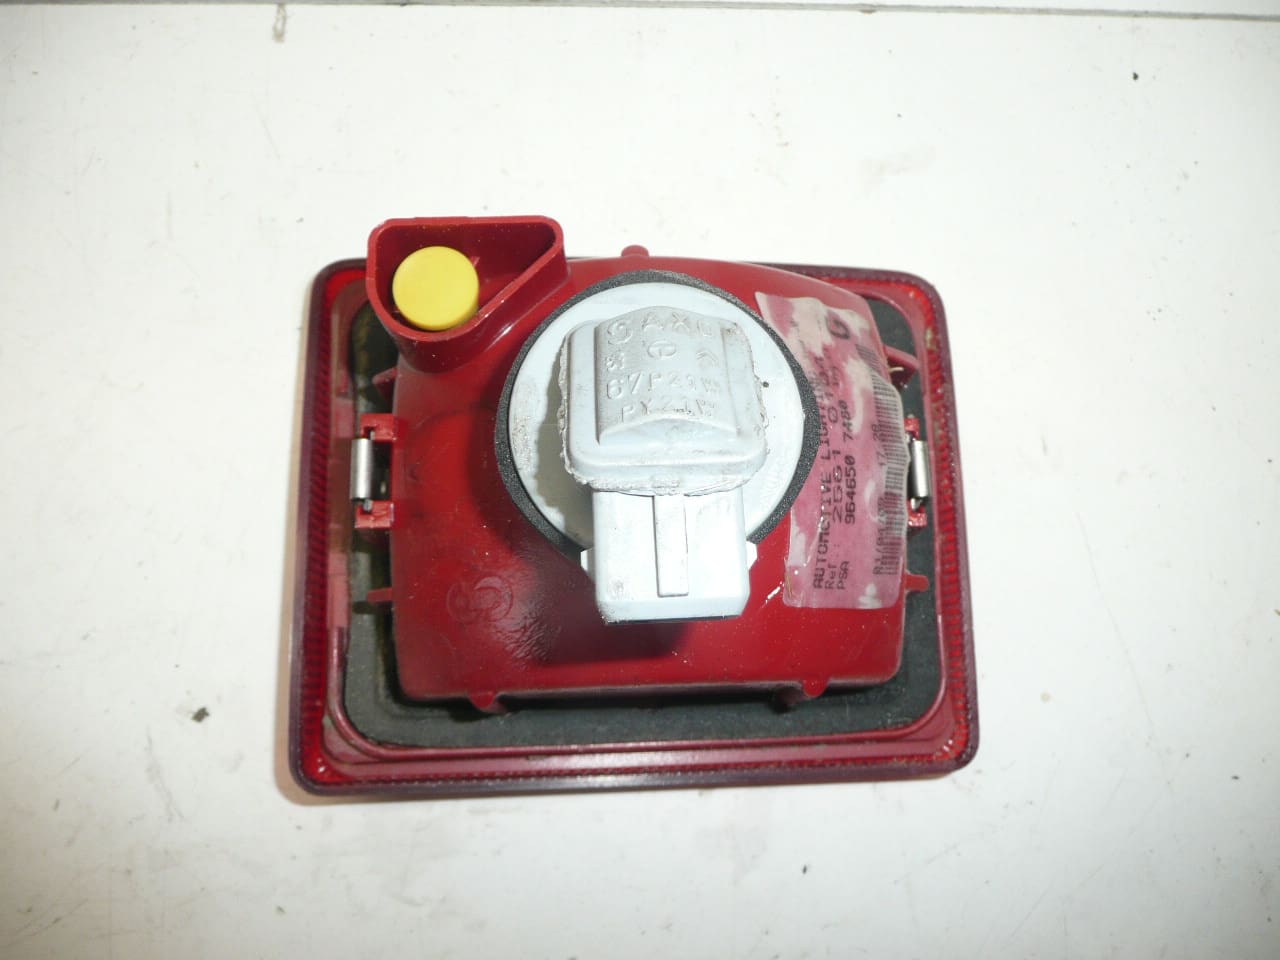
- Product Codes: 9646507480, 6350T4
- Other Numbers: 6350T4 | 9646507480
Application
Designed specifically for the left rear fog light position on Peugeot 407 SW (estate) models. Confirm location and fitment visually against the existing unit before installation.
Installation Recommendations
- Required Tools: Flat and Phillips screwdrivers, trim removal tools, 8–10 mm socket set, gloves and a clean cloth.
- Access: On many 407 SW cars the lamp is accessible either through the trunk behind an access panel or by removing the inner bumper/trim. Work on a cold car and disconnect the battery if you will be handling electrical connectors for safety.
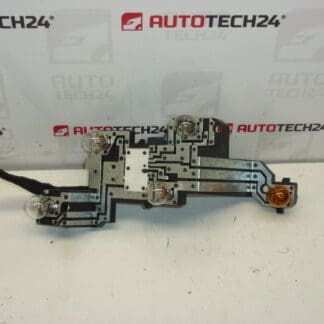
- Procedure: Remove the trim or access cover, unplug the wiring connector, release the retaining clips or screws securing the lamp, withdraw the assembly, and replace with the new unit. Fit the socket and bulb, secure all fasteners and trim, then test the fog lamp circuit before final reassembly.
- Sealing: Check and renew any rubber seals or gaskets if they show wear to prevent moisture ingress. Ensure connector contacts are clean and free of corrosion.
- Bulb Note: Bulb operation is not guaranteed with the supplied unit; verify bulb type and condition and replace the bulb if necessary with the correct specification from the vehicle manual.
Why It Most Commonly Fails
- Moisture Ingress: Cracked lenses or degraded seals allow water to enter, causing corrosion or electrical shorting.
- Impact Damage: Rear bumper impacts or minor collisions frequently crack the lens or break mounting tabs.
- Corroded Contacts: Exposure to water and road salts can corrode the socket contacts and wiring.
- Bulb Failure: The bulb itself can burn out independently of the housing; when replacing the assembly, check the bulb separately.
- UV And Ageing: Prolonged sun exposure and age can make the plastic lens brittle and less weatherproof.
Practical Tips
- When replacing the lamp, test the electrical circuit and grounding to avoid false faults after fitting.
- Replace damaged seals and clean connectors with electrical contact cleaner for reliable long-term operation.
- Keep the part numbers 9646507480 and 6350T4 handy when searching or ordering to ensure correct fitment and faster sourcing.