Description
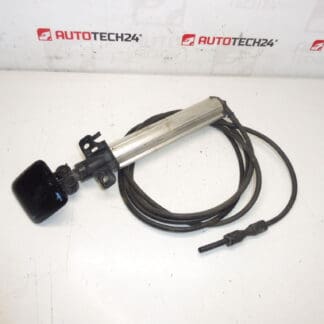
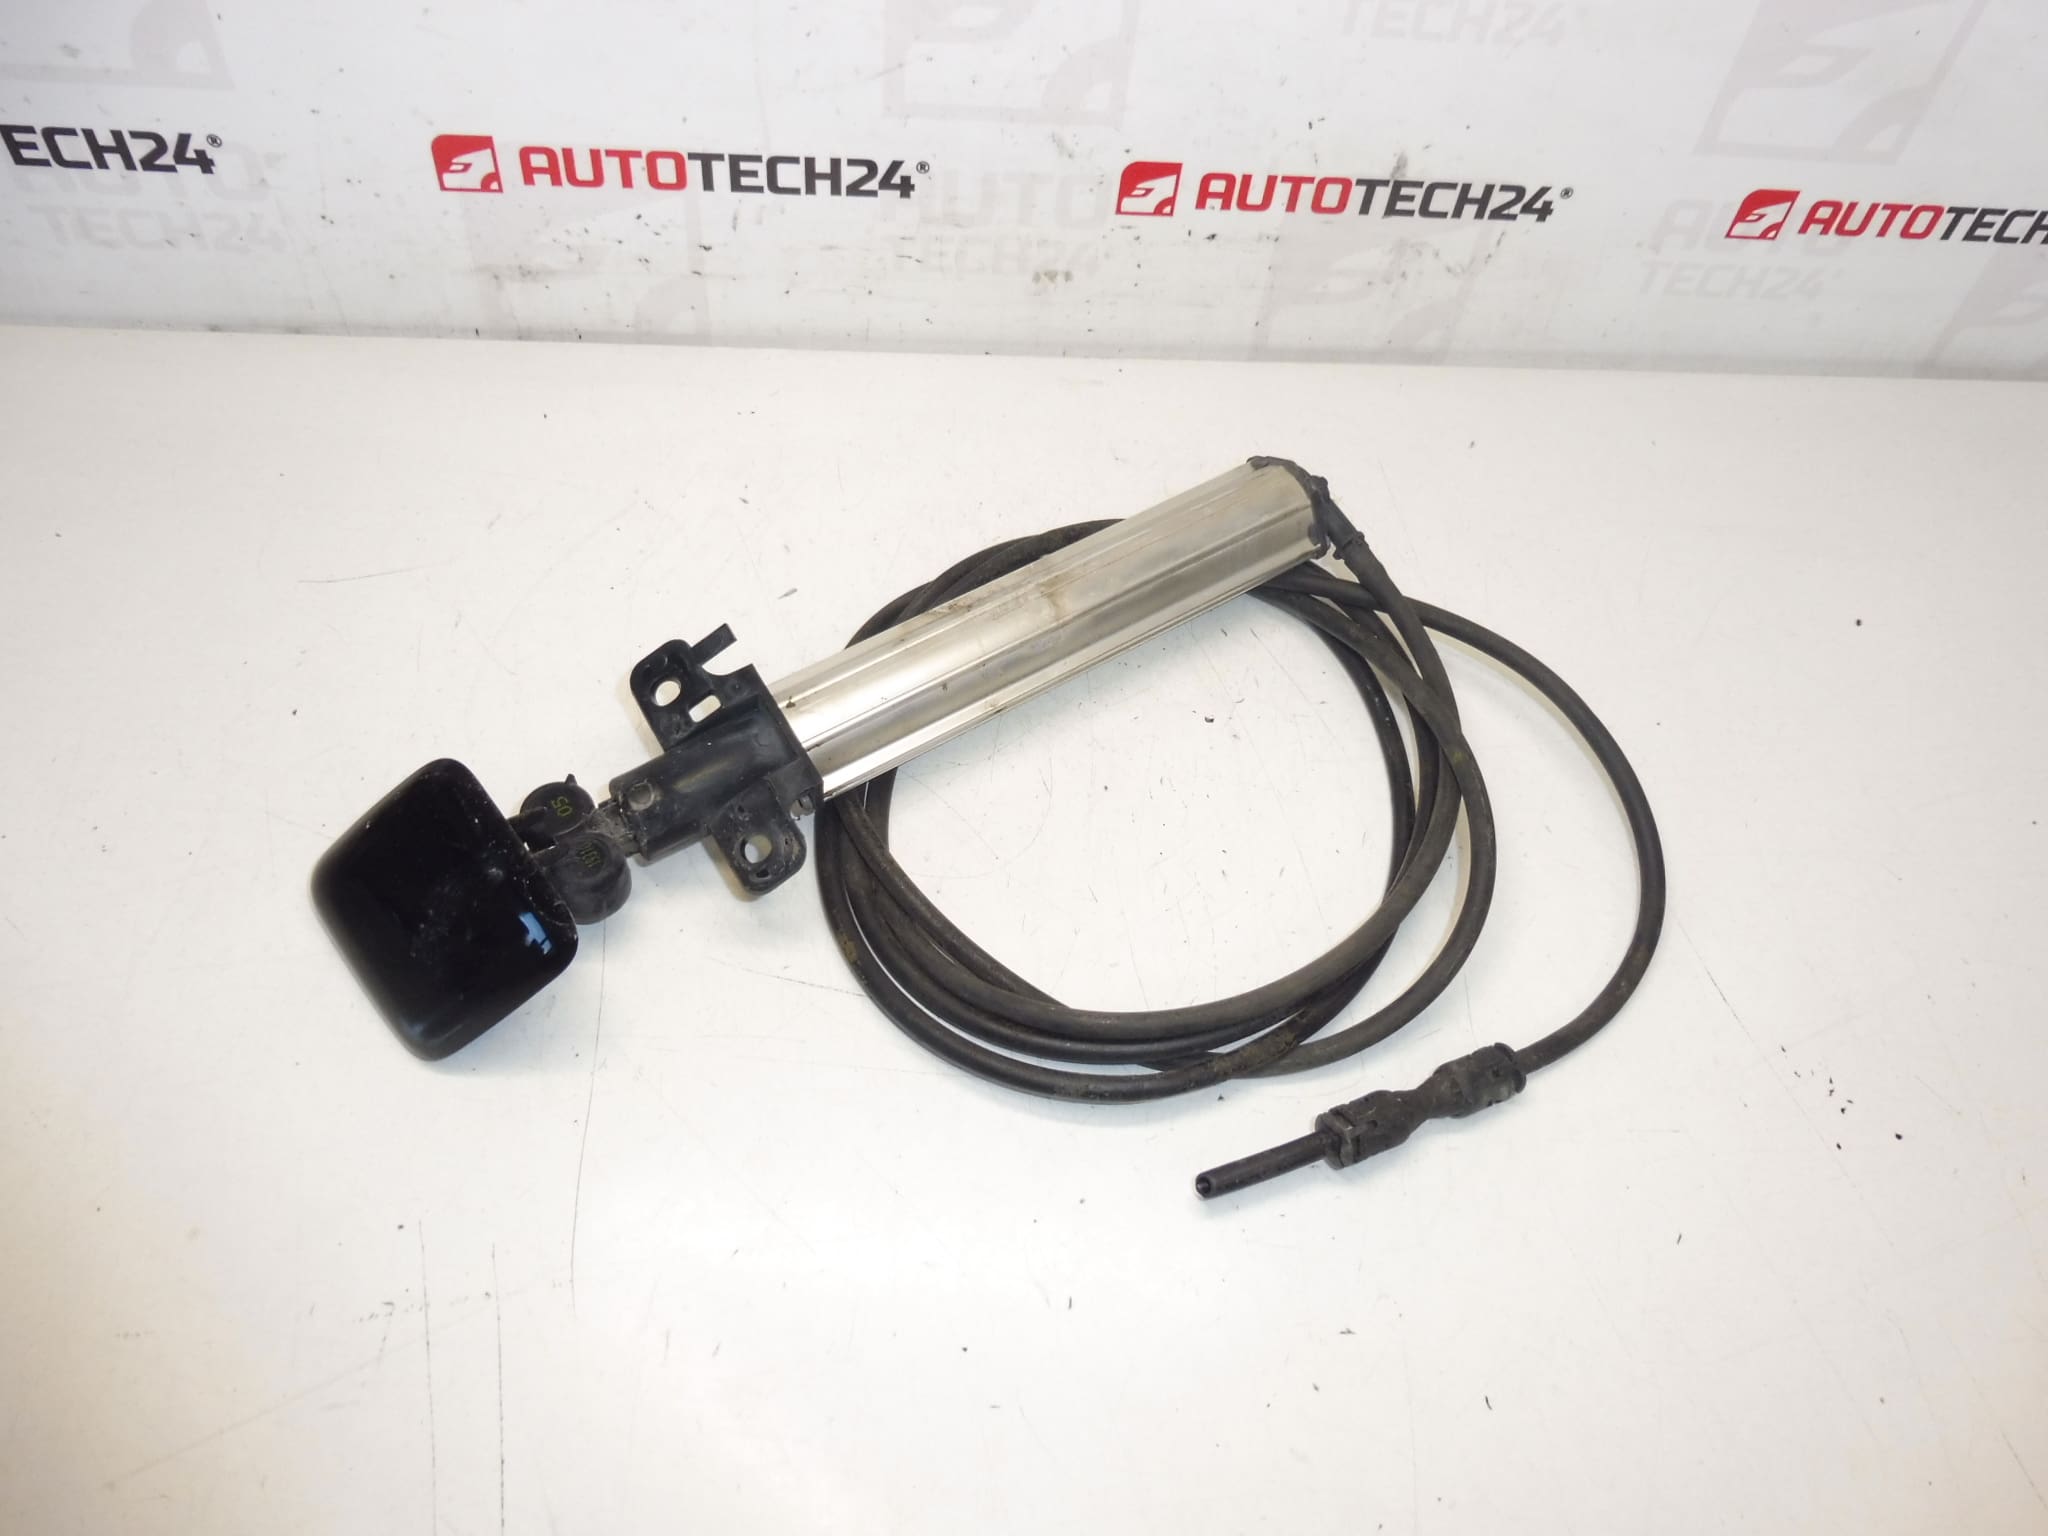
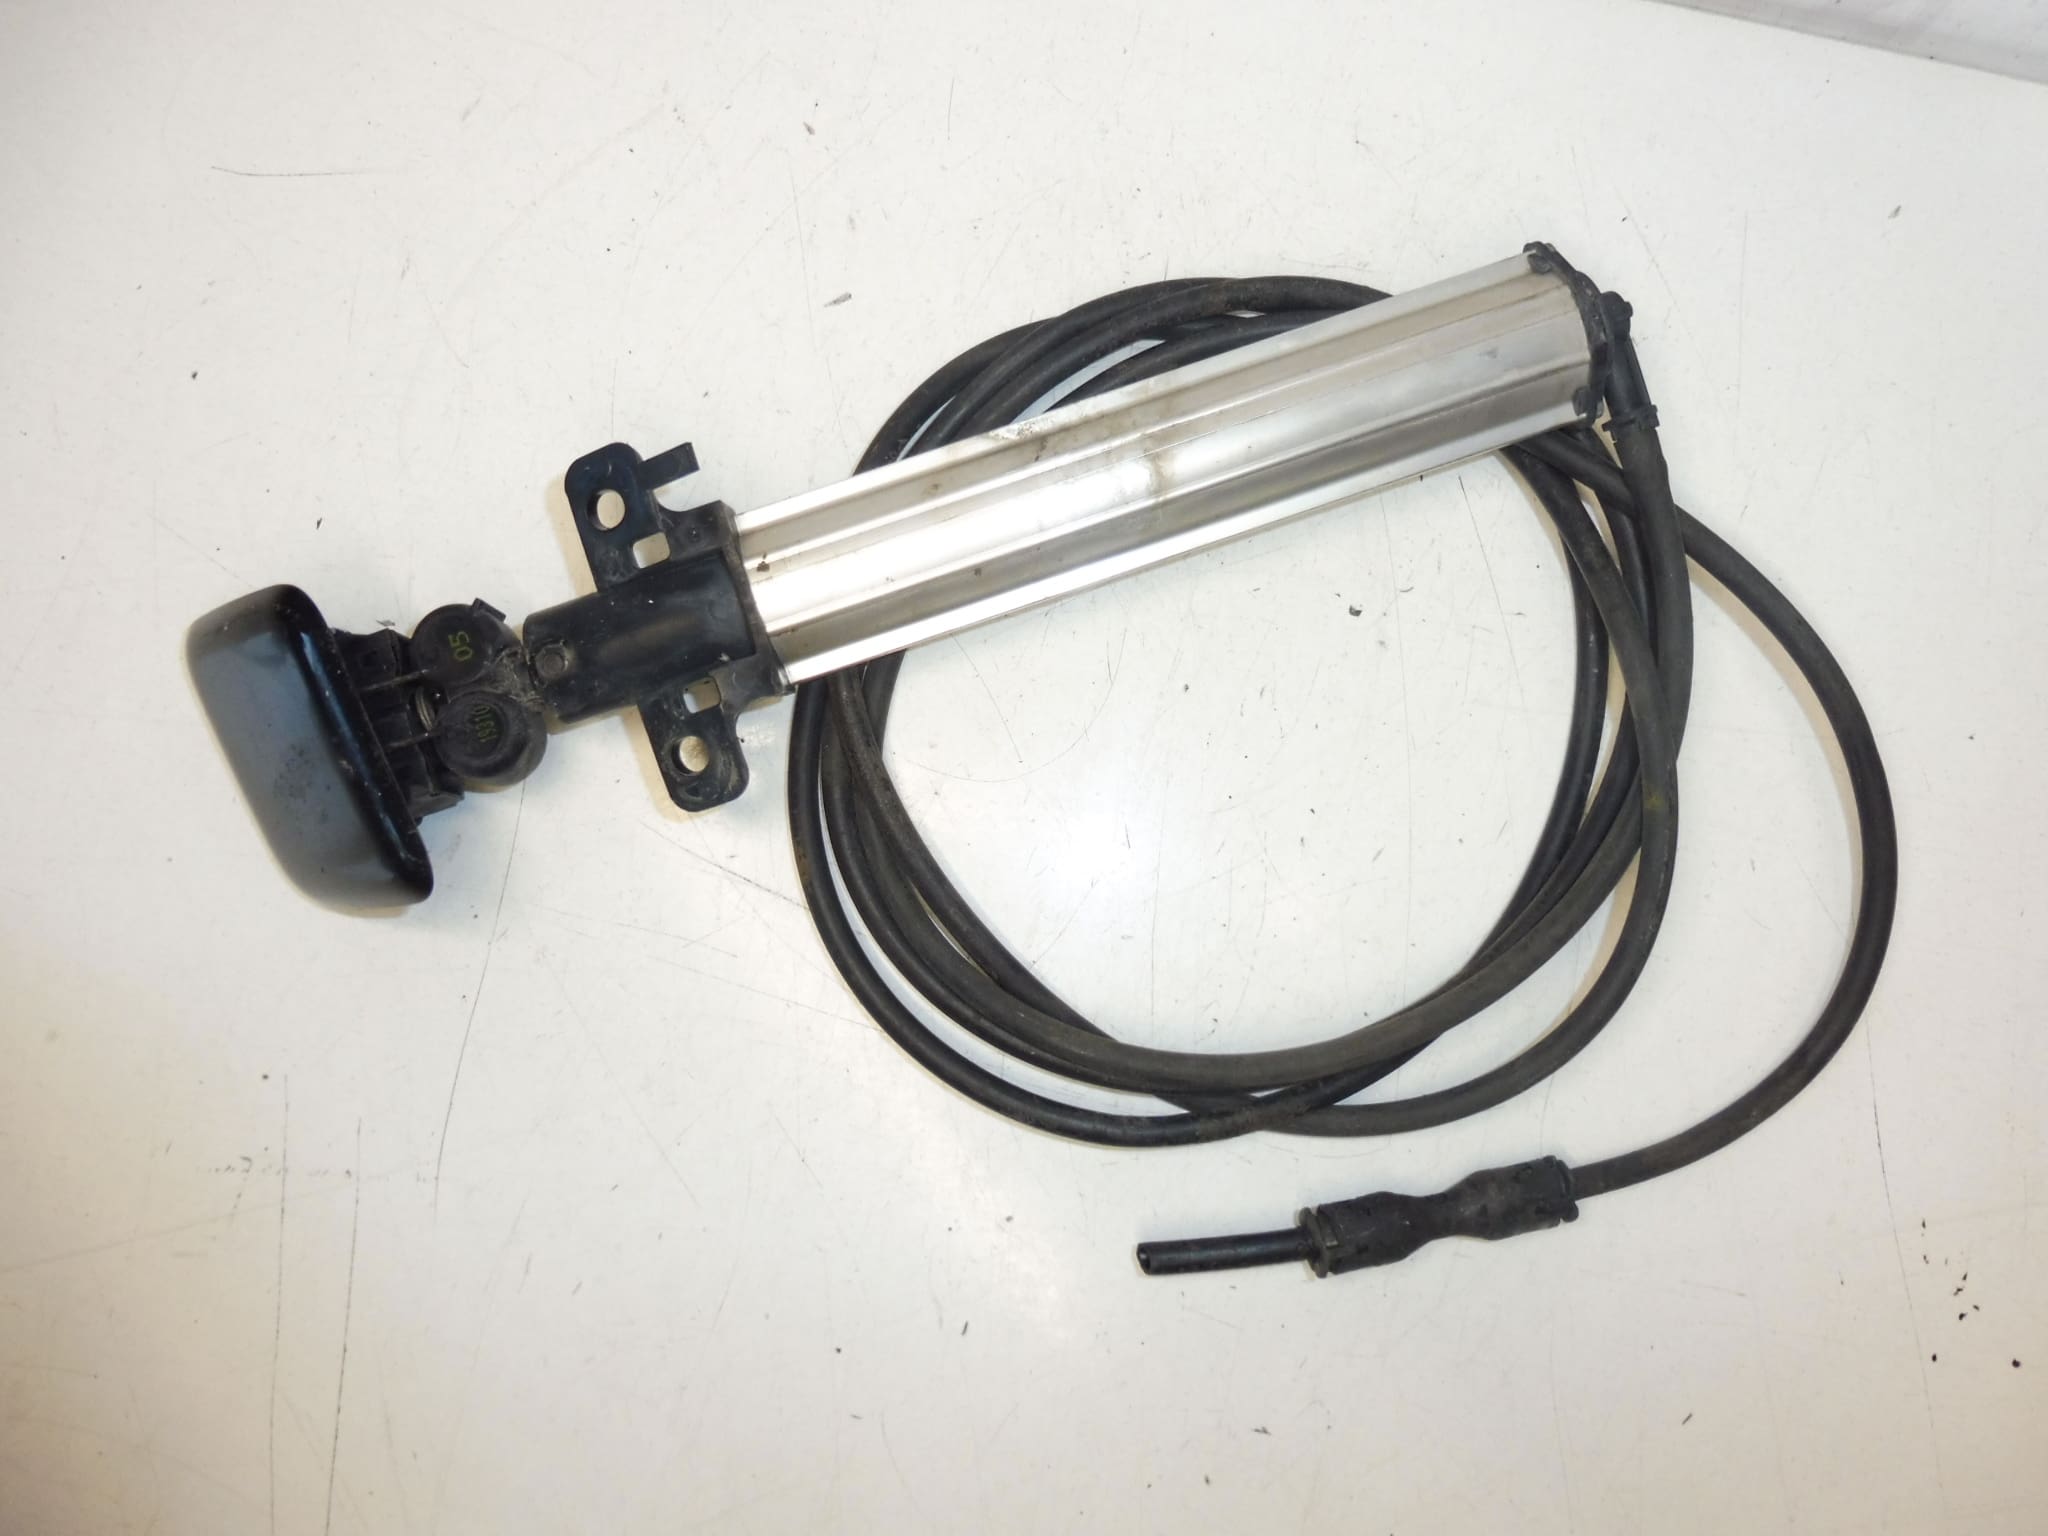
Left headlight washer nozzle with cap and hose for Peugeot 308 T7 cars
KTV cap color – BLACK PEARL NERA LACQUER
Part description
This left headlight washer nozzle is for the Peugeot 308 T7 and comes with a cap and hose. It is a practical part for restoring the correct function of the headlight washer and the original appearance of the car.
The part includes a cap in the color KTV – lacquer black pearl nera, which is especially important when replacing a damaged or missing original part. Parts of this type are often searched for by production codes, so below you will find an overview of the markings for easier finding.
A used original car part is a suitable choice for car mechanics and DIYers who are looking for a functional spare part for repairs without the need for further modifications.
Technical information
Product codes
- Product codes: 6438Y7, 6438Z0, 6439H8, 6433C4
- Models: Peugeot 308
Installation recommendations
Generally/typically for headlight washer nozzle replacement, the exact procedure may vary depending on the specific car design and access to the part.
1) Before assembly
- Check whether the new part corresponds to the original shape, attachment, design of the cover and connection of the tube.
- Compare the product codes on the old and new part if they are readable on the part.
- Check the condition of the tubing, retaining latches and cap for cracks or deformation.
- Before assembly, check the cleanliness of the spray system and any dirt in the area where the part is placed.
2) Necessary tools and materials
- A common set of hand tools
- Plastic crowbar or tool for gentle removal of covers and linings
- Clean cloth
- Preparation for cleaning dirt from contact surfaces
- Protective gloves
3) Step-by-step assembly procedure
- Secure the vehicle against movement and prepare enough space to work.
- According to access to the part, remove obstructing covers or parts of the trim, if necessary.
- Carefully disconnect the washer hose from the original nozzle so as not to damage it.
- Release the original nozzle from its mounting and remove it with the cap, if it is part of the unit.
- Check the condition of the attachment at the installation site and remove any dirt or remnants of damaged parts.
- Compare the old and new part side by side, especially the orientation, length of the tube and the method of securing.
- Place the new part in the correct position and gently click or fasten it according to the design.
- Connect the washer hose and verify that the connection is properly seated and not loose.
- Check the correct alignment of the cap with the surrounding body parts.
- Reinstall any removed covers or trim.
-
4) Post-assembly checks and function verification
- Visual check that the nozzle and cap are properly seated.
- Verify that the tubing is not leaking or kinked.
- Test the headlight washer function and see if the fluid flows without leaking.
- After the functional test, recheck the attachment and the surrounding area of the assembly.
5) The most common assembly mistakes + how to avoid them
- Part exchange – always compare shape, fit and product codes before assembly.
- Latch damage – use adequate force and suitable plastic tools during disassembly and assembly.
- Incorrect seat of the cap – check alignment with the surroundings before completing the assembly.
- Overview of dirt – clean the contact surfaces and the mounting area before assembly.
- Mechanical damage during parking or minor impact to the front of the car.
- Cracking or breaking of the cap due to the age of the material and repeated use.
- Clogging of the system with dirt that can impair the washing function.
- Damage to tubing or connection, which may cause fluid to leak.
- Inconvenient disassembly during repairs around the headlight or bumper.
- Frost action if there was no suitable operating fluid in the system.