Description
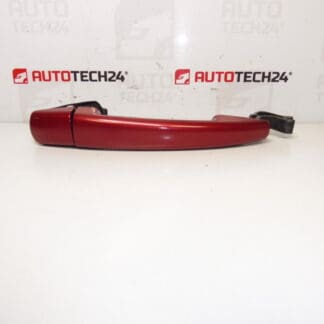
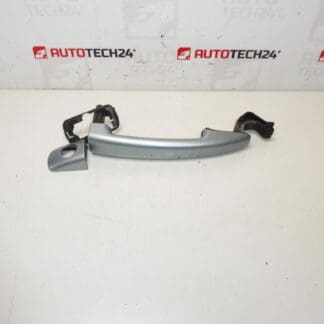
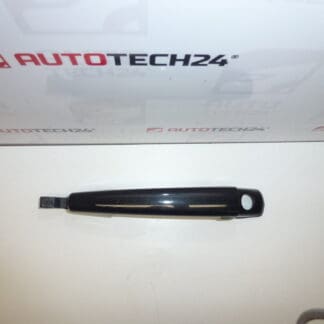
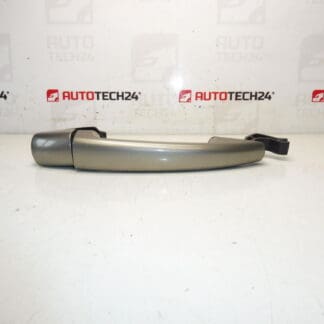
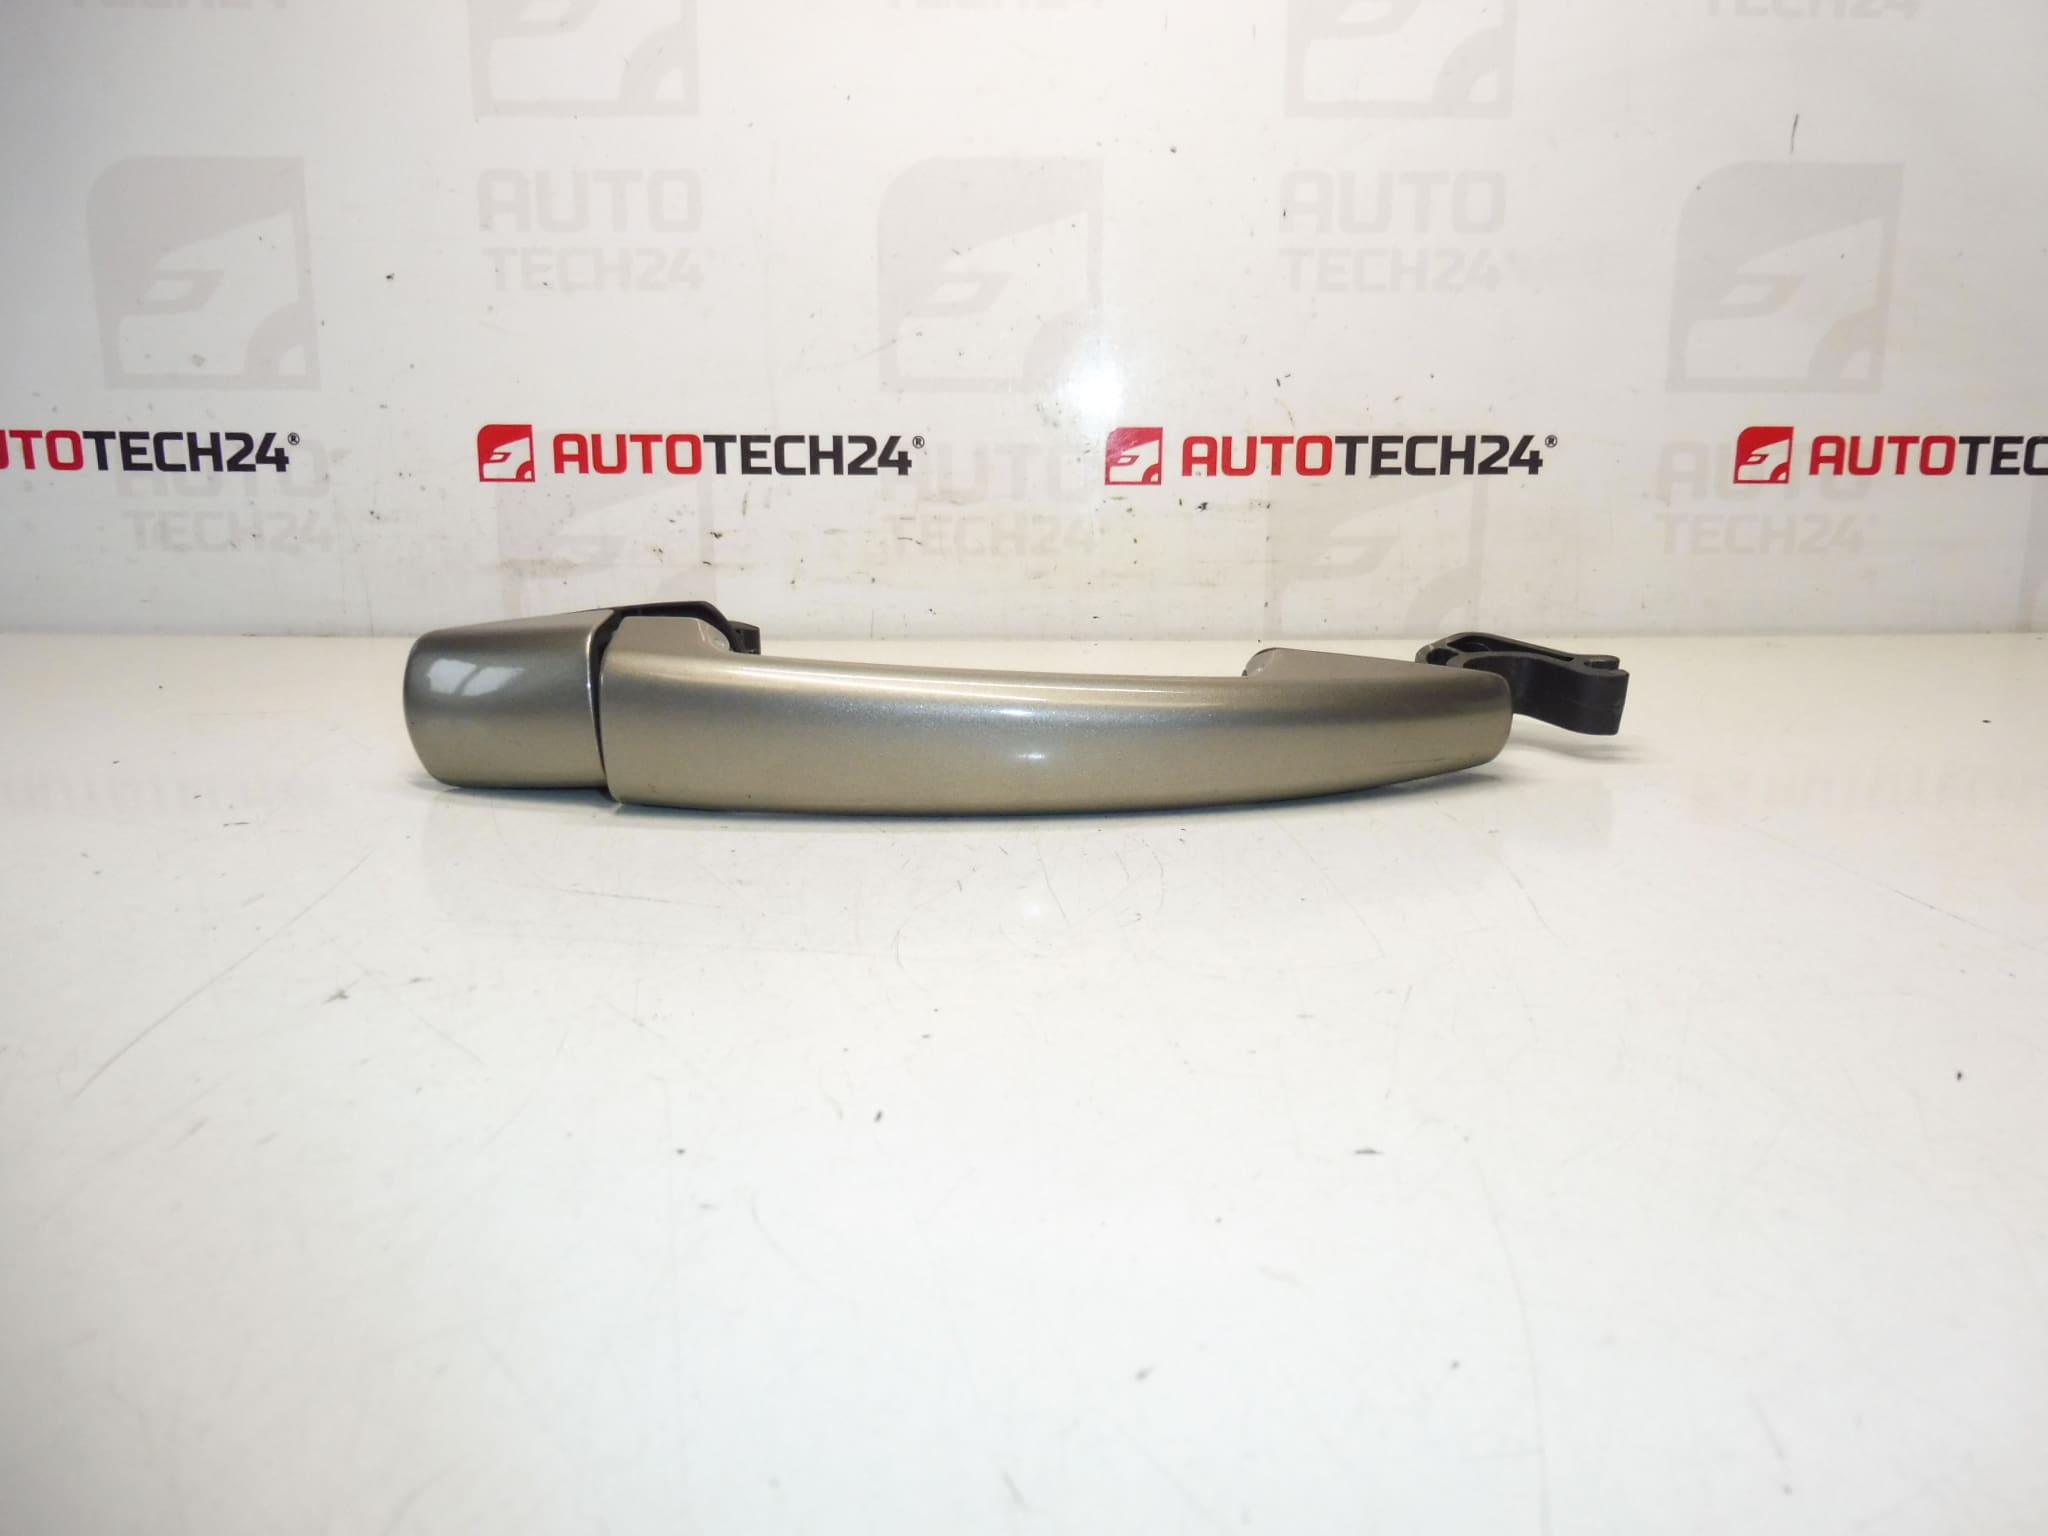
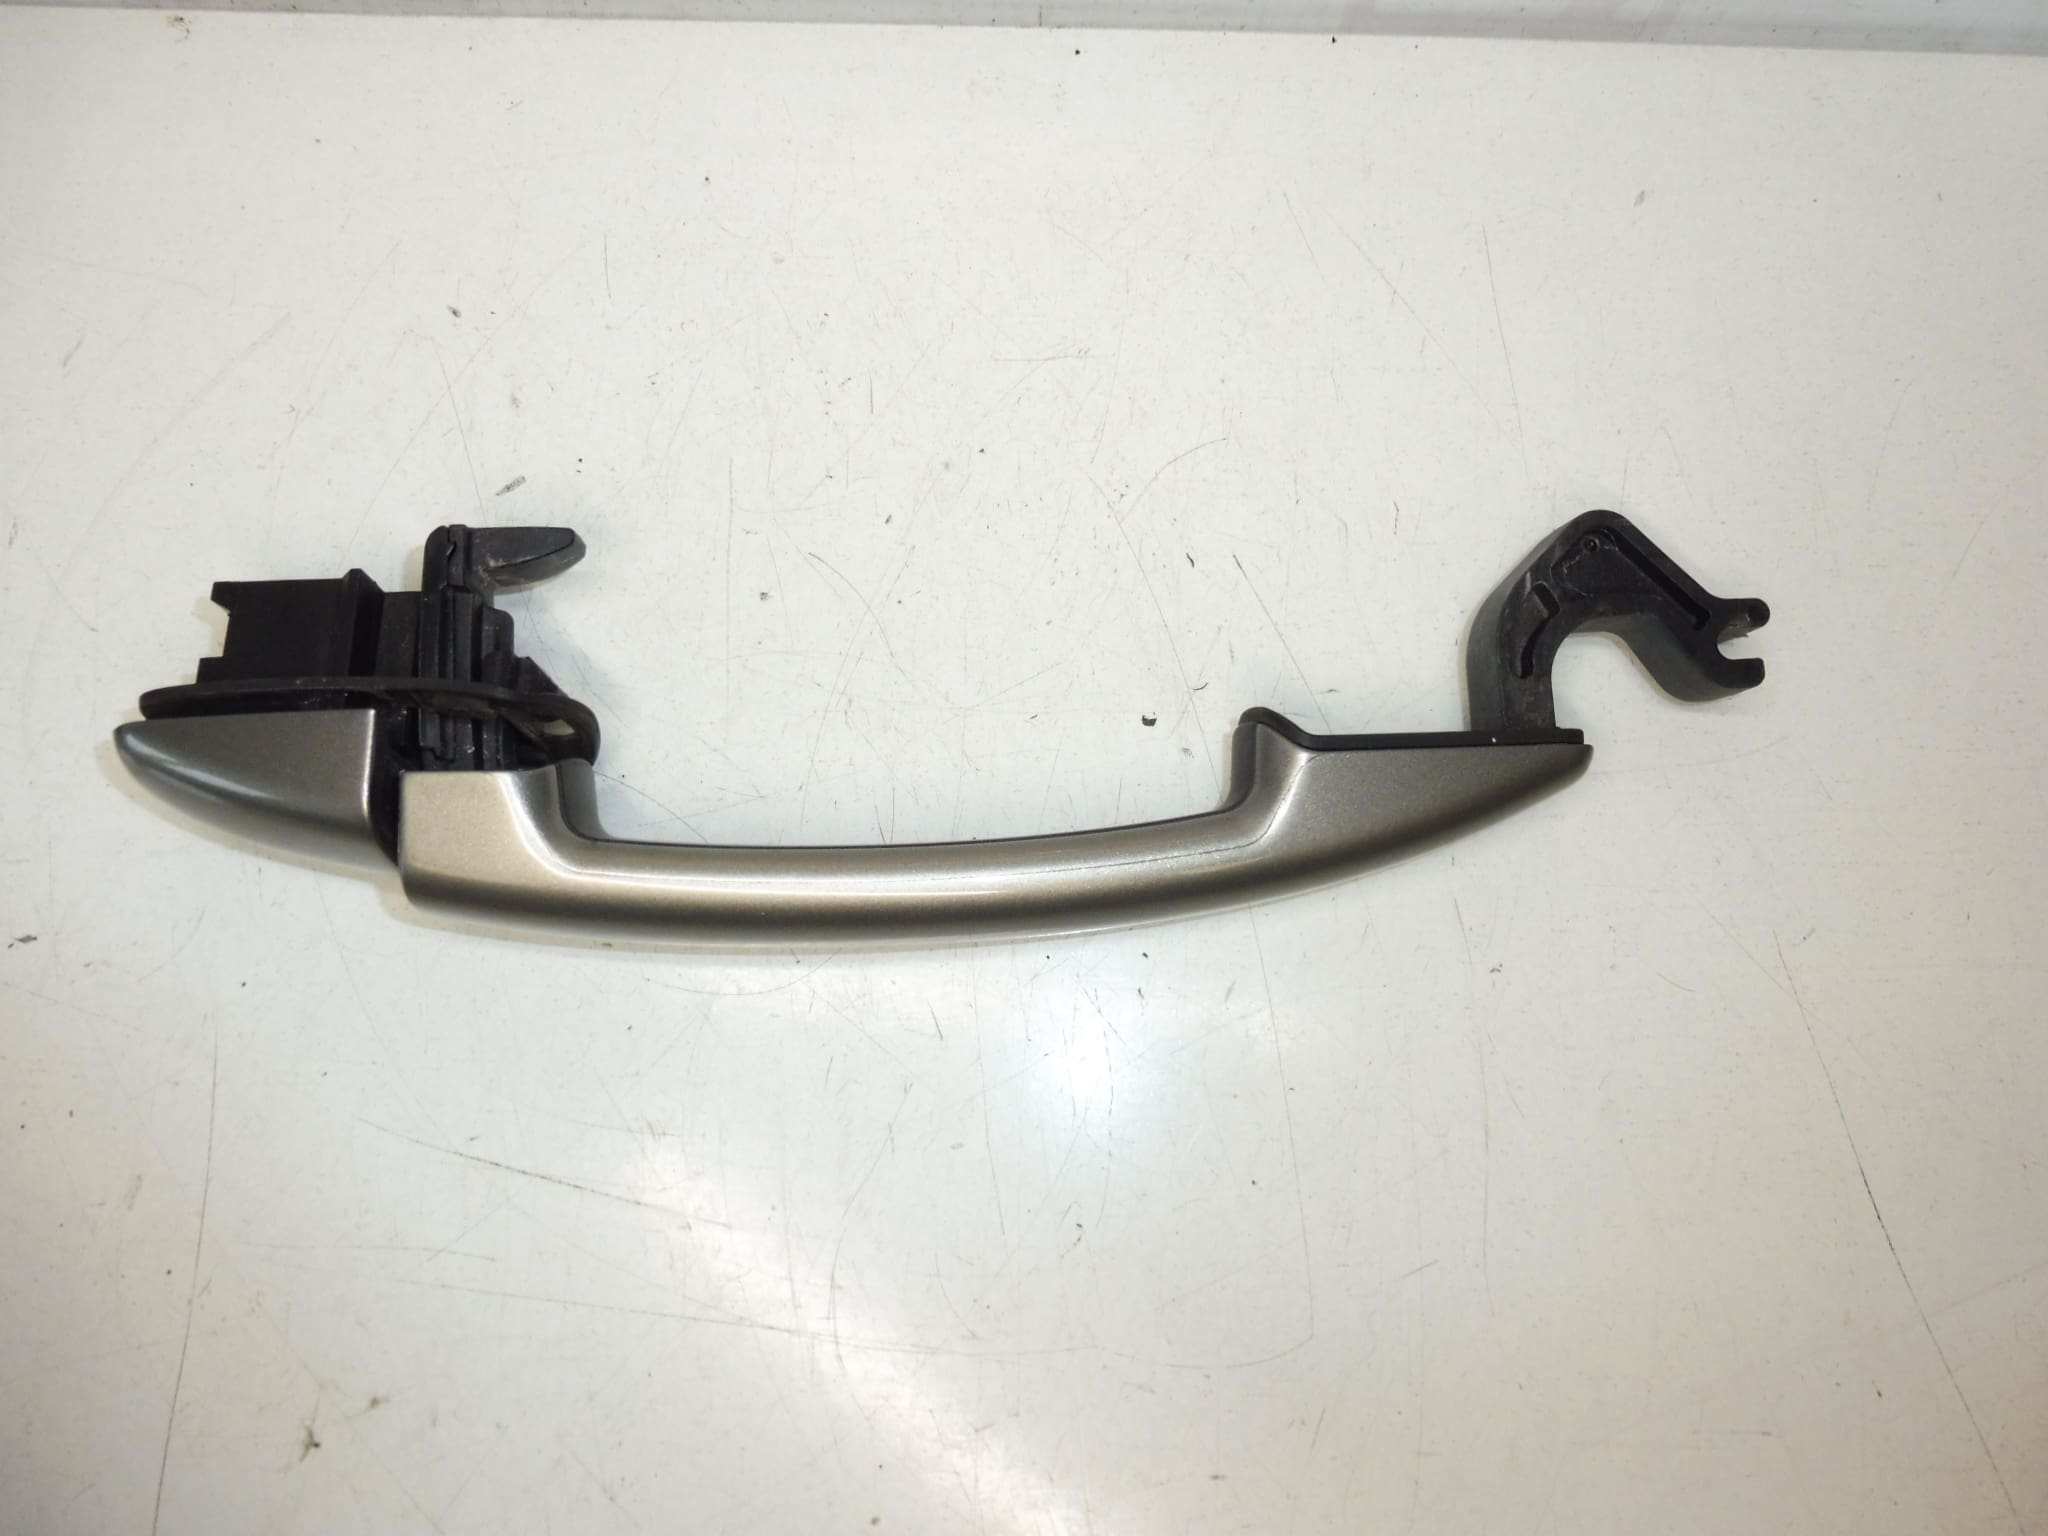
Left rear and right front and rear door handle for Citroën and Peugeot vehicles. Color EVG – Vapor Gray paint.
Replacement exterior door handle designed for left rear and right front/right rear doors on a range of Citroën and Peugeot models. Finished in EVG (Vapor Gray) paint to match original exterior trims. This part is aimed at professional mechanics and experienced DIYers who need a direct-fit solution that restores function and appearance after impact, wear or paint damage. The handle is supplied ready to fit and is commonly searched by product code 9101GH, helping you find the correct item quickly.
Fitment And Compatibility
Compatible With Many Stellantis Platforms. Typical Applications Include: Citroën Berlingo B9, Citroën C4 II (C4 Picasso), Citroën C4 Picasso, Peugeot 2008, Peugeot 207, Peugeot 308, Peugeot Partner, Peugeot Partner Tepee, Berlingo III, Partner III, Jumpy III, Expert III. Always verify model year and door side when selecting the part.
Technical Information
- Manufacturer: Stellantis / Citroën / Peugeot
- Model: 2008; 207; 308; Berlingo III; Partner III; C4 Picasso; Jumpy III; Expert III; Berlingo B9; C4 II; Partner Tepee
- Product Codes: 9101GH, EVGC
- Additional Numbers: N/A
Function
The Exterior Door Handle Operates The Latch Mechanism Via A Mechanical Linkage Or Cable, Allowing The Door To Open From The Outside. It Provides The Primary User Interface For Access And Contributes To Vehicle Aesthetics. Proper Fitment Ensures Smooth Operation And Prevents Water Ingress Or Rattles.
Installation Recommendations
Replacement Is Straightforward For A Trained Technician. Typical Steps:
- Remove Inner Door Trim Panel Using Trim Tools To Avoid Damage To Clips.
- Disconnect Lock Rod Or Cable From The Old Handle—Take Note Of Clip Positions.
- Unscrew Retaining Bolts Or Nuts Holding The Exterior Handle In Place And Remove The Old Handle.
- Install New Handle, Secure Fasteners To Correct Torque, And Reconnect Linkage Ensuring Correct Engagement.
- Reinstall Door Trim Panel And Test Handle Operation Several Times To Confirm Smooth Movement And Proper Locking.
Recommended Tools: Trim removal tool, Phillips/Torx screwdrivers, 8/10 mm sockets, pliers and a torque driver for fasteners where required. Work In A Clean Area And Protect Painted Surfaces From Scratches During Fitting.
Why The Part Fails Most Often
Common Causes Of Failure Include Mechanical Wear Of Internal Components, Broken Plastic Tabs Or Clips Due To Forceful Use Or Impact, Corrosion Of Fasteners, And UV/Weather-Related Degradation Of The Painted Finish. Door Handles On High-Use Doors Or Vehicles That Have Suffered Side Impacts Are More Prone To Damage.
This Door Handle Is A Practical Replacement To Restore Both Function And Visual Consistency On Affected Doors. Clear Product Codes Like 9101GH And The EVG Color Reference Help Speed Up Part Selection For Busy Workshops And DIY Repairs.