Description
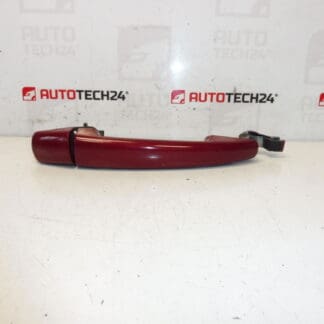
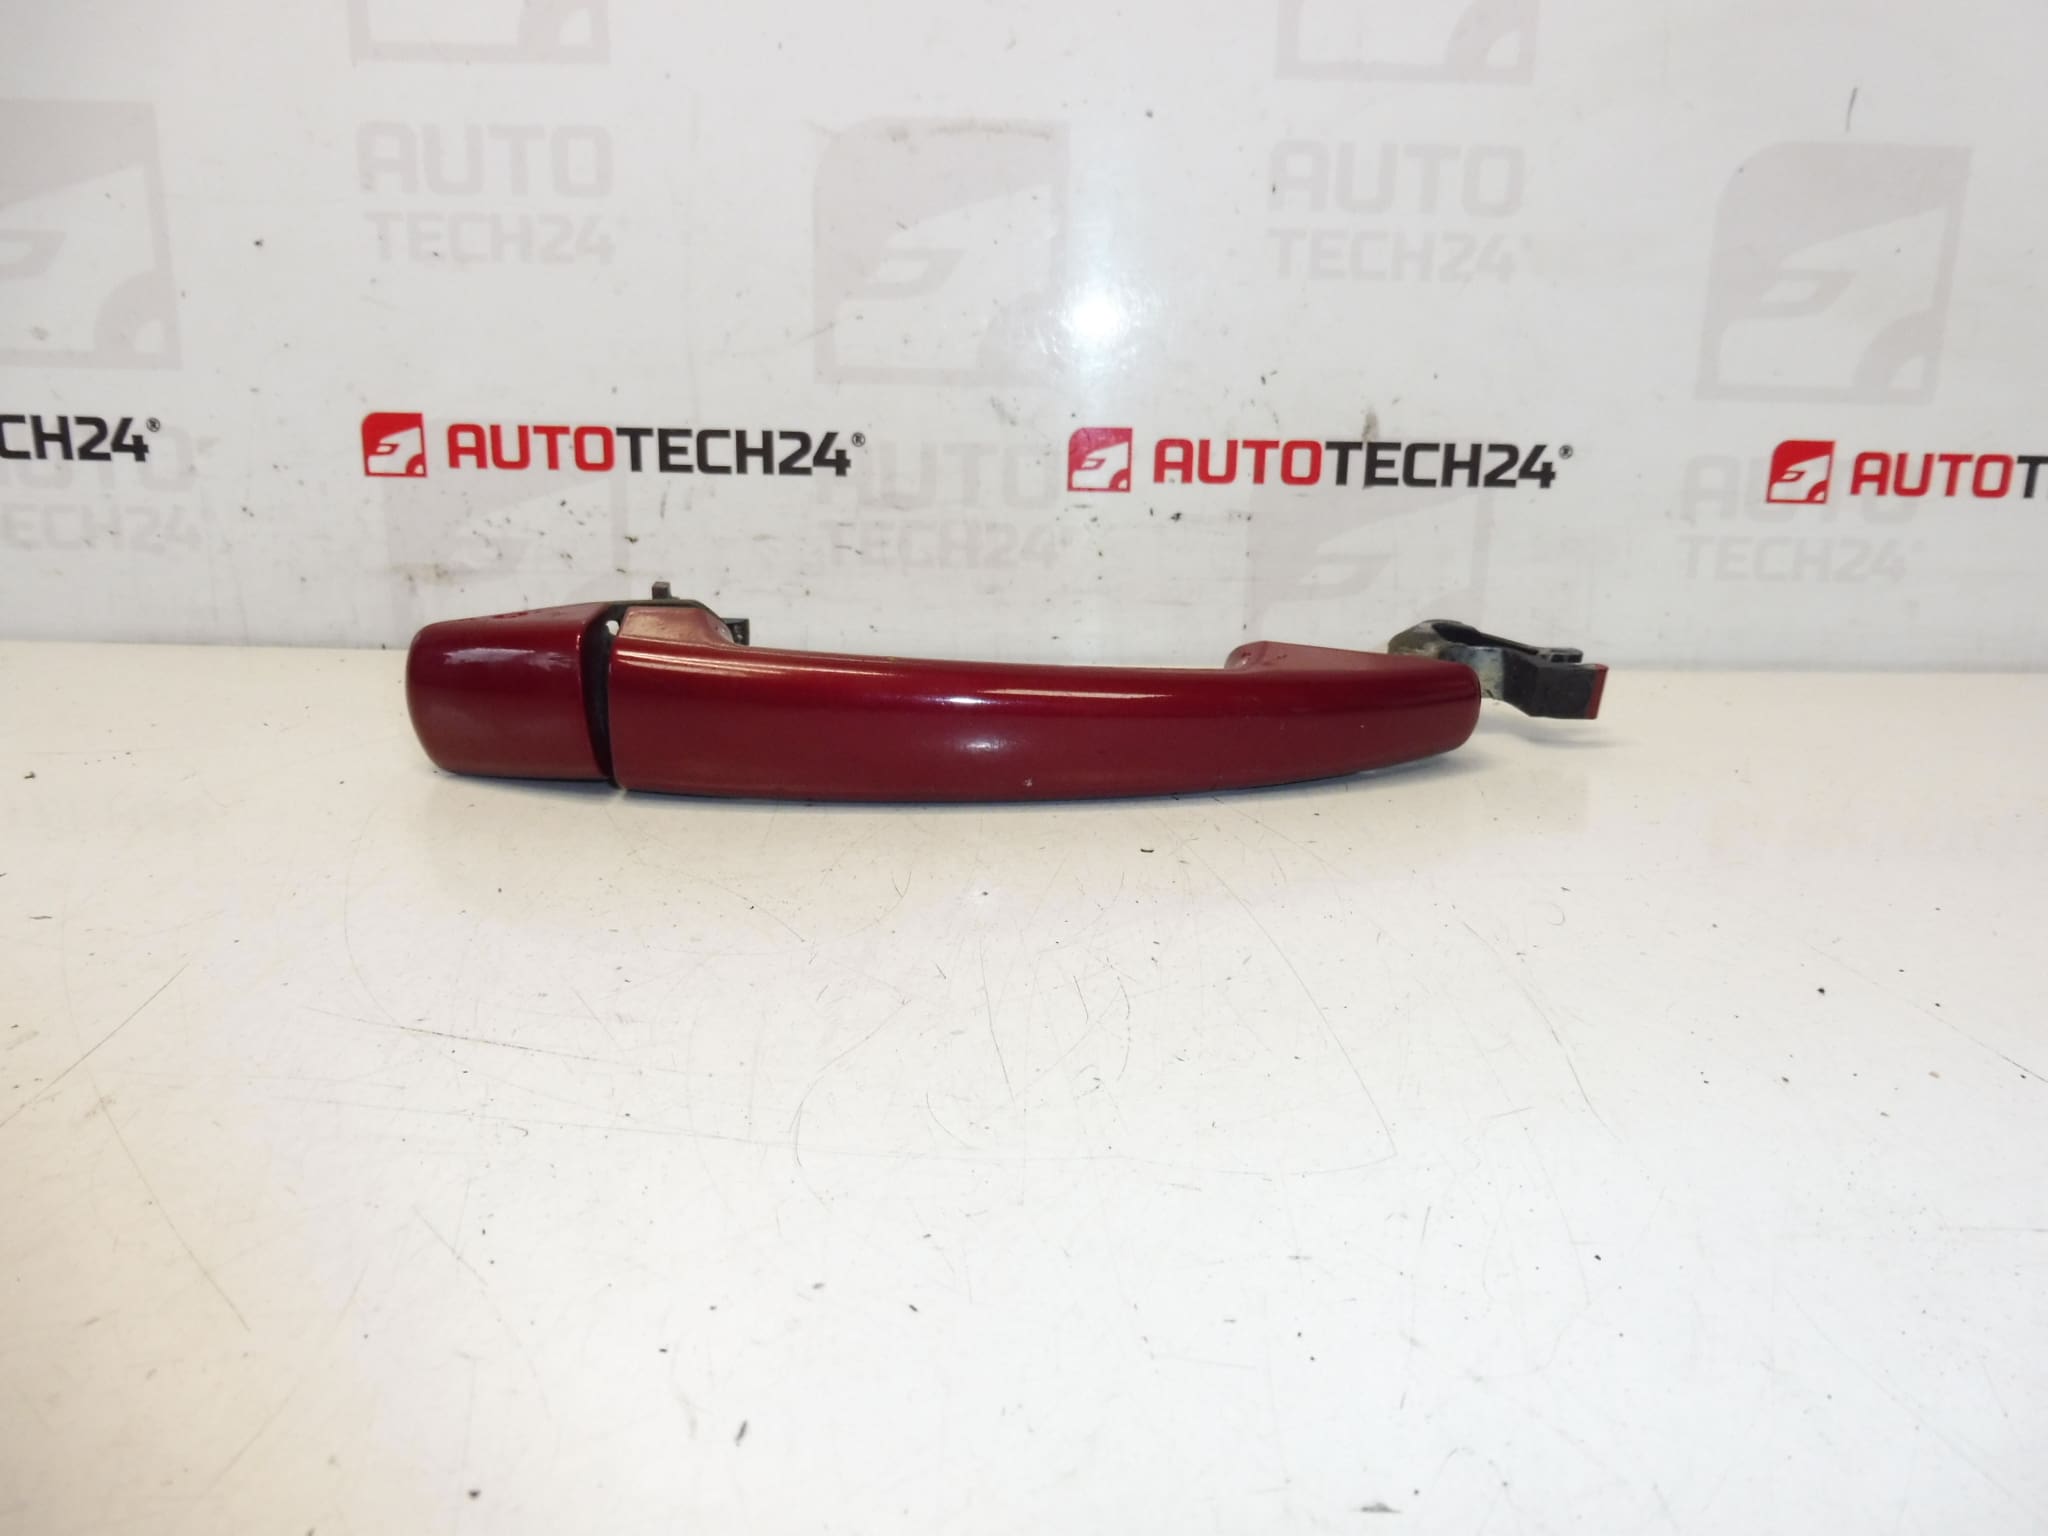
Crank right front and rear and left rear for CITROEN C4 and C6, PEUGEOT 407
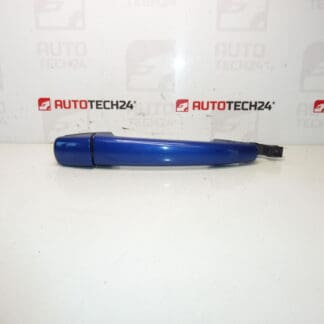
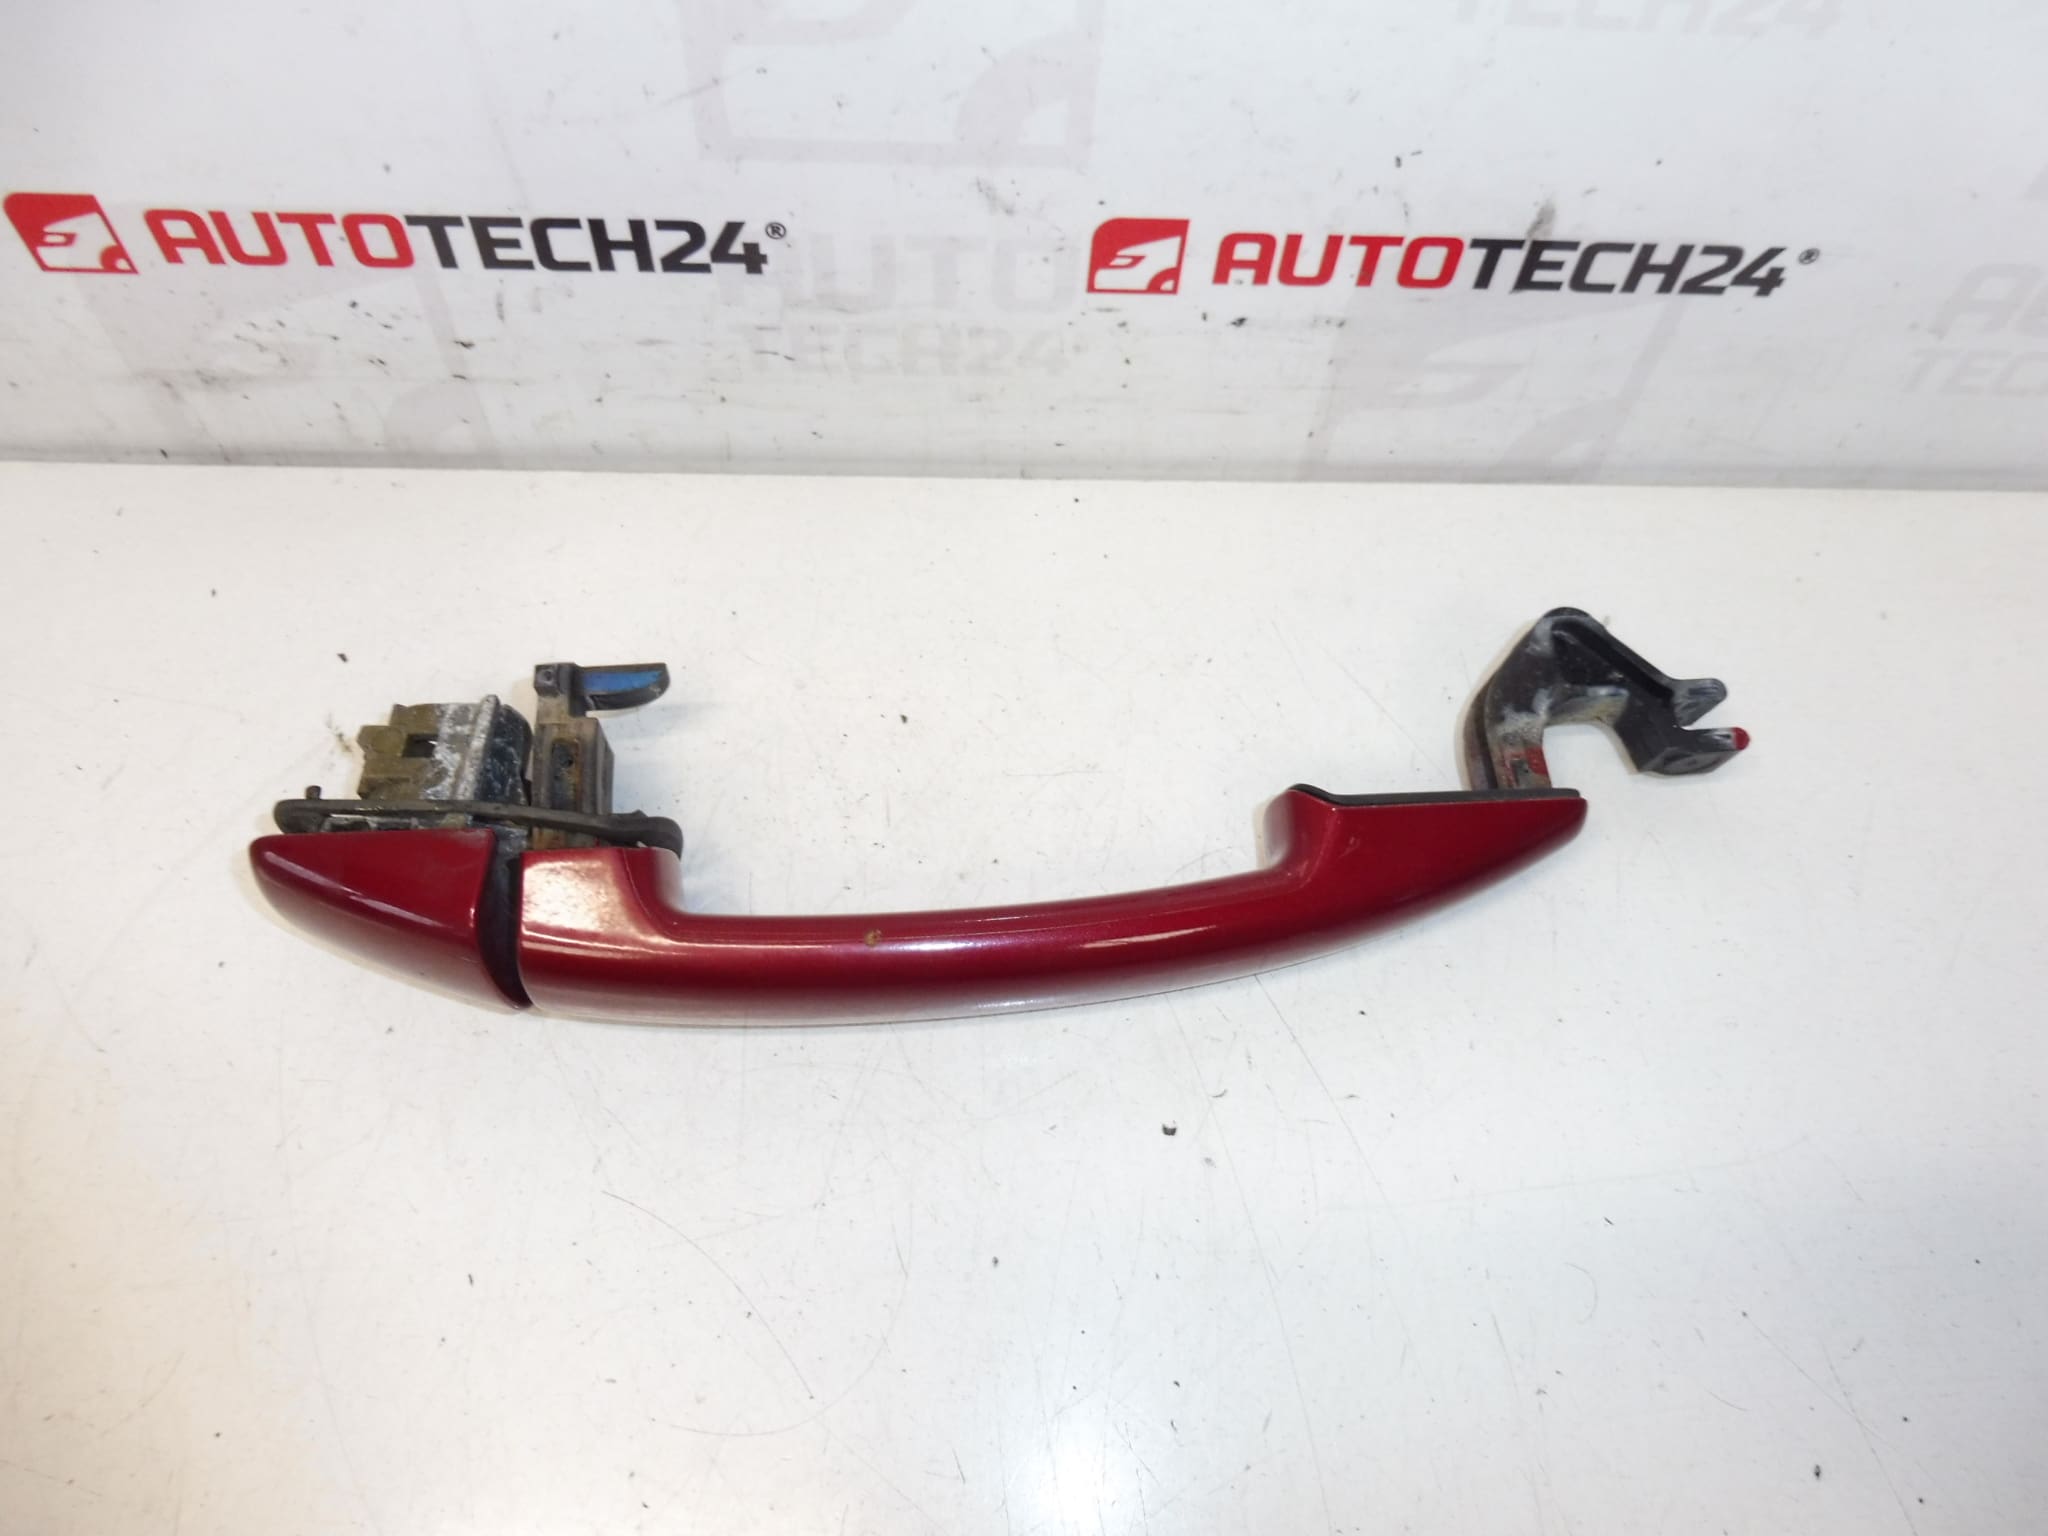
Color KKQ – DEEP RED PAINT
Part description
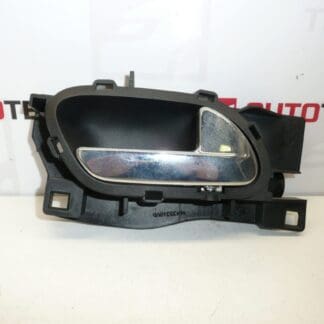
The used door handle Citroën Peugeot KKQD 9101ER is suitable for the cars listed in the documents and represents a practical solution when replacing a damaged or non-functional door handle. Thanks to the original design, it follows the appearance of the body well and preserves the original character of the car.
This part is particularly sought after under the designations 9101ER and KKQD. It is important for auto mechanics and DIYers that it is a part from the category of bodywork components, where the matching of shape, attachment and color design is essential. The color KKQ – profond red lacquer is listed for this piece.
The handle is designed to replace a worn, cracked or otherwise damaged original part. Replacing a correctly selected door handle helps to restore the convenient opening of the door and the overall appearance of the car.
Technical information
- Manufacturer: Stellantis Citroën Peugeot
- Model: Citroën C4, Citroën C6, Peugeot 407
- Other numbers: KKQD, KKQ
Product codes
- Product codes: 9101ER, KKQD
- Model names: Citroën C4, Citroën C6, Peugeot 407
Installation recommendations
Generally/typically for this type of part, the exact method of replacing a door handle depends on the specific design of the door and the construction of the car. Below is a practical general procedure for replacing a door handle on cars of this category.
1) Before assembly
- Check whether the new used part matches the old piece in terms of shape, attachment, side of use and color design.
- Compare the marking 9101ER and KKQD if available on the original or replacement part.
- Check the condition of the visible part of the handle, attachment points and any moving parts.
- Check the part for cracks, deformation or excessive wear.
2) Necessary tools and materials
- regular set of screwdrivers and sockets
- plastic pry bar for panel removal
- detergent for removing dirt
- soft cloth
- optionally a small hand light to check the mounting area
3) Step-by-step assembly procedure
- Secure the vehicle against movement and open the appropriate door.
- Remove the inner door trim to access the handle mechanism.
- Carefully disconnect or loosen the related parts that prevent access to the crank mount.
- Check how the original handle is attached and connected to the control mechanism.
- Undo the old crank fasteners and carefully remove the part.
- Compare the old and new handle side by side, especially the shape, length, attachment and moving parts.
- Clean the contact surfaces and the space around the mounting hole from dust and dirt.
- Place the replacement handle in place and connect it to the original control mechanism in the same way as the original part.
- Tighten the fasteners evenly and without excessive force.
- Before reassembling the trim, test the smoothness of the handle several times.
- After verifying the function, refit all the removed parts and door trim.
- Do a final check of appearance, fit and function when opening and closing the door.
-
4) Post-assembly checks and test drive/function verification
- Try repeatedly opening and closing the door from the outside and inside, if the design allows checking this at the same time.
- Verify that the handle does not show excessive play, does not rub, and returns properly to the starting position.
- Check whether the door closes correctly after assembly and the function of the lock is not impaired.
- After a short run, check again whether the part has come loose.
5) The most common assembly mistakes + how to avoid them
- Swapping the side or position of the crank – always compare the original and the replacement part before assembly.
- Door trim damage during removal – use a suitable plastic pry bar and work carefully.
- Incorrect connection to control mechanism – check for free and smooth operation before tightening.
- Overtightening fasteners – tighten with sensitivity to avoid damaging the handle or attachment.
- normal mechanical wear and tear during long-term use
- cracking when forcefully opening the door
- damage after minor impact or careless handling
- wear of moving parts and mounting
- influence of weather, UV radiation and aging of surface finish