Description
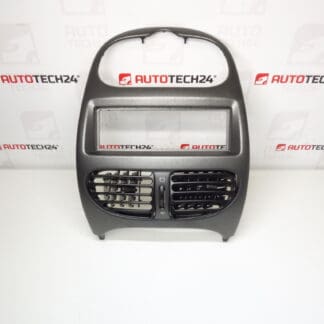
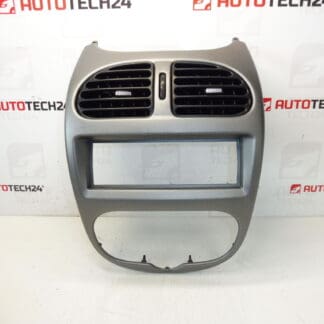
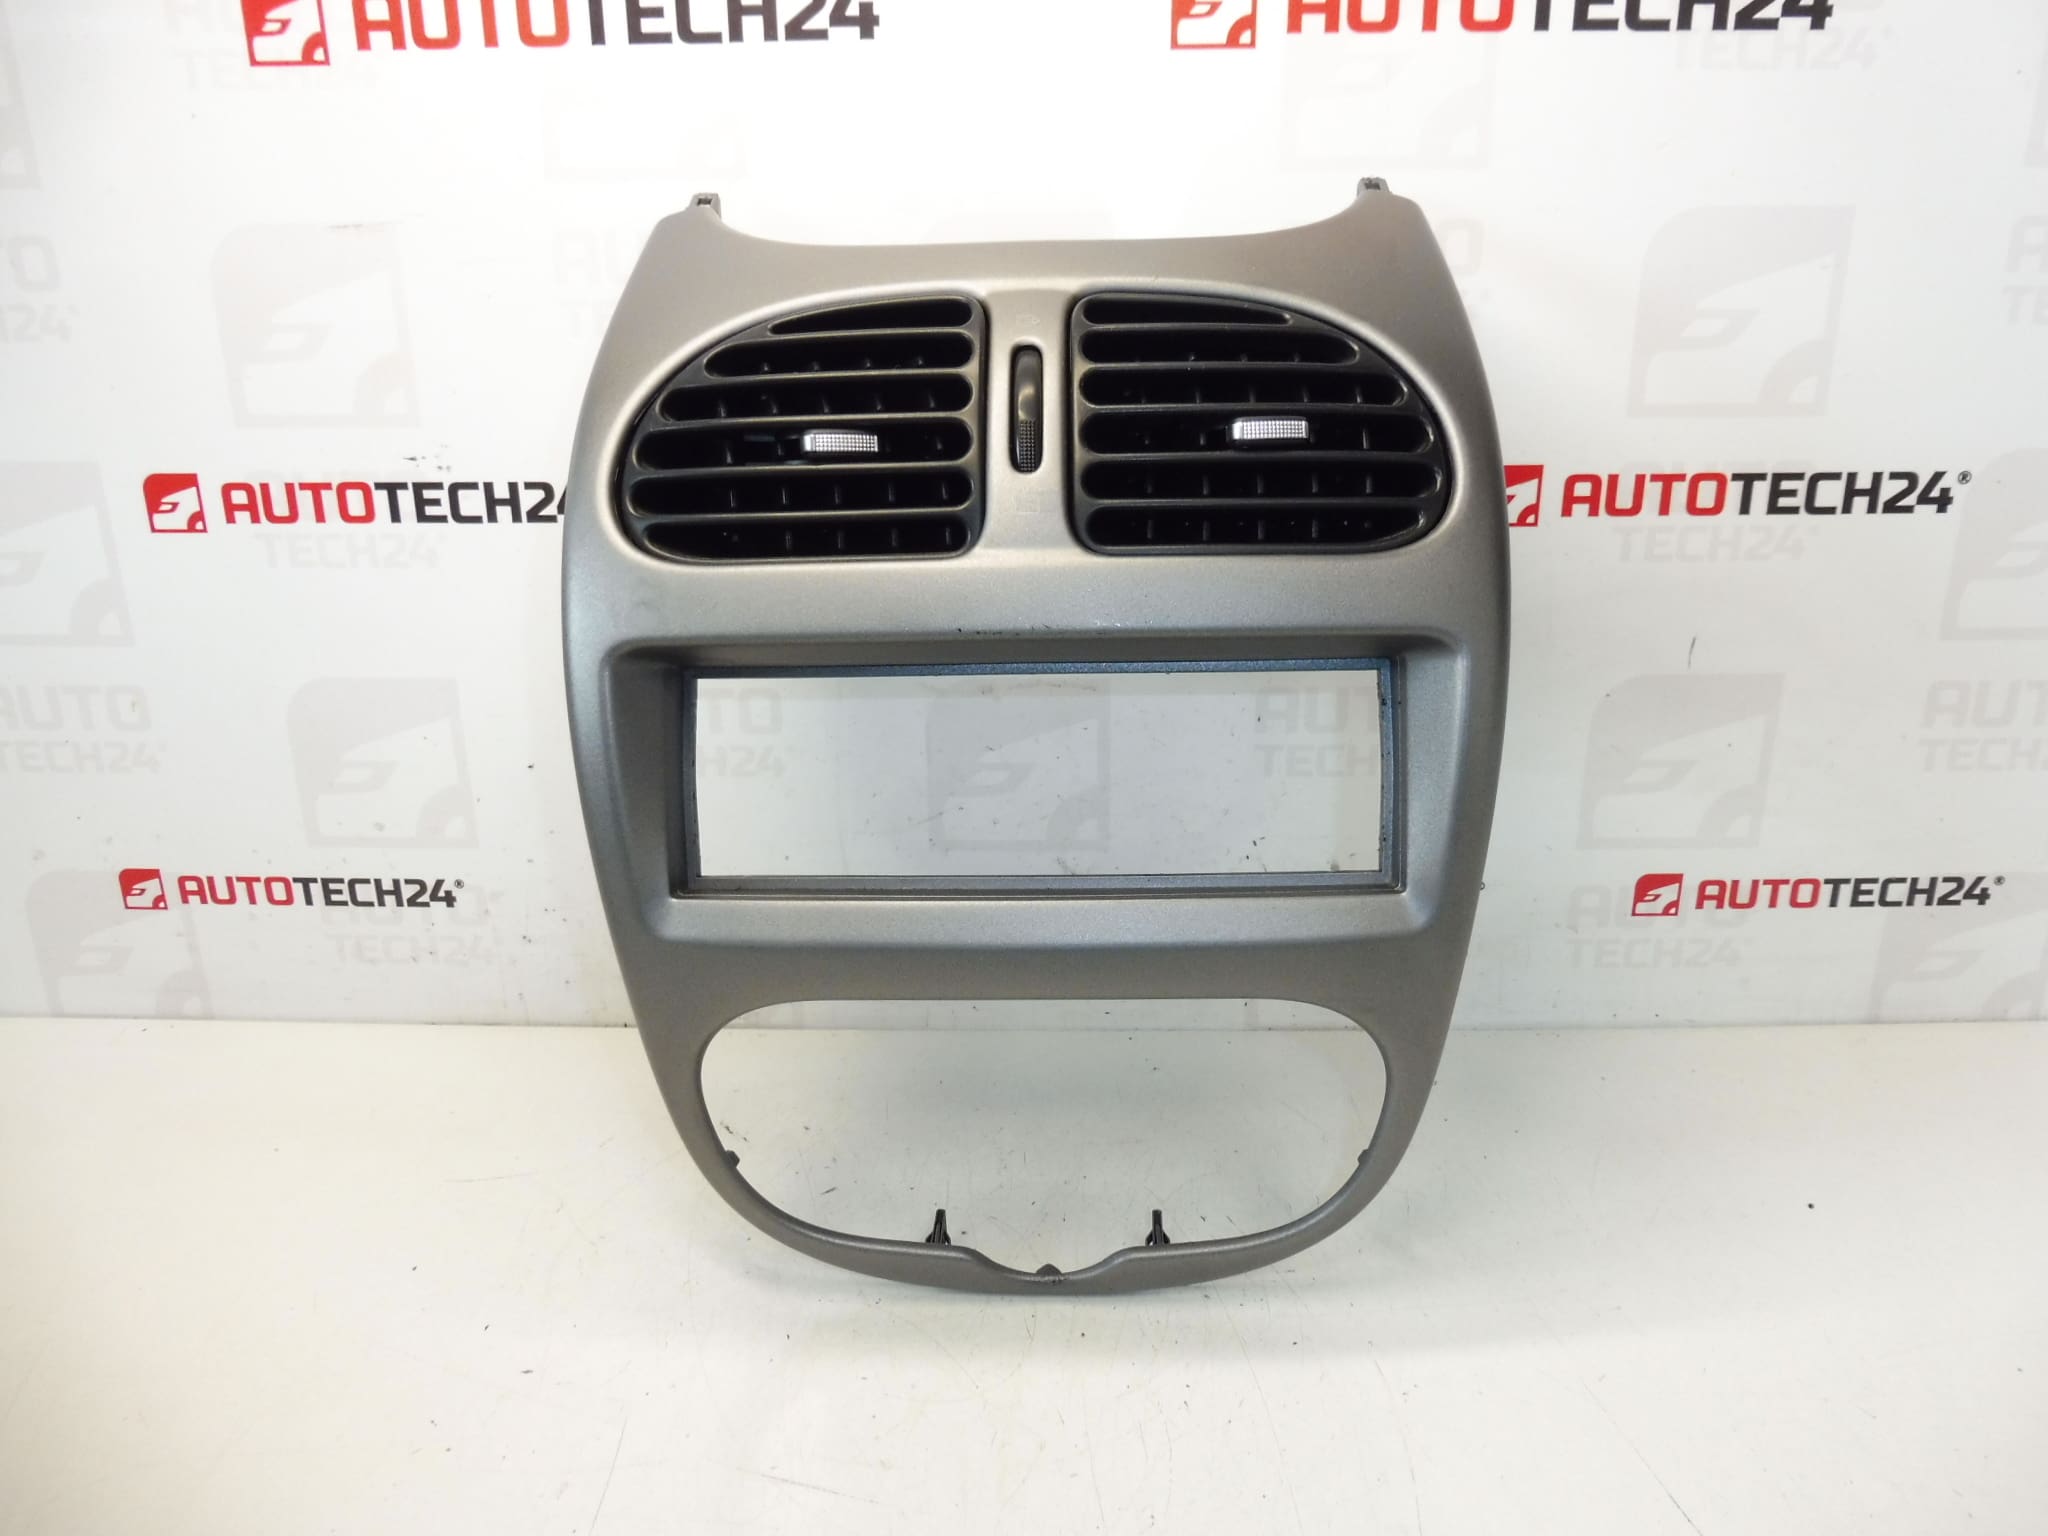
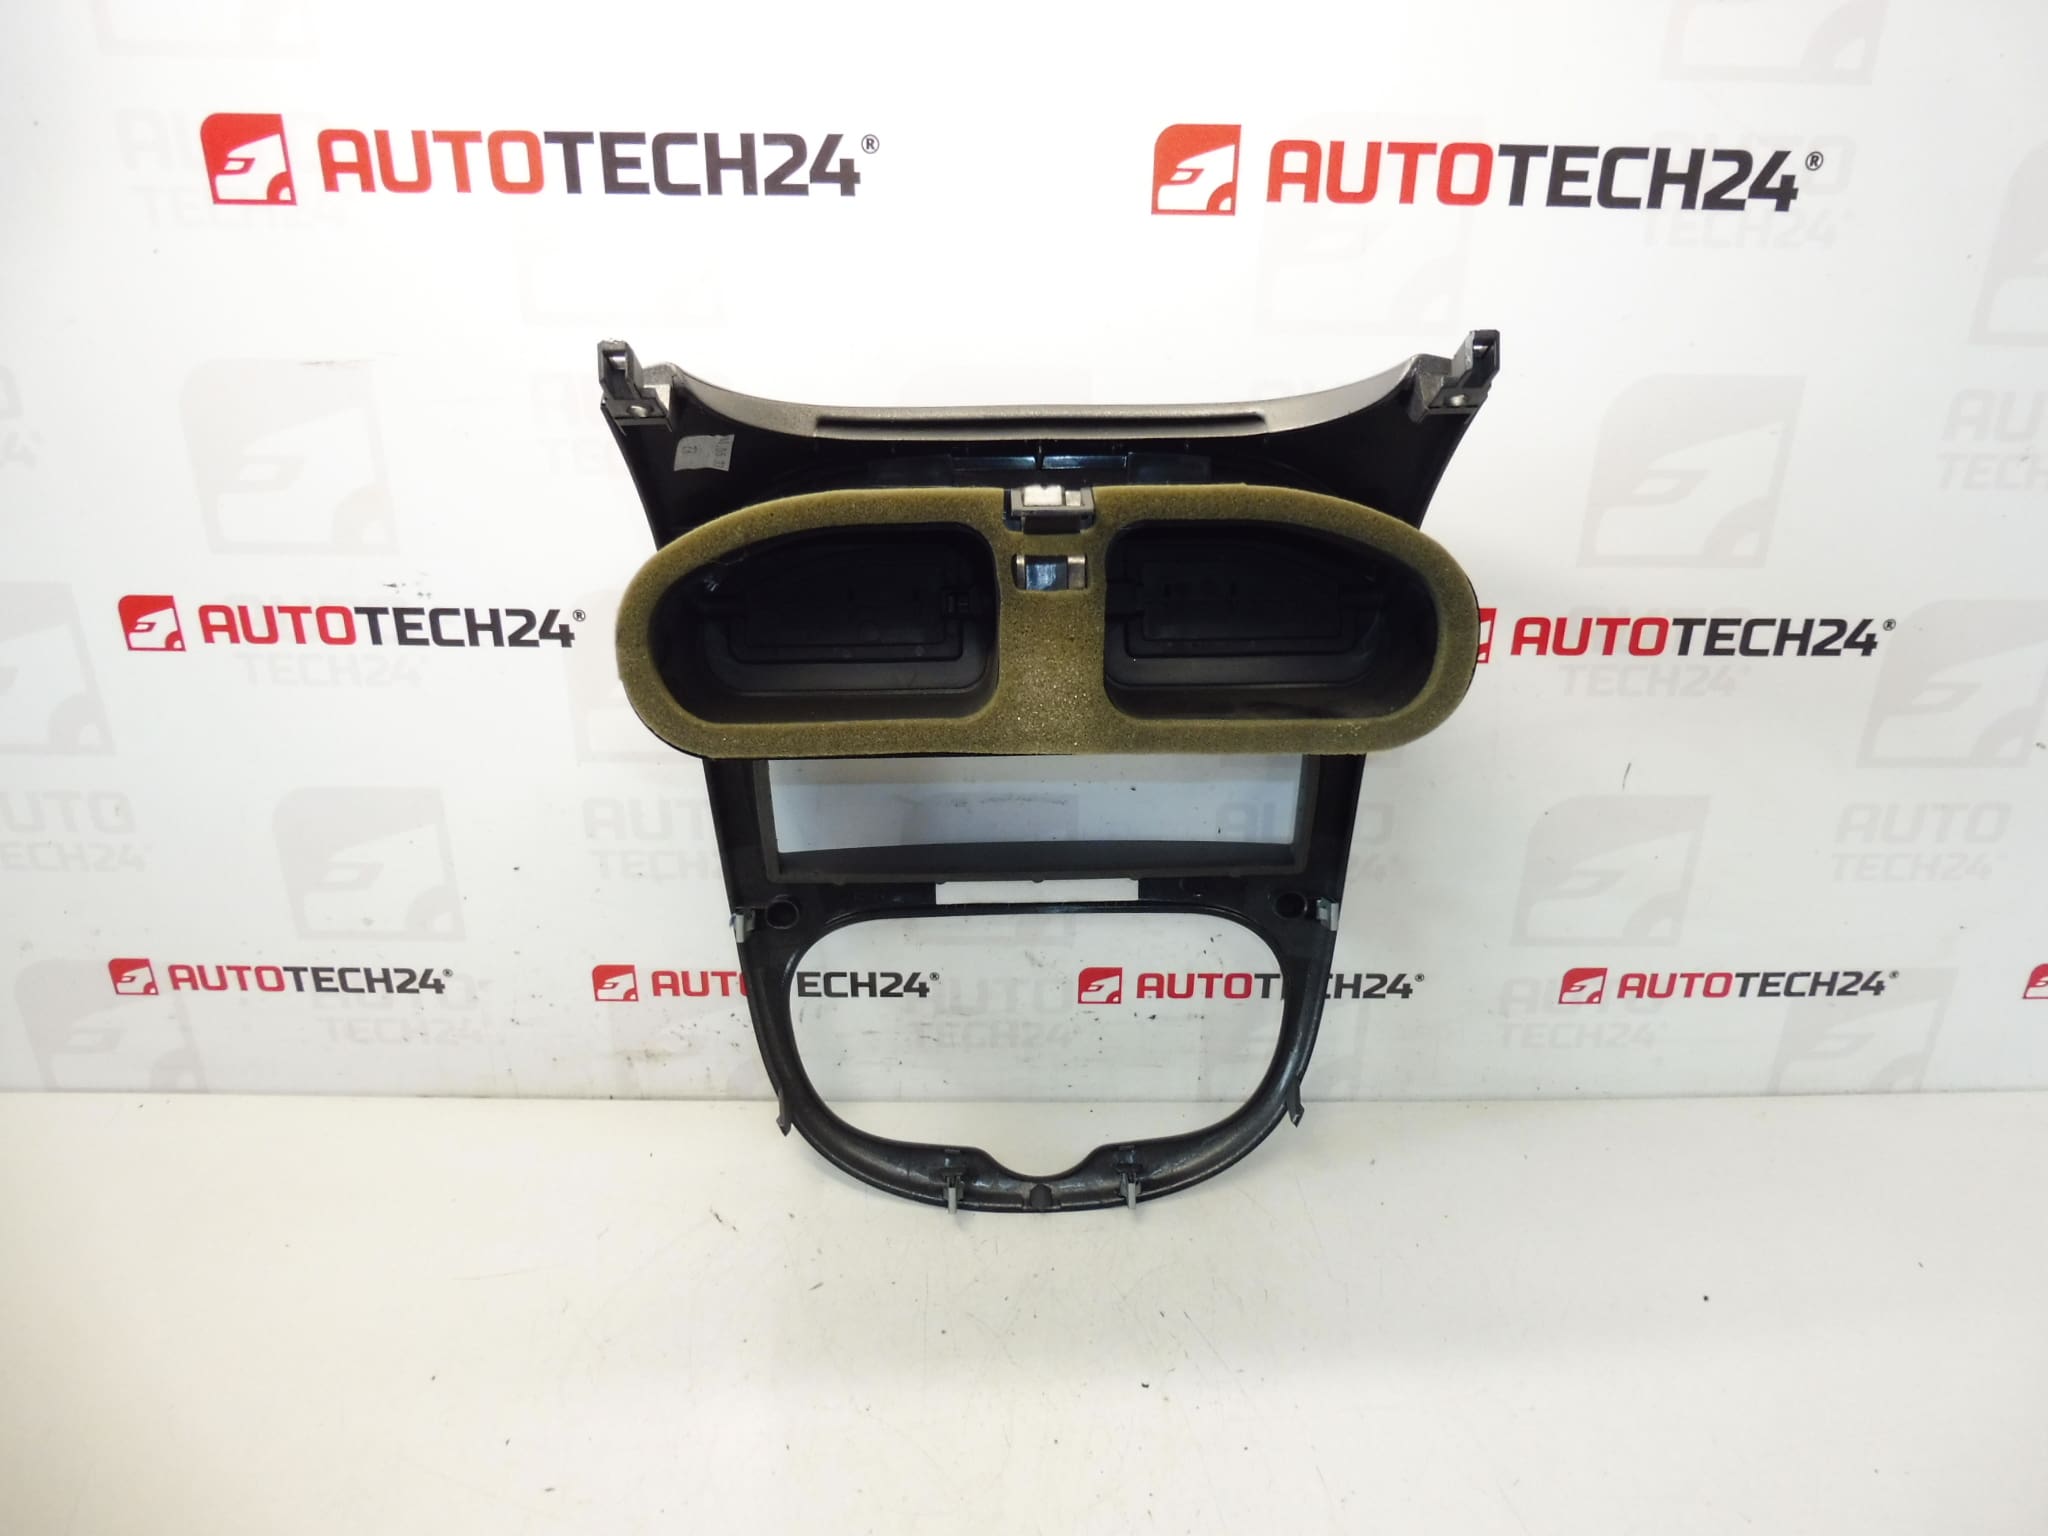
Radio surround with vents for Peugeot 206. Color HYE – Quicksilver Grey.
Product Description
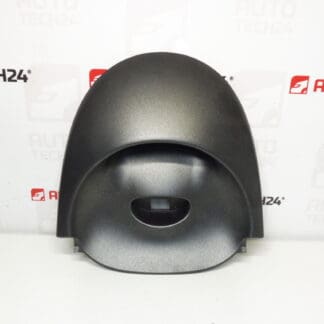
This radio surround with integrated air vents is a direct-fit interior trim piece designed for Peugeot 206 dashboards. Manufactured to match the original interior finish, it restores the central dashboard area around the radio and ventilation outlets. Ideal for mechanics and DIY enthusiasts replacing cracked frames, broken vent louvers or faded trim, this part improves both appearance and airflow control. Common search terms: Peugeot 206 radio surround, dashboard trim, air vent frame, part number 8211C4.
Compatibility
Designed For: Peugeot 206. Check the dashboard layout and radio size to confirm visual fitment; this frame is intended for standard Peugeot 206 center consoles with integrated vents. Part Number: 8211C4.
How To Replace
Replacement is straightforward for experienced technicians and competent DIYers. General steps:
- Prepare: Park vehicle on level ground, engage parking brake and remove the ignition key.
- Trim Removal: Use plastic trim tools to carefully pry around the edges of the center trim to avoid damaging surrounding panels. Work evenly to release retaining clips.
- Disconnect Components: Once free, pull the frame forward to access the radio and vent linkages. Disconnect any electrical connectors or cable linkages only if necessary.
- Swap And Refit: Fit the new frame into position, ensuring vent louvers and clip locations align. Press evenly to engage clips and refit any screws removed during disassembly.
- Final Check: Verify vent operation and radio fitment. Confirm there are no loose panels or rattles.
Installation Recommendations
- Use Proper Tools: Employ plastic trim removal tools to prevent scratched surfaces and broken clips.
- Replace Damaged Clips: If original retaining clips are broken or worn, replace them to ensure a secure fit.
- Check Vent Louvers: Before installation, confirm louvers move freely and are not obstructed by debris.
- Work Carefully Around Electronics: Avoid forcing connectors; if unsure about airbag or steering column work, consult a professional.
Most Common Failure Causes
Plastic trim frames and vent assemblies on Peugeot 206 typically fail due to mechanical stress and environmental exposure. Common issues include brittle or snapped mounting tabs and clips from repeated removals, cracked frames from impacts, and UV-related fading or discoloration. Vent louvers can become stiff or broken from debris buildup or aggressive handling during repairs.
Technical Information
- Manufacturer: Peugeot (Stellantis)
- Model: Peugeot 206
- Product Codes: 8211C4
- Additional Numbers: Color Code HYE – Quicksilver Grey
Notes For Professionals
This part is aimed at quick cosmetic and functional repairs of the central dashboard on Peugeot 206. When replacing the frame, inspect surrounding clips and fasteners and address any underlying damage that may compromise fitment. Proper preparation and gentle handling during removal will extend the life of both the new part and adjacent interior components.