Description
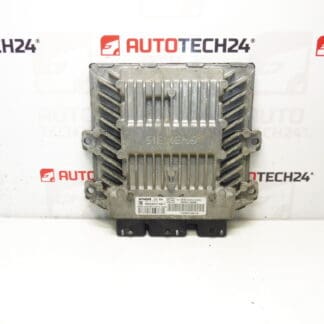
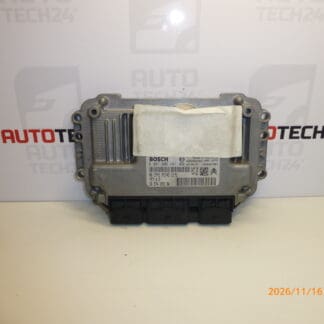
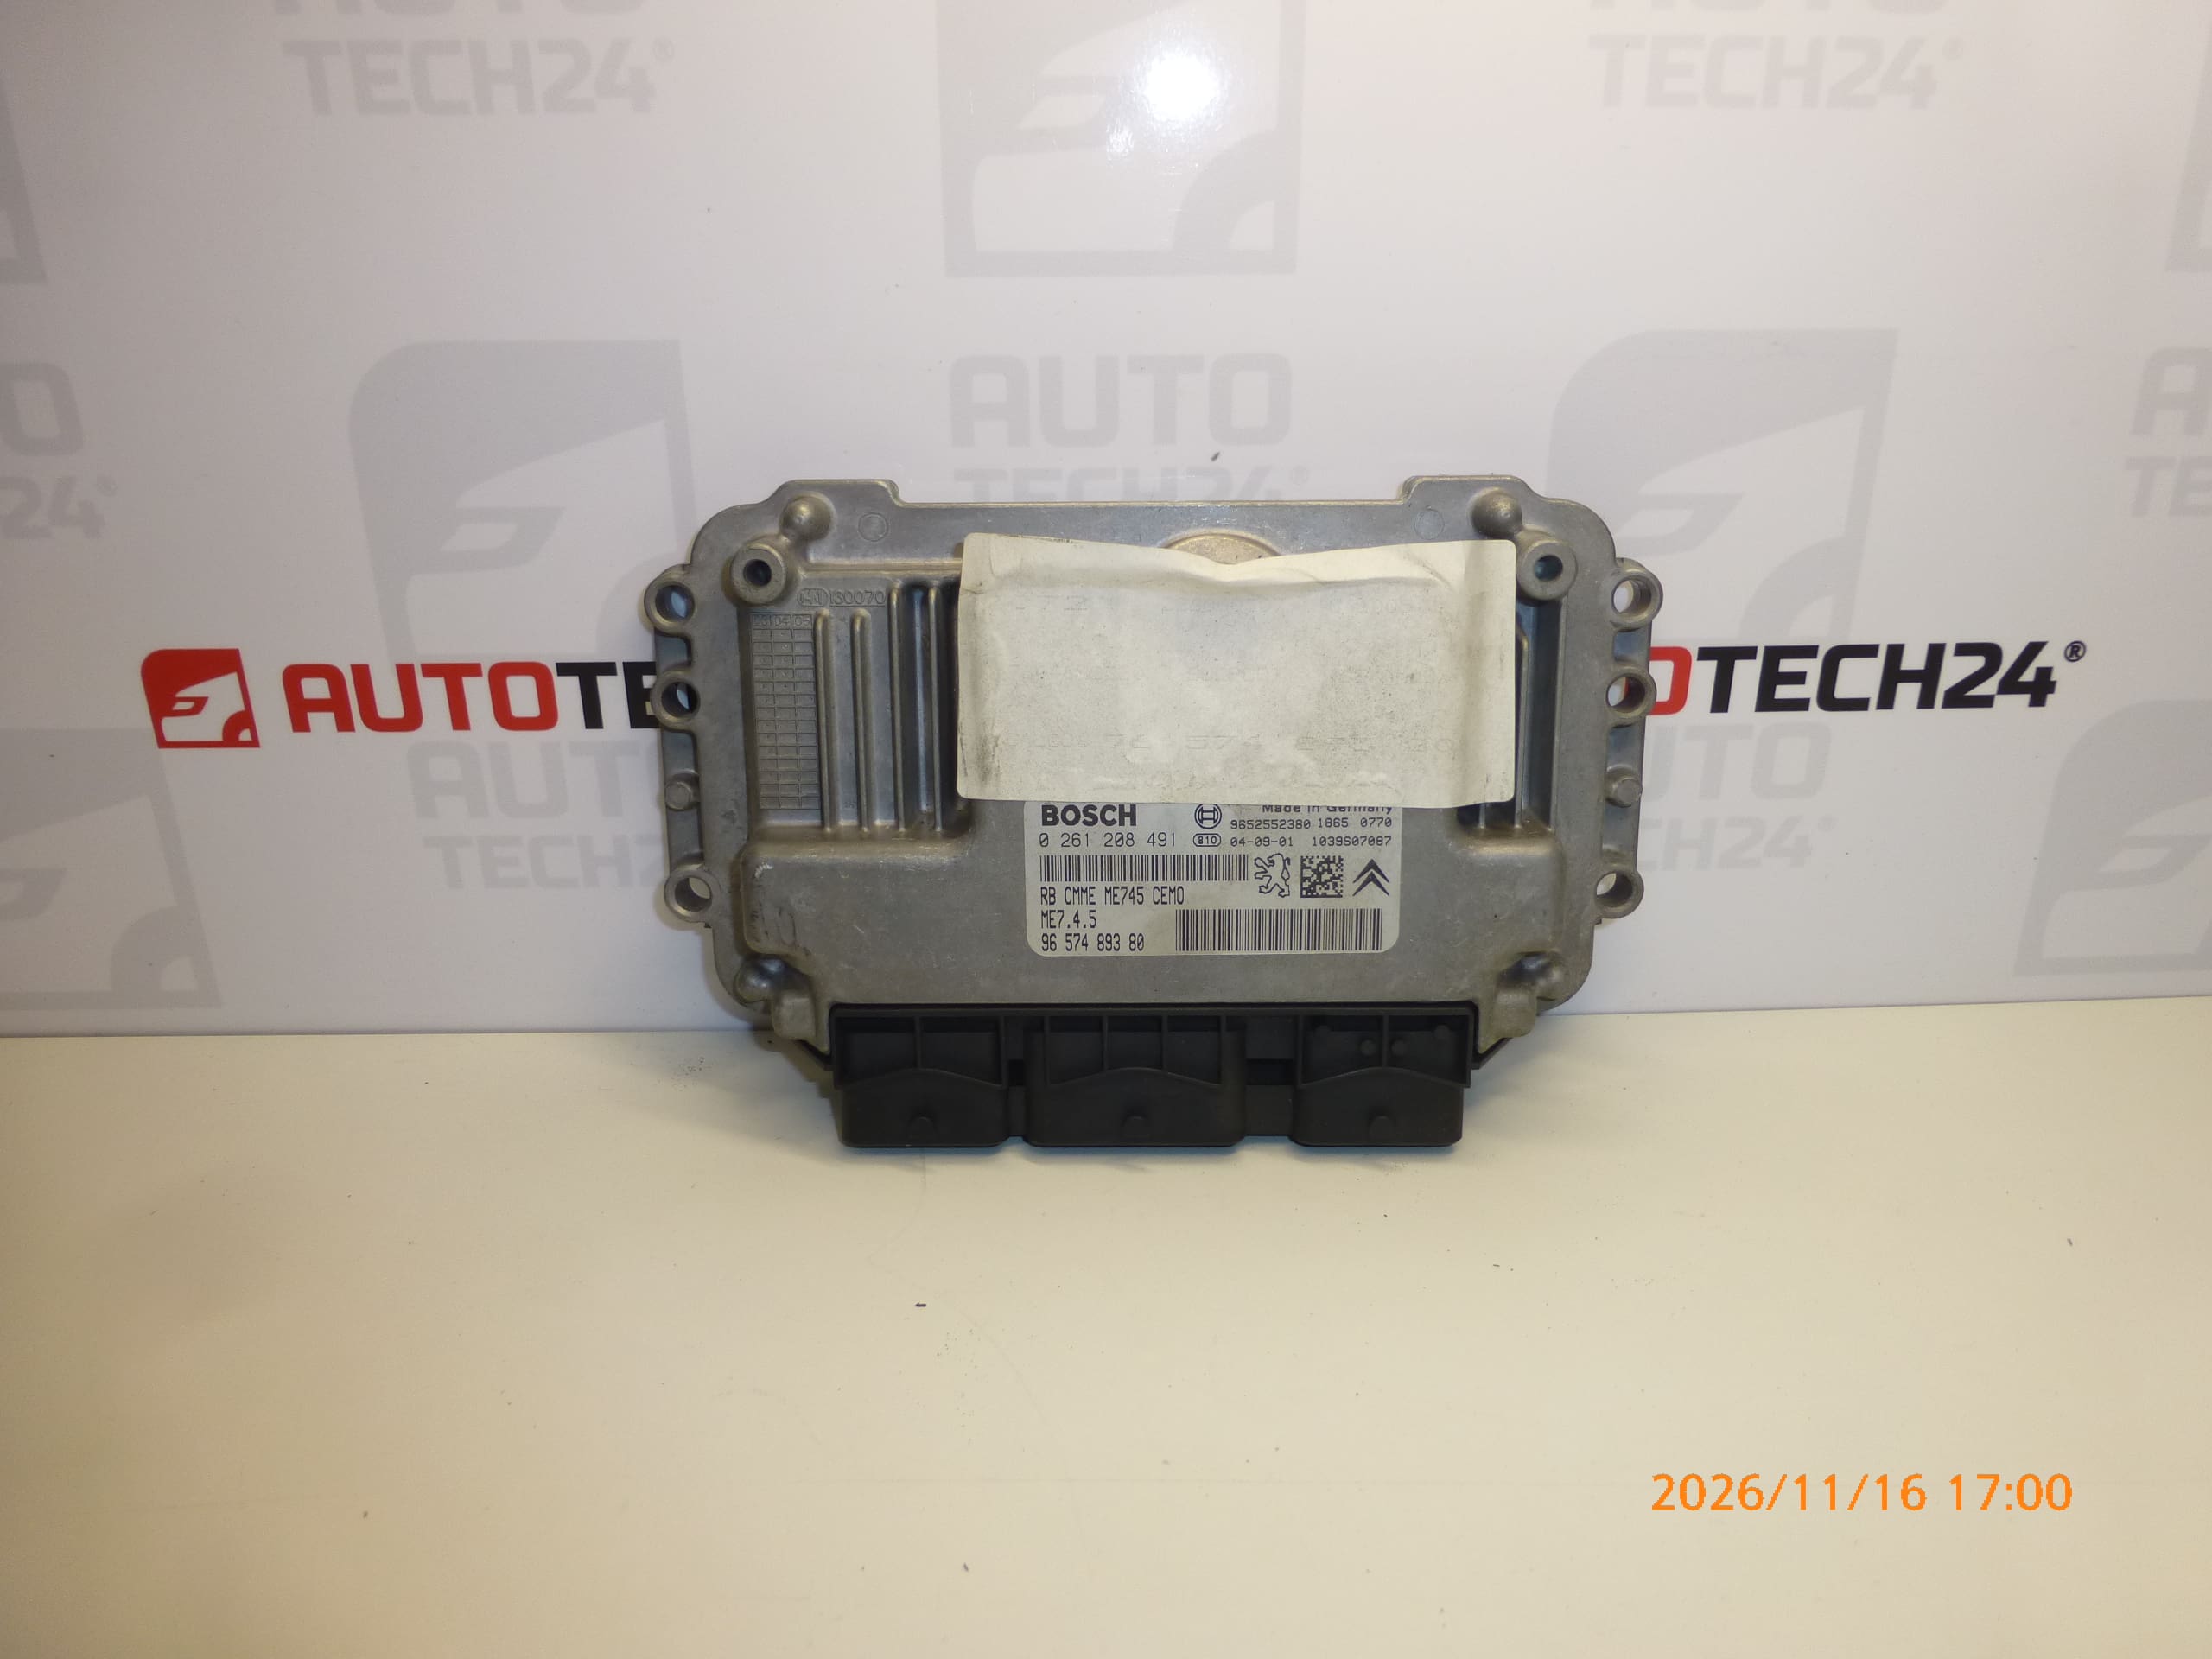
BOSCH ME7.4.5 engine control unit for CITROEN C4 1.6 16V vehicles
Part description
This used Bosch ME7.4.5 engine control unit for the Citroën C4 1.6 16V controls fuel injection and other engine operating functions. When replacing a faulty unit, the key identifiers are 0261208491, 9657489380 and 1940SV, as well as the matching version and correct adaptation of the electronics to the vehicle.
This is a repair solution for a vehicle with a matching unit, suitable for auto repair shops and technically experienced owners. A used unit cannot be considered ready for operation simply by connecting the connectors – replacement requires data transfer or coding as described below.
Technical information
- Manufacturer: Bosch
- Model: Citroën C4
- Engine listed in the documentation: 1.6 16V
- Unit type: ME7.4.5
- Part category: engine control unit / fuel injection
- Condition: used part
- Additional numbers: 9652552380
- Additional designation in the documentation: NFP
Product codes
- Product codes: 0261208491, 9657489380, 1940SV, 9652552380
- Type designation: Bosch ME7.4.5
- Model: Citroën C4
When selecting a unit, compare its numbers and type designation with those of the existing unit. Matching the model name alone does not replace comparing the unit version and its programming requirements.
Installation recommendations
The following procedure is a general guide to replacing an engine control unit. The exact steps for removal, disconnecting the power supply and programming depend on the specific vehicle version and the manufacturer’s service instructions.
1) Before installation
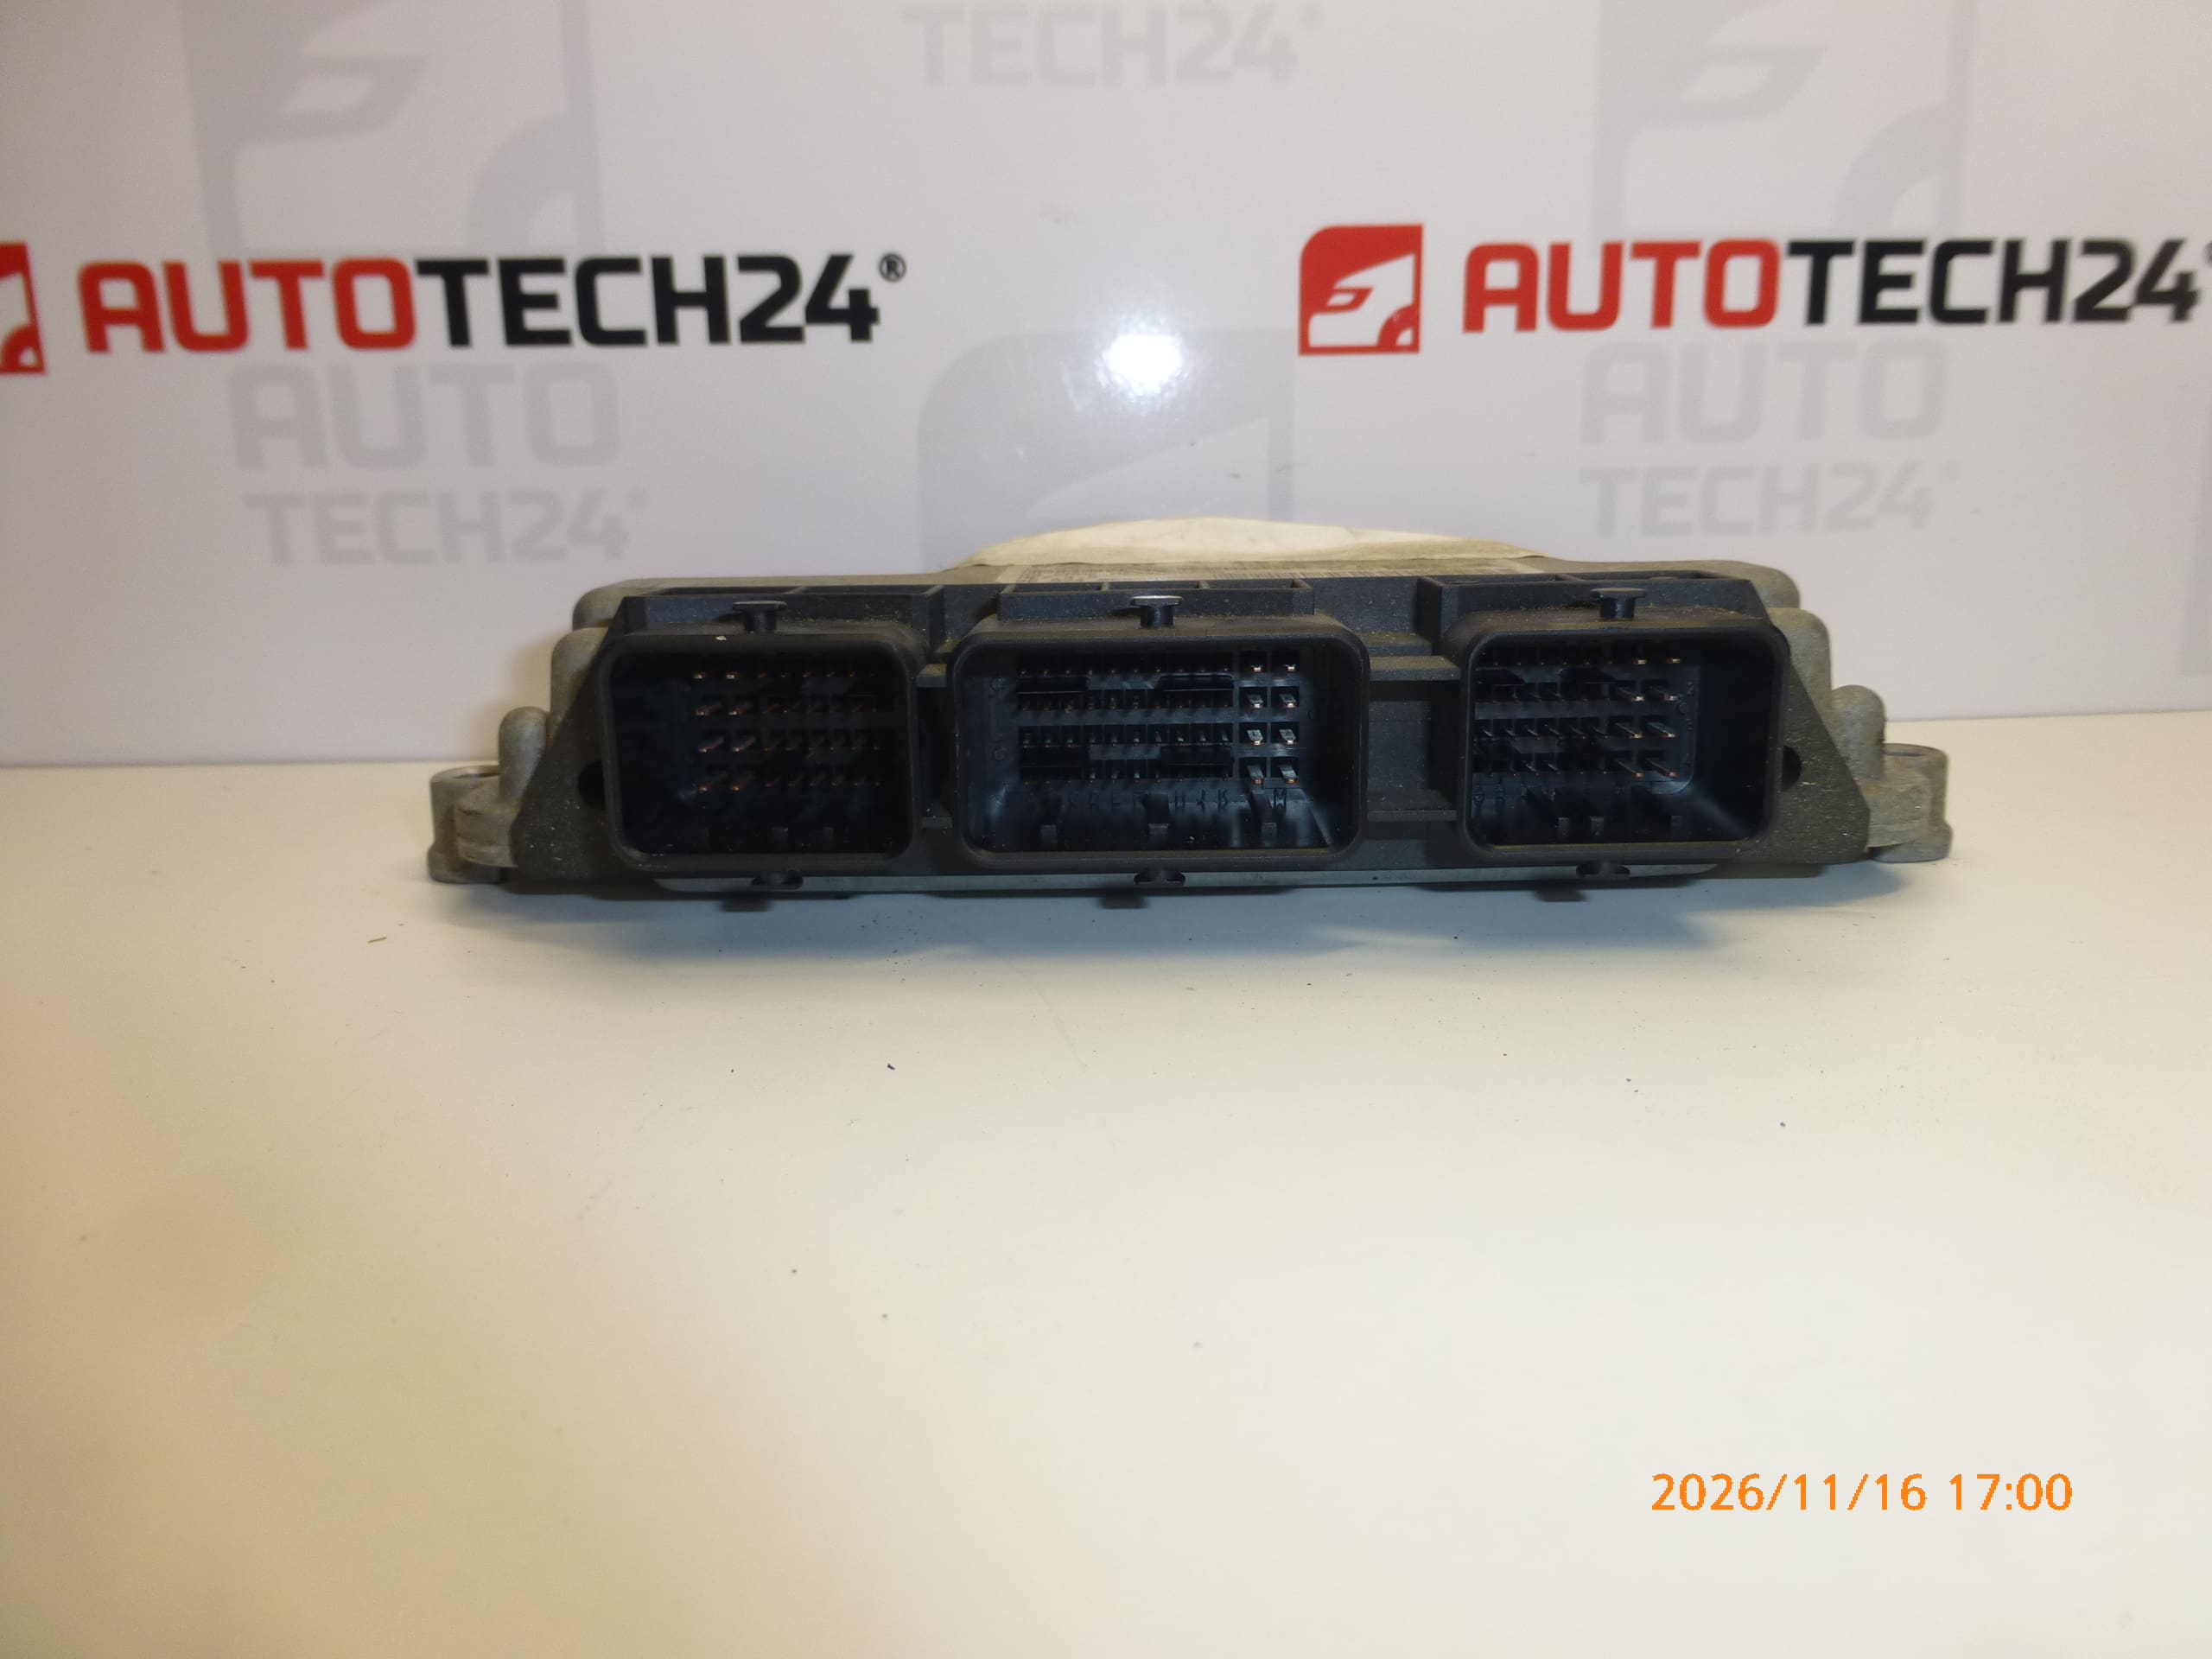
- Compare the Bosch ME7.4.5 designation, product numbers, connectors and mounting points with the original unit.
- Inspect the housing, connector cavities and contacts. Look for cracks, oxidation, signs of moisture, overheating or previous interference.
- Use diagnostics and an inspection of the electrical system to verify the cause of the fault. A power supply, ground or wiring fault can mimic a unit fault and may also damage the replacement unit.
- Decide in advance how the data will be transferred or the unit initialized. Keep the original unit available in case cloning is needed.
2) Tools and materials required
- Standard hand tools suitable for the unit’s mounting and access.
- Diagnostic equipment suitable for the vehicle and professional programming equipment for the selected commissioning method.
- A multimeter for checking the power supply and electrical connections.
- Means of labeling connectors and suitable products for gently cleaning electrical contacts, if cleaning is required.
- A suitable power supply stabilizer for programming, as required by the service procedure being used.
3) Step-by-step installation procedure
- Perform an initial diagnostic scan and record the available information about the original unit, faults and configuration.
- Check the power supply, ground and associated wiring. Fix any faults found before connecting the replacement unit.
- Agree on the commissioning method with a specialist and back up the original unit’s data, if it can be read.
- Switch off the ignition, allow the electronics to enter the standby state according to the manufacturer’s instructions, and disconnect the battery using the specified procedure.
- Access the unit according to the service documentation for the specific vehicle; remove only the parts that are necessary to gain access.
- Label the connections if needed, release the connector locks and disconnect the connectors without pulling on the wires.
- Release the mounting and remove the original unit. Check the area around its mounting for signs of moisture or damage.
- Compare the two units again and have the unit cloned or prepared for subsequent initialization, according to the selected method.
- Fit the replacement unit into its bracket and secure it according to the manufacturer’s instructions. The wiring must not be stretched or pinched.
- Connect the connectors and check that their locks are fully engaged. Reinstall any protective and access parts that were removed.
- Reconnect the battery according to the manufacturer’s procedure and perform the required initialization, telecoding and key adaptation for the selected method. Ensure a stable power supply during programming.
- Perform a final diagnostic scan and verify that the engine starts and runs. Resolve any remaining faults before a test drive.
4) Post-installation checks and test drive / function verification
- Verify communication with the unit, correct key recognition and the ability to start the vehicle.
- Check engine operation, response to the accelerator pedal and any warning lights.
- If there are no faults that would prevent safe operation, take a short test drive and then scan the diagnostics again.
- After verifying operation, check that the unit is secure and the connectors are locked in place.
5) Most common installation mistakes + how to prevent them
- Replacing the unit without verifying the cause of the fault: check the power supply, ground and wiring first.
- Selecting a unit based only on the vehicle model: compare the product numbers, unit type and version.
- Forgetting to pair the unit with the vehicle: arrange data transfer or initialization before carrying out the replacement.
- Disconnecting connectors by force: release the locks first and do not pull on the wires.
- Interrupting the power supply during programming: follow the programming equipment requirements and ensure a stable power supply.
- Leaving water ingress or wiring damage unresolved: eliminate the source of the problem to prevent the fault from recurring.
Installation and coding – important
- The unit is used and is “paired” with the original vehicle (VIN/PIN/keys).
- Commissioning options:
- Cloning data from the old unit (EEPROM/Flash) – after cloning, the unit is plug and play.
- Virginization followed by initialization/telecoding via DiagBox (possibly online) + key adaptation.
- It is recommended that this be performed by a specialist using PSA service equipment (DiagBox/Lexia/PP2000).
- Always disconnect the battery before removing/installing the unit and follow the manufacturer’s procedure to avoid damaging the unit.
Reasons why the part may become damaged
The following factors are among the general possible causes of damage to engine control units. This is not a description of the condition found on this particular unit.
- Moisture and corrosion – can damage the contacts as well as the internal electronics.
- Overvoltage or improper handling of the power supply – can damage the unit’s electronic circuits.
- Short circuits in the wiring or connected components – can overload the output circuits.
- Thermal stress, vibration and ageing – gradually place stress on components and their connections.
- Unprofessional opening, repairs or programming – can compromise the electronics protection, damage circuits or cause the unit to malfunction.