Description
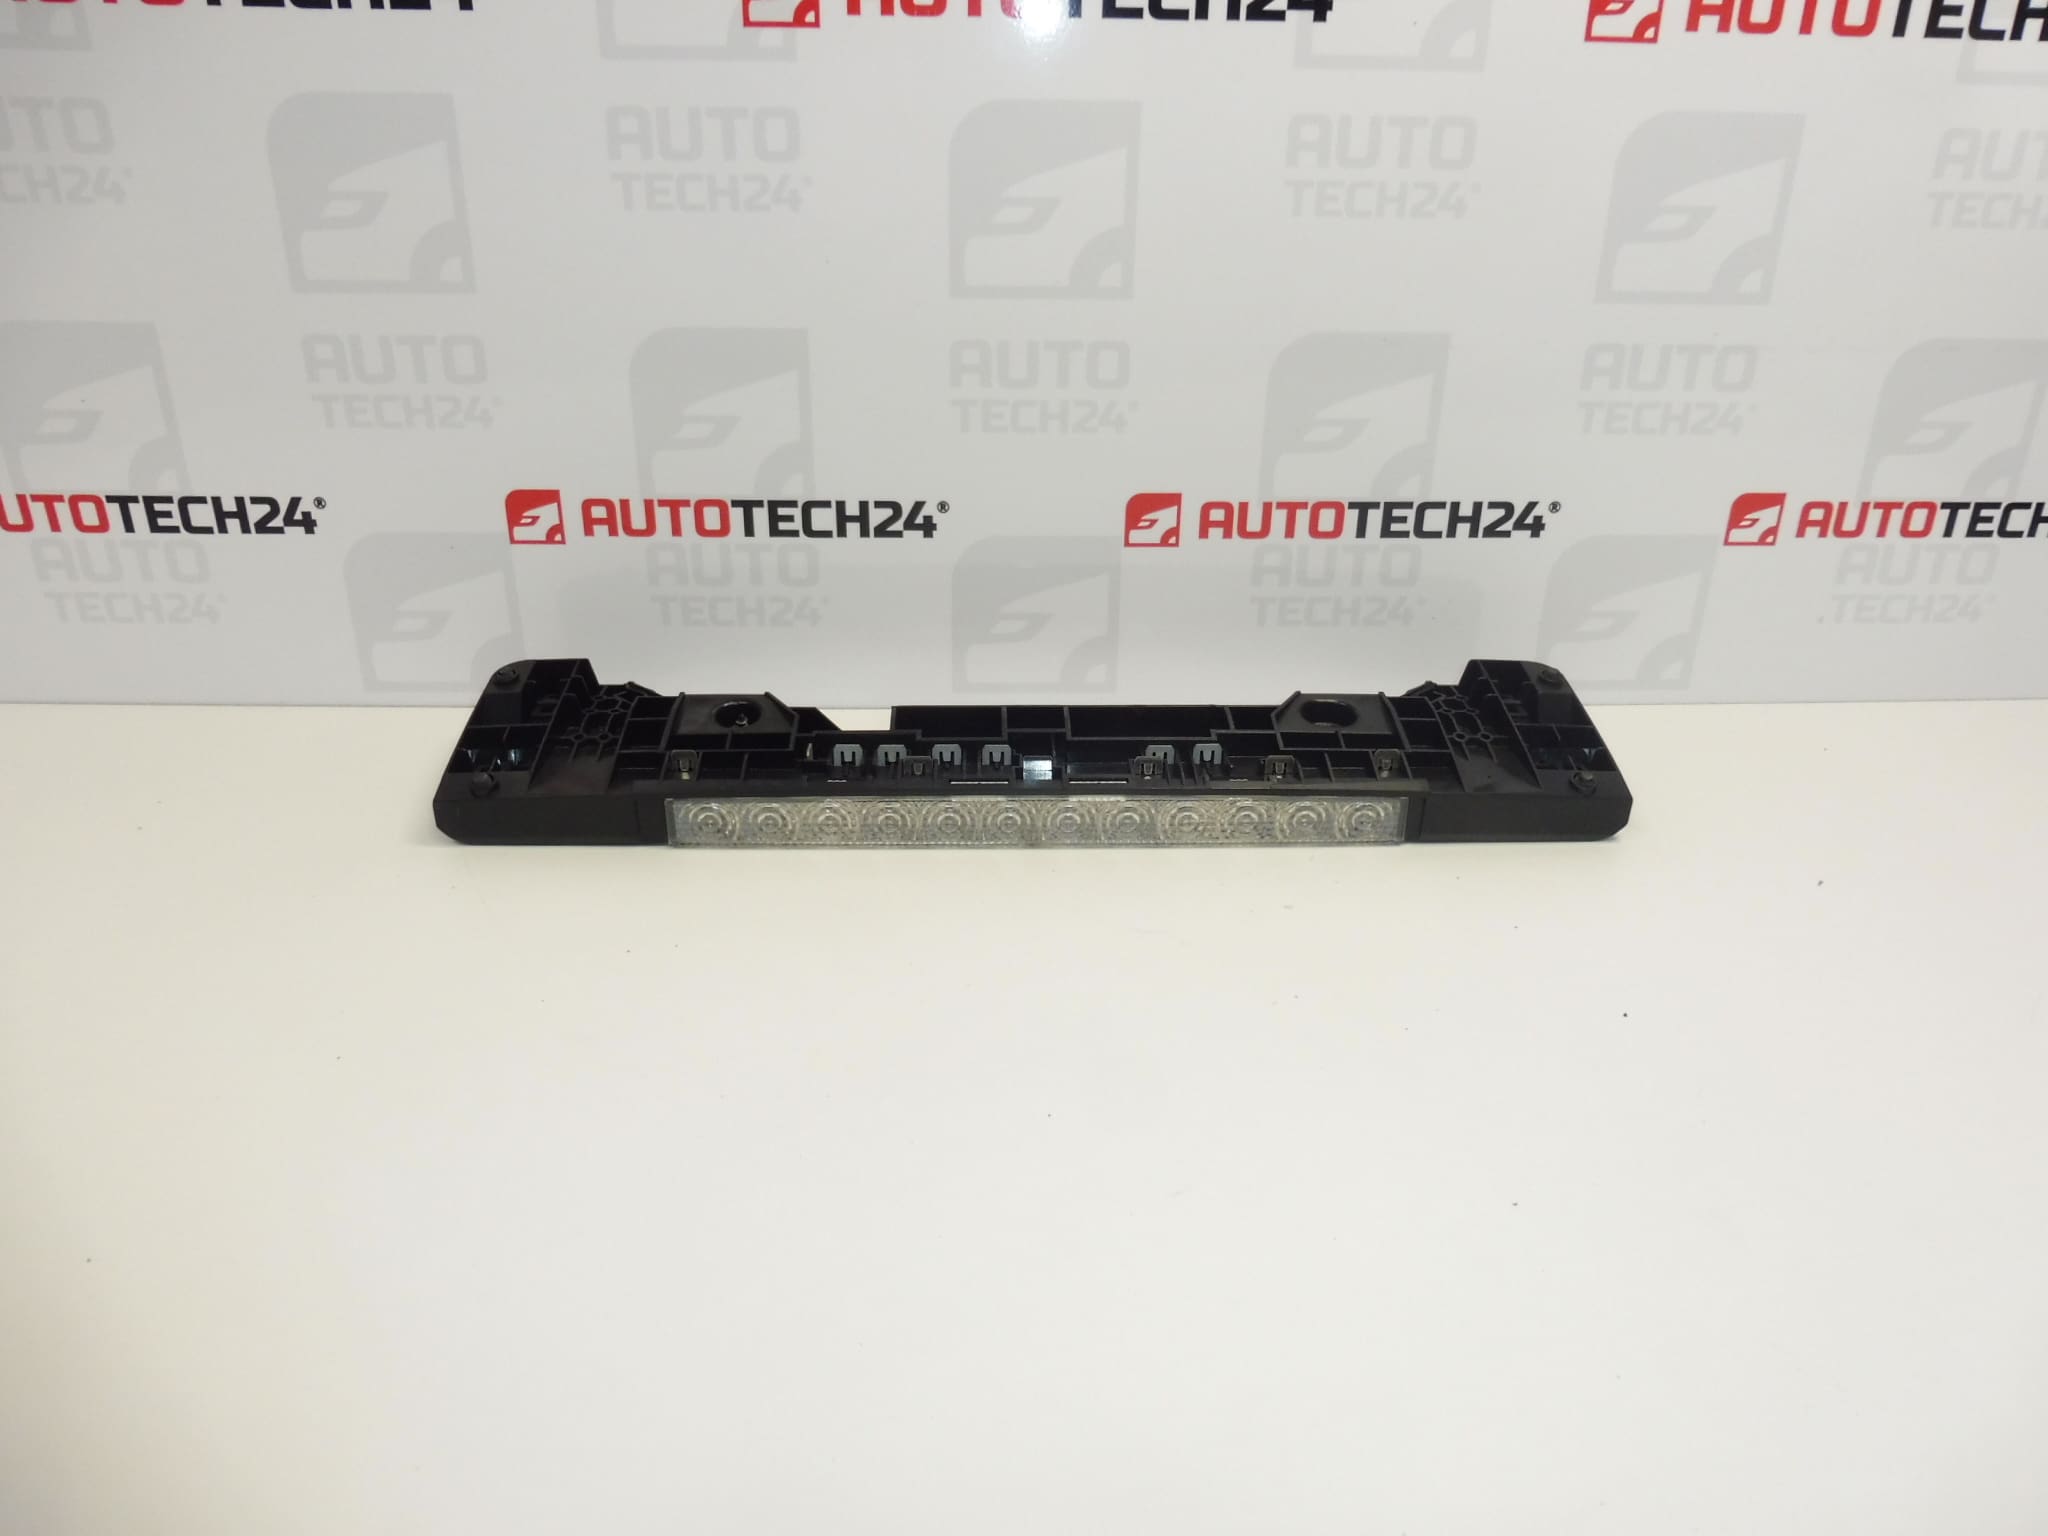
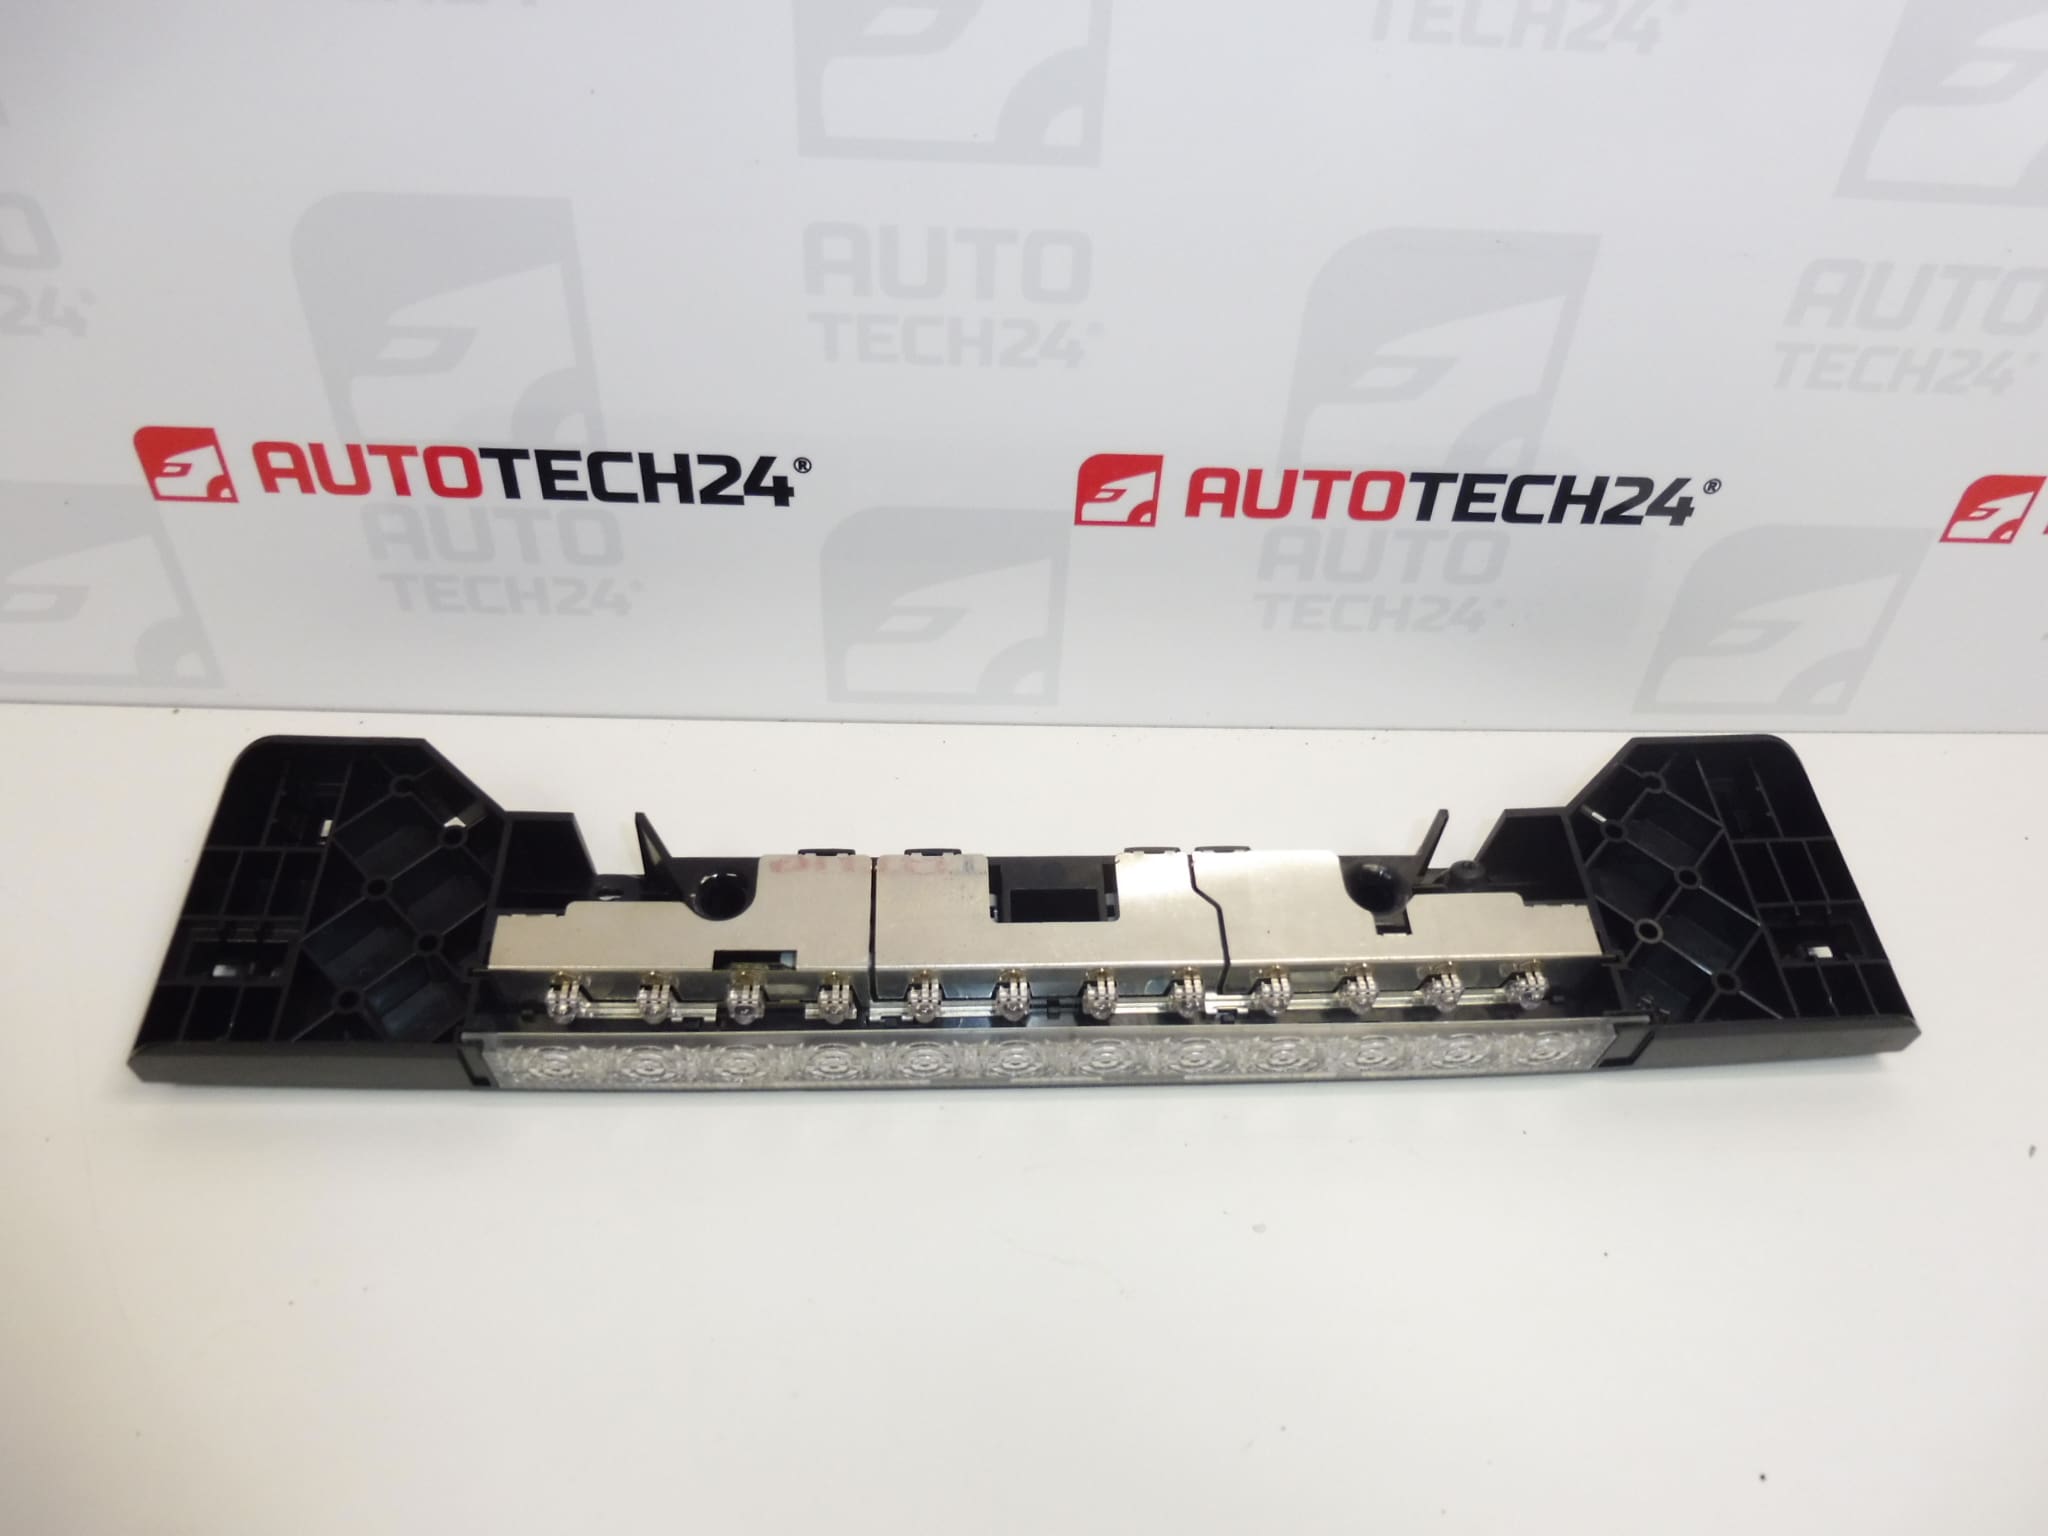
Additional brake light for PEUGEOT 407 SW vehicles up to 2007
!!! Please note: 2 of the 12 LEDs do not light up !!!
Part description
Used 3rd brake light for Peugeot 407 SW with part numbers 9647734980 and 6350T1. The additional brake light supplements the main brake lights and helps drivers behind the vehicle recognize when it is braking. When selecting a part, compare the part numbers, connector design, and mounting points with the original part in particular.
2 of the 12 LEDs on this item do not light up. This is therefore not a fully functional light. The part may be worth considering primarily for professional assessment of whether it can be repaired or as a source of components; its repairability has not been confirmed. Before using it on public roads, the stated fault must be resolved and the light’s correct operation verified.
Technical information
- Manufacturer: not specified
- Model: Peugeot 407; according to the description, PEUGEOT 407 SW version up to 2007
- Part type: additional brake light / third brake light
- Light source: LED, 12 in total
- Condition: used part, 2 of the 12 LEDs do not light up
- Additional numbers: not specified
- Additional designation in the documentation: NFP
Product codes
- Product codes: 9647734980, 6350T1
- Model according to label: Peugeot 407
Both numbers are used to identify the part when searching for a replacement. In addition to matching the designation, also compare the physical design of the light and its electrical connection.
Installation recommendations
The following procedure generally applies to this type of part. The precise access to the light, how to release its mountings, and the procedure for working with the electrical system depend on the specific vehicle version. Follow the manufacturer’s service procedure. This item has a stated LED fault, so do not consider it a fully functional replacement until the fault has been resolved.
1) Before installation
- Compare the part numbers, shape, dimensions, mounting points, and connector with the original light.
- Check the light’s lens and housing, especially for cracks, damaged mounts, and any signs of moisture.
- Inspect the connector contacts and the condition of the sealing surfaces or seals, if included in this version.
- Have the non-functioning LEDs assessed. The description alone does not establish the cause of the fault or whether a safe repair is possible.
2) Tools and materials required
- Standard hand tools suitable for the actual fasteners.
- A plastic trim removal tool, if trim needs to be released.
- A soft cloth and a cleaning product suitable for the surfaces involved.
- A multimeter for checking the electrical connection, used according to the vehicle wiring diagram.
3) Step-by-step installation procedure
- Secure the vehicle against movement, switch off the ignition, and have the service procedure for the specific version available.
- Before disconnecting the electrical connection, follow the manufacturer’s prescribed steps for safely disconnecting the power supply.
- Access the original light’s fasteners. Release any covers and trim using a suitable tool and without force.
- Note the cable routing and how the light is seated, for example by taking a photograph.
- Release the connector lock and disconnect the connector. Do not pull on the wires.
- Support the light, release its fasteners, and carefully remove it.
- Clean the contact surfaces and inspect the area around the mount, the wiring, and any seals. Resolve any damage or leaks before installation.
- Compare the two parts again. Install the supplied item for road use only after the LED fault has been resolved and its operation verified.
- Seat the light without tension and secure it according to the manufacturer’s instructions. Do not overtighten plastic parts.
- Connect the connector, check that it is secured, and position the wiring so that it is neither pinched nor strained.
- Restore the power supply according to the manufacturer’s procedure and perform a functional test. Once the check is successful, refit any removed covers and trim.
4) Post-installation checks and function verification
- With the help of another person, check that the light illuminates when the brake pedal is pressed and goes out when it is released.
- Check all LEDs, ensure they illuminate steadily without flickering, and verify that the other brake lights work at the same time.
- Check that the light is securely seated, fits correctly, and that the wiring is not pinched.
- Perform the basic check while the vehicle is stationary. A test drive does not replace checking that the light works, and testing with an unresolved fault is not appropriate.
5) Common installation mistakes and how to avoid them
- Overlooking a known fault: two LEDs on this item do not work; installation alone will not fix the fault.
- Confusing it with a similar version: compare the designation, mountings, and connector before installation.
- Damaging plastic mounts: first determine how they are released and do not use excessive force.
- Incorrect seating or sealing: clean the contact surfaces and do not overlook damage to sealing components.
- Damaging the supply wires: disconnect the connector by its body and route the wiring away from pinch points.
Reasons why the part may become damaged
LED brake lights may generally develop faults for the following reasons. The documentation does not state the specific cause of the two non-functioning LEDs on this item.
- Aging of the LEDs and components in the internal electrical circuit.
- Moisture ingress due to damage to the lens or deteriorated sealing.
- Corrosion of contacts and deteriorating electrical connections.
- Vibration and temperature changes, which may put strain on internal connections.
- Mechanical damage caused by impact, removal, or overtightening of the mountings.
- Vehicle power supply or wiring faults that may affect the operation of the light.