Description
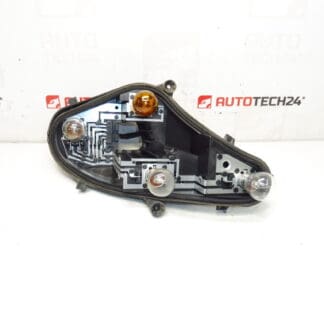
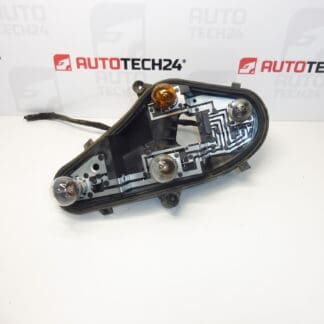
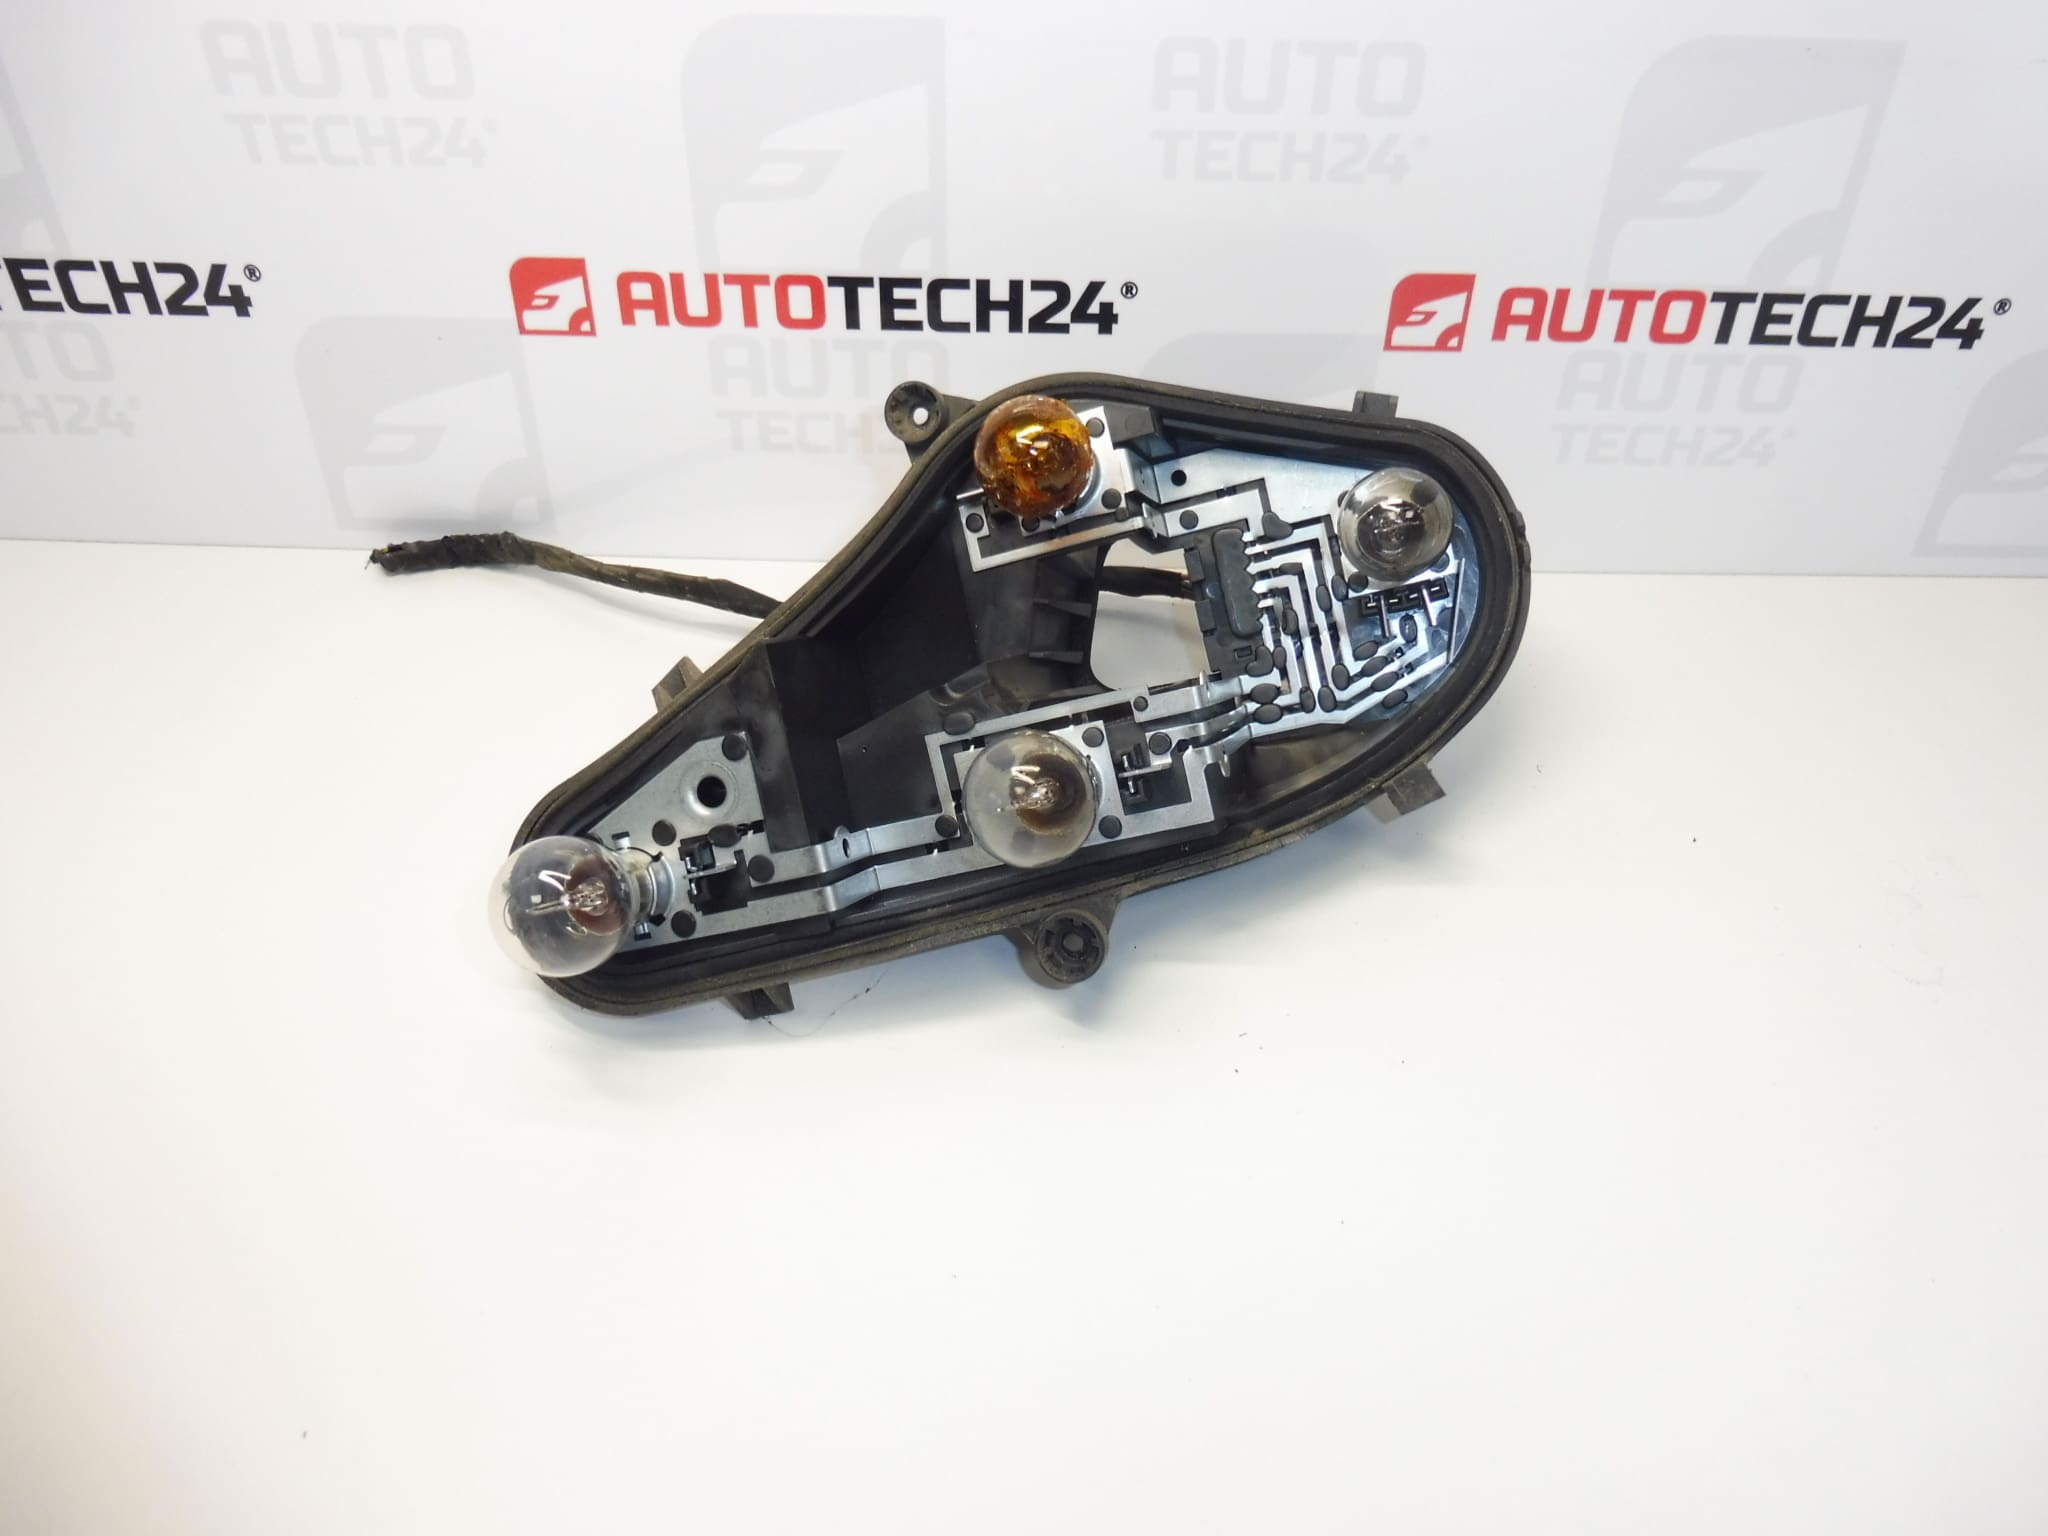
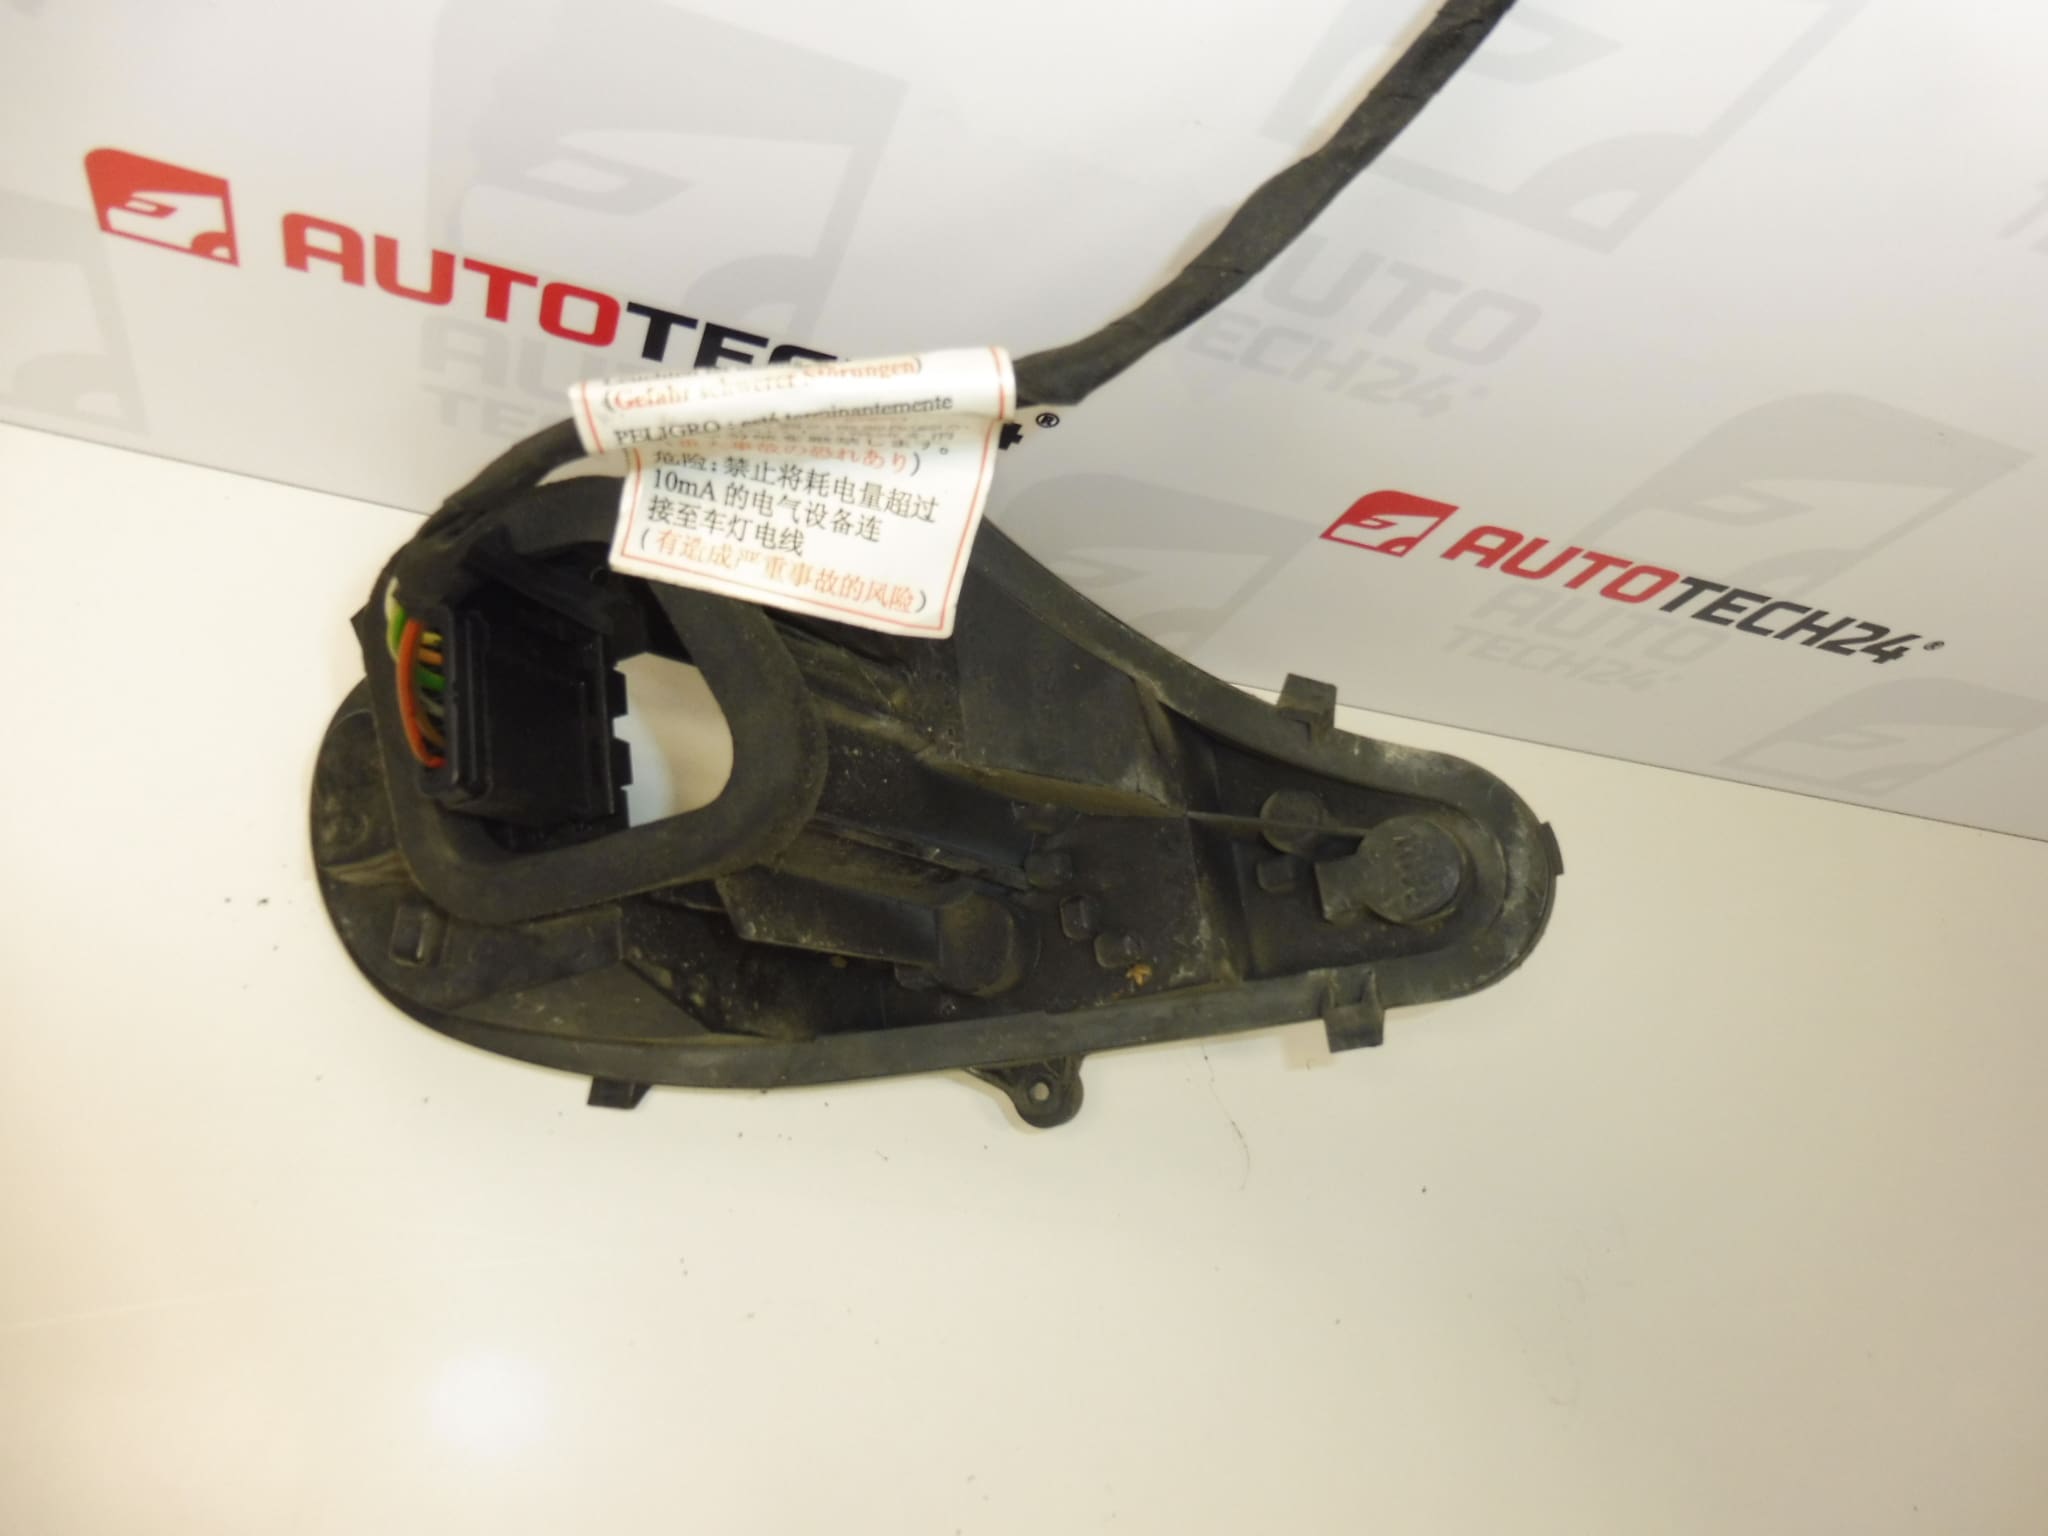
Socket with bulbs for the left rear lamp exterior CITROEN C4 B7
Side behind the driver
Part description
The used left rear exterior light socket for Citroën C4 II (B7) serves to hold the bulbs and connect them electrically to the vehicle. It is intended for the lamp on the side behind the driver. When looking for a spare part, the markings 6350KS and 9687312180 are important, as well as the matching of the design of the socket and the connector with the original piece.
Replacing the socket can solve problems caused by damaged contacts, bulb holders or plastic carrier without having to change the entire light if the rest of it is fine. According to the documents, light bulbs are included; their functionality and remaining life are not listed.
Technical information
- Manufacturer: not specified; in the documents the label Stellantis CITROEN PEUGEOT.
- Model: Citroen C4 II; marked as CITROEN C4 B7 in the long description.
- Type of part: socket with bulbs for tail lamp.
- Location: left rear exterior lamp, side behind the driver.
- Condition: used car part.
- Other numbers: 9687312180.
Product codes
- Product codes: 6350KS, 9687312180.
- Model: Citroen C4 II.
When choosing, compare the numbers with the original part, and at the same time check the shape of the carrier, the layout of the contacts, the connector and the fasteners.
Installation recommendations
In general, the following procedure applies to this type of part. The exact access to the light, the method of releasing it and attaching the base depends on the specific design of the car; follow the manufacturer’s service procedure.
1) Before assembly
- Compare the markings, dimensions, shape, connector and securing of the replacement socket with the old one.
- Check the plastic carrier, latches and contacts. Look for cracks, deformation, oxidation and traces of overheating.
- Inspect the supplied bulbs and verify their correct design according to the vehicle’s requirements. Do not use damaged or mismatched bulbs.
- Also check the wiring connector and lamp condition. Moisture or a damaged counterpart needs to be addressed at the same time as replacing the socket.
2) Necessary tools and materials
- Basic hand tools suitable for fixing the light.
- Or a plastic tool for gentle release of access covers.
- Gloves, a clean dry cloth and, if necessary, an agent designed for electrical contacts and compatible with plastics.
- Multimeter for possible verification of an electrical fault.
3) Step-by-step assembly procedure
- Stop the vehicle safely, secure it against movement, switch off the ignition and lights and let the bulbs cool down.
- According to the manufacturer’s service procedure, ensure the safe condition of the electrical system; disconnect the battery in the prescribed manner.
- Access the rear exterior lamp and its mounting according to the car design. Release the covers without force.
- If it is necessary to remove the lamp for replacement, loosen its fastening and hold the lamp so that it does not hang on the wiring.
- Unlock the connector and disconnect it by pulling on the body, not the wires.
- Unfasten the socket and remove it from the lamp. Remember its orientation and how it sits.
- Inspect the inside of the lamp, the seating surfaces and any seals. Remove debris and address the cause of any moisture before proceeding.
- Compare both sockets side by side. Check the seating and correct design of the bulbs in the replacement piece.
- Insert the replacement socket in the correct orientation and secure it evenly. If it doesn’t fit, find the cause instead of using force.
- Connect the connector, verify that it is secure, and route the wiring so that it is not stretched or pinched.
- If the lamp has been removed, reattach it according to the manufacturer’s instructions. Restore power if it has been disconnected and verify lighting function before finally closing access.
- After a successful inspection, replace the access covers and verify that all loose parts are firmly seated.
-
4) Post-assembly checks and function verification
- Check with the helper all the light functions provided by the given lamp, including their mutual combinations.
- Watch for possible flickering, dim light or unwanted lighting of another bulb. These symptoms can also be related to the connector or wiring.
- Check for any lighting fault warning if the car is equipped with this feature.
- For basic verification, an on-site test is usually sufficient. Before driving, the lighting must be functional and the lamp securely fixed.
5) The most common assembly mistakes and how to avoid them
- Conversion of design: compare not only the numbers, but also the connector, contacts and socket attachment.
- Leaving a scorched connector: a damaged counterpart can also cause the replacement socket to overheat; remove the defect before connecting.
- Force snapping: verify orientation and seating first to avoid breaking latches.
- Wrong bulbs: use the design prescribed for the lamp, not just bulbs that can be inserted mechanically.
- Unresolved leaks: replacing the base alone will not fix the lamp leak; check its condition and any seals.
Reasons why the part is damaged
In general, the following causes of damage can occur with tail light sockets. It is not a description of the ascertained condition of the offered piece.
- Moisture and leakage into the lamp lead to contact corrosion and an unstable electrical connection.
- Loose or oxidized contacts increase the contact resistance, which can cause local overheating and deformation of the plastic.
- Unsuitable bulbs can heat the carrier more than corresponds to the design of the lamp.
- Careless bulb replacement or disassembly can damage the contacts, sockets or securing latches.
- Aging of the material, thermal stress and vibrations gradually contribute to the brittleness of the plastic and the deterioration of the contacts.
- Impact damage to the lamp can disrupt the socket attachment and allow water to penetrate.