Description
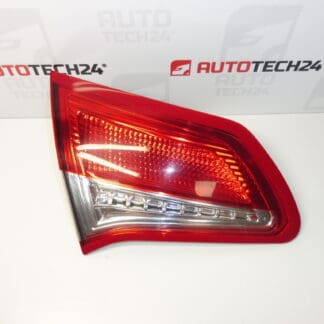
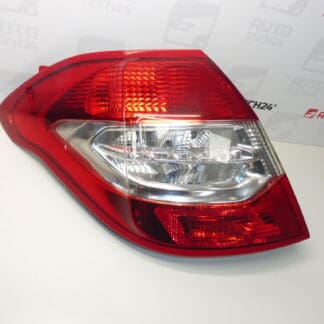
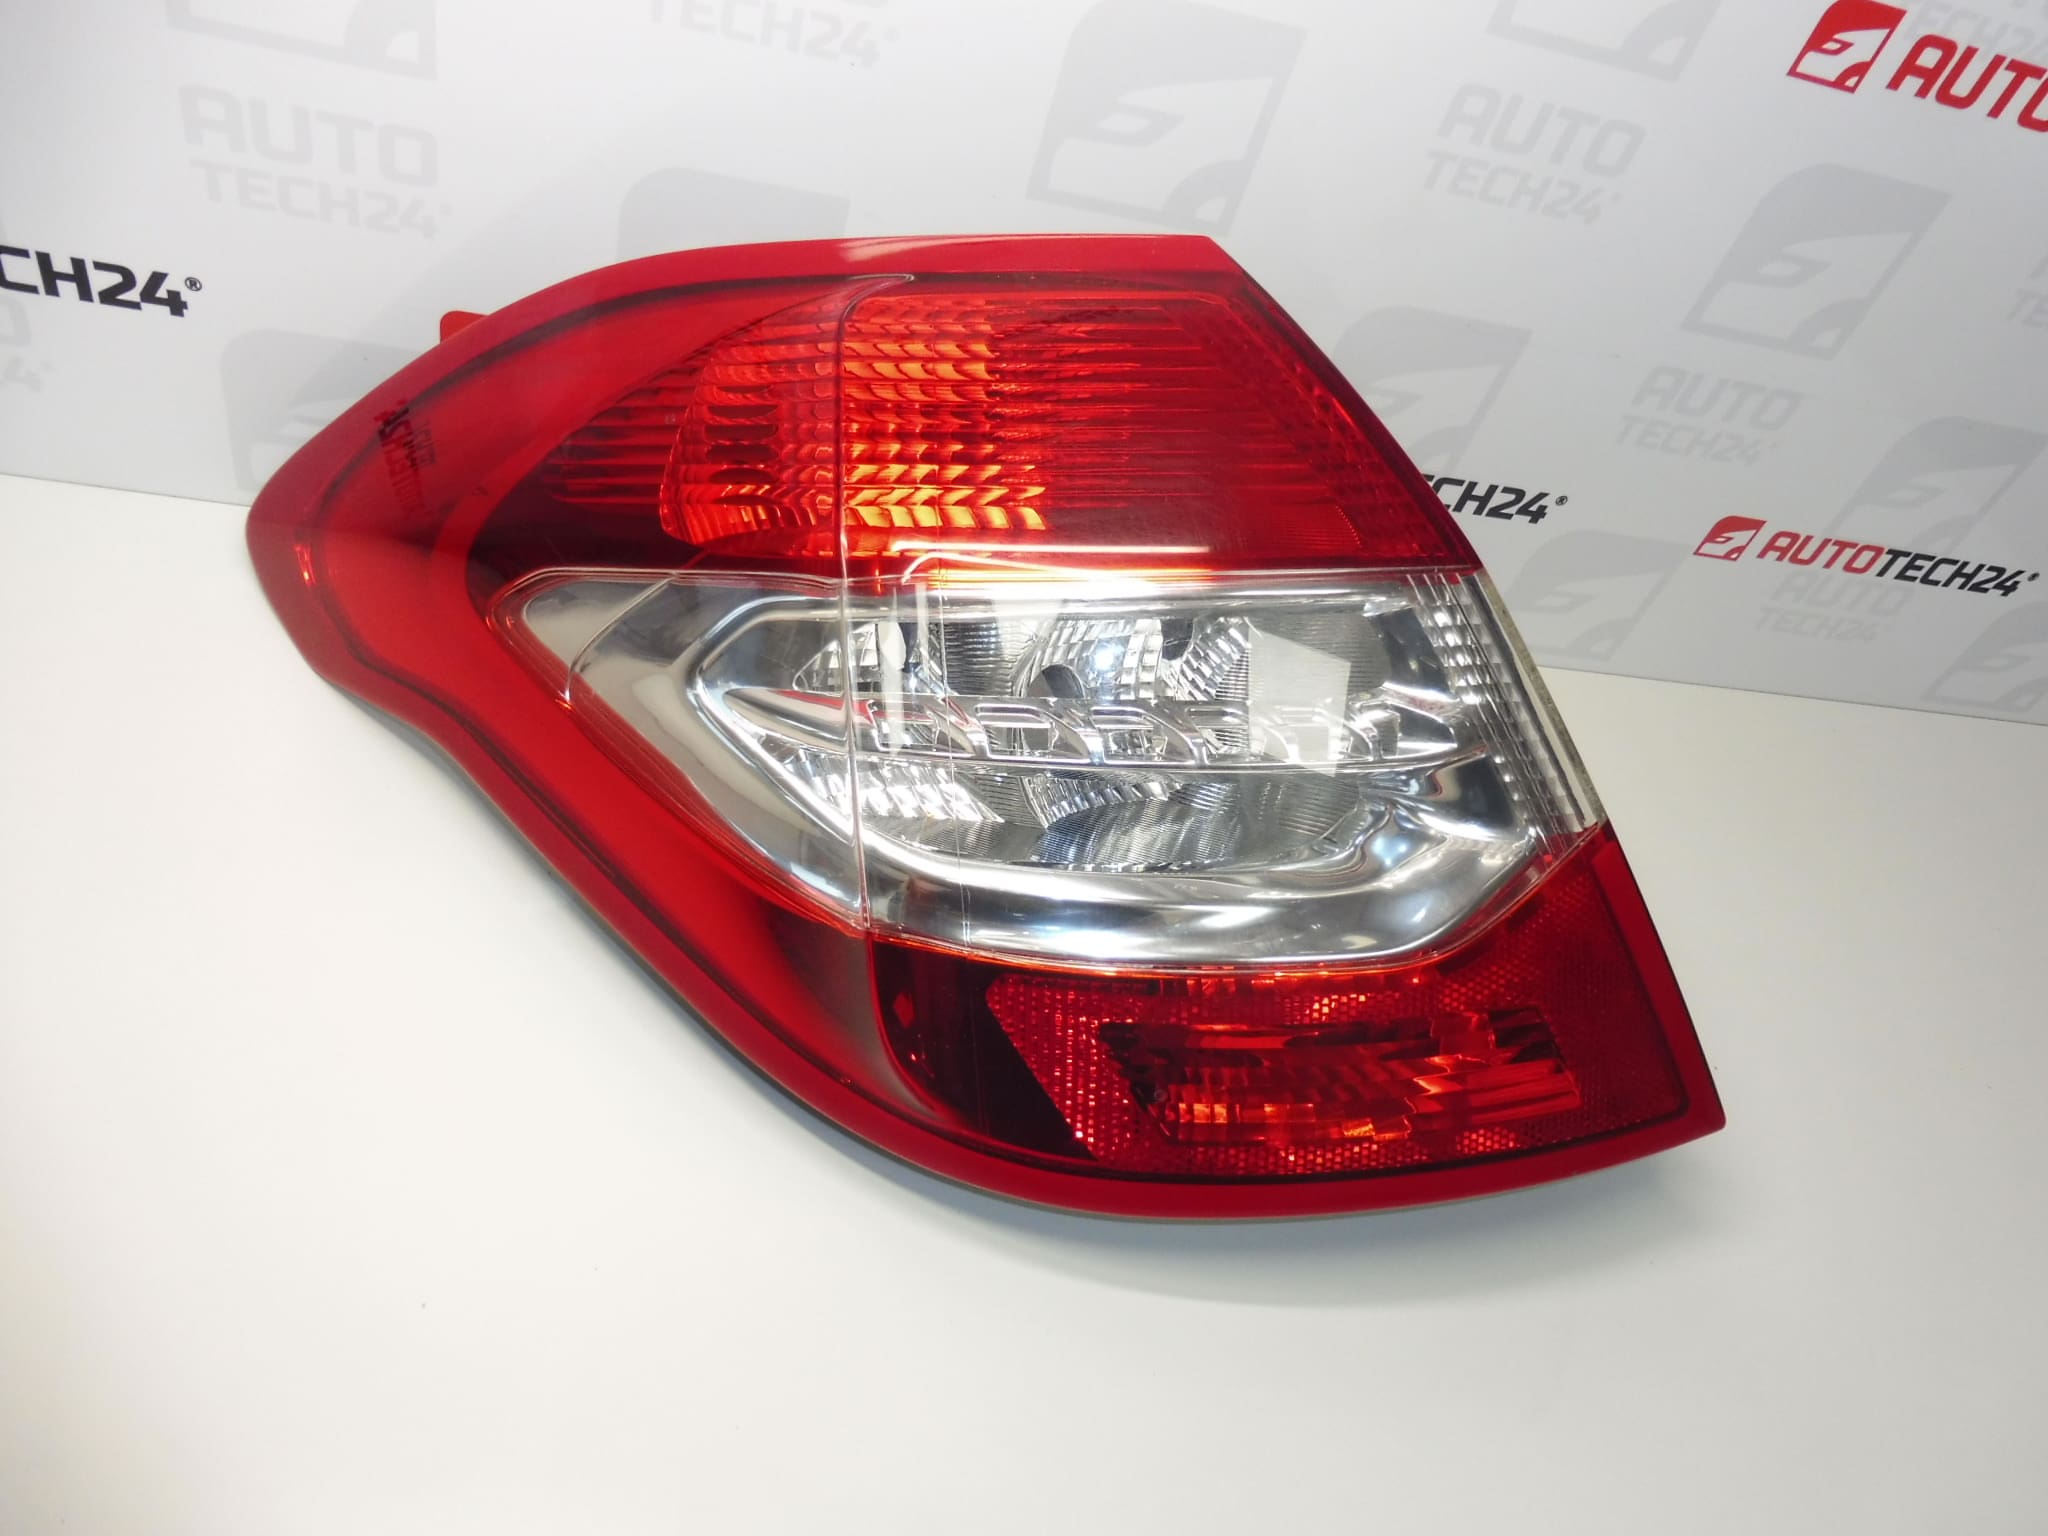
Left rear lamp external for CITROEN C4 B7 cars
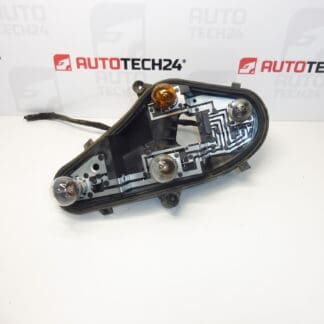
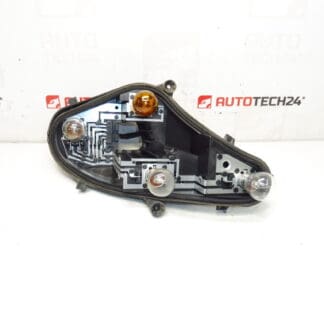
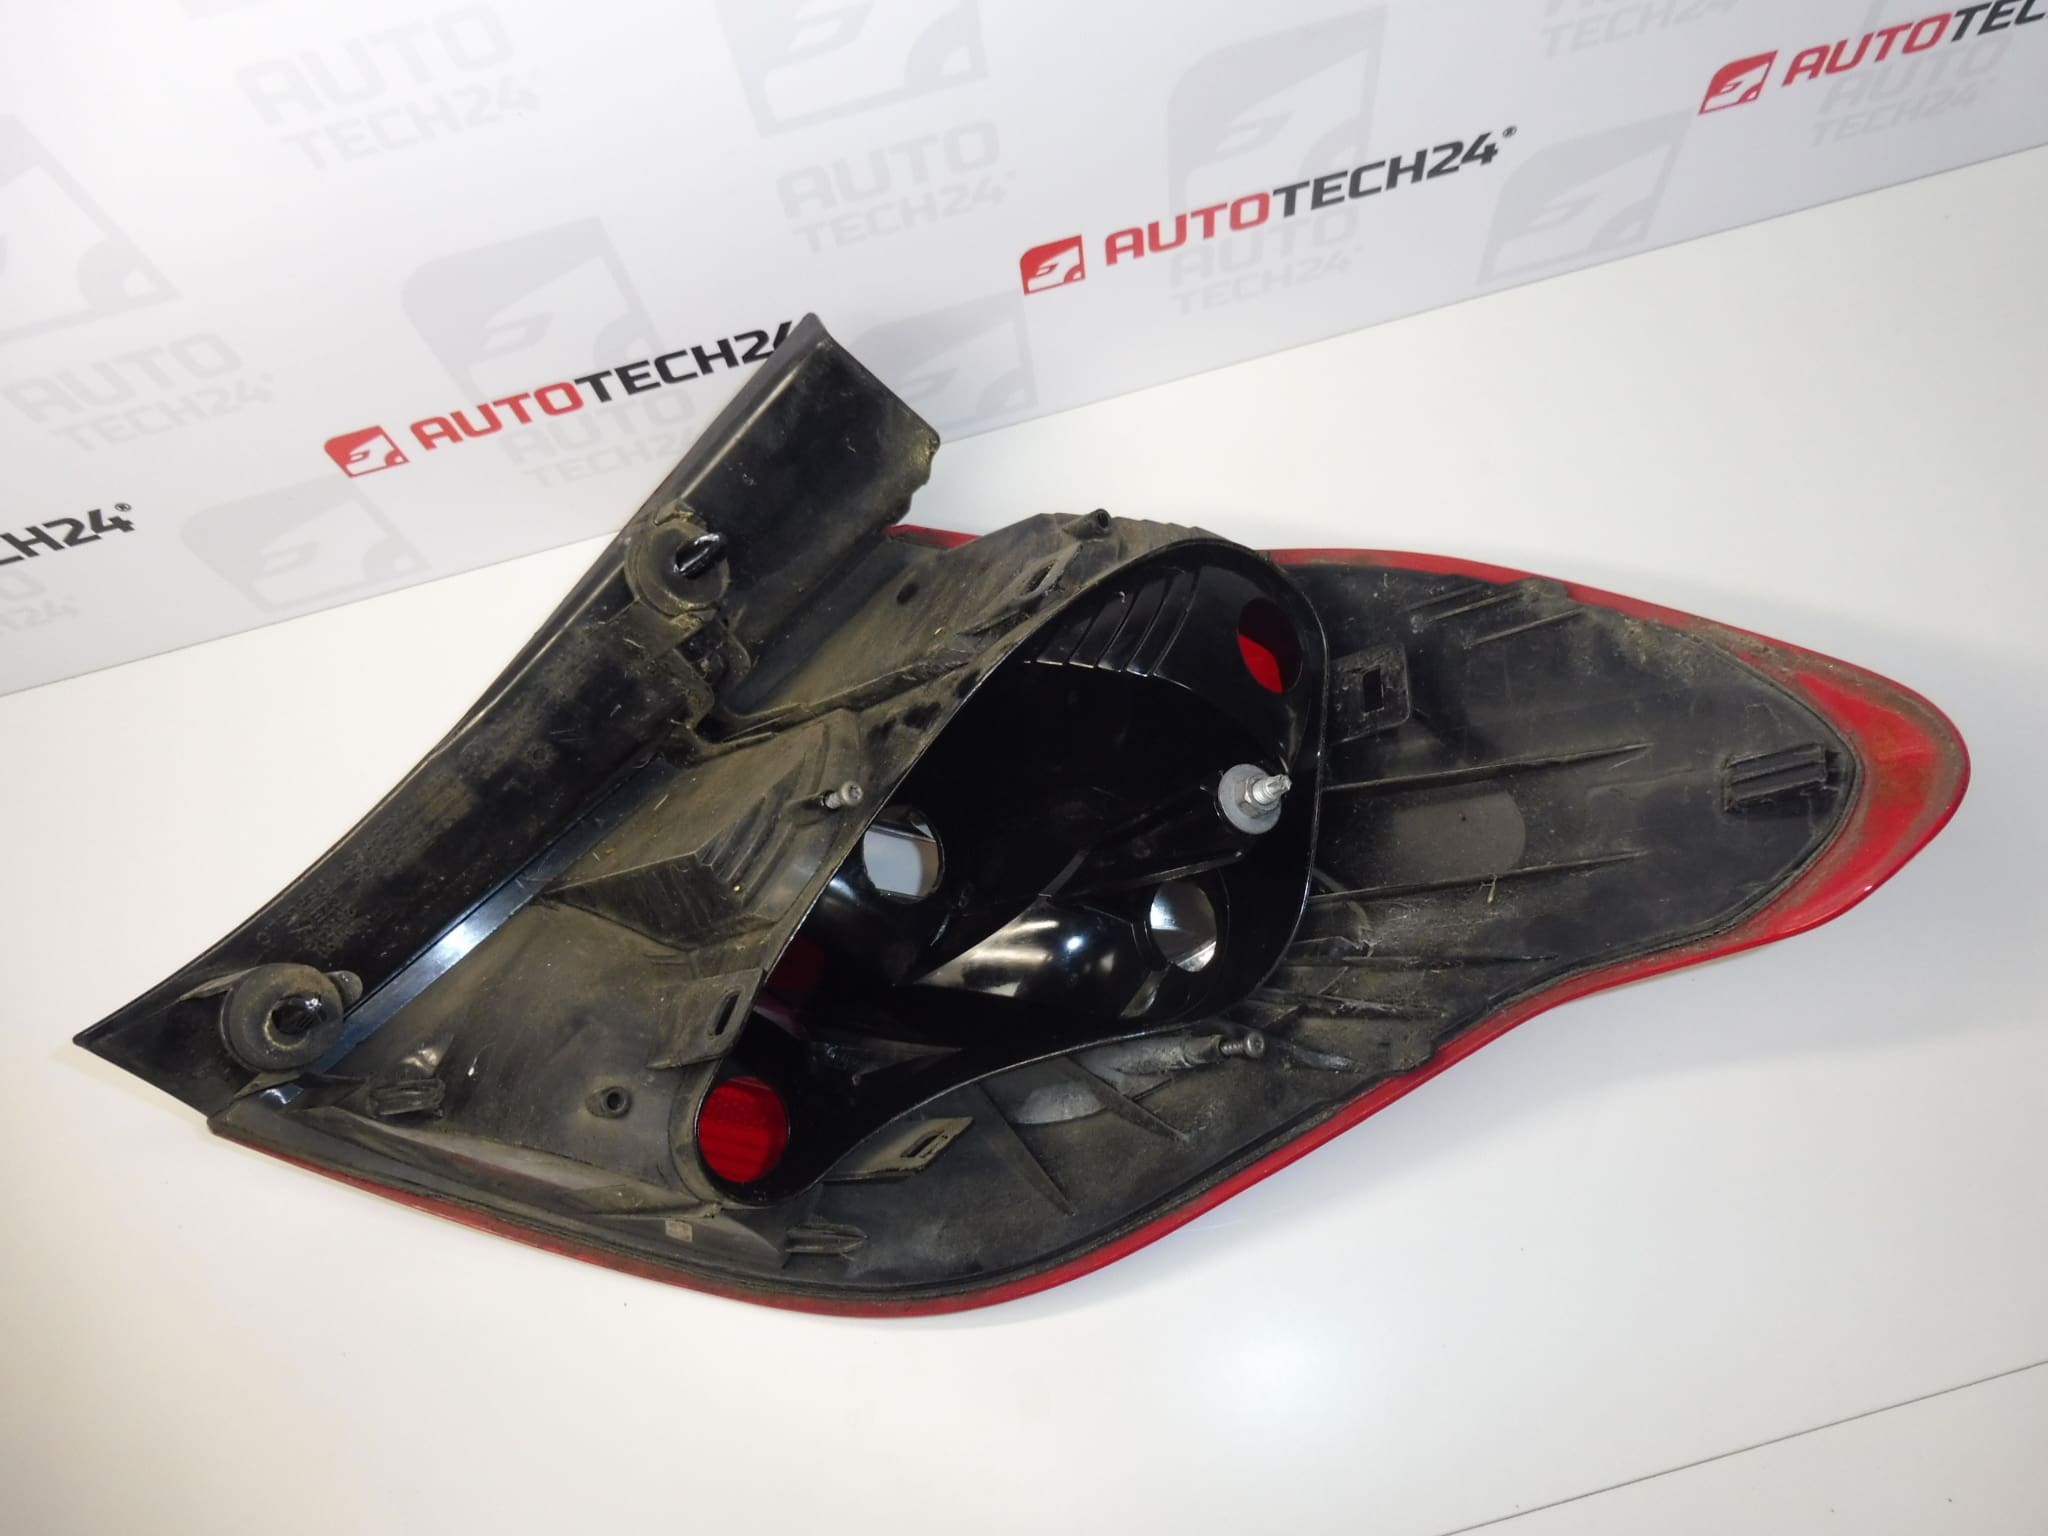
Without a base with bulbs, you can buy extra here
Side behind the driver
Part description
The used left rear exterior light for Citroën C4 II (B7) is designed to replace a damaged lamp on the side behind the driver. When looking for a spare part, use the designations 9687312180 and 6350KS in particular, and also compare the shape and attachment with the original light.
The rear lamp ensures the correct emission of the relevant light signals and their visibility for other drivers. Replacing a damaged light helps eliminate problems associated with a cracked cover or leaks. The socket with bulbs is not part of the delivery; can be purchased separately here. The original socket can only be used if it matches the design of the lamp and is in good condition.
Technical information
- Manufacturer: not specified; in the documents the label Stellantis CITROEN PEUGEOT.
- Model: Citroen C4 II; marked as CITROEN C4 B7 in the long description.
- Part type: rear exterior light.
- Location: left rear, behind the driver.
- Condition: used car part.
- Scope of delivery: lamp without base with bulbs.
- Other numbers: not specified.
Product codes
- Product codes: 9687312180, 6350KS.
- Model: Citroen C4 II.
Compare the part numbers with the markings on the original lamp. When choosing, also distinguish between the left and right version and the outer and inner part of the rear light.
Installation recommendations
In general, the following procedure applies to this type of part. The exact approach to fastening, the method of disassembly and work with the electrical system depend on the specific design of the car. Follow the manufacturer’s service procedure.
1) Before assembly
- Compare the product numbers, lamp outline, attachment points and socket hole design with the old piece.
- Inspect the cover, body, connections and mounts of the used light. Check that they are not cracked or deformed.
- Check the mating and sealing surfaces, possibly the condition of the seal depending on the design.
- Since the lamp is supplied without a socket with bulbs, prepare a suitable socket in advance. Check the original socket for contacts, locks, signs of corrosion and heat damage.
2) Necessary tools and materials
- Common hand tools corresponding to actual car fasteners.
- Plastic removal tool if necessary to release trim.
- A clean soft cloth and a product suitable for cleaning the contact surfaces.
- Work gloves and suitable workplace lighting.
3) Step-by-step assembly procedure
- Park the vehicle safely, secure it against movement and turn off the ignition and lights.
- According to the manufacturer’s service procedure, prepare the electrical system for work; disconnect the battery in the prescribed manner.
- Access the lamp mount. Loosen the covers or trim carefully so as not to break their clips.
- Document the wiring routing and placement of the original light for easier reassembly.
- Release the electrical connector by its body and fuse, not by pulling on the wires. Adapt the disconnection order to the access and service procedure.
- Hold the lamp, loosen the fasteners and carefully remove it. Do not touch painted surfaces.
- Clean the seating surfaces and check the area around the hole, fixings and seals. Remove the cause of any leakage before fitting the replacement lamp.
- Prepare a matching socket with bulbs. If you are transferring the original socket, use it only without damage and with clean, working contacts.
- Place the base and any sealing elements in the replacement lamp according to their design. Check for proper securing without using force.
- Insert the lamp in the correct position, check that it fits and fasten according to the manufacturer’s instructions. Do not pull the plastic handles.
- Connect the connector, verify that it is secure, and route the wiring so that it is not strained or pinched. Commission the electrical system according to the manufacturer’s procedure.
- Test all the light functions of the given lamp. After a successful inspection, return the dismantled covers or trim.
-
4) Post-assembly checks and function verification
- Verify all the functions of the installed bulbs, possibly with the help of another person.
- Check the lamp for firm seating, even seating and wiring.
- Before driving, remove any dropouts or flickering caused by poor contact. The function of the light itself can be verified on a stationary vehicle.
- After the first rain or a gentle wash, check that there is no water pooling inside.
5) The most common assembly mistakes and how to avoid them
- Exchanging the design of the lamp: compare the marking, side, shape and fixing before disassembly.
- Using a damaged socket: corroded or thermally deformed contacts may cause further malfunctions; do not carry such a socket.
- Squeezed or improperly seated gasket: before tightening, check its position and the cleanliness of the mating surfaces.
- Unsocked connector or pinched wiring: before covering, check that the connector is secured and the wire routing is free.
- Impact when parking or in a traffic accident, which can break the cover, body or mounting brackets.
- Aging of plastics due to the sun and temperature changes, leading to brittleness and the appearance of cracks.
- Leaking through damaged joints or gaskets which can damage the internal surfaces of the lamp as well as the electrical contacts of the base.
- Reckless disassembly or excessive tightening, which cracks the handles and deforms the bearing parts.
- Overheating in the socket area due to bad contacts or unsuitable bulbs, which can also damage the surrounding plastic.
Reasons why the part is damaged
The following are generally the most common causes of damage to rear lights; this is not a description of the condition of this particular piece: