Description
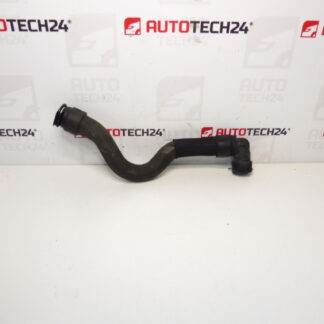
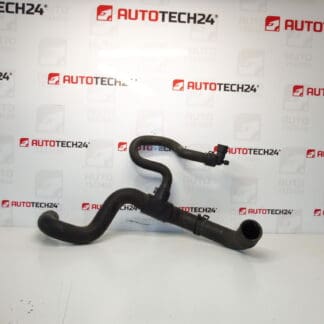
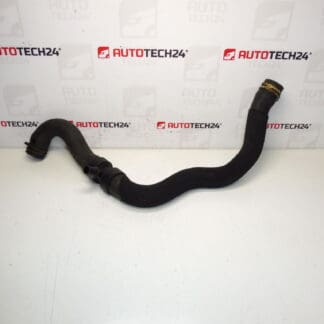
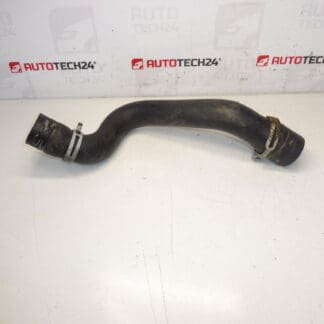
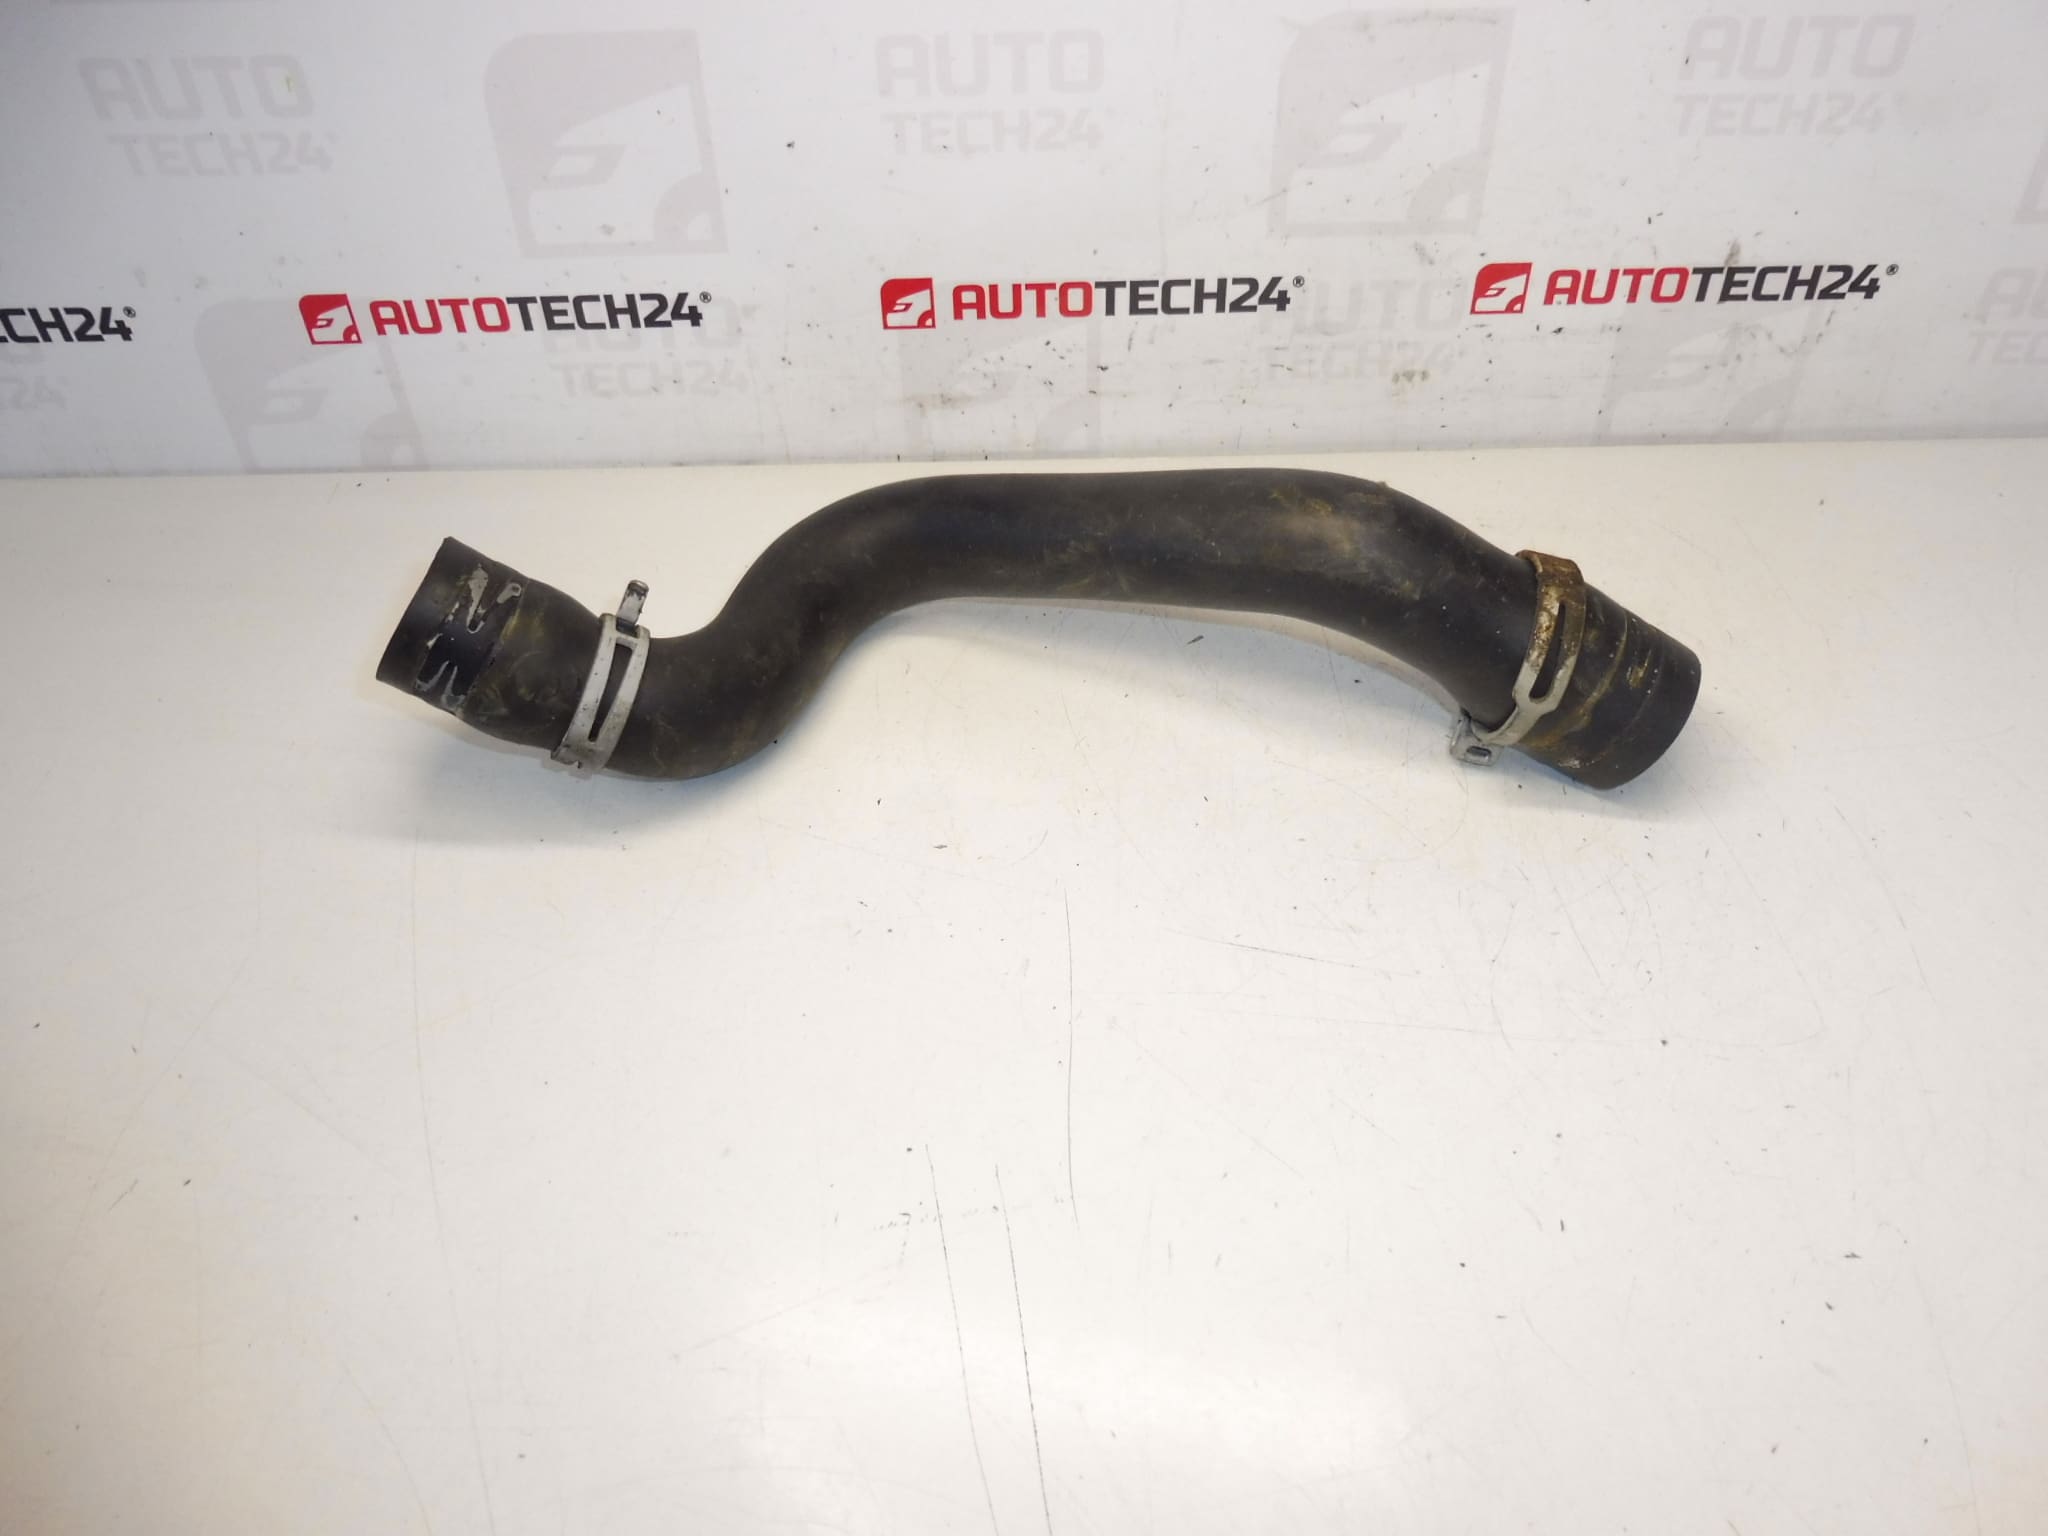
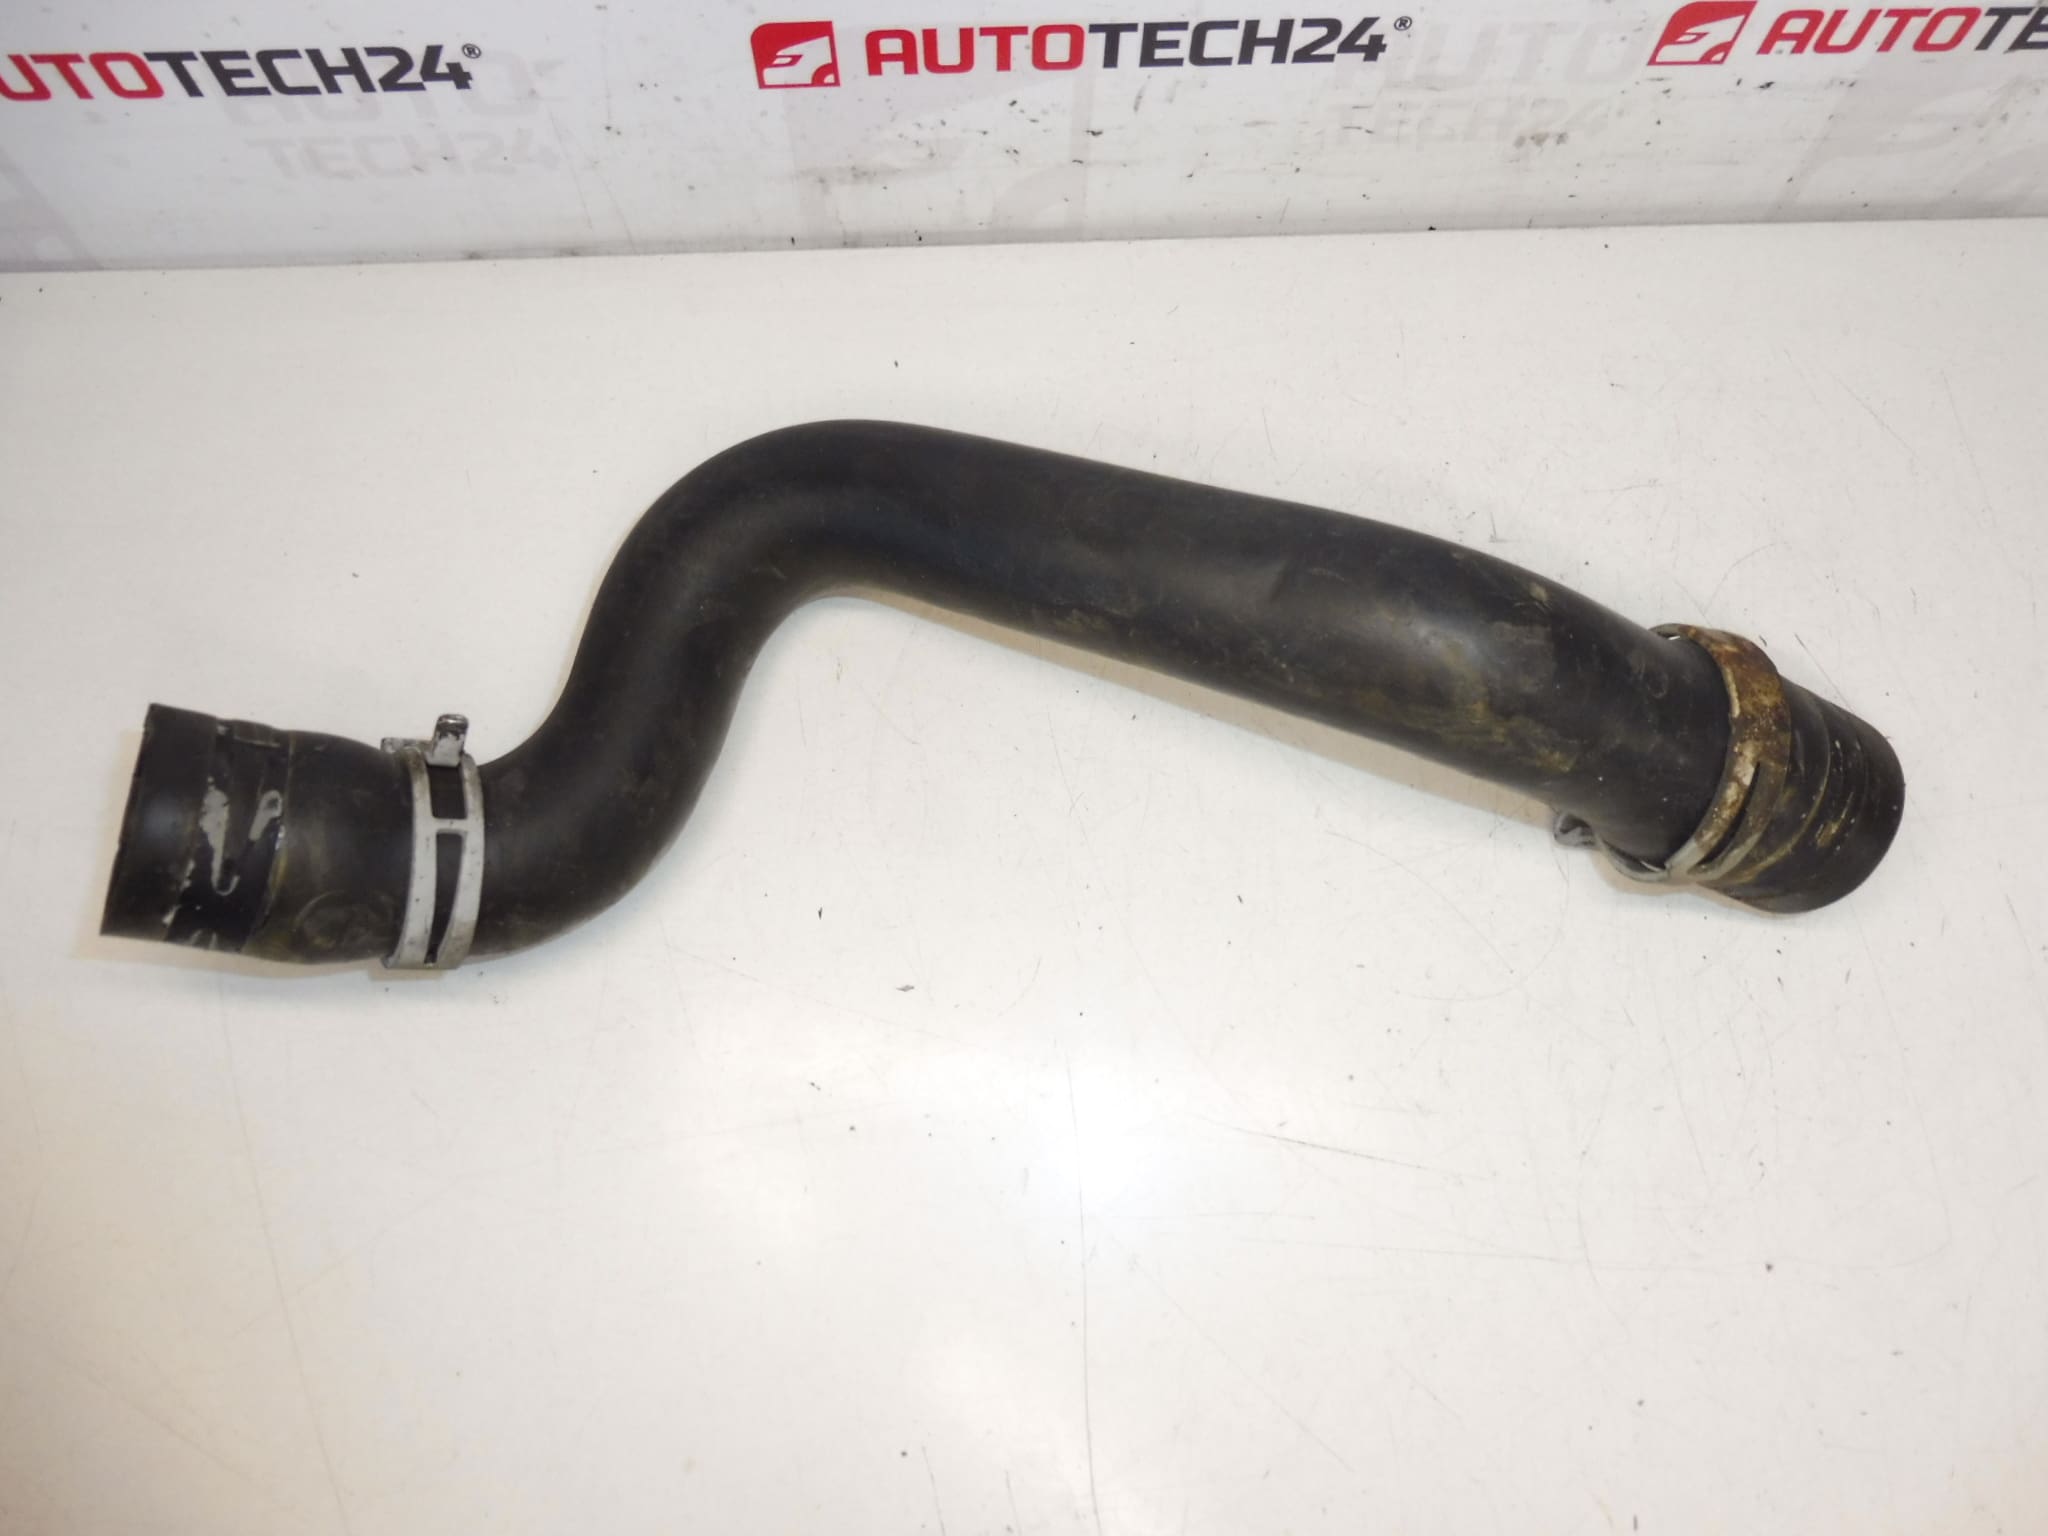
Water Hose For Citroën And Peugeot Vehicles With 2.0 HDi RH02 Engine
Premium-quality replacement water hose designed for Citroën and Peugeot 2.0 HDi RH02 engines (OEM Reference 1343LJ). Built to restore reliable coolant flow in the engine cooling circuit, this hose is an ideal choice for professional mechanics and experienced DIYers who need an exact-fit, durable part that matches factory routing and connection points. The hose resists high temperatures, pressure cycles and common contaminants found in modern diesel cooling systems, helping prevent overheating and coolant loss.
Key Benefits
- Direct Fit For Original Routing: Ensures correct clearance and connection to thermostat, water pump, and radiator components.
- Durable Material: Reinforced elastomer construction for resistance to heat, pressure and coolant additives.
- OEM Reference Included: Commonly Searched By Code 1343LJ For Faster Identification.
- Suitable For Workshop Or Home Repair: Clear installation steps and checks tailored to 2.0 HDi engines.
Typical Applications
Compatible With The Following Models (Depending On Engine Variant And Year): Citroën C4 II; Citroën C4 Picasso II; Citroën C5 X7; Citroën C8; DS4; DS5; Peugeot 3008 I; Peugeot 308; Peugeot 5008 I; Peugeot 807. Always Confirm Fitment By Matching The Product Code 1343LJ And Visual Comparison With The Removed Hose.
Technical Information
- Manufacturer: Stellantis / Citroën / Peugeot
- Model: Citroën C4 II; Citroën C4 Picasso II; Citroën C5 X7; Citroën C8; DS4; DS5; Peugeot 3008 I; Peugeot 308; Peugeot 5008 I; Peugeot 807
- Product Codes: 1343LJ
- Other Numbers: N/A
Function And Role
This Water Hose Is Part Of The Engine Cooling Circuit. It Transports Engine Coolant Between Cooling System Components (Such As The Thermostat Housing, Radiator, Heater Matrix Or Water Pump) Maintaining Correct Engine Operating Temperature. A Sound Hose Ensures Stable Coolant Flow, Prevents External Leaks And Avoids Localized Overheating.
Why This Part Fails
- Age And Heat Degradation: Repeated Thermal Cycling Causes Rubber And Elastomer Layers To Harden, Crack Or Become Brittle.
- Chemical Attack: Incorrect Or Contaminated Coolant, Oil Leaks Or Fuel Contamination Can Soften Or Swell Hose Material.
- Pressure Pulses And Internal Collapse: Internal Reinforcement Can Fatigue, Causing Collapse Under Vacuum Or High Flow Conditions.
- Mechanical Wear: Chafing Against Adjacent Components, Improper Clamps Or Incorrect Installation Angles.
- Recommended Replacement Interval: Typically Replace At Signs Of Wear Or During Major Cooling System Service; Many Hoses Last Between 5–10 Years Or Roughly 80,000–150,000 Km Depending On Use And Service History.
Installation Recommendations
- Work On A Cold Engine: Allow Engine And Cooling System To Cool Completely Before Any Intervention.
- Drain Coolant To A Safe Level, Then Remove Old Clamps And Hose Carefully To Avoid Damaging Adjacent Components.
- Compare New Hose With Removed Part For Correct Shape, Length And Connection Diameters Before Fitting.
- Use New Quality Hose Clamps And Ensure Clamps Are Placed Correctly Over Reinforced Sections; Avoid Over-Tightening Which Can Cut Into Hose Material.
- Refill With Correct Type And Concentration Of Coolant Recommended For Citroën/Peugeot Diesel Engines; Bleed The Cooling System According To Manufacturer Procedure To Remove Air Pockets.
- Inspect Thermostat, Water Pump, Radiator And Adjacent Hoses While Replacing To Prevent Future Failures.
- Final Check: Start Engine, Bring To Operating Temperature And Inspect For Leaks, Hose Movement And Proper Coolant Circulation.
Notes For Professionals
Mechanics Should Verify Routing And Clearance During Installation, Especially On Turbocharged Variants Where Heat Exposure Is Greater. Keep Replacement Clamps And Service-Grade Coolant On-Hand To Complete The Job In One Visit. For Fleet Or High-Mileage Vehicles, Consider Replacing Multiple Hoses Simultaneously To Reduce Repeat Labor.
Summary
This Water Hose (OEM 1343LJ) Offers A Reliable, Direct-Fit Replacement For Citroën And Peugeot 2.0 HDi RH02 Engines. It Restores Proper Coolant Flow, Reduces Risk Of Overheating, And Is Suitable For Use By Professional Workshops And Experienced DIYers. Follow Standard Safety And Cooling-System Procedures During Replacement To Ensure Long Service Life.