Description
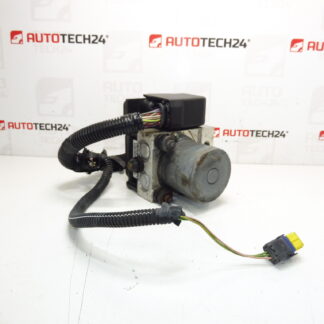
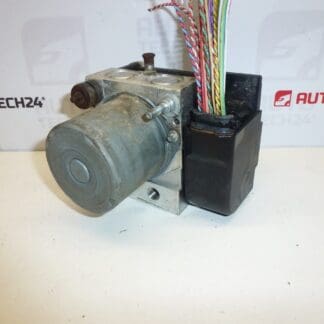
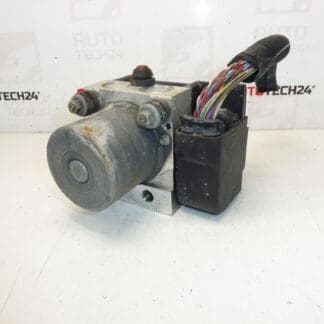
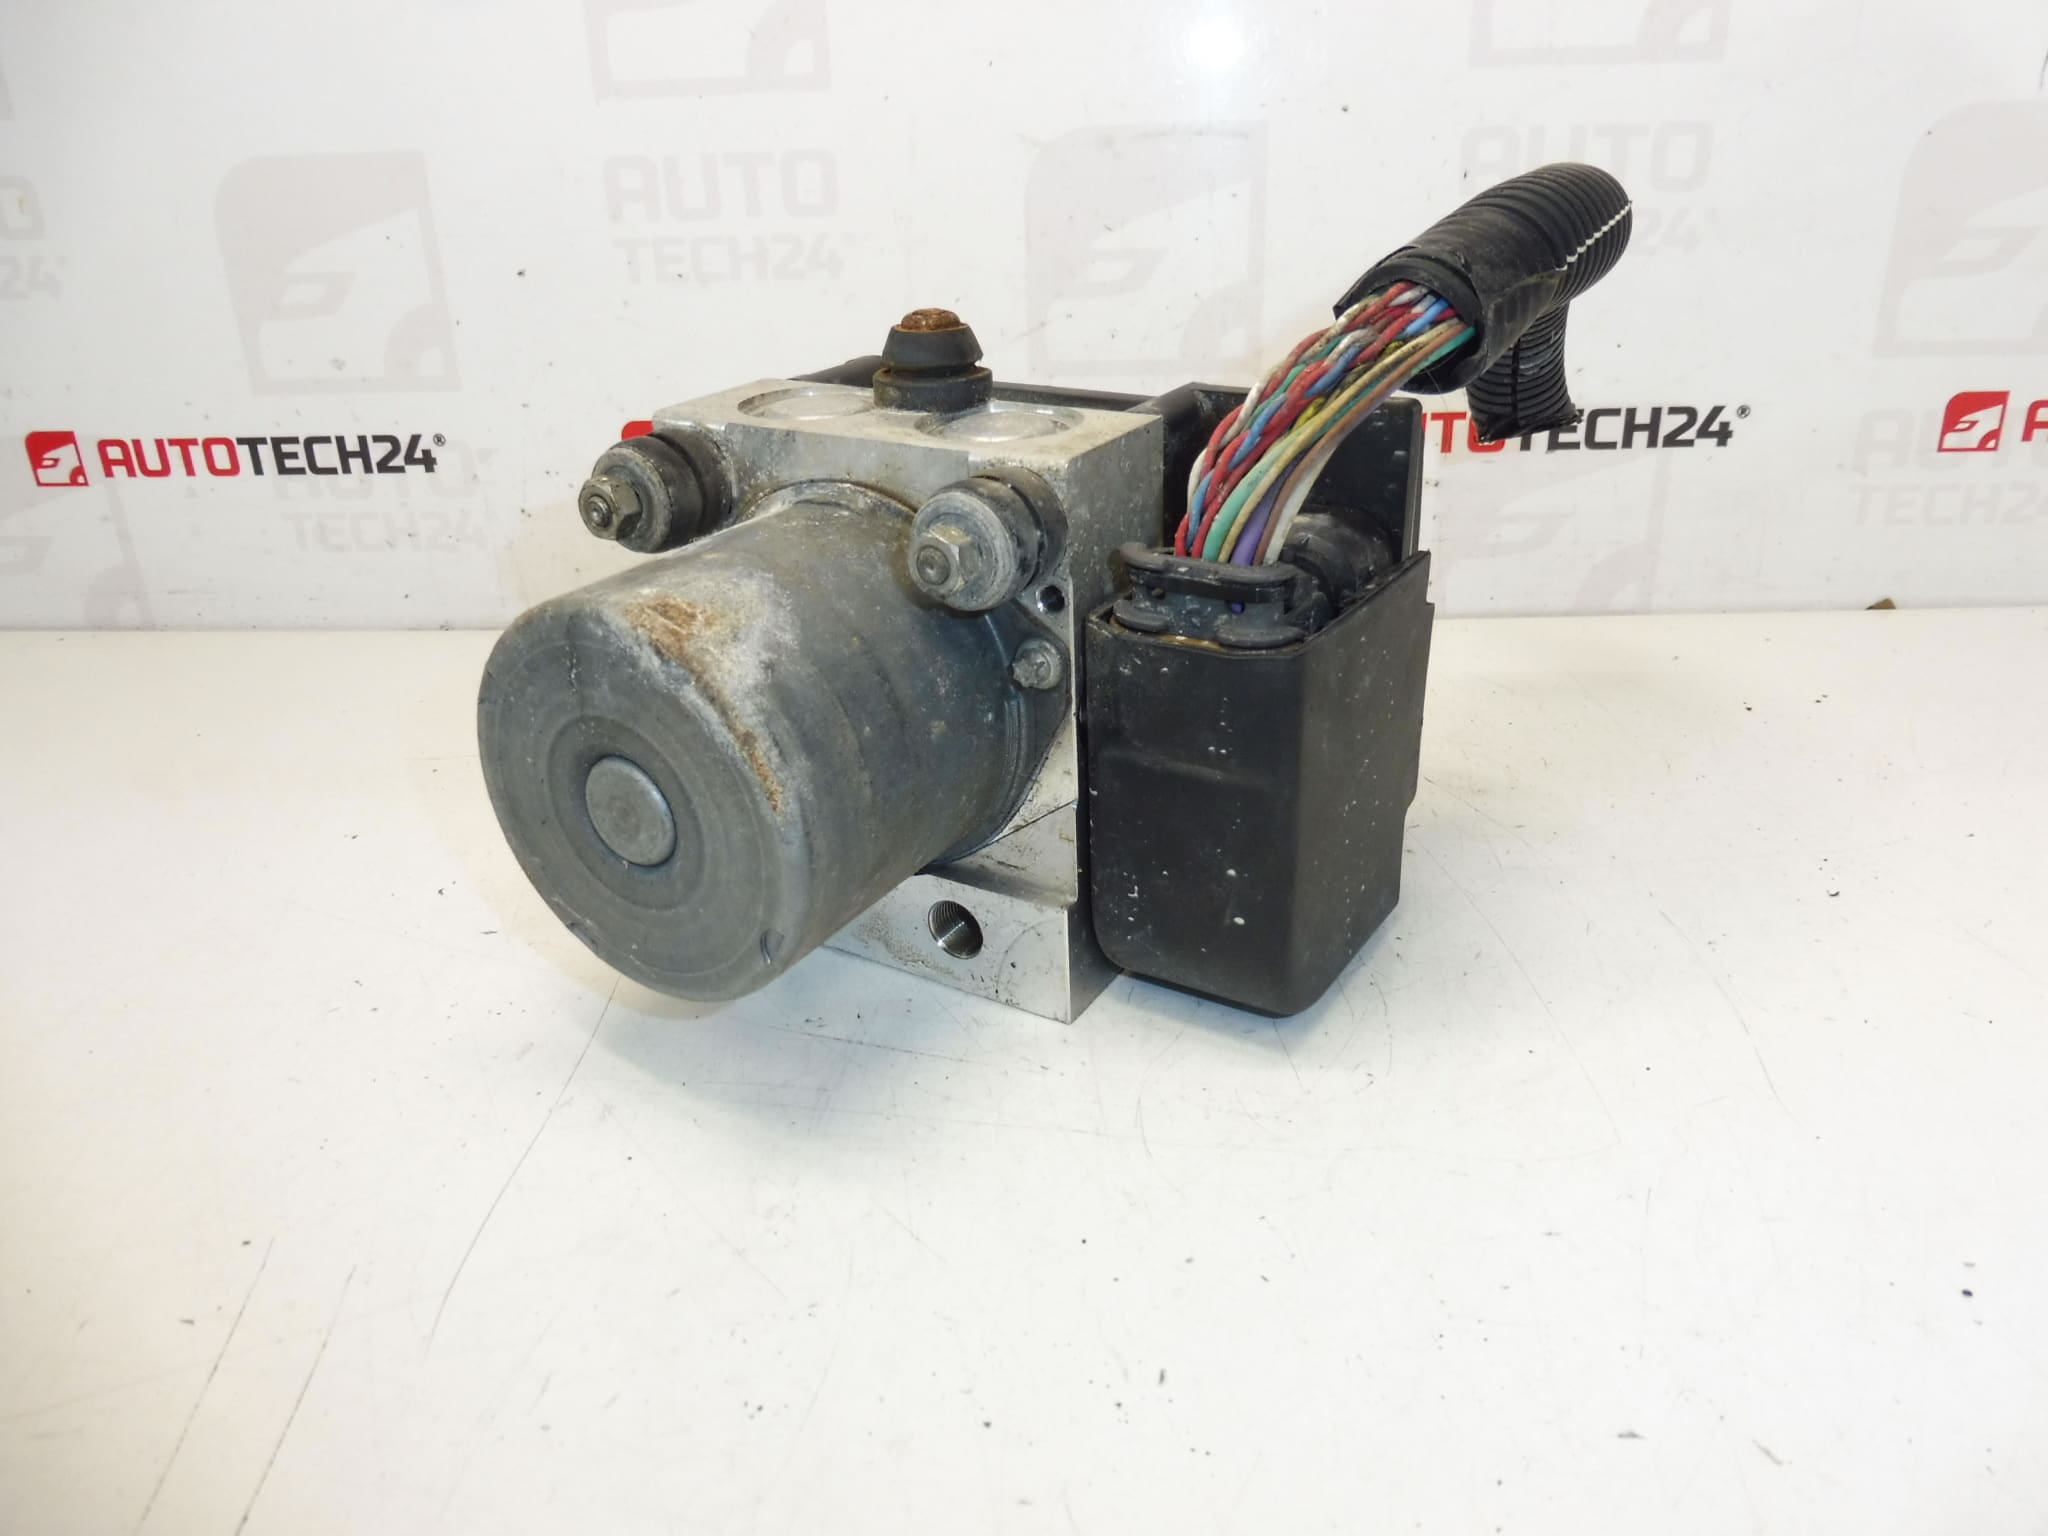
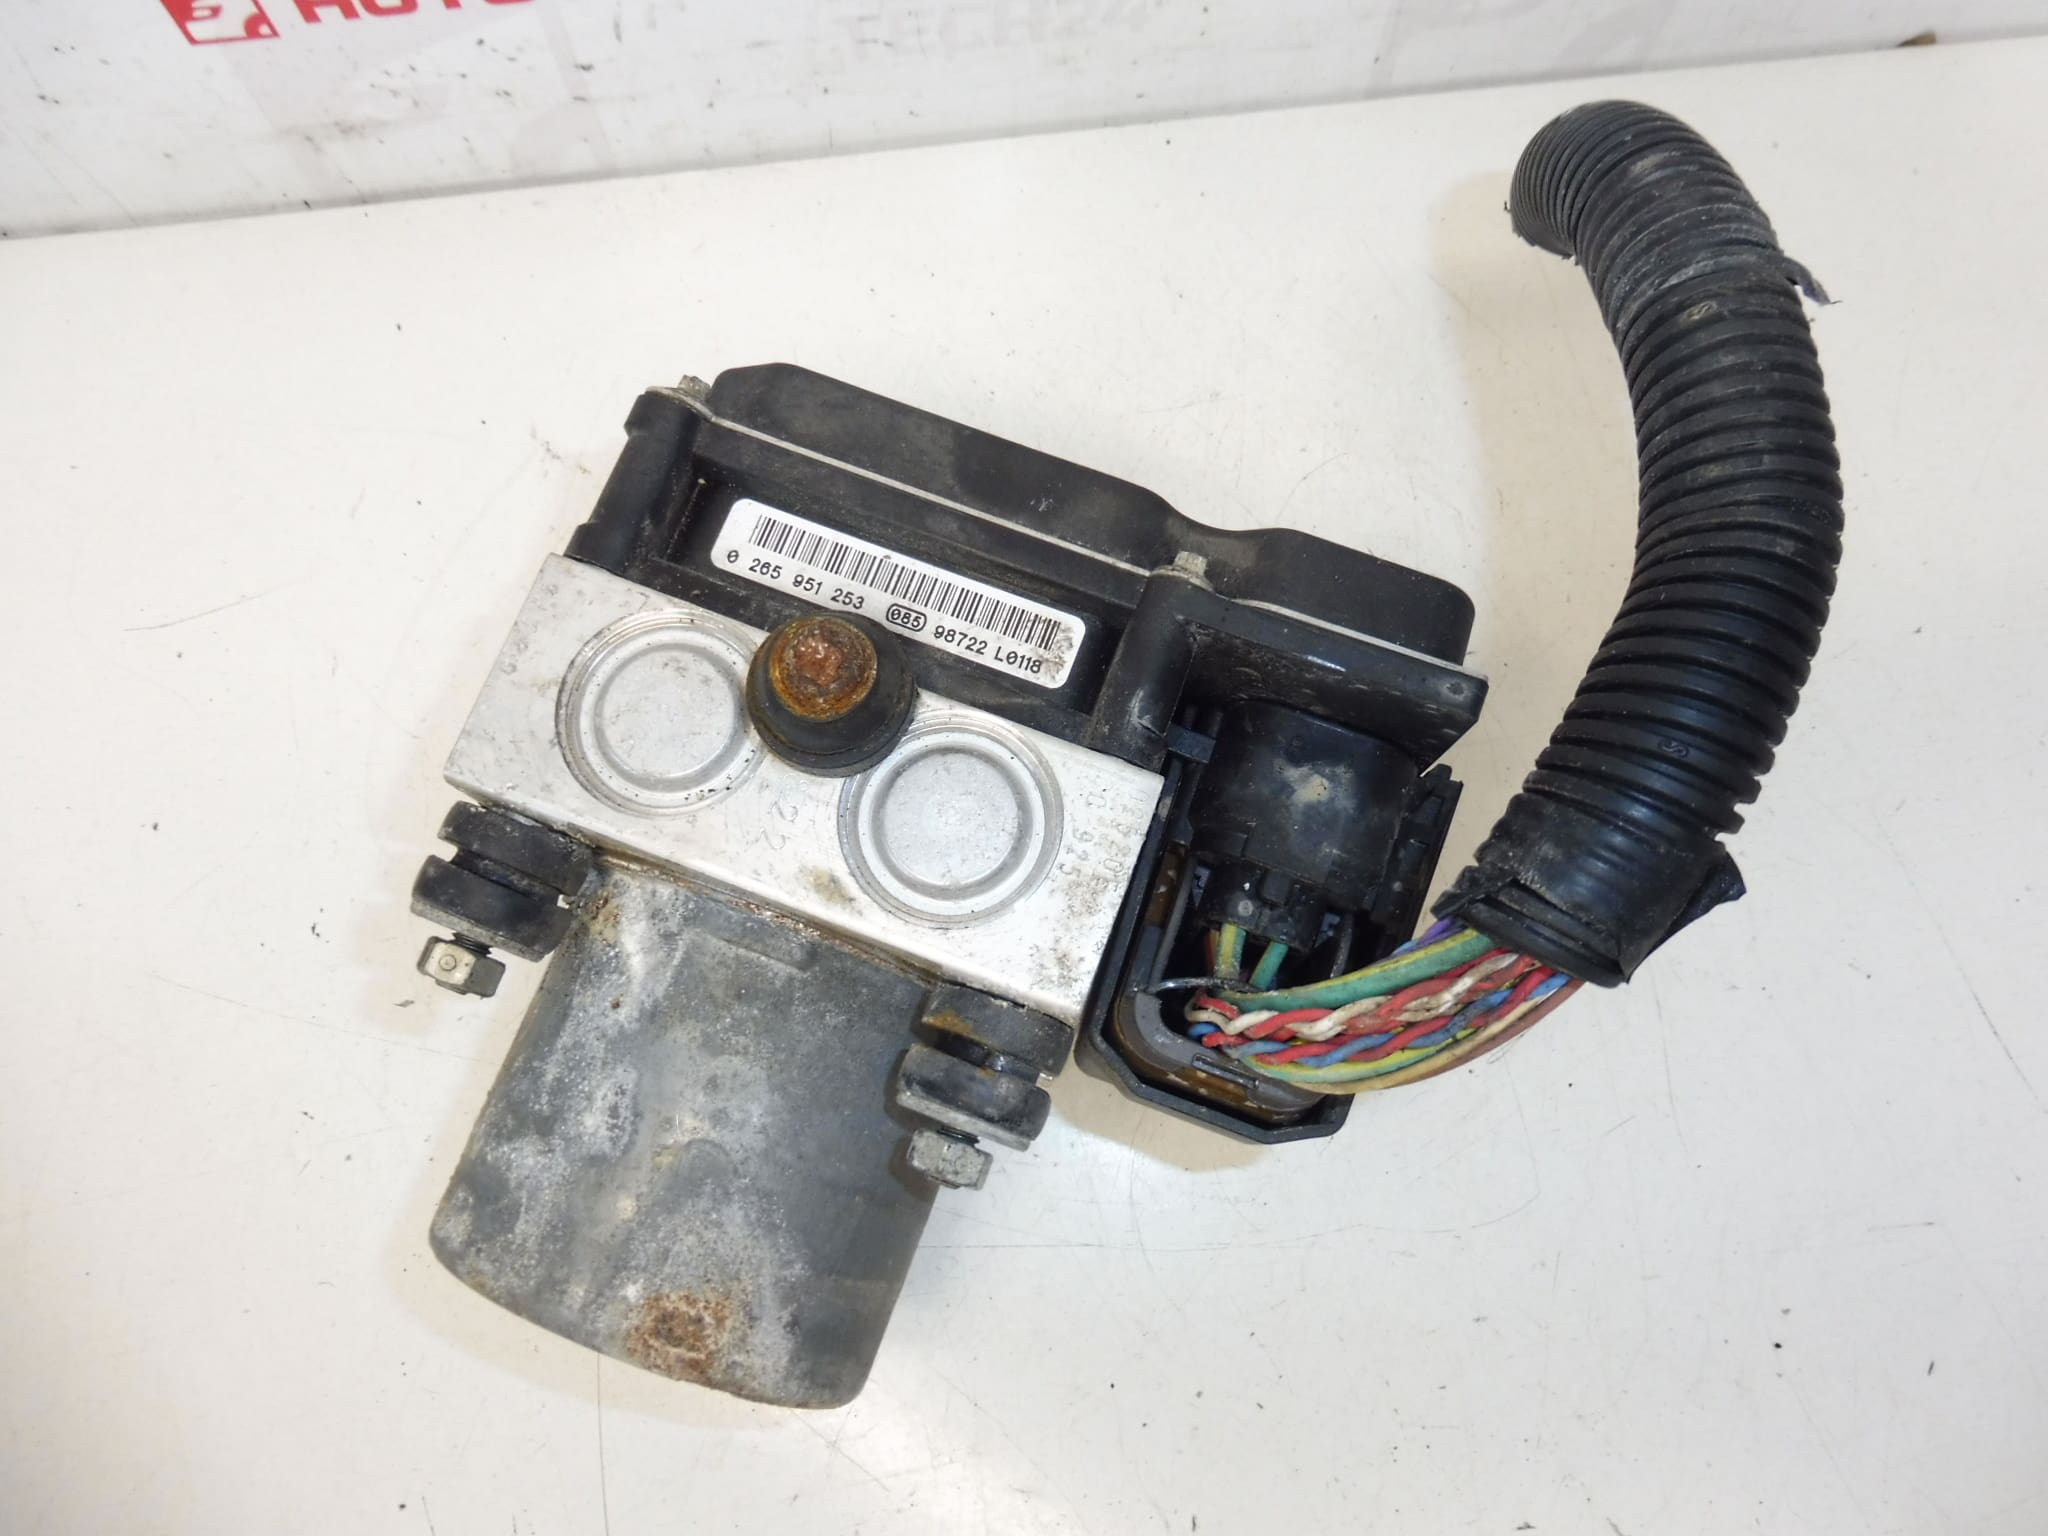
Hydraulic Brake Control Block, ABS/ESP Pump Unit, Bosch ABS Module. For Citroën C4 Picasso vehicles.
Overview
This Bosch hydraulic control block and ABS/ESP pump is a direct-fit safety module designed for Citroën C4 Picasso vehicles. It controls hydraulic pressure to the braking circuits during ABS and ESP interventions, ensuring stable braking performance and vehicle stability under emergency braking or low-traction conditions. The unit is offered with common OEM reference numbers used by Stellantis and Bosch, making it an ideal replacement for workshops and experienced DIY technicians looking for reliable ABS/ESP components.
Key Benefits
- Direct replacement for original ABS/ESP modules specified for Citroën C4 Picasso.
- Restores ABS and Electronic Stability Program functionality when the original pump or hydraulic block fails.
- Includes common OEM numbers in listings for easier lookup and ordering.
- Suitable for professional garages and competent DIY mechanics who can perform safe brake system work and electronic coding where required.
How It Works
The hydraulic control block houses solenoid valves, pressure modulators and an electric pump motor. During an ABS event, wheel speed sensors signal the control electronics to modulate brake pressure via the valve block and pump to prevent wheel lock. ESP interventions use the same hydraulic network to selectively apply brakes and maintain vehicle stability. A fault in any electrical connector, pump motor, valve or internal electronics can disable ABS/ESP functionality and trigger warning lights.
How To Replace
Replacement requires basic mechanical skills and attention to brake-system procedures. Typical steps:
- Park vehicle securely and relieve system pressure.
- Disconnect the negative battery terminal to avoid short circuits and accidental airbag/ECU events.
- Access the ABS unit (usually located in the engine bay near the master cylinder).
- Disconnect the electrical connector and carefully undo hydraulic lines using appropriate flare-nut tools; cap or plug lines to prevent contamination and fluid loss.
- Unbolt the assembly and remove the unit. Transfer any brackets or brackets studs if required by the replacement part.
- Install the new unit, reconnect hydraulic lines and electrical connector, torque fasteners to manufacturer specification where available.
- Bleed the brake system thoroughly. Use a diagnostic tool to run ABS pump activation cycles and perform an electronic bleed if supported. Clear fault codes and confirm correct operation.
Installation Recommendations
- Manufacturer: Bosch components are sensitive to contamination. Use only clean, manufacturer-recommended brake fluid and avoid introducing dirt into the hydraulic circuit.
- Bleeding: After installation perform a complete brake bleed. Preferably use a scan tool to command the ABS pump and valves during bleeding to ensure trapped air is removed from the hydraulic block.
- Electrical Checks: Inspect connector pins and wiring harness for corrosion or damage before reconnecting.
- Safety: Always support the vehicle securely and wear appropriate PPE. Follow vehicle manufacturer procedures for handling brake fluid and for disposal of used fluid.
Why The Part Most Commonly Fails
Common failure causes include electric motor wear on the pump, internal valve sticking, contamination from degraded or contaminated brake fluid, corrosion in hydraulic passages, and electrical connector faults. Long service life combined with exposure to moisture and contaminated fluid increases the likelihood of valve and motor failures. In some cases, repeated ABS activation due to faulty wheel speed sensors can accelerate wear.
Technical Information
- Manufacturer: Bosch / Stellantis (Citroën)
- Model: Citroën C4 Picasso
- Product Codes: 9666199180, 0265951253
- Additional Numbers: 4541JH, 4541JJ, 4541QE, 265951253
Notes For Professionals
Inspect surrounding components such as master cylinder, brake lines and wheel speed sensors when replacing the ABS hydraulic block. Residual contamination or unrelated faults may cause recurrent warning lights after replacement. When possible, use diagnostic equipment to verify proper communication between the ABS module and the vehicle CAN network and to confirm the absence of stored fault codes after installation.
Who Should Fit This Part
Recommended for professional workshops and experienced DIY mechanics comfortable with brake hydraulics and electronic diagnostics. If you are unsure about bleeding procedures or electronic checks, seek assistance from a qualified technician to ensure safe and reliable braking performance.