Description
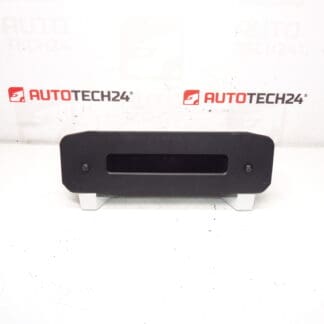
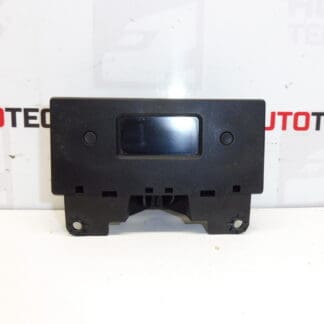
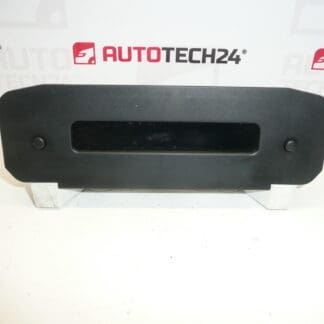
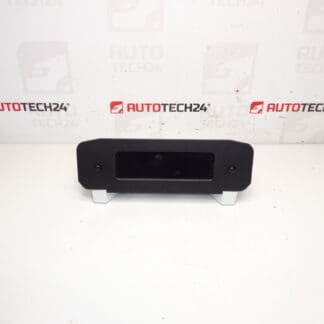
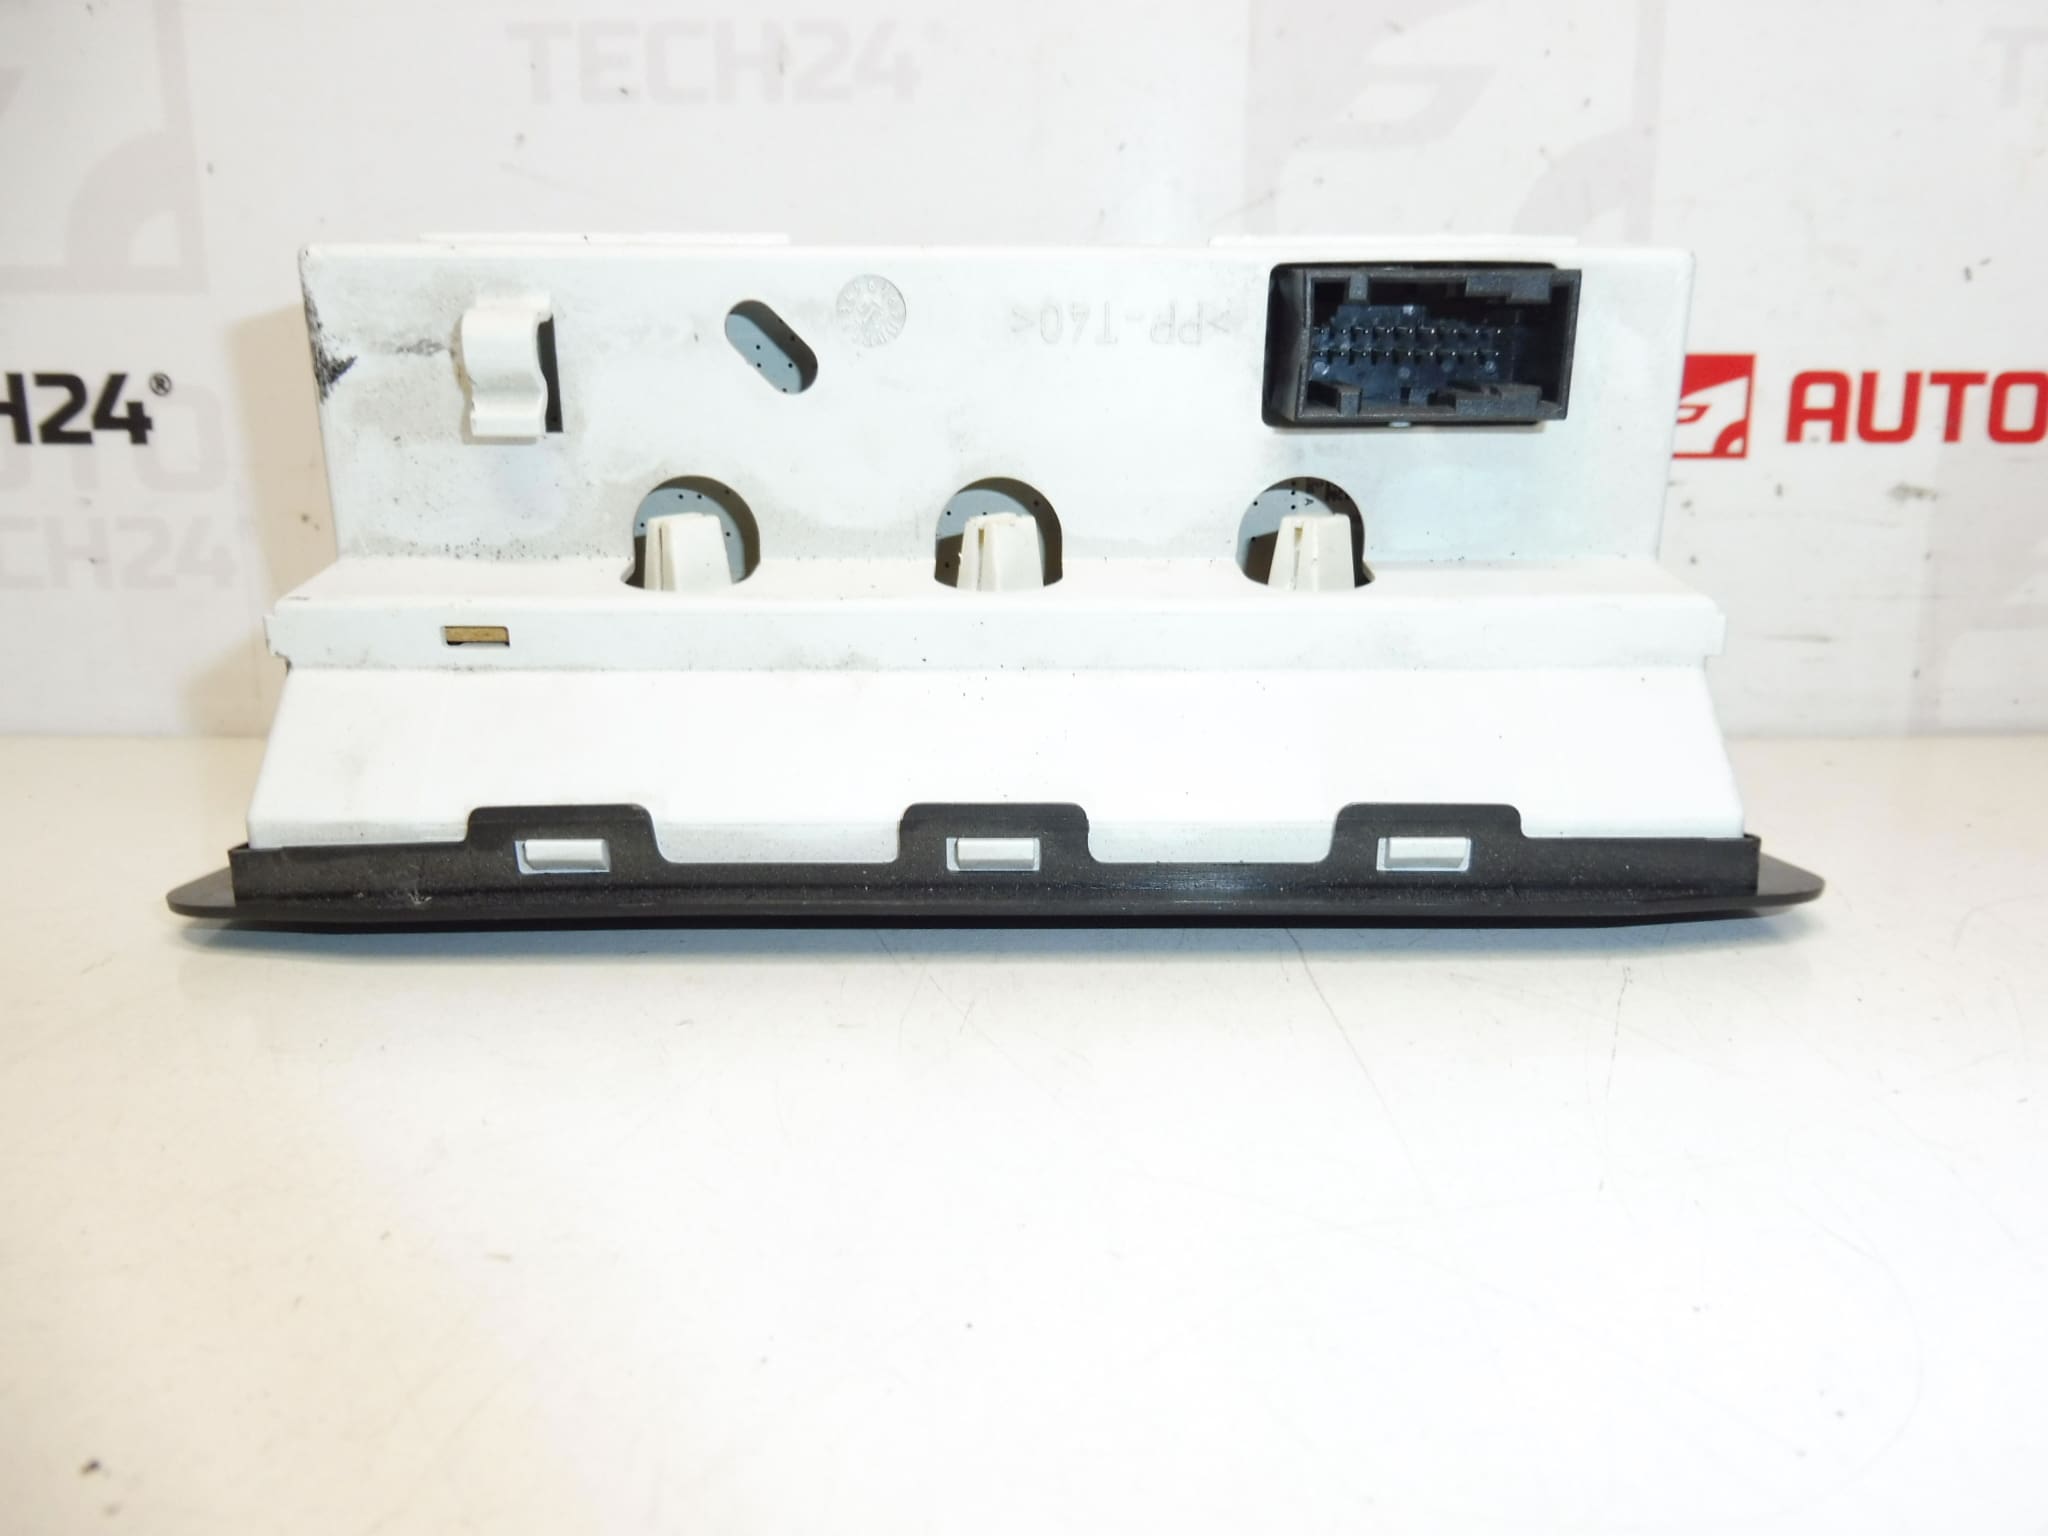
Display of the radio and trip computer for Peugeot 206. It may be necessary to set some functions using diagnostics.
This replacement display is intended for technicians and DIY enthusiasts who maintain Peugeot 206 vehicles. It restores clear readout of radio information, clock, and trip computer data, improving usability of the dashboard features. The unit supports original instrument functions and is a direct-fit component for compatible 206 dashboards; common search terms include Peugeot 206 display, radio display 9650242977, and part codes 6563HV / 6563AV.
Key Benefits
- Direct Fit For Peugeot 206 Dashboards
- Restores Radio And Trip Computer Readability
- Includes Multiple Known Part Numbers For Easy Identification
- Suitable For Professional Workshops And Skilled DIY Repairs
Technical Information
- Manufacturer: Stellantis / Peugeot
- Model: Peugeot 206
- Product Codes: 9650242977, C00, 6563HV
- Additional Numbers: 6563AV, 6564CS, 659300, 6563TF, 659601
Compatibility
Designed For Peugeot 206 models that use the referenced display part numbers. Always match the physical connector and housing shape to the original unit before installation.
Installation Recommendations
- Disconnect The Battery Before Starting Work To Avoid Electrical Damage.
- Use Proper Trim Tools To Remove Dash Panels Without Causing Damage.
- Carefully Unplug Electrical Connectors; Avoid Pulling On Wiring.
- Fit The Display And Secure Fasteners To The Original Torque Points.
- Reassemble Trim And Reconnect Battery Only After Confirming Correct Fit And Connector Seating.
- Some Functions (Clock, Trip Computer Settings, Steering Wheel Control Integration) May Require Diagnostic Configuration.
- Test All Functions Before Final Reassembly.
Why This Part Most Commonly Fails
- Backlight Or LCD Pixel Failure Due To Age And Thermal Stress.
- Moisture Ingress Or Condensation Leading To Corrosion On Connectors Or Circuit Board.
- Loose Or Oxidised Connectors Causing Intermittent Display Or Blank Screen.
- Power Surges Or Faulty Vehicle Electronics Damaging Display Electronics.
- Mechanical Damage From Impact During Removal/Installation Or From Accidents.
Notes For Diagnostics
As stated above, some functions may require setting or calibration with diagnostic equipment. If features are not available after installation, a diagnostic tool may be required to enable or adjust settings.
Part Numbers For Search: 9650242977, 6563HV, 6563AV, 6564CS, 659300, 6563TF, 659601.