Description
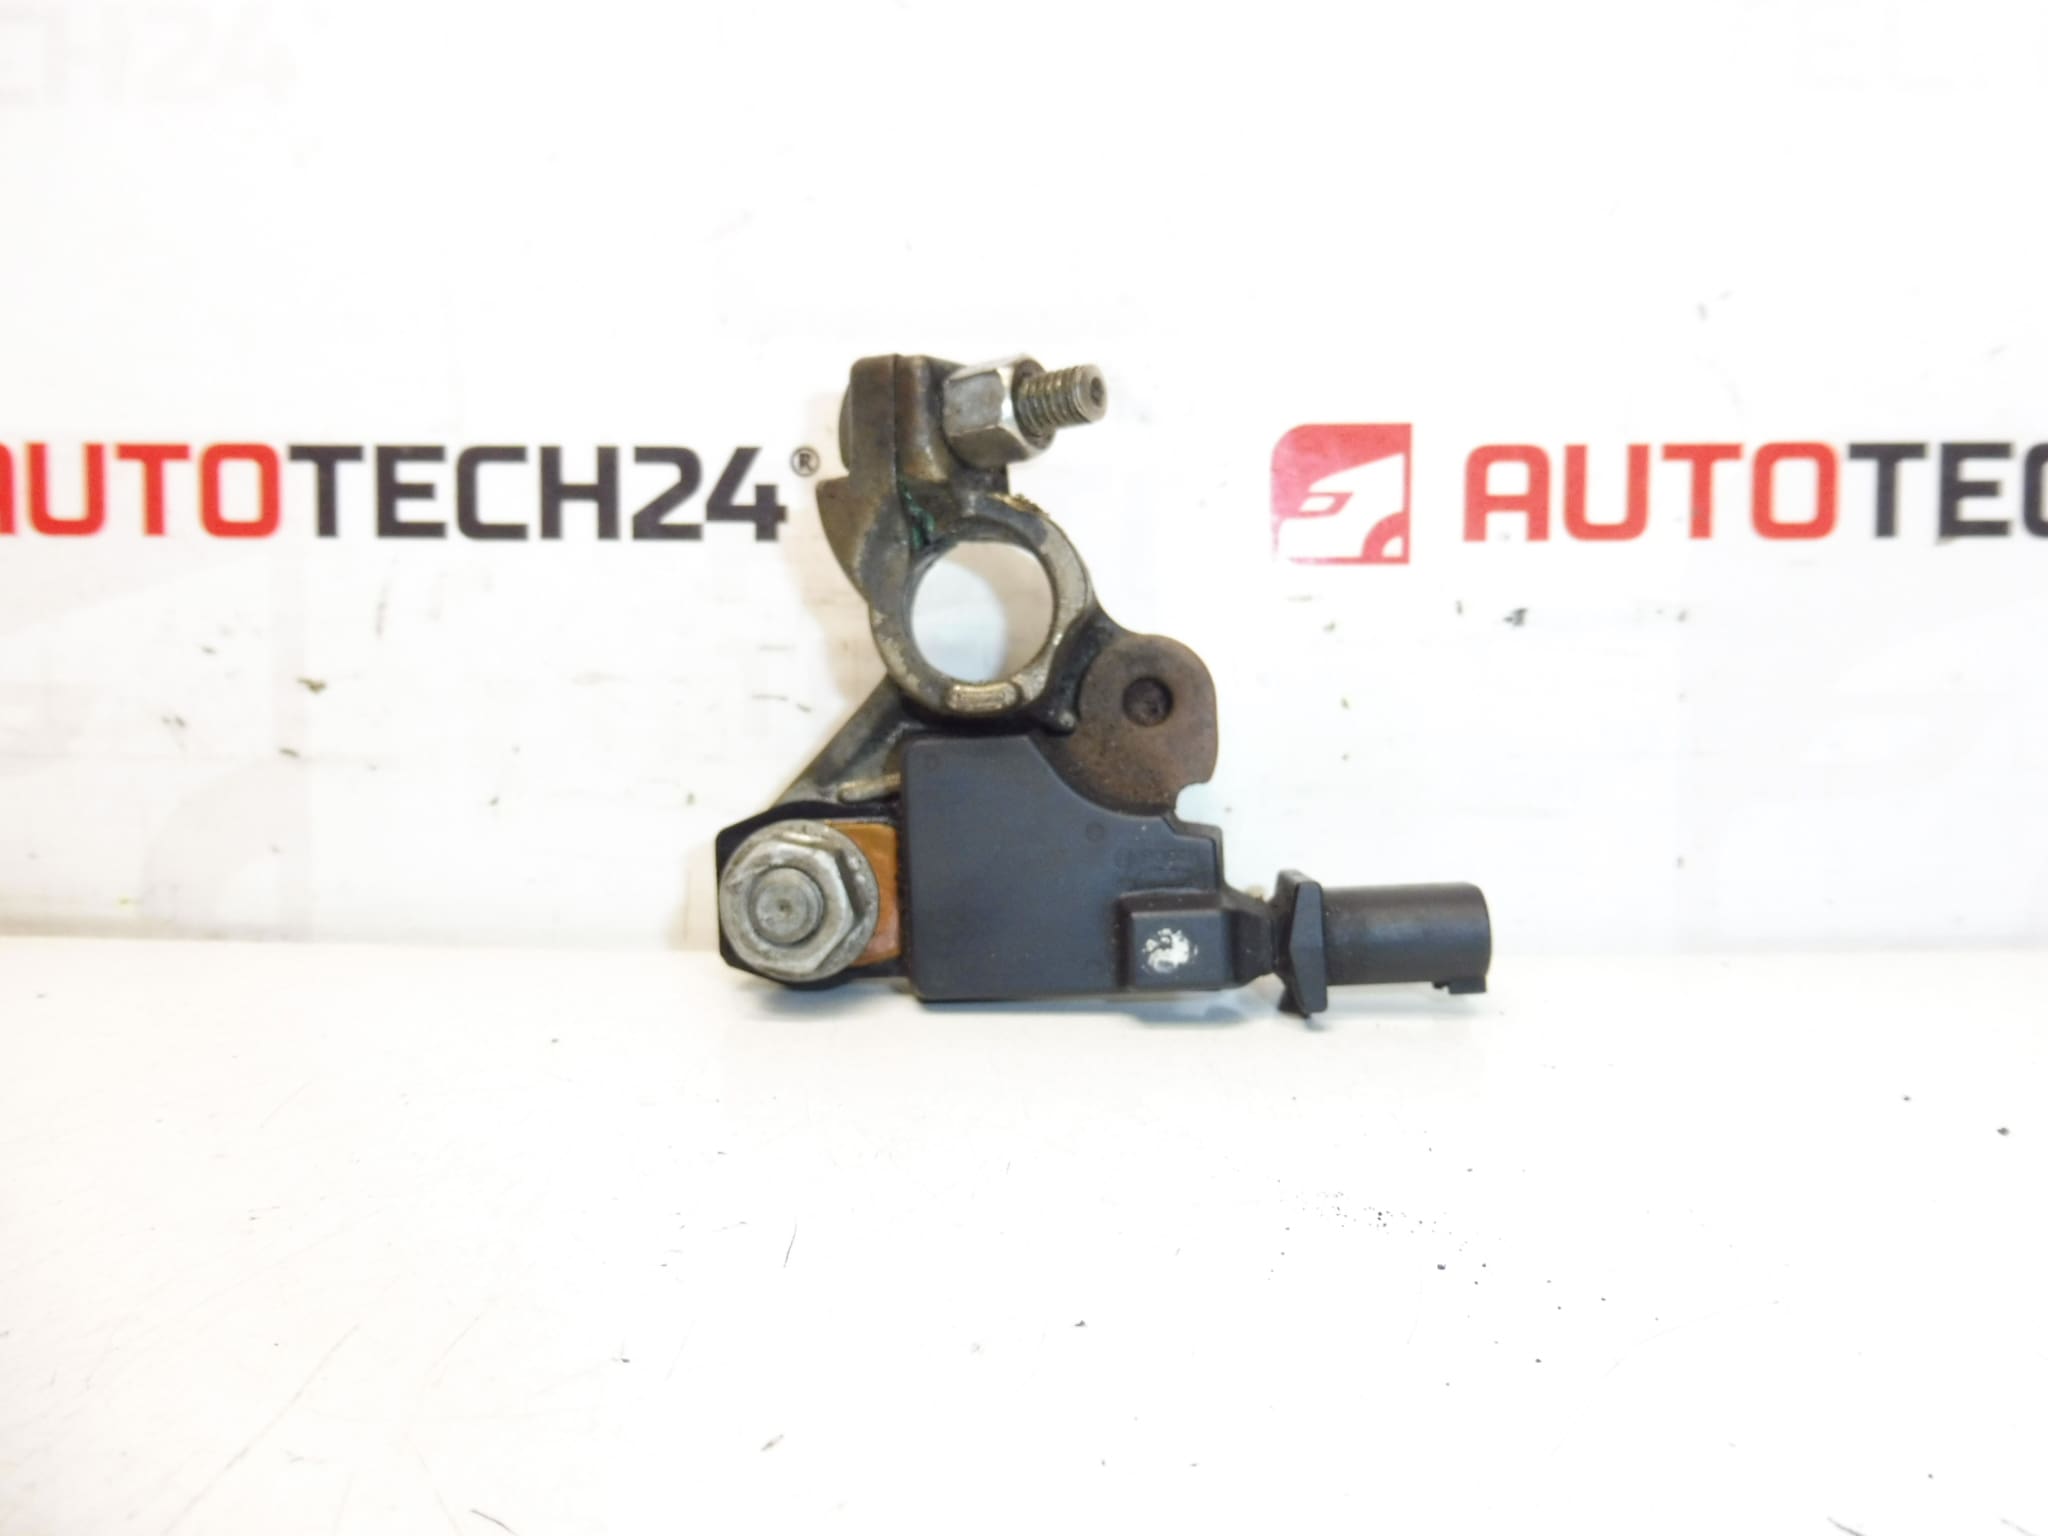
Battery Charge State Unit for Citroën and Peugeot Vehicles
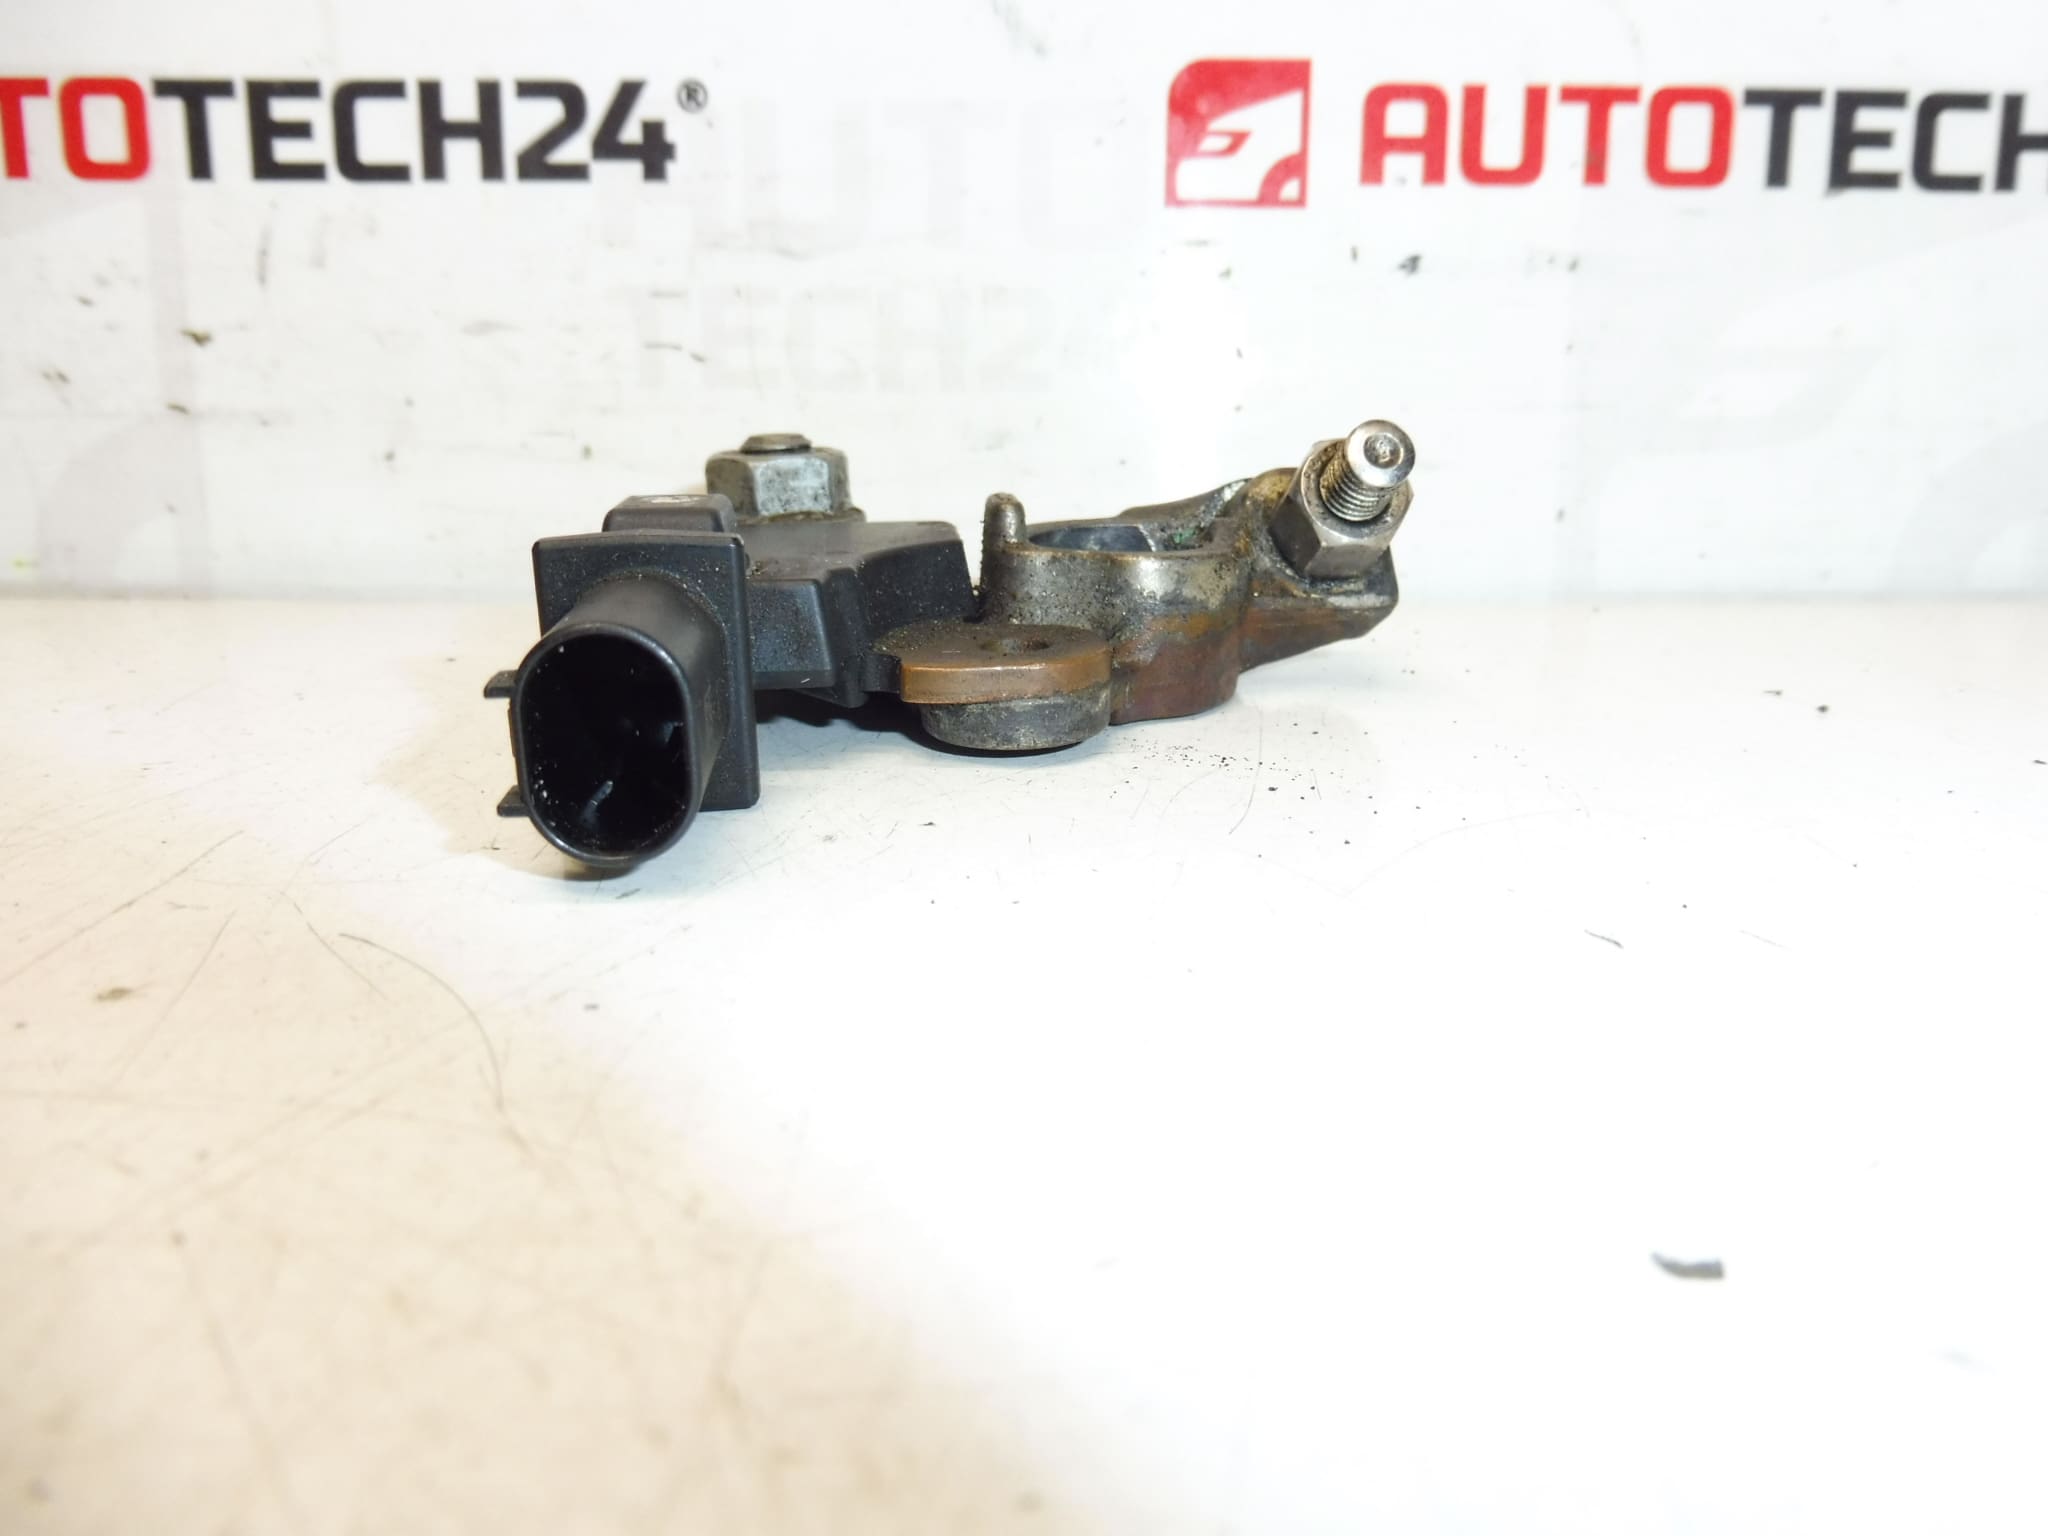
Overview
This battery charge state unit monitors and reports the condition and state of charge of the vehicle battery, helping the charging system and onboard electronics manage charging, start‑stop functions and battery diagnostics. It is designed for a range of Stellantis Citroën and Peugeot models and is commonly searched by part numbers listed below, which makes it easy for professional technicians and experienced DIYers to find the correct replacement.
Applications
Typical fitment includes (but is not limited to): Citroën C4 II, Citroën C4 Picasso / C4 Picasso II, Peugeot 3008 I, Peugeot 308, Peugeot 5008 I. Before installation verify physical fitment and connector type against the original part.
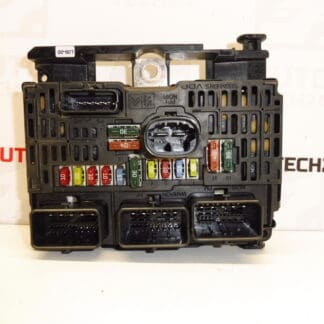
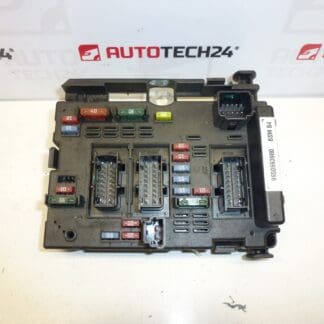
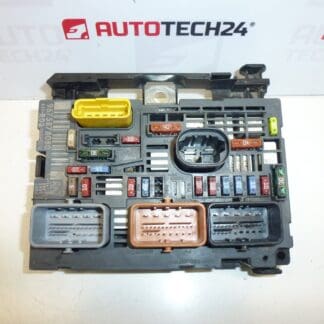
Technical Information
- Manufacturer: Stellantis (Citroën / Peugeot)
- Model: Battery Charge State Unit
- Product Codes: 9676592080, 9802043480, 6500KT
- Other Numbers: 6500KT | 9676592080 | 9802043480
Function And Symptoms
The module continuously measures battery voltage (and, depending on vehicle, current and temperature) and transmits battery state data to the vehicle network. When the unit fails, common symptoms include persistent battery warning lamp, incorrect battery charge indication, reduced charging efficiency, erratic start‑stop behavior or warning messages related to the charging system and battery health.
Why The Part Typically Fails
Failures are usually caused by environmental and electrical stresses: long‑term exposure to moisture and road salt, corrosion at connector pins, thermal cycling in the engine bay, vibration fatigue and electrical surges from a failing alternator or jump starts. In some cases repeated deep discharges or improper battery replacement (wrong battery chemistry or capacity) accelerate module failure.
Installation Recommendations
- Always disconnect the negative battery terminal before starting work to avoid short circuits and protect vehicle electronics.
- Locate the module (commonly mounted near the battery or in the engine bay electrical cluster), note connector orientation and secure mounting points before removal.
- Label or photograph connectors if necessary, then unplug harnesses and remove fasteners. Fit the replacement unit in the reverse order and ensure all connectors seat fully and locking tabs engage.
- After mechanical installation, verify charging system operation and battery parameters with a diagnostic tool. Some vehicles may require an adaptation or coding procedure to register the new unit or update battery profile parameters; use PSA diagnostic software where applicable.
- Check and clean battery terminals and earth points while the battery is reconnected to reduce the chance of future faults.
Practical Tips For Professionals
When replacing the module, inspect the battery condition and alternator output. A marginal or faulty battery can mask as module failure; replace the battery if capacity is low. Protect new modules from moisture and secure wiring to minimize vibration. Use dielectric grease on connector pins when corrosion risk is present.