Description
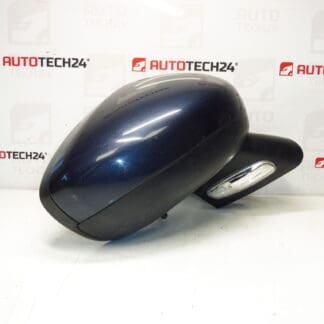
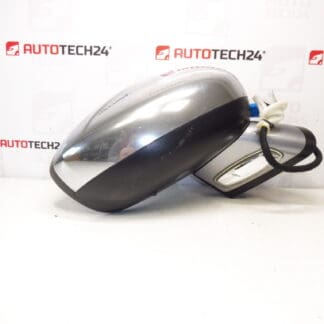
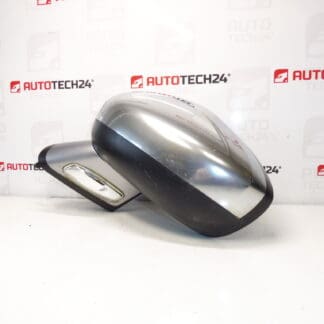
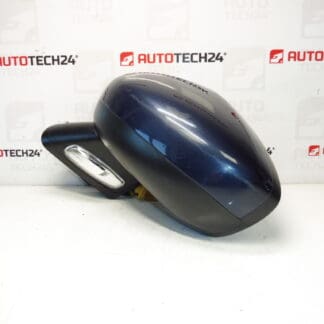
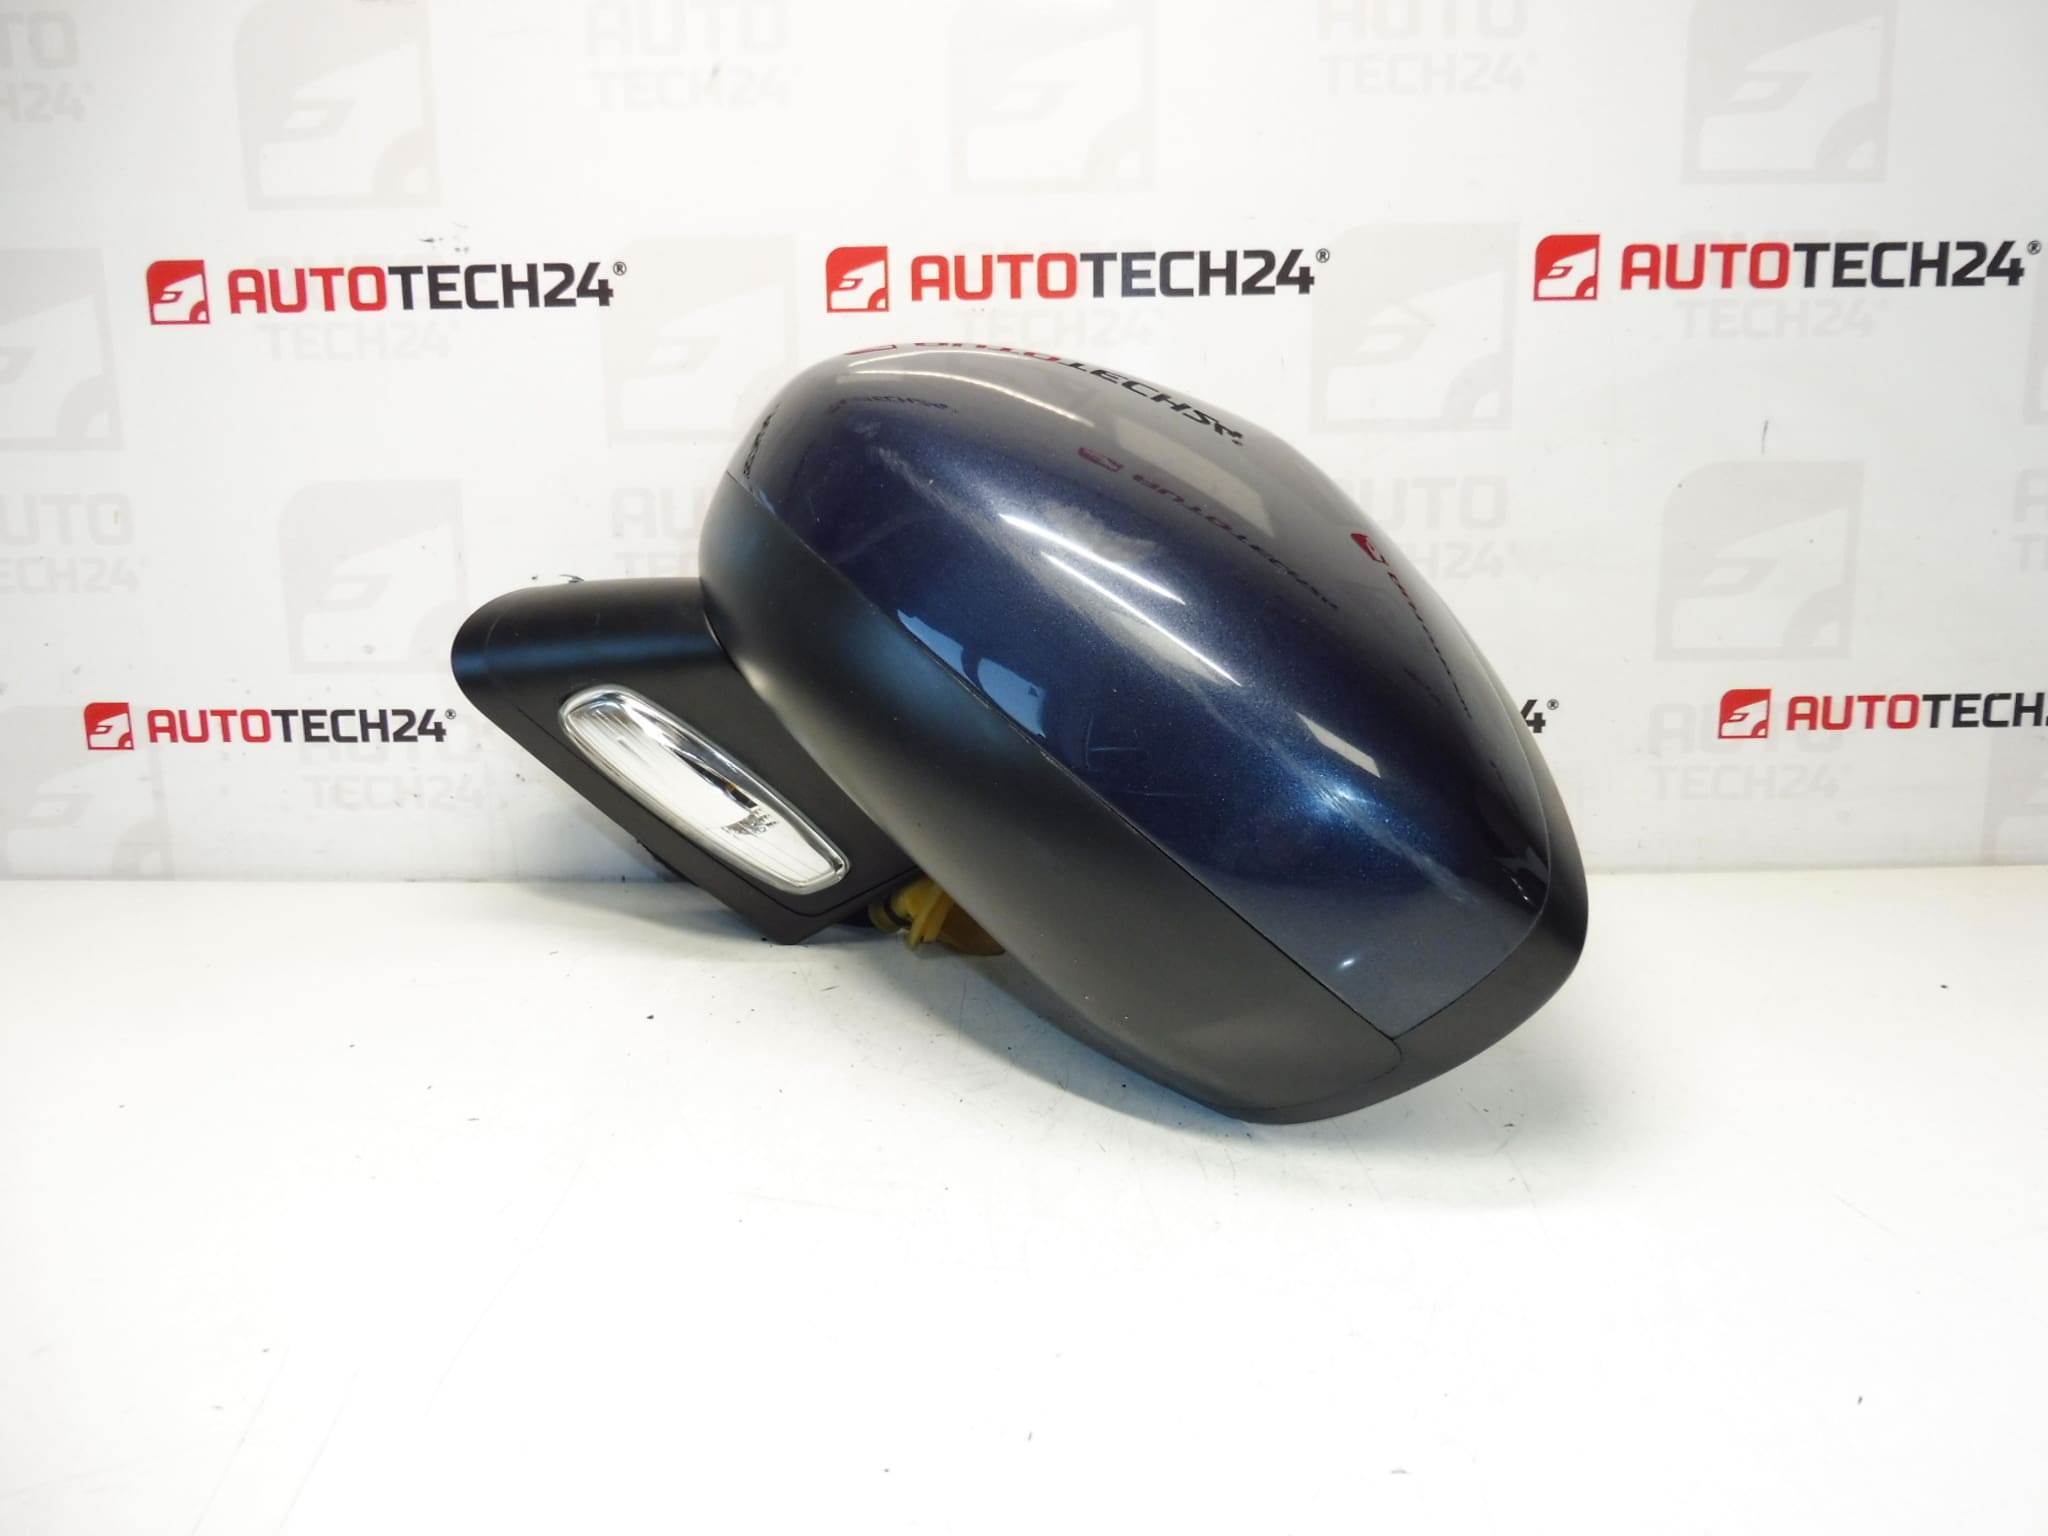
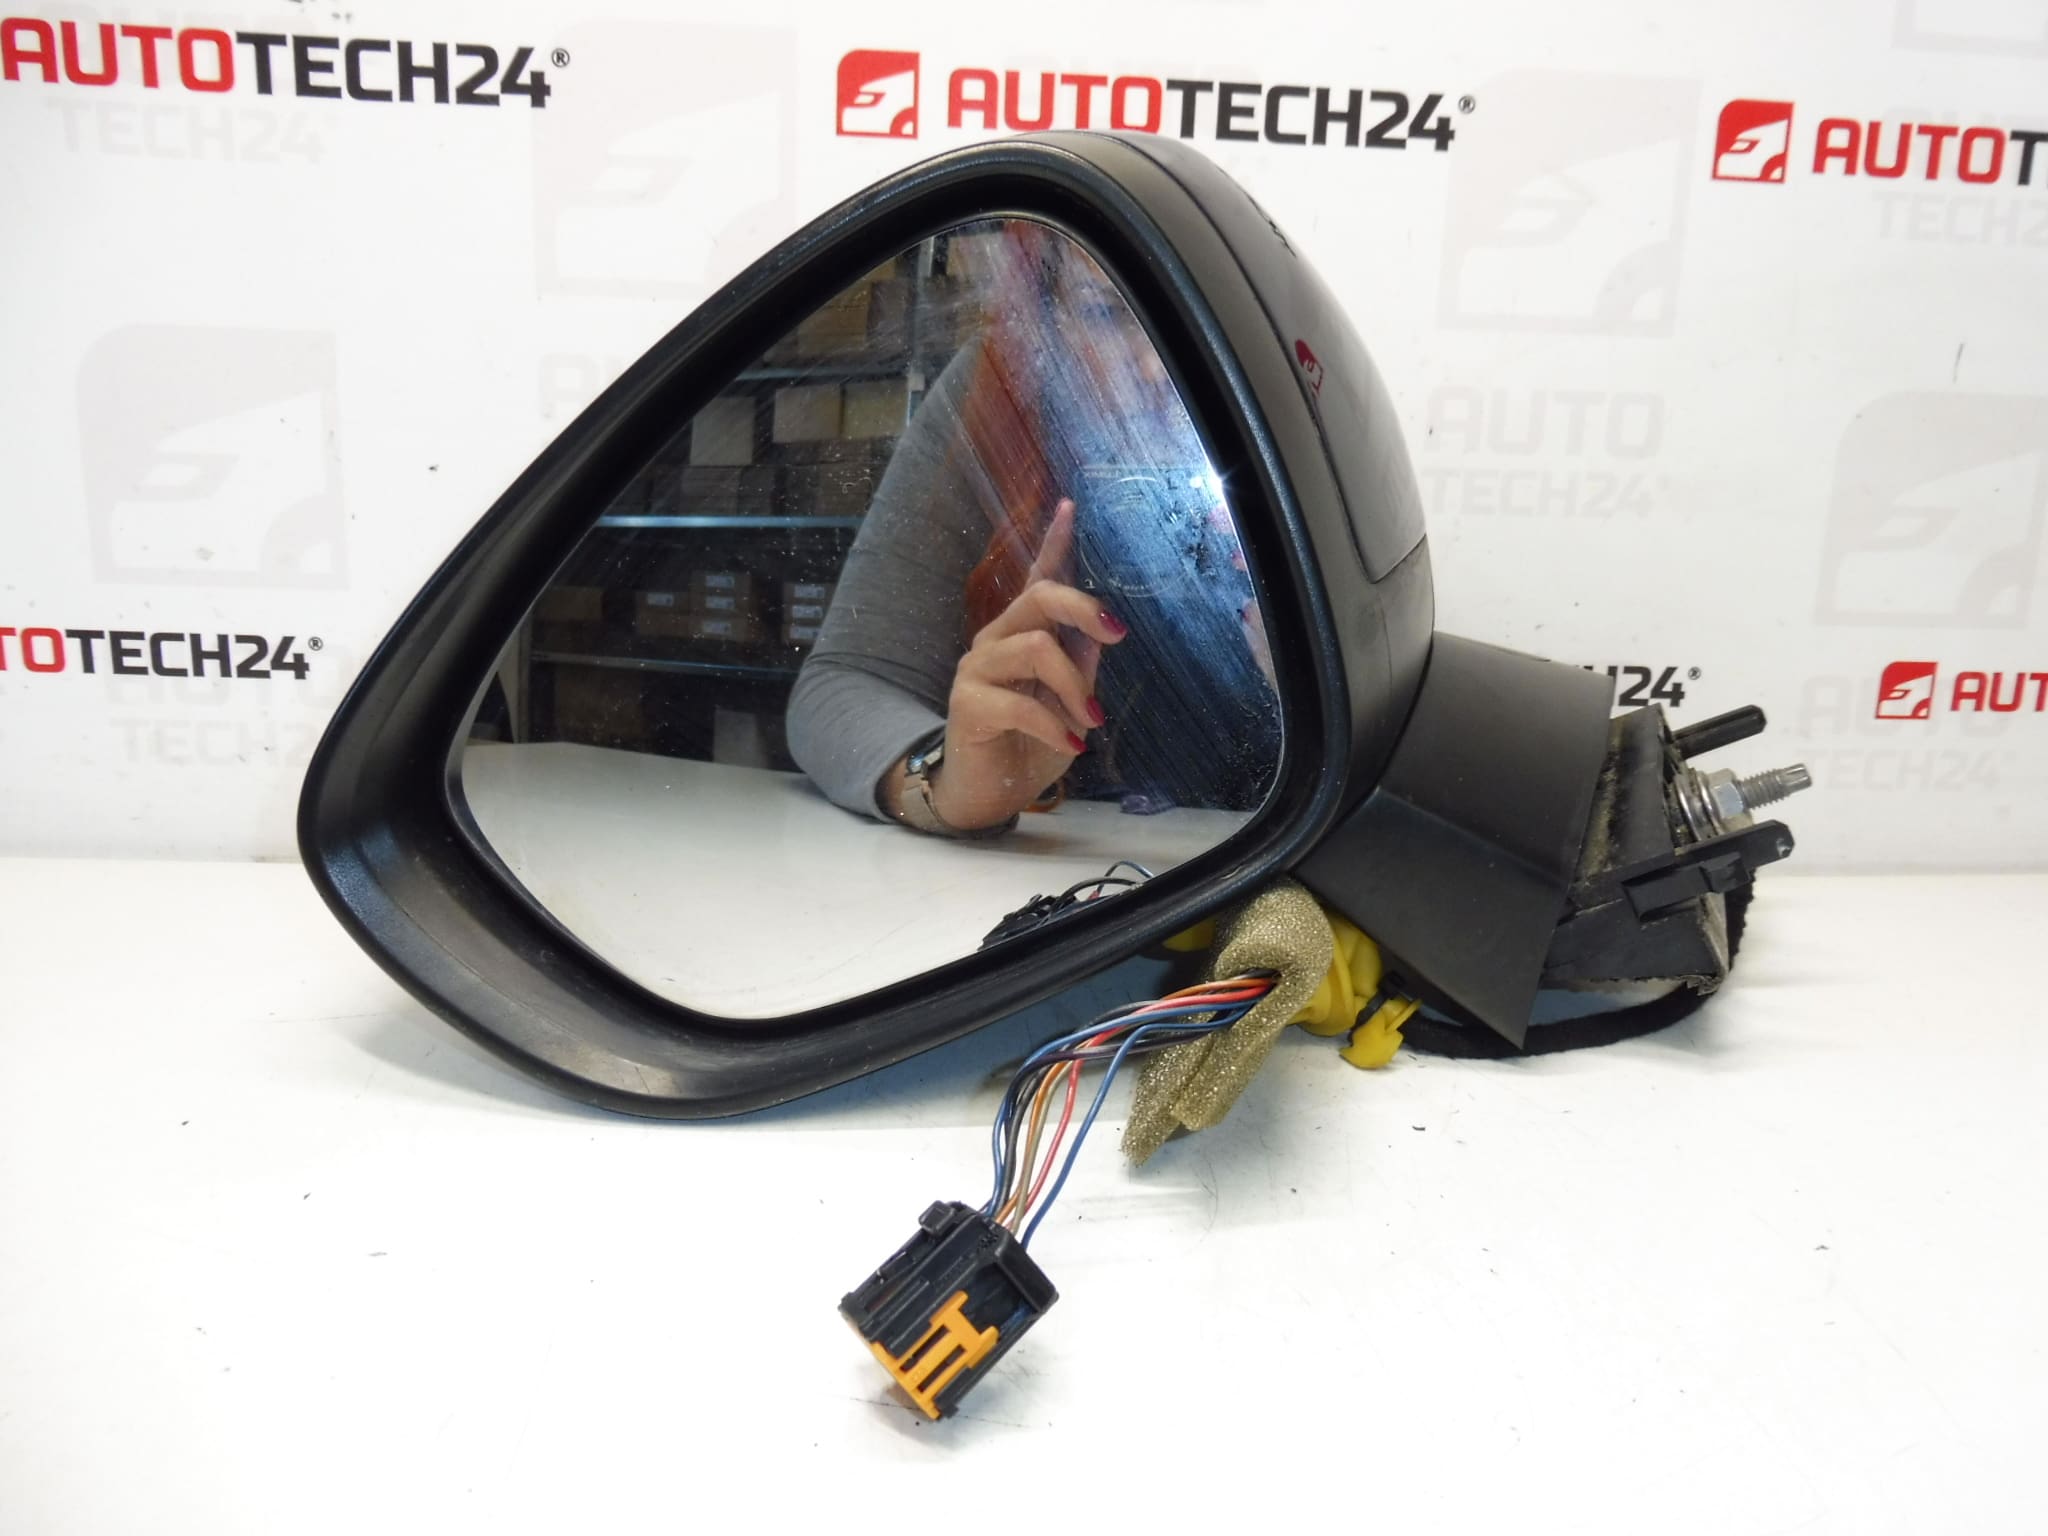
Driver’s side mirror for Citroën C4 II (B7) and DS4. Color KGN – Bourrasque paint. 7-pin connector.
This direct-fit driver’s side exterior mirror is designed for Citroën C4 II (B7) and DS4 models and is commonly sought by part number 1607028580. It restores full mirror functionality and appearance on vehicles painted in Bourrasque (color code KGN). The unit is intended as a straightforward replacement for damaged or worn original mirrors and provides a factory-like fit and finish.
Features include a 7-pin electrical connector to support the mirror’s powered functions. Depending on the vehicle specification, the 7-pin harness typically enables power adjustment, heated glass and electric folding. The painted housing (KGN) matches factory body color for a seamless exterior look. Searching by the product code 1607028580 or code KGNC will help you find the exact item quickly.
Technical Information
- Manufacturer: Citroën (Stellantis)
- Model: Citroën C4 II (B7); DS4
- Product Codes: 1607028580; KGNC; NFP
- Other Numbers: Color Code KGN – Bourrasque; 7-pin Electrical Connector
Installation Recommendations
- Disconnect Vehicle Battery: For safety, disconnect the negative terminal before working on door electrics.
- Remove Interior Trim: Carefully remove the door trim and the triangular mirror trim panel to access mounting bolts and the electrical connector.
- Disconnect Connector: Unplug the 7-pin connector and any additional wiring. Inspect connectors for corrosion or damage and clean if necessary.
- Unbolt Old Mirror: Remove mounting bolts and gently withdraw the old mirror assembly from the door shell.
- Fit New Mirror: Position the new mirror, secure mounting bolts to the manufacturer’s torque specification, reconnect the electrical connector and reinstall trim panels.
- Function Check: Reconnect the battery and verify all functions—power adjustment, heating and electric folding—operate correctly. Check mirror position and door seal for proper fitment.
Why This Part Fails Most Often
- Impact Damage: Collisions or knocks are the most common cause of mirror replacement—broken housings or fractured glass.
- Water Ingress and Corrosion: Moisture entering the connector or motor housing can corrode terminals and cause electrical or motor failure.
- Wear of Electric Actuator: Repeated use of power-adjust or folding mechanisms can wear the small motors and gears over time.
- Wiring And Connector Issues: Broken wires or corroded pins in the 7-pin harness can interrupt functions even when the mirror housing appears intact.
Suitable for professional workshops and DIY enthusiasts, this mirror is a practical replacement part when the original driver’s mirror is damaged, electrically faulty or cosmetically compromised. Ensure correct trimming and secure mounting during installation to maintain water tightness and long-term reliability.