Description
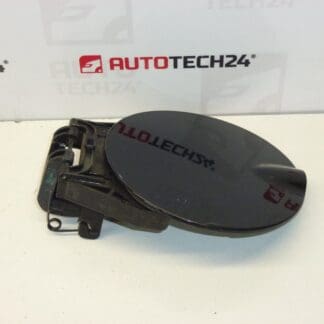
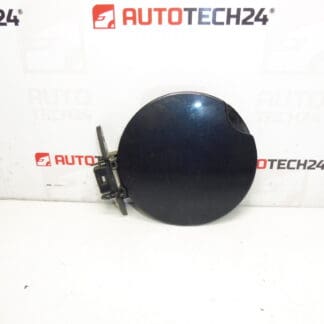
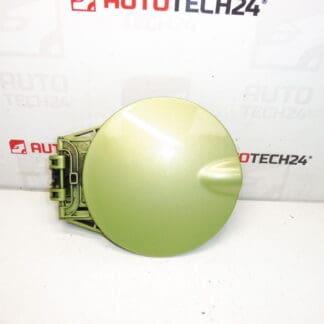
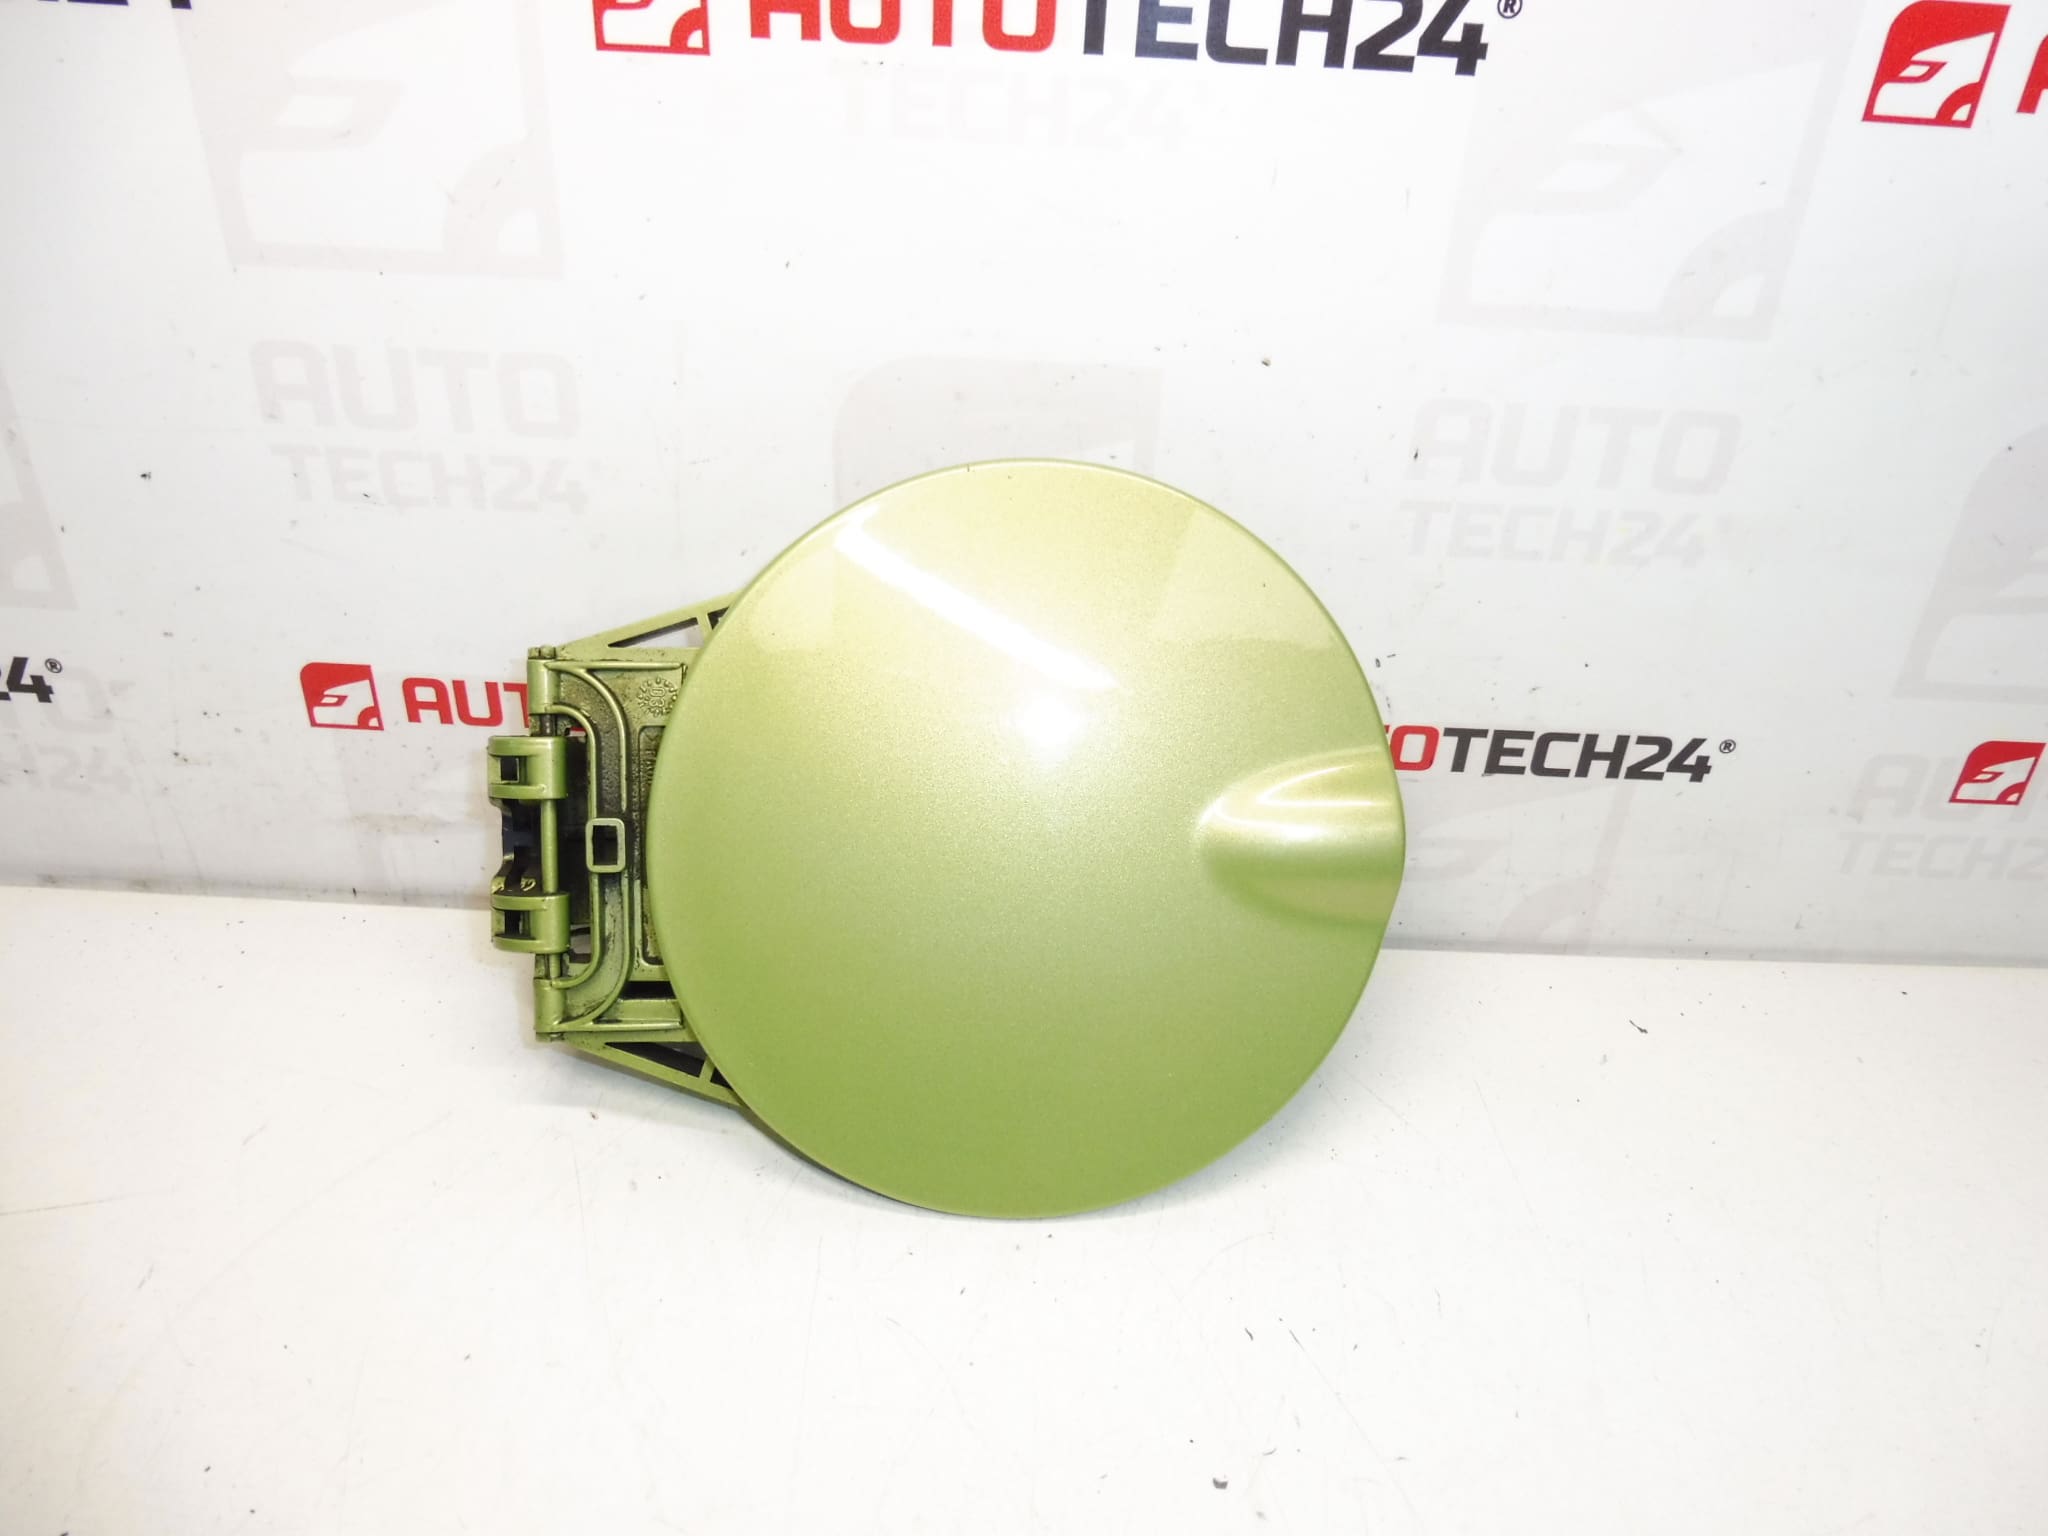
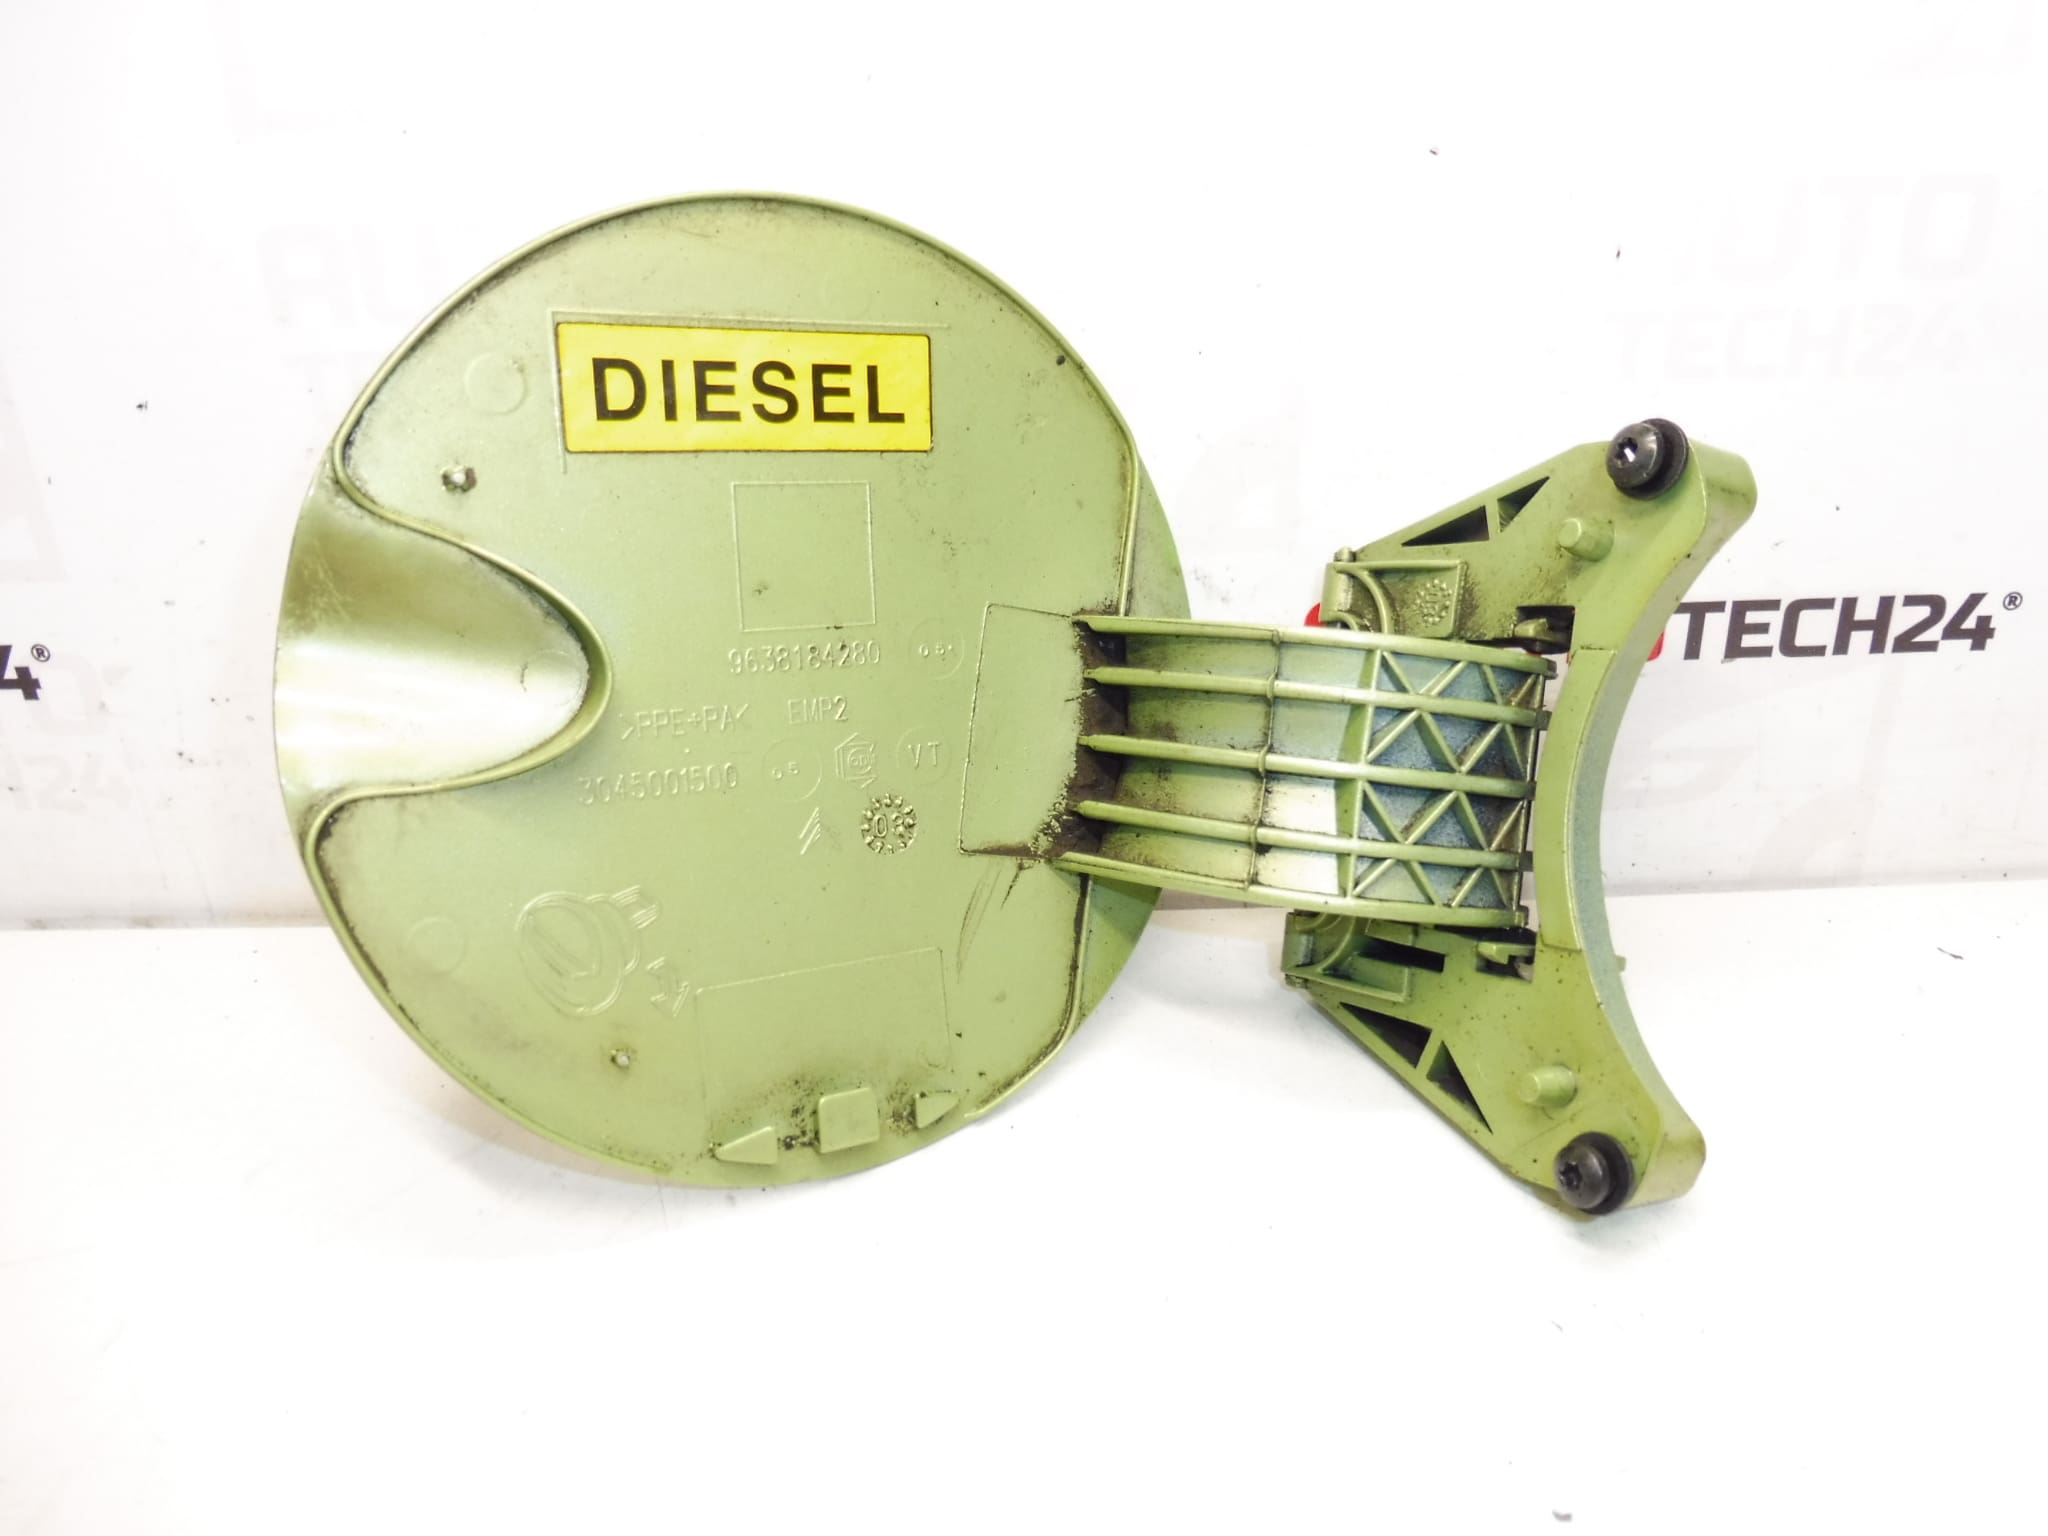
Fuel Filler Cap/Cover for Citroën C3 vehicles. Color KSY – Lenz Green Paint.
Replace the exterior fuel filler cap/cover with a factory-fit painted flap designed specifically for the Citroën C3. This painted fuel flap restores the vehicle’s appearance after minor collisions, scrapes or paint damage and provides a correct fit and finish for professional repairs or DIY restorations. Ideal for auto repair shops and experienced home mechanics, the part matches the original color code KSY and carries the known product references to simplify searching and ordering (see Technical Information below). The robust painted surface is intended to blend seamlessly with the surrounding bodywork while protecting the filler area from dirt and moisture.
Technical Information
- Manufacturer: Citroën (Stellantis)
- Model: Citroën C3
- Product Codes: 9638184280, 151796
- Additional Numbers: Color Code KSY (Paint: Lenz Green); Reference KSYC
Installation Recommendation
Intended for installation by a qualified mechanic or an experienced DIYer. Typical replacement steps:
- Open the fuel flap and inspect the hinge and retaining clips.
- Gain access to the fixing points—this may require partial removal of the inner wheel-arch liner or access through the service panel behind the flap depending on the vehicle year and configuration.
- Remove retaining screws or clips that secure the flap to the hinge. Keep original fasteners if they are undamaged and reusable.
- Detach the old flap from the hinge and transfer any mounting hardware or rubber buffers if required.
- Fit the replacement flap, align gaps and closing action, then tighten fasteners to the manufacturer’s torque recommendations.
- Check the flap operation and fuel filler neck clearance. Reinstall any removed liners or panels and verify paint match in natural light.
Always follow proper workshop safety procedures. If paint touch-up or blending is required, perform surface preparation and finishing in controlled conditions to avoid visible differences.
Reason Why Part Most Commonly Fails
- Impact Damage: Minor collisions or parking knocks commonly crack or deform the flap or hinge.
- Wear And Tear: Hinges and plastic clips can fatigue over time, causing looseness or detachment.
- Corrosion And Environmental Exposure: Prolonged exposure to road salt, moisture and UV can degrade paint and underlying materials, leading to flaking or structural weakness.
- Vandalism Or Forced Opening: Forced entry or improper handling can break latches or mounting points.
Notes For Buyers
Searchable product codes (9638184280, 151796) and the paint code KSY help locate the correct replacement quickly. The part is supplied painted to match Lenz Green (KSY) for an OEM look. Suitable for professional bodyshop refit or competent DIY replacement where correct access and alignment can be achieved.