Description
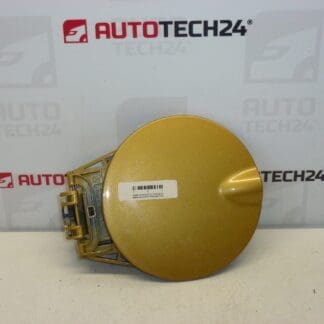
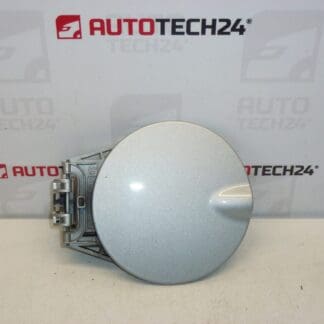
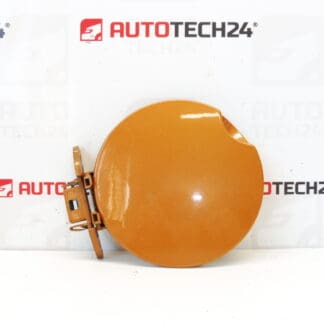
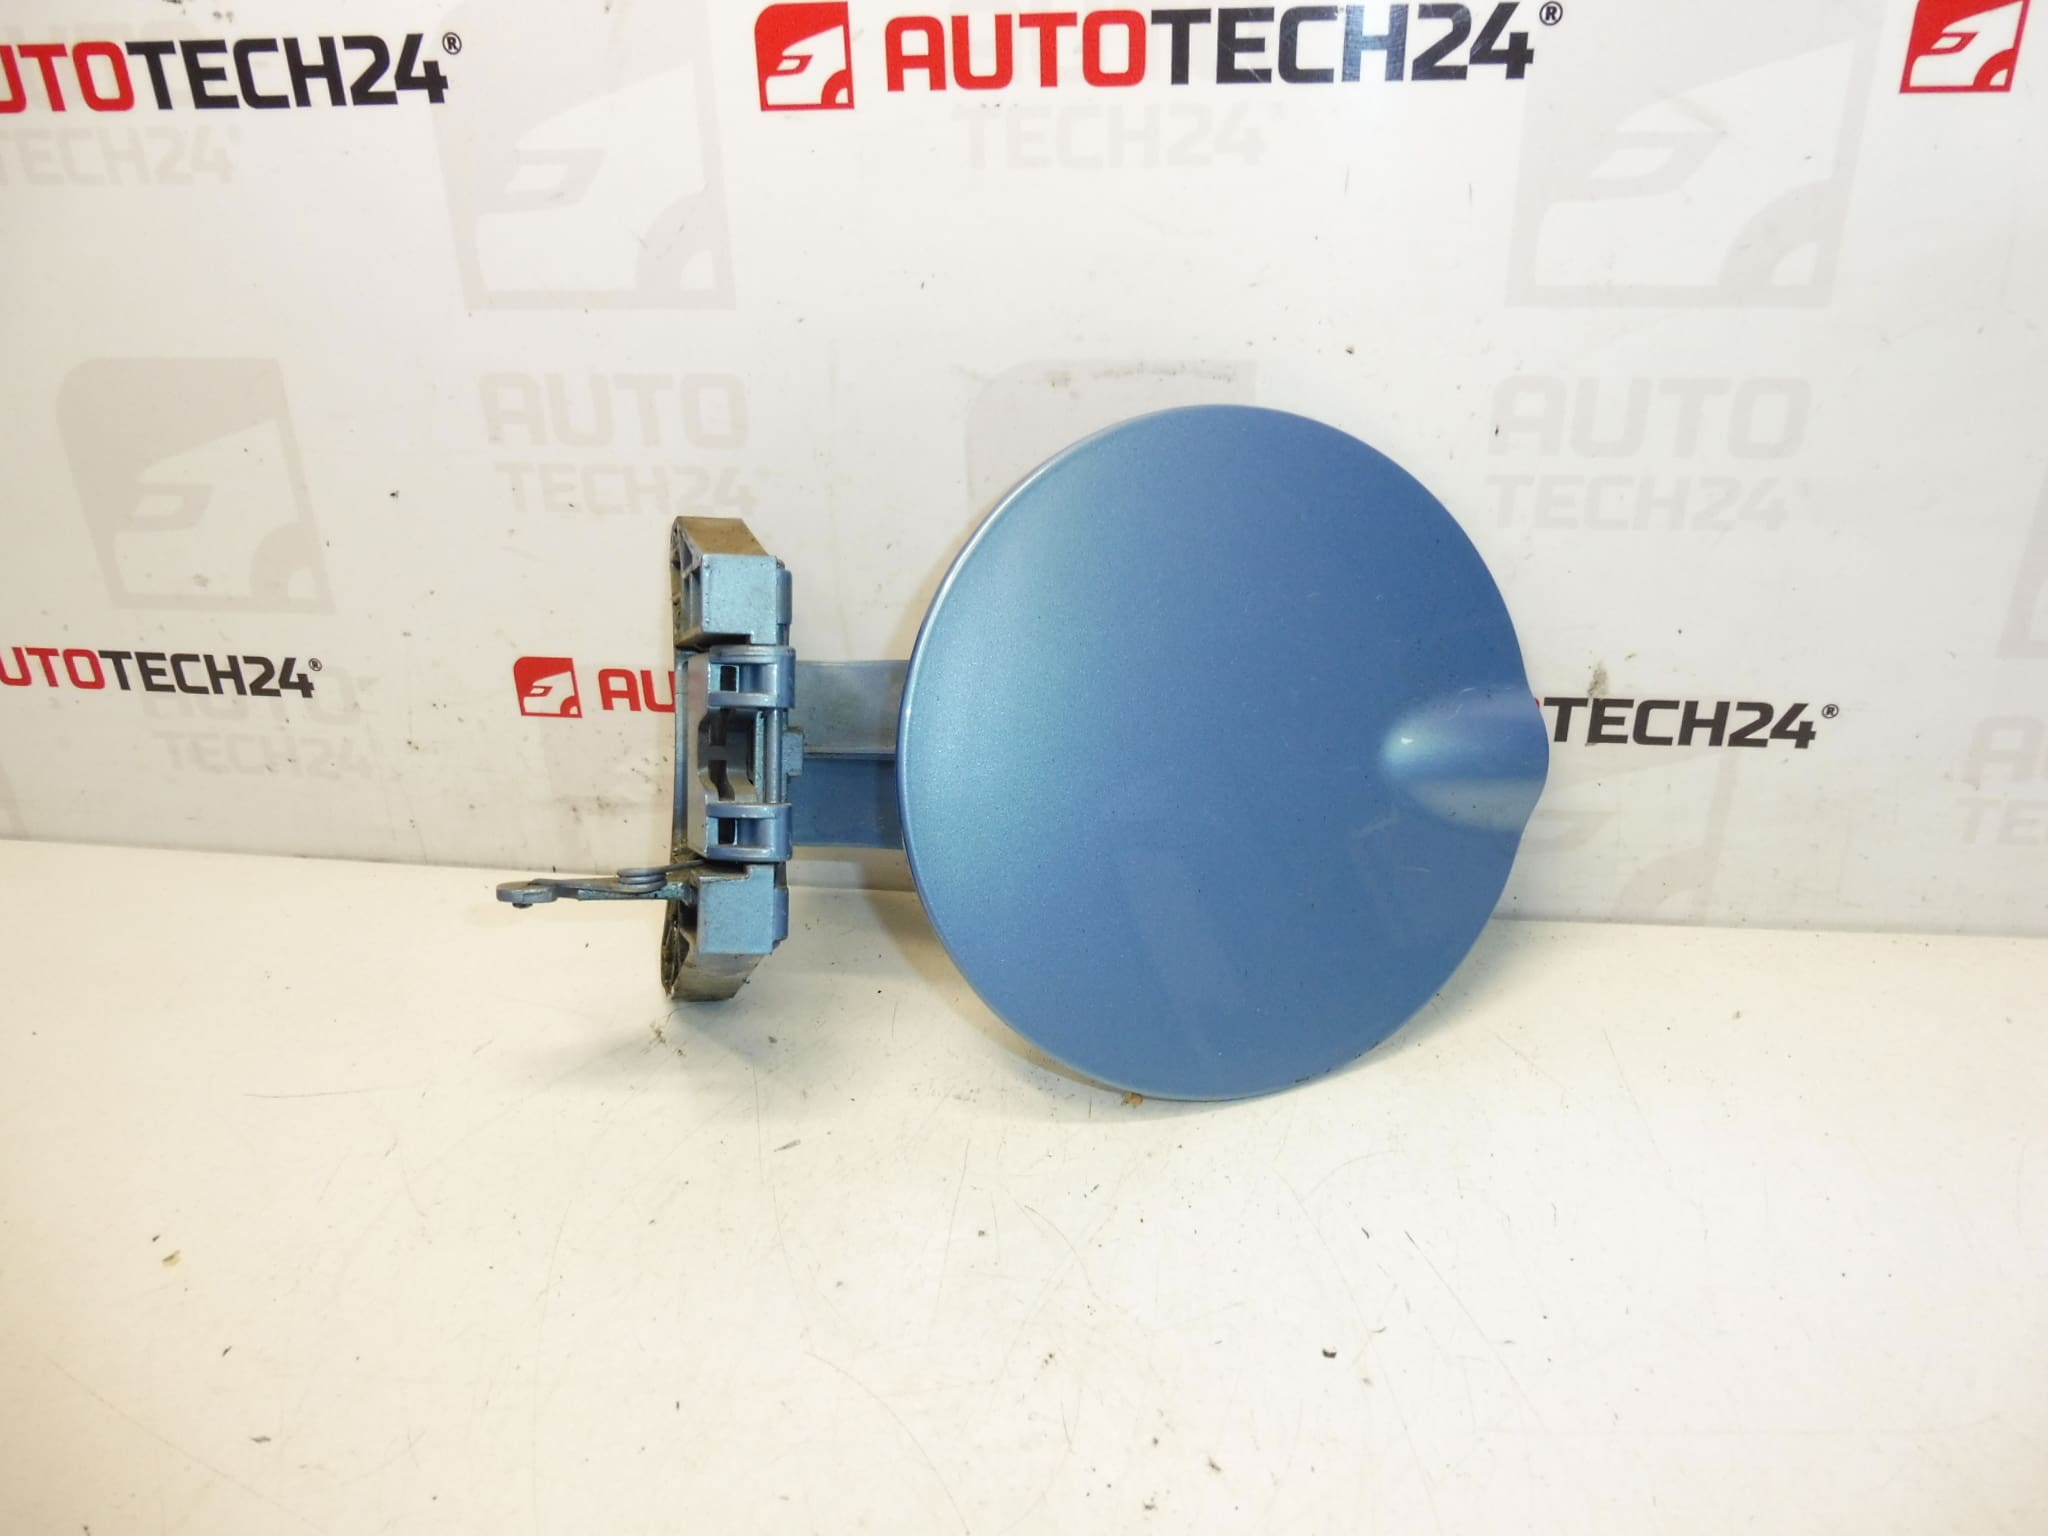
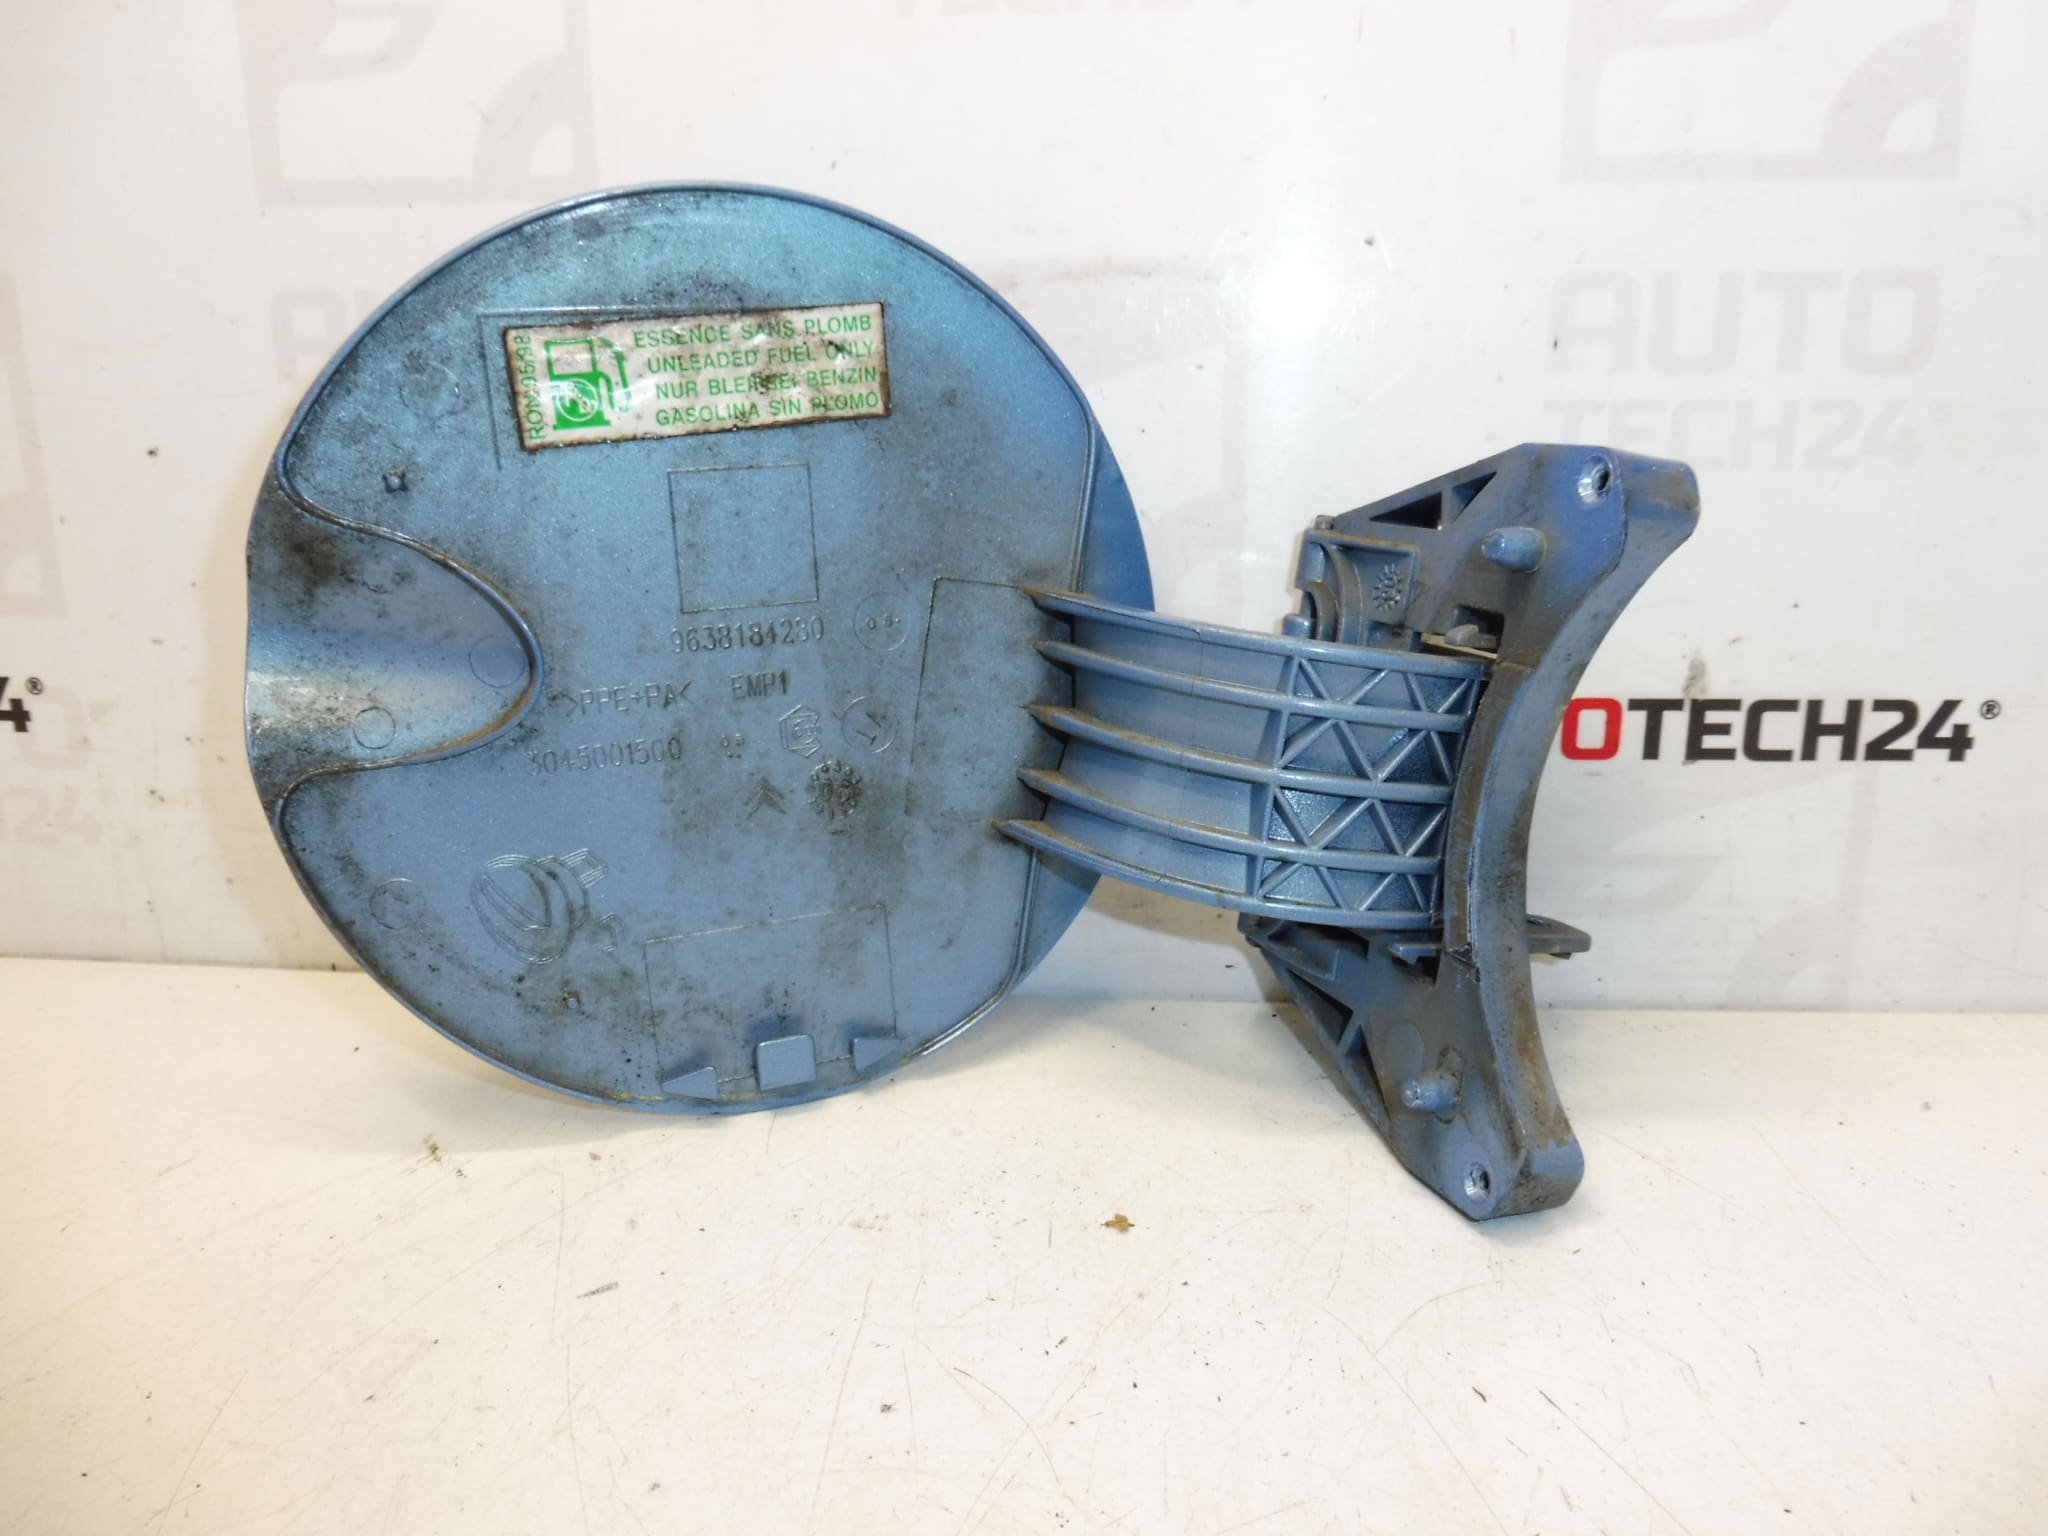
Fuel Filler Cap, Tank Cover for Citroën C3. Color KMY – Lucia Blue Paint.
High-quality replacement fuel filler cap / tank cover designed for Citroën C3 vehicles. This painted exterior part restores the original appearance after minor collisions, scratches or paint damage and is often searched by part numbers 9638184280 or 151796. Manufactured to match the KMY (Lucia Blue) factory color code, it provides a precise fit and finish for a seamless repair. Ideal for professional workshops and DIY mechanics who need a direct-fit body panel that maintains the vehicle’s aesthetics and function.
Technical Information
- Manufacturer: Citroën (Stellantis)
- Model: Citroën C3
- Product Codes: 9638184280, 151796, KMYD
- Additional Numbers: KMY – Lucia Blue Paint
Installation Recommendations
- Prepare Tools: Panel trim tools, Torx/screwdriver set, socket set, and suitable replacement clips or screws if originals are damaged.
- Removal: Open the fuel flap, remove visible screws or rivets securing the hinge and check for hidden fasteners behind the inner trim. Carefully unclip the hinge to avoid breaking plastic tabs.
- Transfer Components: If the original lock cylinder, rubber seal or hinge hardware is intact, transfer these components to the new cap to preserve locking function and sealing.
- Fitment: Align hinge and latch points, fit the new filler cap and tighten fasteners to the manufacturer’s torque specification. Ensure the flap closes and latches smoothly without binding.
- Finish: Check paint for chips at mating edges and touch up if necessary to prevent corrosion. Replace any worn seals to maintain a proper fuel-tight closure.
Why This Part Most Often Fails
- Impact Damage: Minor collisions, parking bumps or vandalism commonly crack or deform the filler cap and hinge.
- Corrosion and Wear: Exposure to road salts and moisture can corrode hinges, fasteners and cause metal fatigue over time.
- Paint Damage: Fuel spills, stone chips and daily wear lead to paint loss; once the coating is compromised, corrosion and further deterioration accelerate.
- Broken Clips/Hinges: Plastic clips and hinge components become brittle with age and can break during repeated opening/closing.
This replacement part is a practical solution for restoring function and appearance. Searchable by part numbers 9638184280 and 151796, it is supplied in the factory-matched KMY (Lucia Blue) finish to simplify body repairs and refinishing.