Description
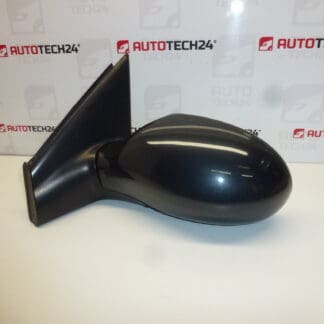
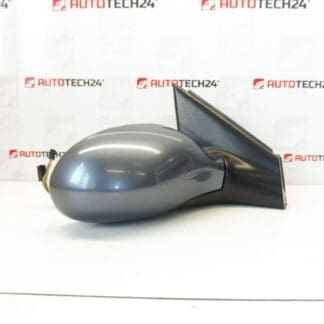
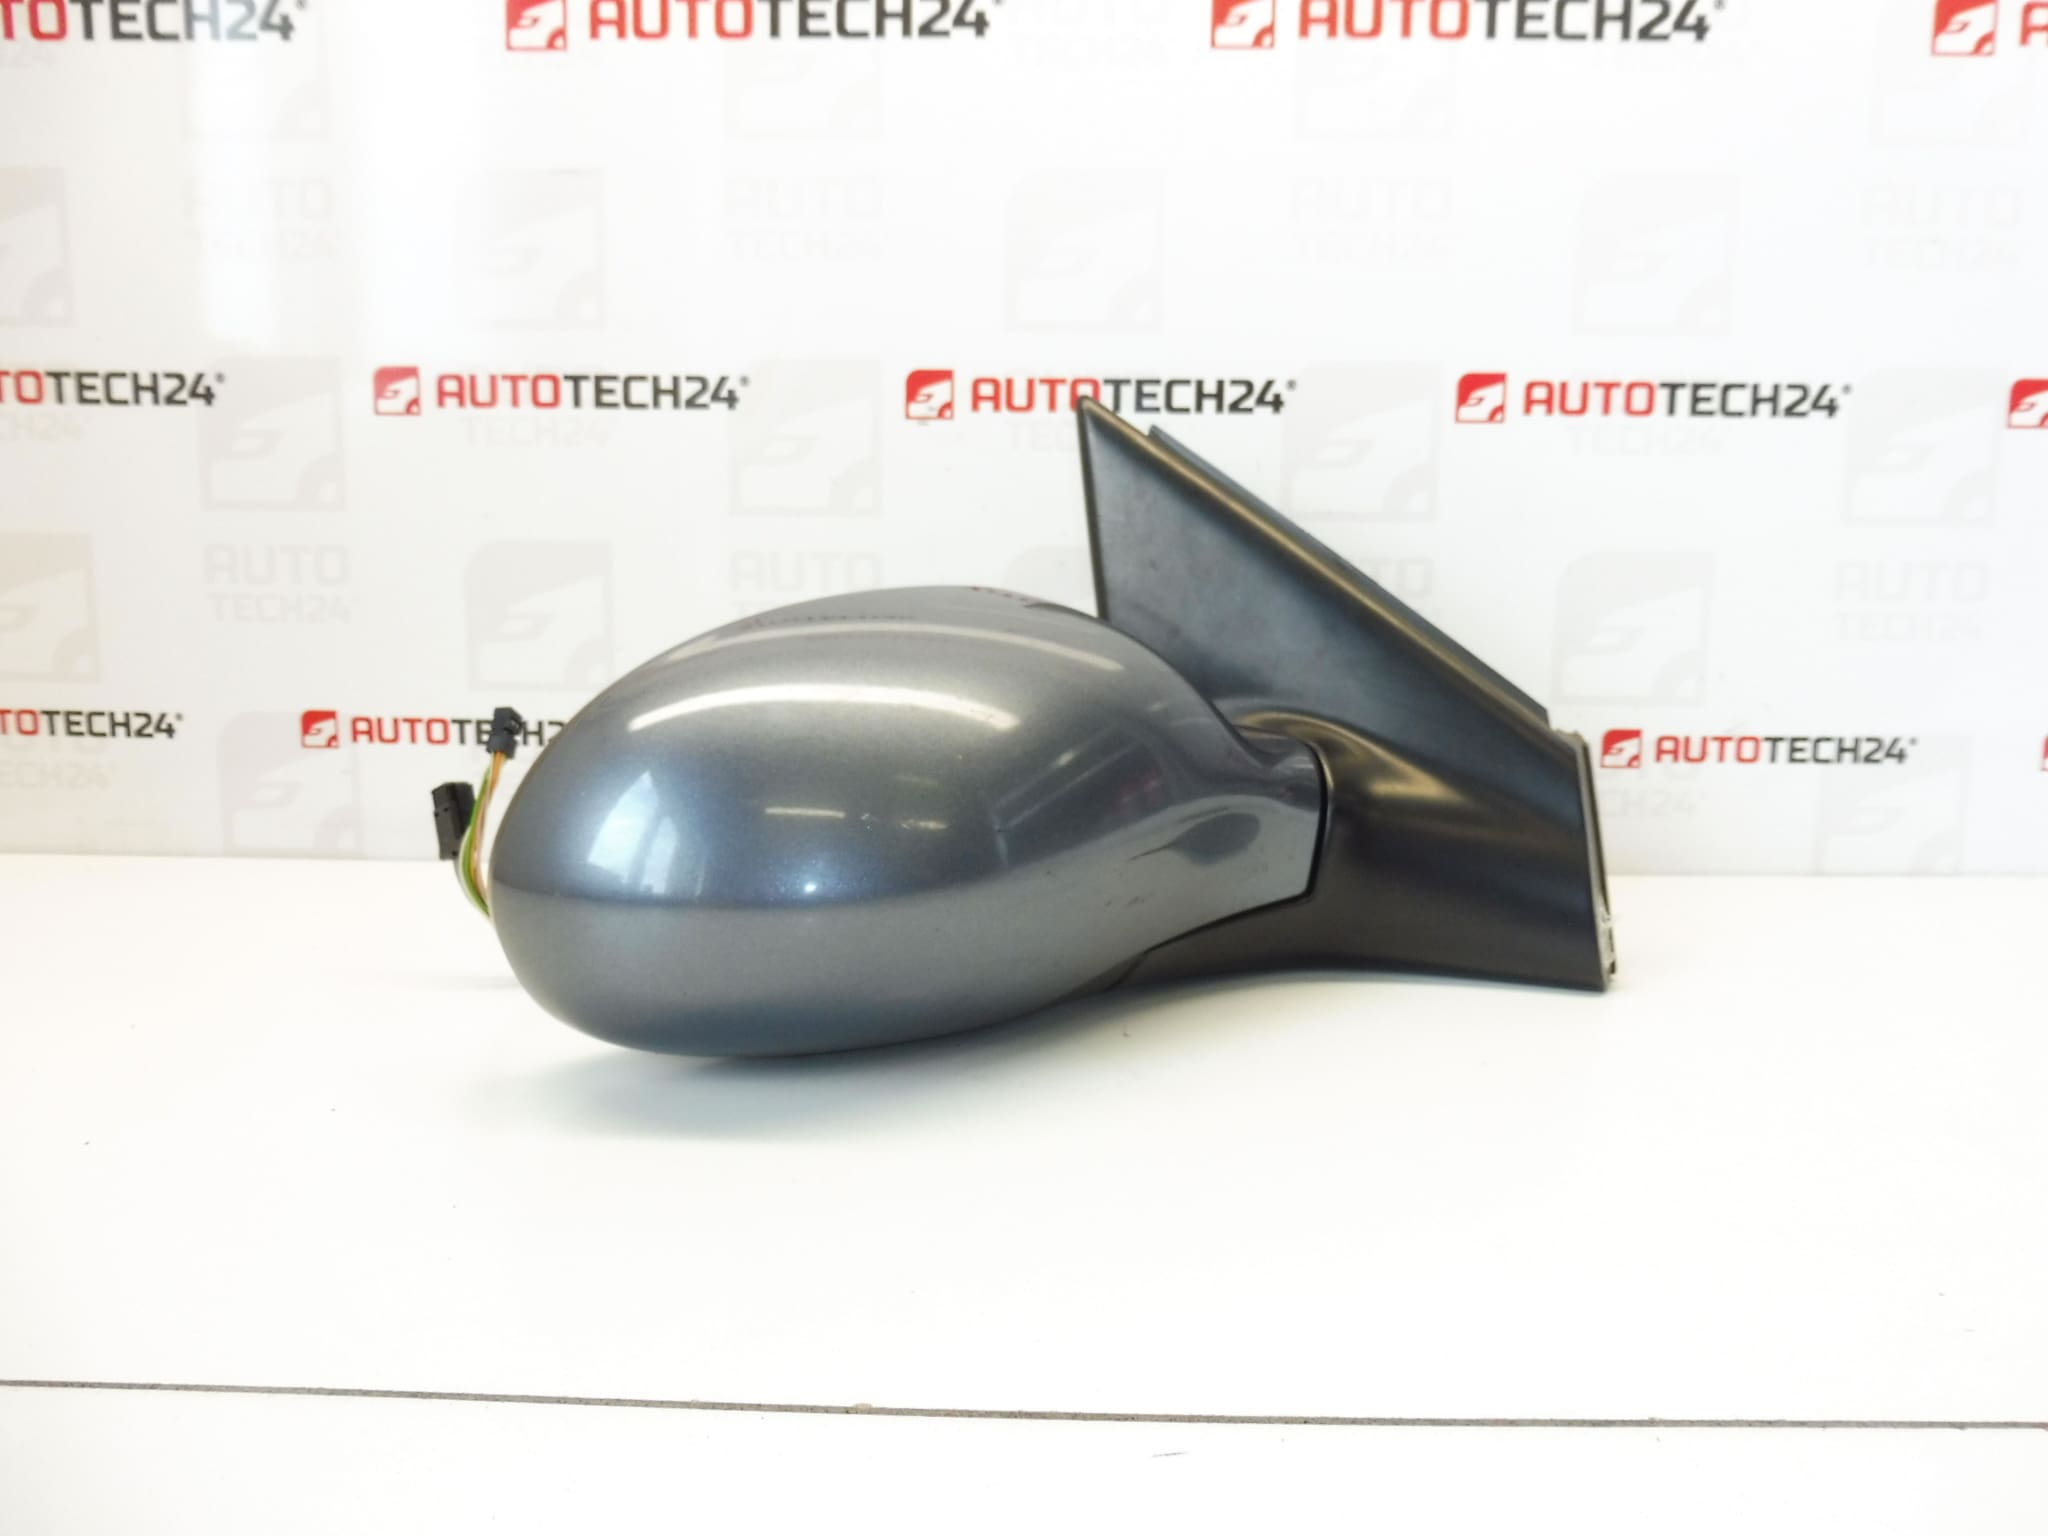
Right exterior mirror for CITROEN C5 from 2005, may also be used on models up to 2005. Electrically operated, electrically foldable to the vehicle, heated, temperature sensor. Passenger side. Color EZW – Grey metallic paint. Slightly scratched paint.
This right side exterior mirror (passenger side) is a direct-fit solution for Citroën C5 owners and professional workshops searching by product code 8149WH or EZWD. It combines electric adjustment, power folding and heating to restore full functionality after impact or electrical failure. The unit is ideal for auto mechanics and experienced DIYers who need a reliable replacement part that is easy to identify by code and immediately serviceable.
Technical Information
- Manufacturer: Stellantis CITROEN PEUGEOT
- Model: Citroën C5 (Passenger Side)
- Product Codes: 8149WH, EZWD
- Other Numbers: Color Code EZW – Grey Metallic
Compatible Models And Identification
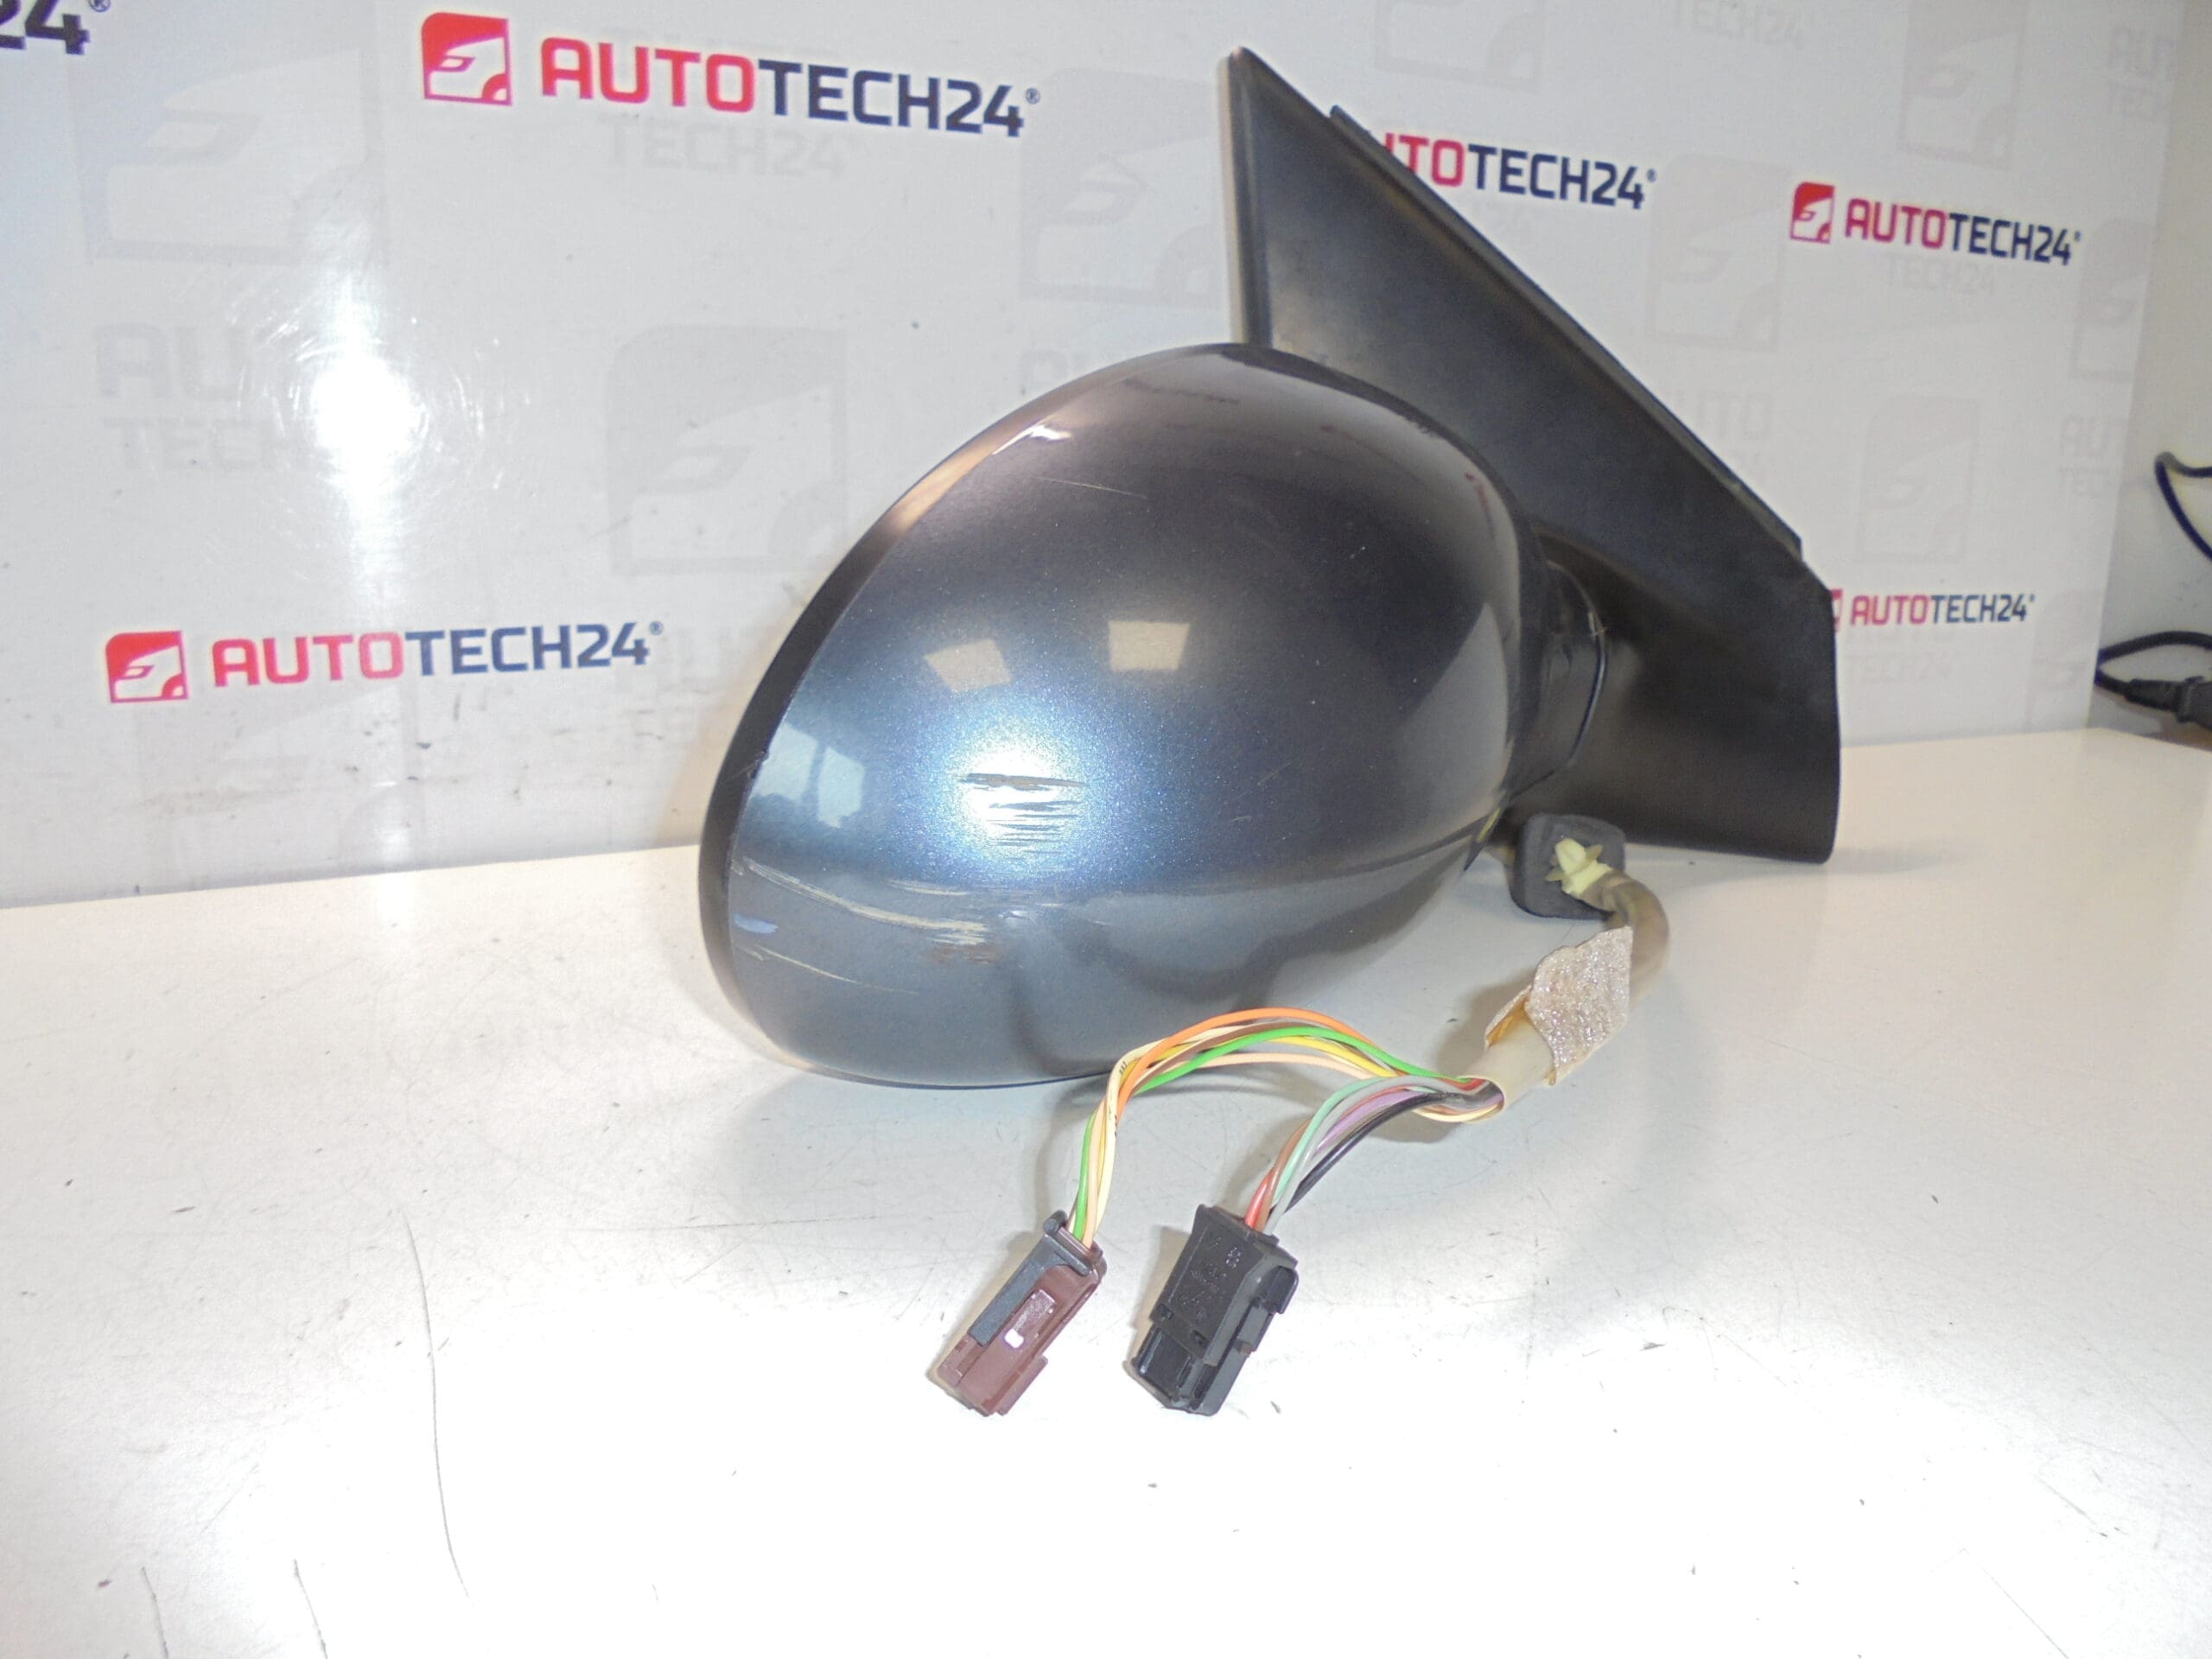
The part is described for Citroën C5 from 2005 and may fit earlier or nearby model years that share the same mirror mounting and electrical connector. Customers and workshops commonly locate this mirror by the product code 8149WH or the EZWD marking. Check connector shape and mounting points during installation to confirm fit.
Installation Recommendations
- Disconnect the vehicle battery before beginning work to avoid short circuits and to allow safe handling of electrical connectors.
- Remove the interior door trim or triangular trim cover to access the mirror mounting screws and electrical connector. Keep fasteners organized for reassembly.
- Disconnect the mirror electrical connector and carefully remove the mounting bolts. Support the mirror when removing the final bolt to prevent dropping and damaging the paint.
- Fit the replacement mirror, align mounting points and tighten bolts evenly. Do not overtighten plastic studs—use hand torque or manufacturer torque specs if available.
- Reconnect the electrical connector, restore battery power and verify all functions: mirror adjustment, power folding, and heating. Adjust mirror glass for correct view before finishing reassembly.
- After installation, check door sealing and trim fitment to avoid wind noise or water ingress.
Function And Common Failure Reasons
This mirror provides rearward visibility and improved safety by offering electric adjustment, power fold for parking protection and integrated heating to demist or defrost the glass. The built-in temperature sensor supports thermal functions and may interface with vehicle control systems.
Typical causes of mirror failure:
- Impact Damage: Collisions or knocks while parked are the most frequent cause of broken housings, cracked glass or damaged folding mechanisms.
- Water Ingress And Corrosion: Moisture entering the housing can cause motor failure, connector corrosion or intermittent electrical faults.
- Wear Of Actuators: Motors and folding actuators wear out over time, especially in vehicles subjected to frequent folding cycles or heavy use.
- Electrical Faults: Damaged wiring, blown fuses or connector problems can stop adjustment or heating functions.
Condition Note
The unit is supplied with slightly scratched paint on the housing (as described). The mechanical and electrical components should be inspected during installation; minor cosmetic blemishes do not affect core functionality when the mirror is correctly mounted and tested.
Why Choose This Part
Searching by code 8149WH or EZWD makes identification quick for workshops and DIYers. The mirror restores essential features—electric adjustment, folding and heating—critical for safety and comfort on Citroën C5 models. Its direct-fit design reduces installation time and simplifies repairs after common damage scenarios.