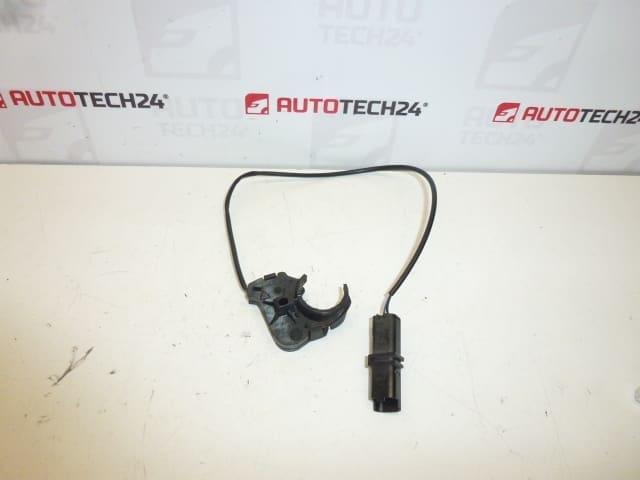
Description
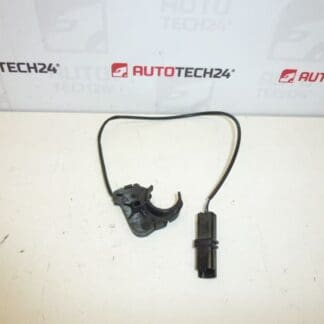
Door Handle Lock Sensor For PEUGEOT 307 CC.
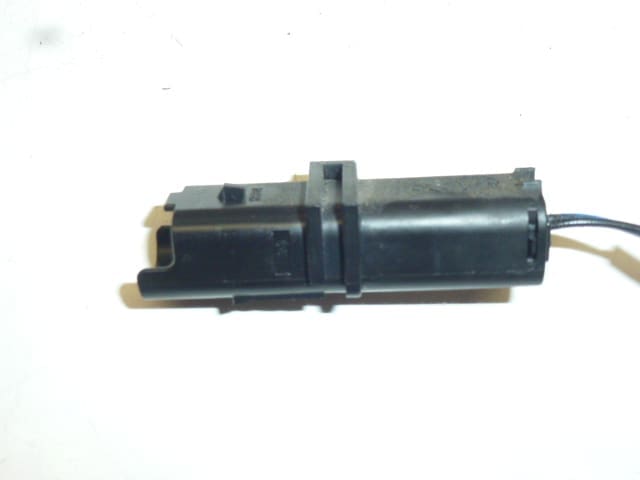
Reliable replacement sensor for the door handle lock mechanism of the Peugeot 307 CC. This part detects the handle position and lock status, allowing the central locking system and alarm to react correctly when the handle is operated. Frequently searched by reference numbers 9651269480 and 910946, this sensor is aimed at professional technicians and experienced DIYers who service Peugeot body and locking systems.
Key Benefits
- Direct fit for Peugeot 307 CC — aligns with factory mounting points and connector for straightforward replacement.
- Restores correct handle detection to prevent false alarms, improve locking/unlocking reliability and ensure proper interaction with central locking.
- Searchable by OEM numbers 9651269480 and 910946, making it quick to find for parts lookup and ordering.
How It Works And Typical Symptoms
The sensor monitors the position/state of the exterior door handle and reports it to the vehicle’s locking/comfort electronics. When the sensor fails, common symptoms include intermittent or complete failure of the central locking to recognize handle use, alarm triggers or inability to lock/unlock using the handle, and inconsistent interior lighting behavior when doors are opened.
How To Replace
- Tools Needed: Trim removal tools, Phillips/flat screwdrivers, Torx set, pliers, and a small flashlight.
- General Steps: Remove the inner door card carefully, peel back the moisture barrier, disconnect the electrical connector to the sensor, remove retaining screws or clips, swap the sensor, reconnect the connector, check sealing and routing of cables, reattach moisture barrier and door trim.
- Testing: After installation verify correct operation by locking/unlocking and operating the handle several times; check for alarm or central locking faults.
- Safety: Use care with plastic clips and trim; avoid forcing components to prevent damage to door card or handle mounting.
Installation Recommendations
- Work On A Cool, Dry Day Where Possible To Reduce Moisture Ingress During Reassembly.
- Disconnecting The Battery Is Recommended When Working Near Electrical Connectors To Avoid Short Circuits Or Unwanted Alarm Activation.
- Clean Connectors And Apply Dielectric Grease If Needed To Improve Long-Term Corrosion Resistance.
- Ensure The Moisture Barrier Is Properly Re-Sealed To Prevent Water Reaching The New Sensor.
Why This Part Commonly Fails
Failures Are Most Often Caused By Moisture Ingress, Corrosion Of Electrical Contacts, Mechanical Wear From Frequent Use, Or Damage From Door Impacts And Aging Seals. Faulty Wiring Or Poor Connector Contact Can Also Lead To Intermittent Operation Or Complete Failure.
Technical Information
- Manufacturer: Stellantis (Peugeot/Citroën)
- Model: Peugeot 307 CC
- Product Codes: 9651269480
- Other Numbers: 910946
Notes For Professionals
When replacing the sensor, inspect surrounding components — handle mechanism, rod linkages and the door latch — to rule out secondary causes of failure. Replace corroded clips and damaged seals to maximize the life of the new sensor. Ideal for workshop technicians and experienced DIYers who frequently service Peugeot 307 CC locking systems.