Description
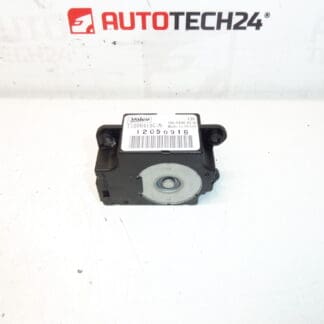
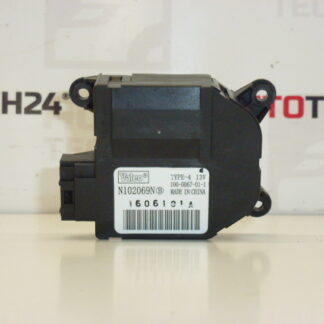
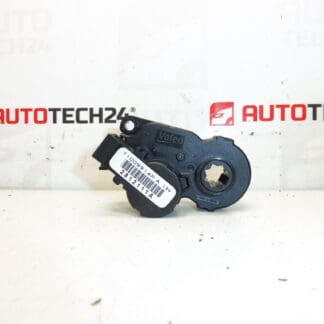
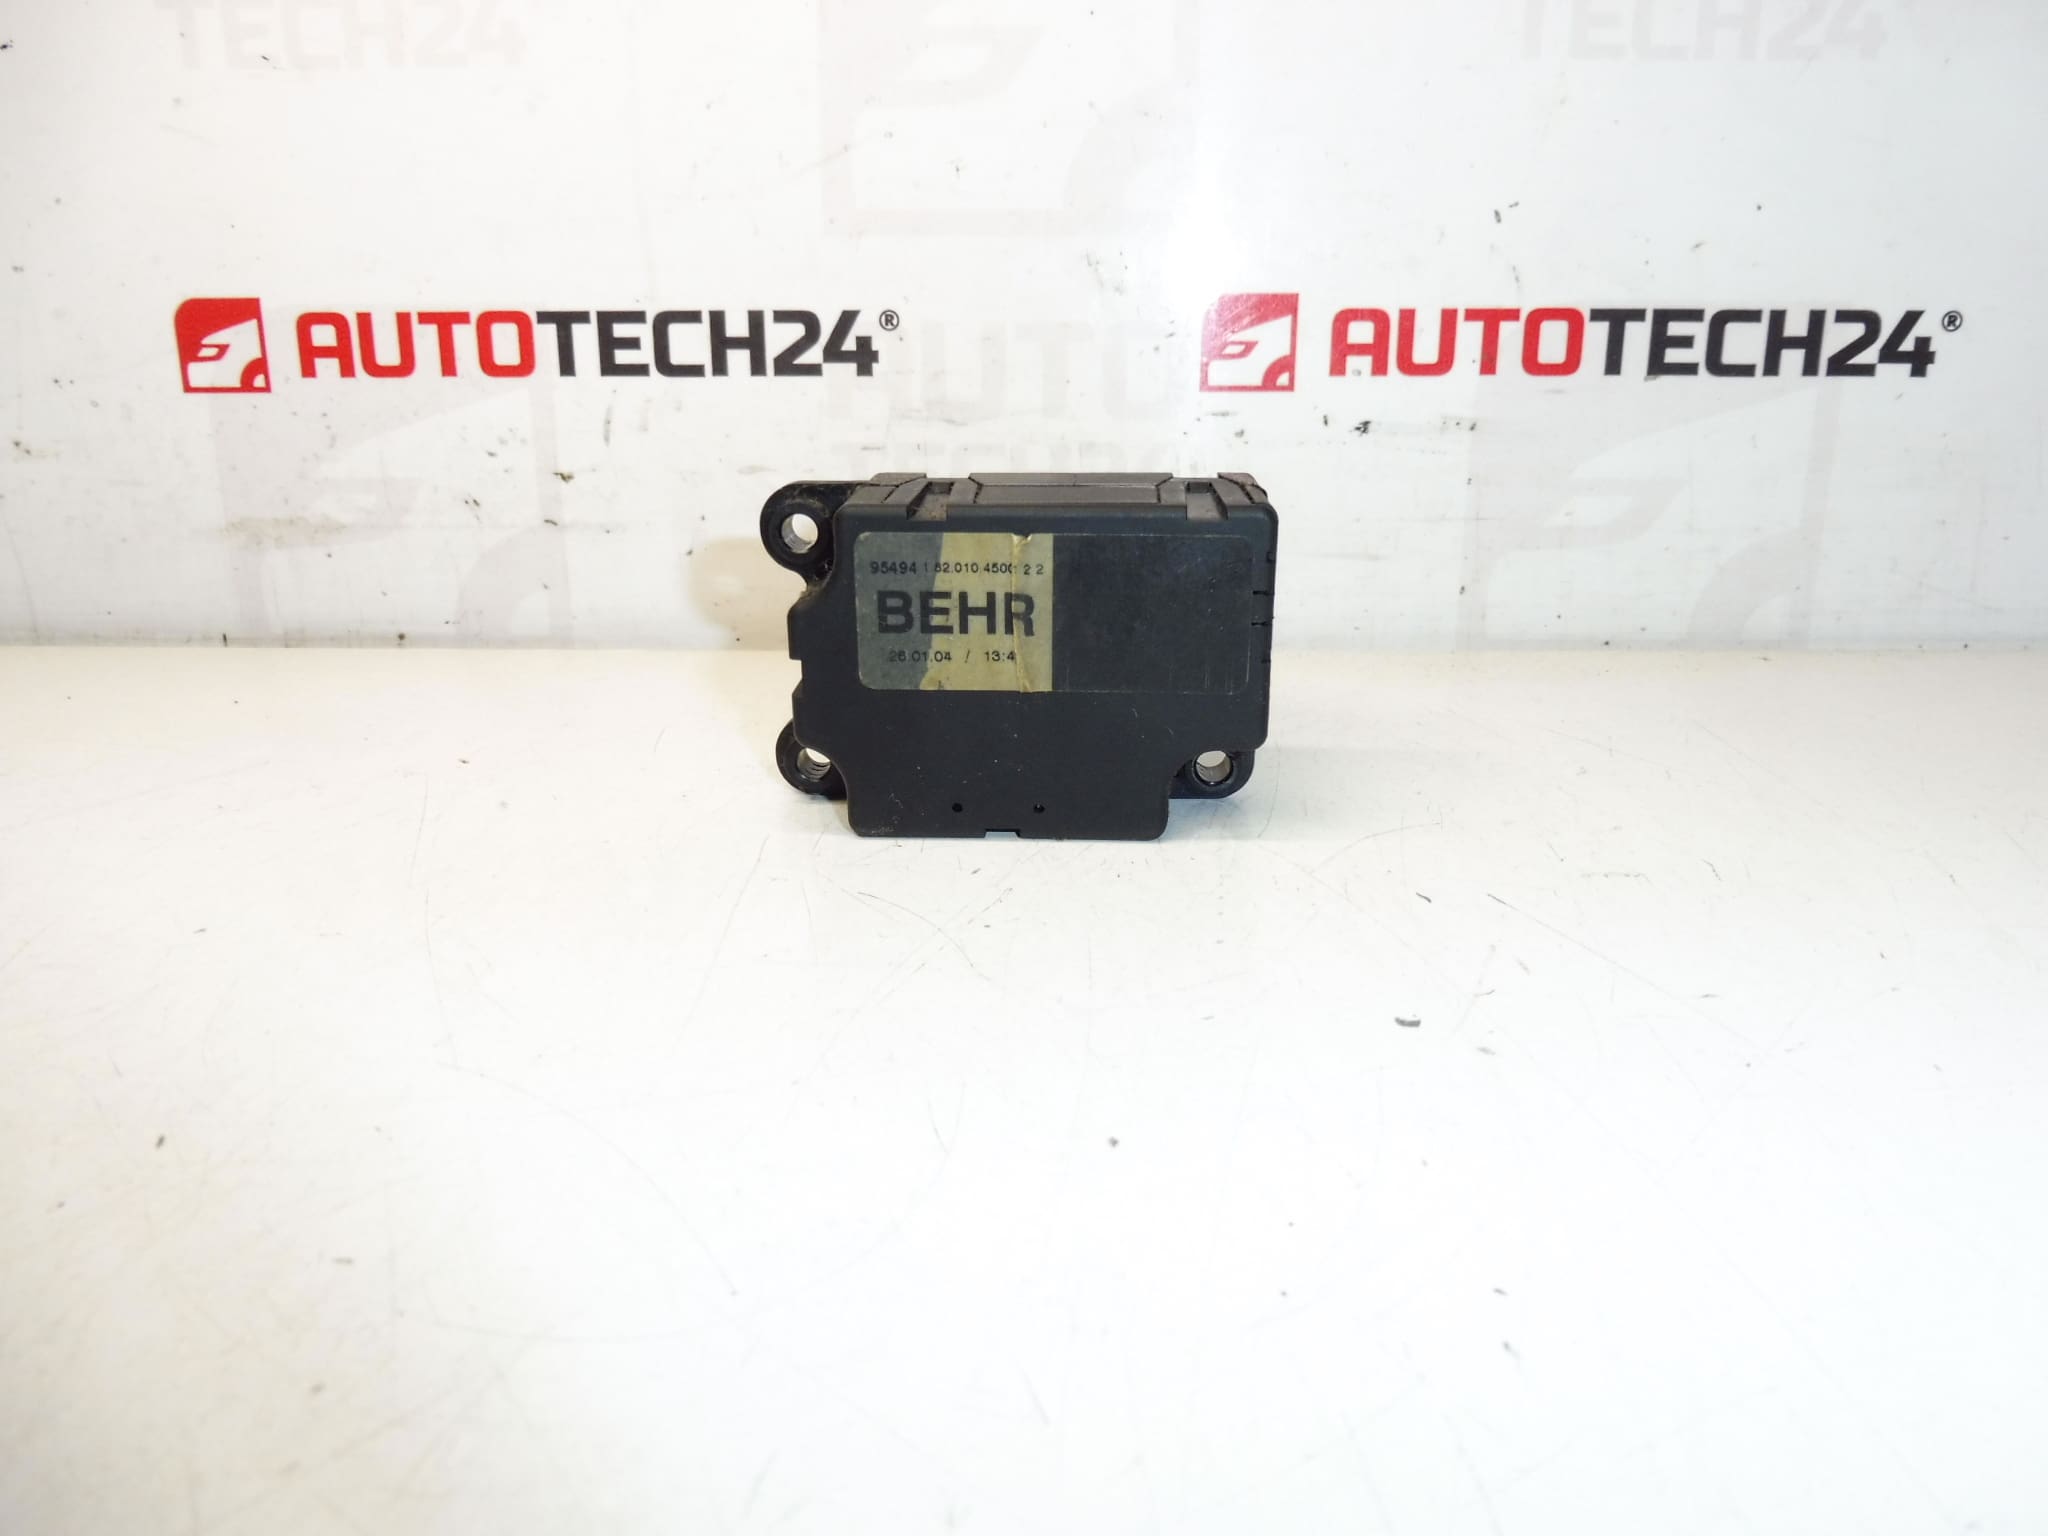
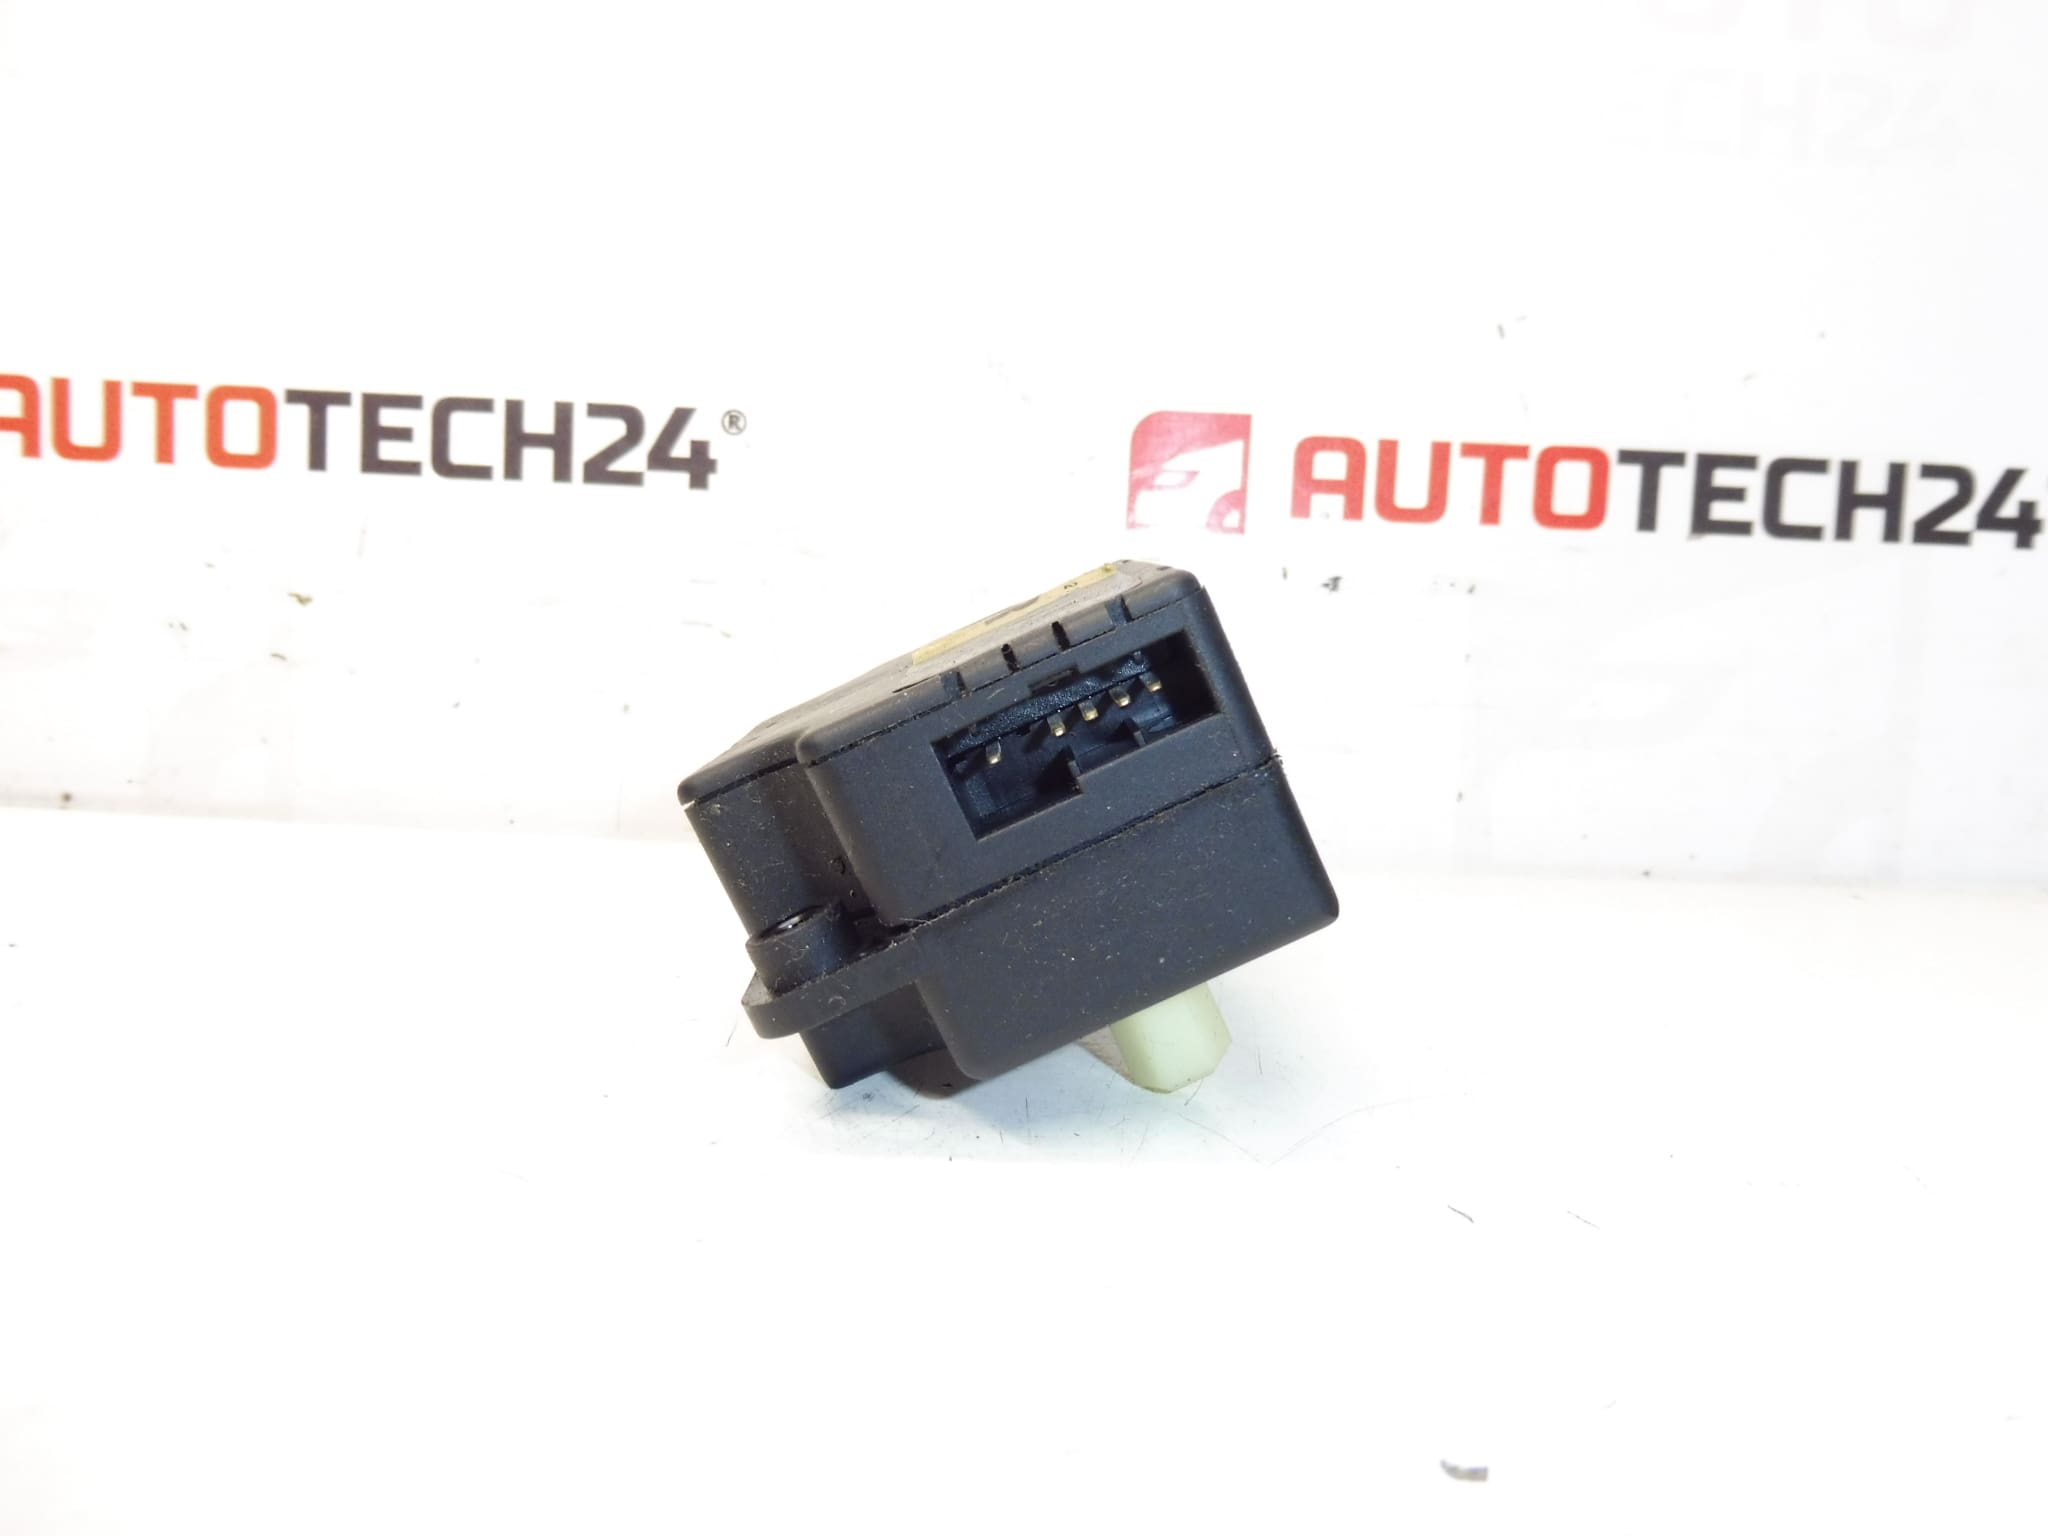
Heater servo motor for Citroën C2, C3 and Peugeot 206 and 307
High-quality replacement heater servo motor designed for select Citroën and Peugeot models. This compact electro-mechanical actuator controls the HVAC blend/air distribution within the heater box to ensure accurate cabin temperature and airflow direction. Ideal for professional workshops and DIY mechanics, the unit is commonly searched by its product codes (95494 / 6447QN), making it easy to find and order. Fitment for C2, C3 (including C3 Pluriel), 206 and 307 means direct compatibility with many Stellantis-era vehicles using the same HVAC architecture.
Technical Information
- Manufacturer: Buhler BEHR
- Model: Citroën C2, Citroën C3, Citroën C3 Pluriel, Peugeot 206, Peugeot 307
- Product Codes: 95494, 6447QN
- Other Numbers: 6447QN / 95494
Function And Symptoms
The servo motor (blend/air flap actuator) moves internal flaps inside the heater box to regulate temperature distribution and airflow direction. Faulty actuators typically reveal themselves through symptoms such as inconsistent cabin temperature, stuck vents, unusual clicking or grinding noises from behind the dash, or HVAC controls that do not respond. Replacing the servo restores precise flap movement and eliminates related comfort complaints.
Replacement Guide
Location: The actuator is mounted on the heater box inside the dashboard. Access usually requires removal of lower dash panels or the glovebox depending on model. Basic replacement steps:
- Disconnect the vehicle battery before starting work to avoid short circuits.
- Remove any trim panels or glovebox to reach the HVAC unit.
- Unplug the electrical connector and remove the mounting screws securing the servo motor.
- Install the new servo in the correct orientation, secure with screws and reconnect the electrical plug.
- Test operation with the HVAC controls before reassembly—verify full range of motion and absence of noises.
- Reassemble trim panels once correct operation is confirmed.
Skill Level: Medium. A mechanic with basic hand tools can perform the swap; access can be tight and may require patience. Always test the actuator before final reassembly.
Installation Recommendations
- Use appropriate screwdrivers or Torx bits as required and avoid overtightening plastic fasteners.
- Check wiring and connector pins for corrosion or damage; clean contacts if necessary.
- Apply a small amount of dielectric grease to connector pins to improve long-term reliability.
- Test the HVAC functions across the full range (temperature and mode) before closing the dash to ensure proper calibration and movement.
Most Common Causes Of Failure
Failures are usually mechanical or electrical: worn plastic gears inside the servo, motor burnout after long service, moisture ingress causing corrosion, or seized HVAC flaps that overload the actuator. In many cases the actuator produces audible clicking or grinding before complete failure. Regular inspection of HVAC operation and addressing unusual noises early can prevent sudden loss of function.
Notes For Buyers
This part is often searched using the product codes 95494 or 6447QN. Check model fitment list above to confirm compatibility with your vehicle. The actuator is intended as a direct replacement for the listed Citroën and Peugeot models that share the same heater box layout.