Description
Product Overview
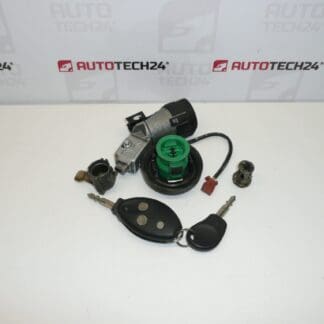
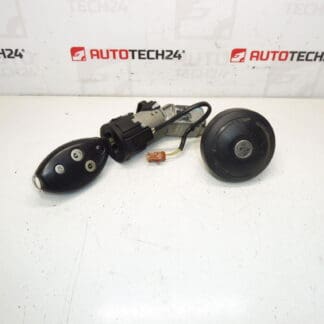
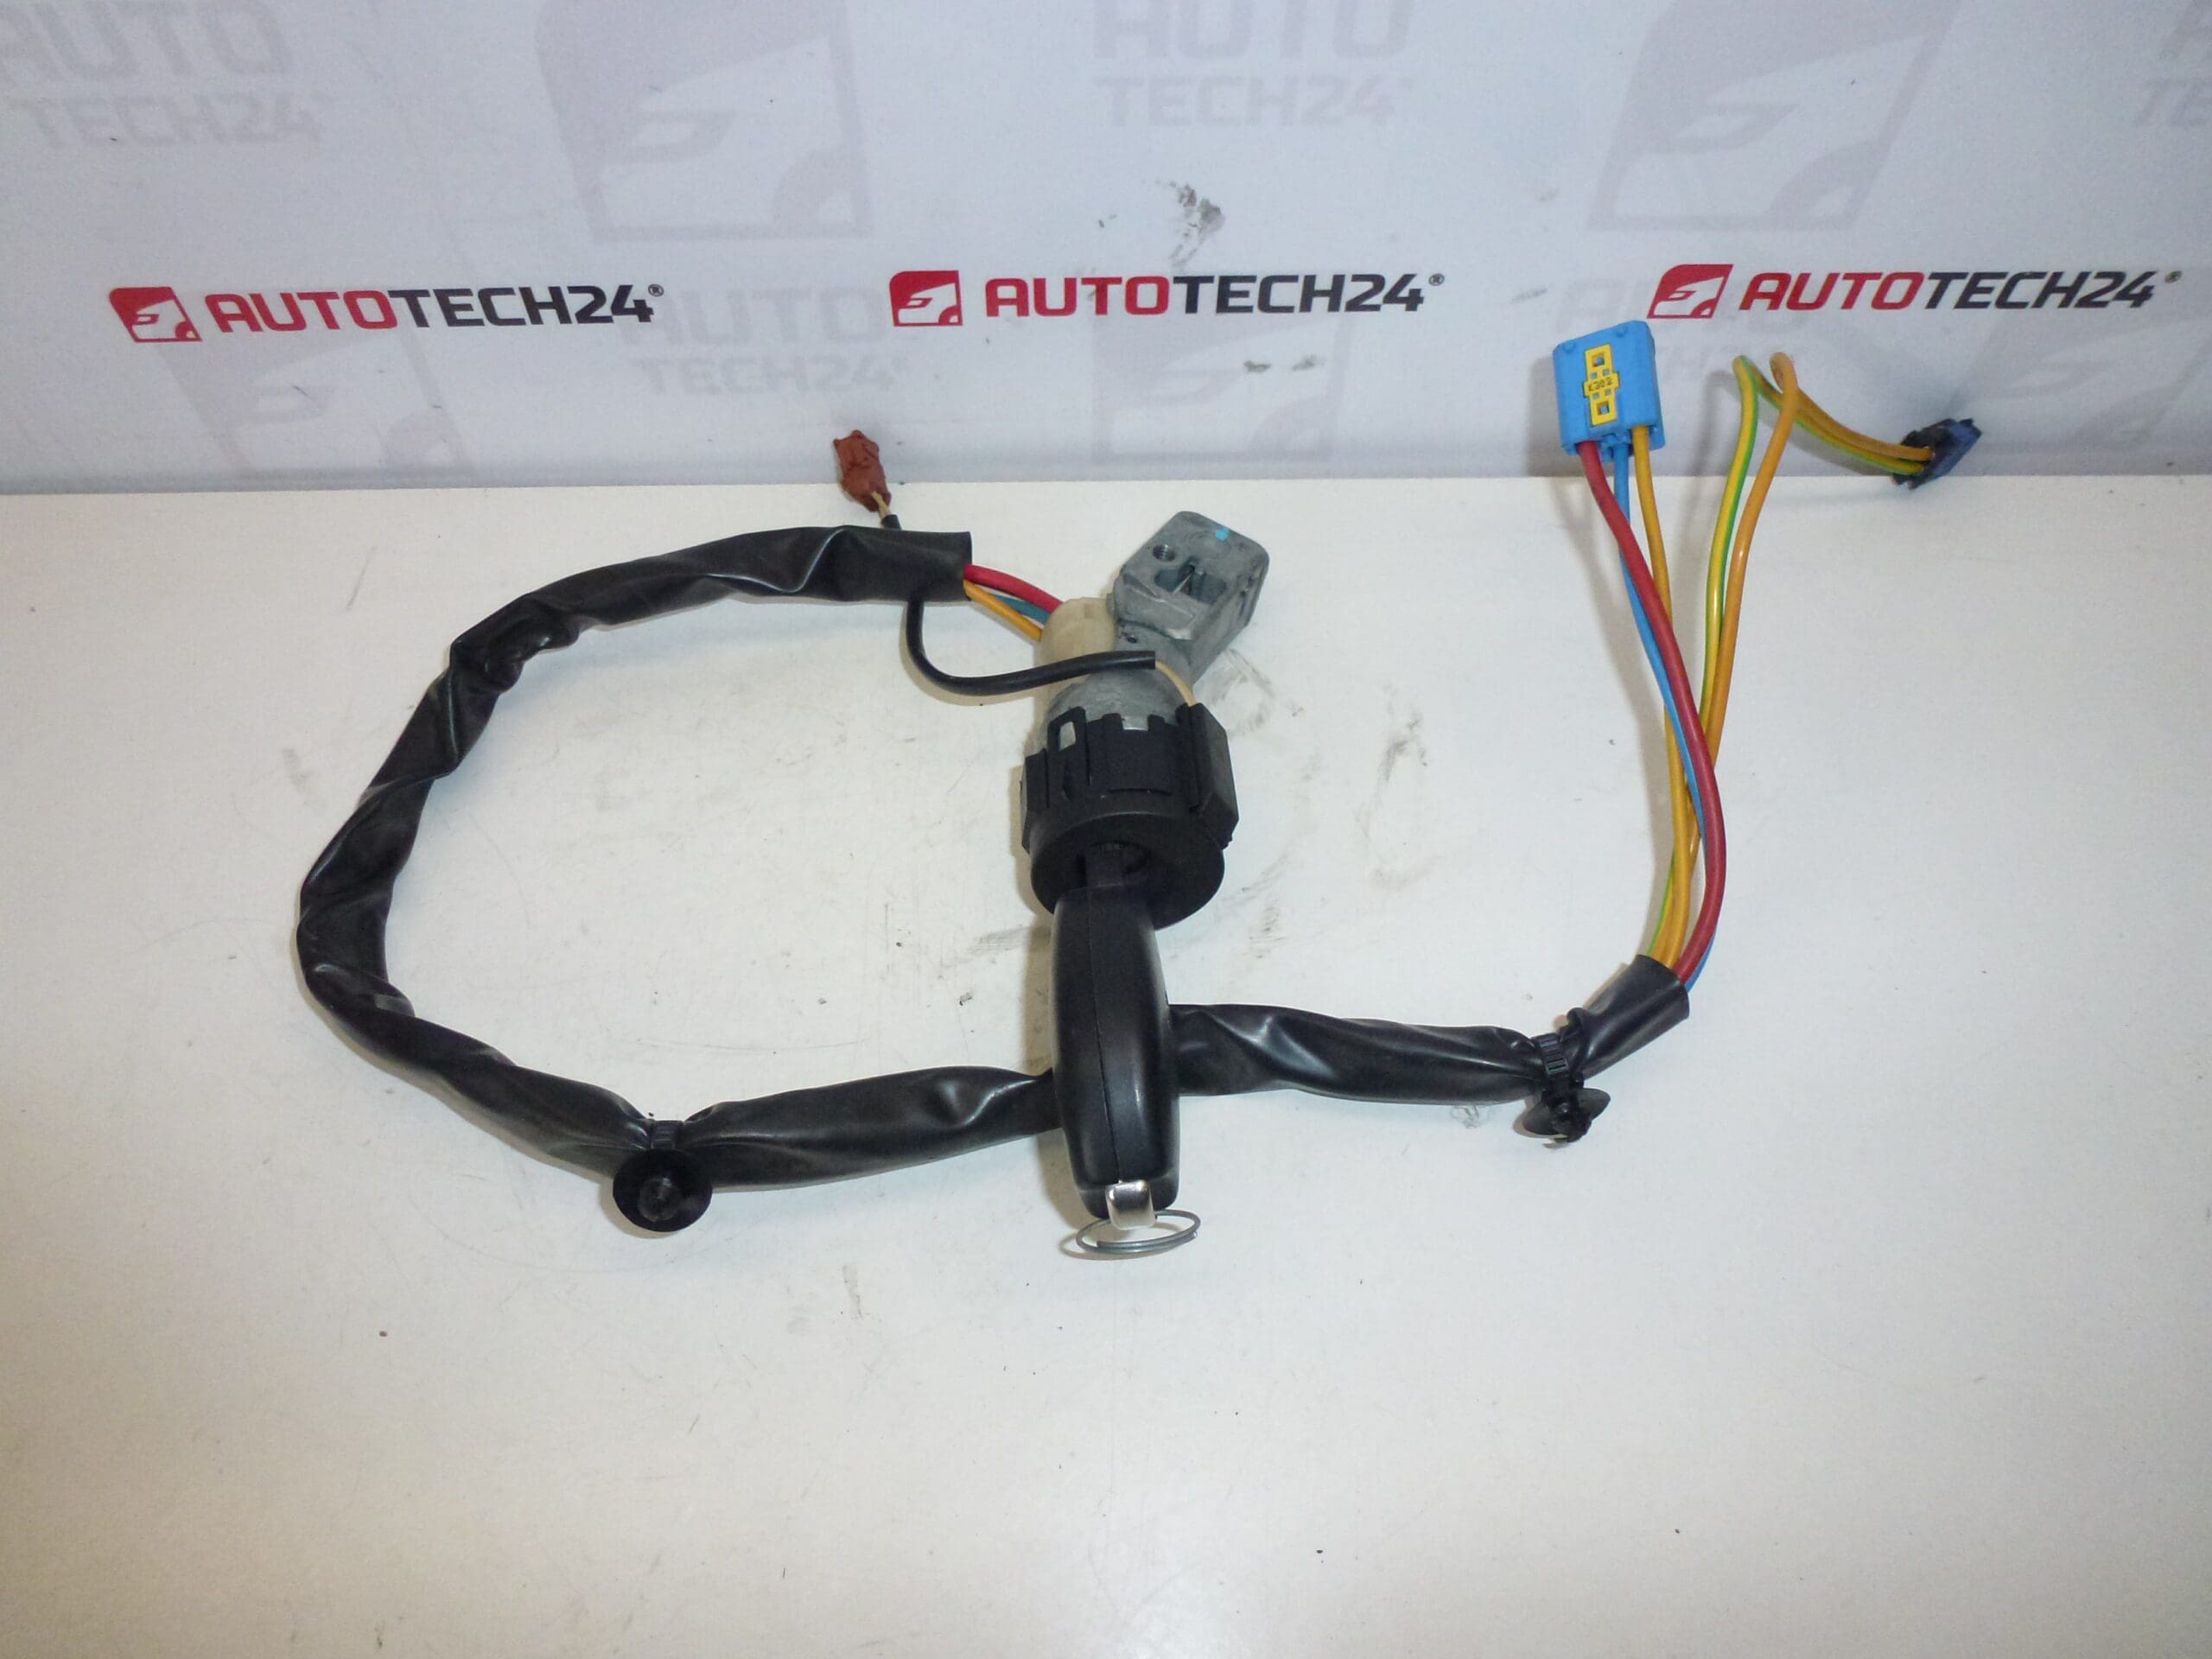
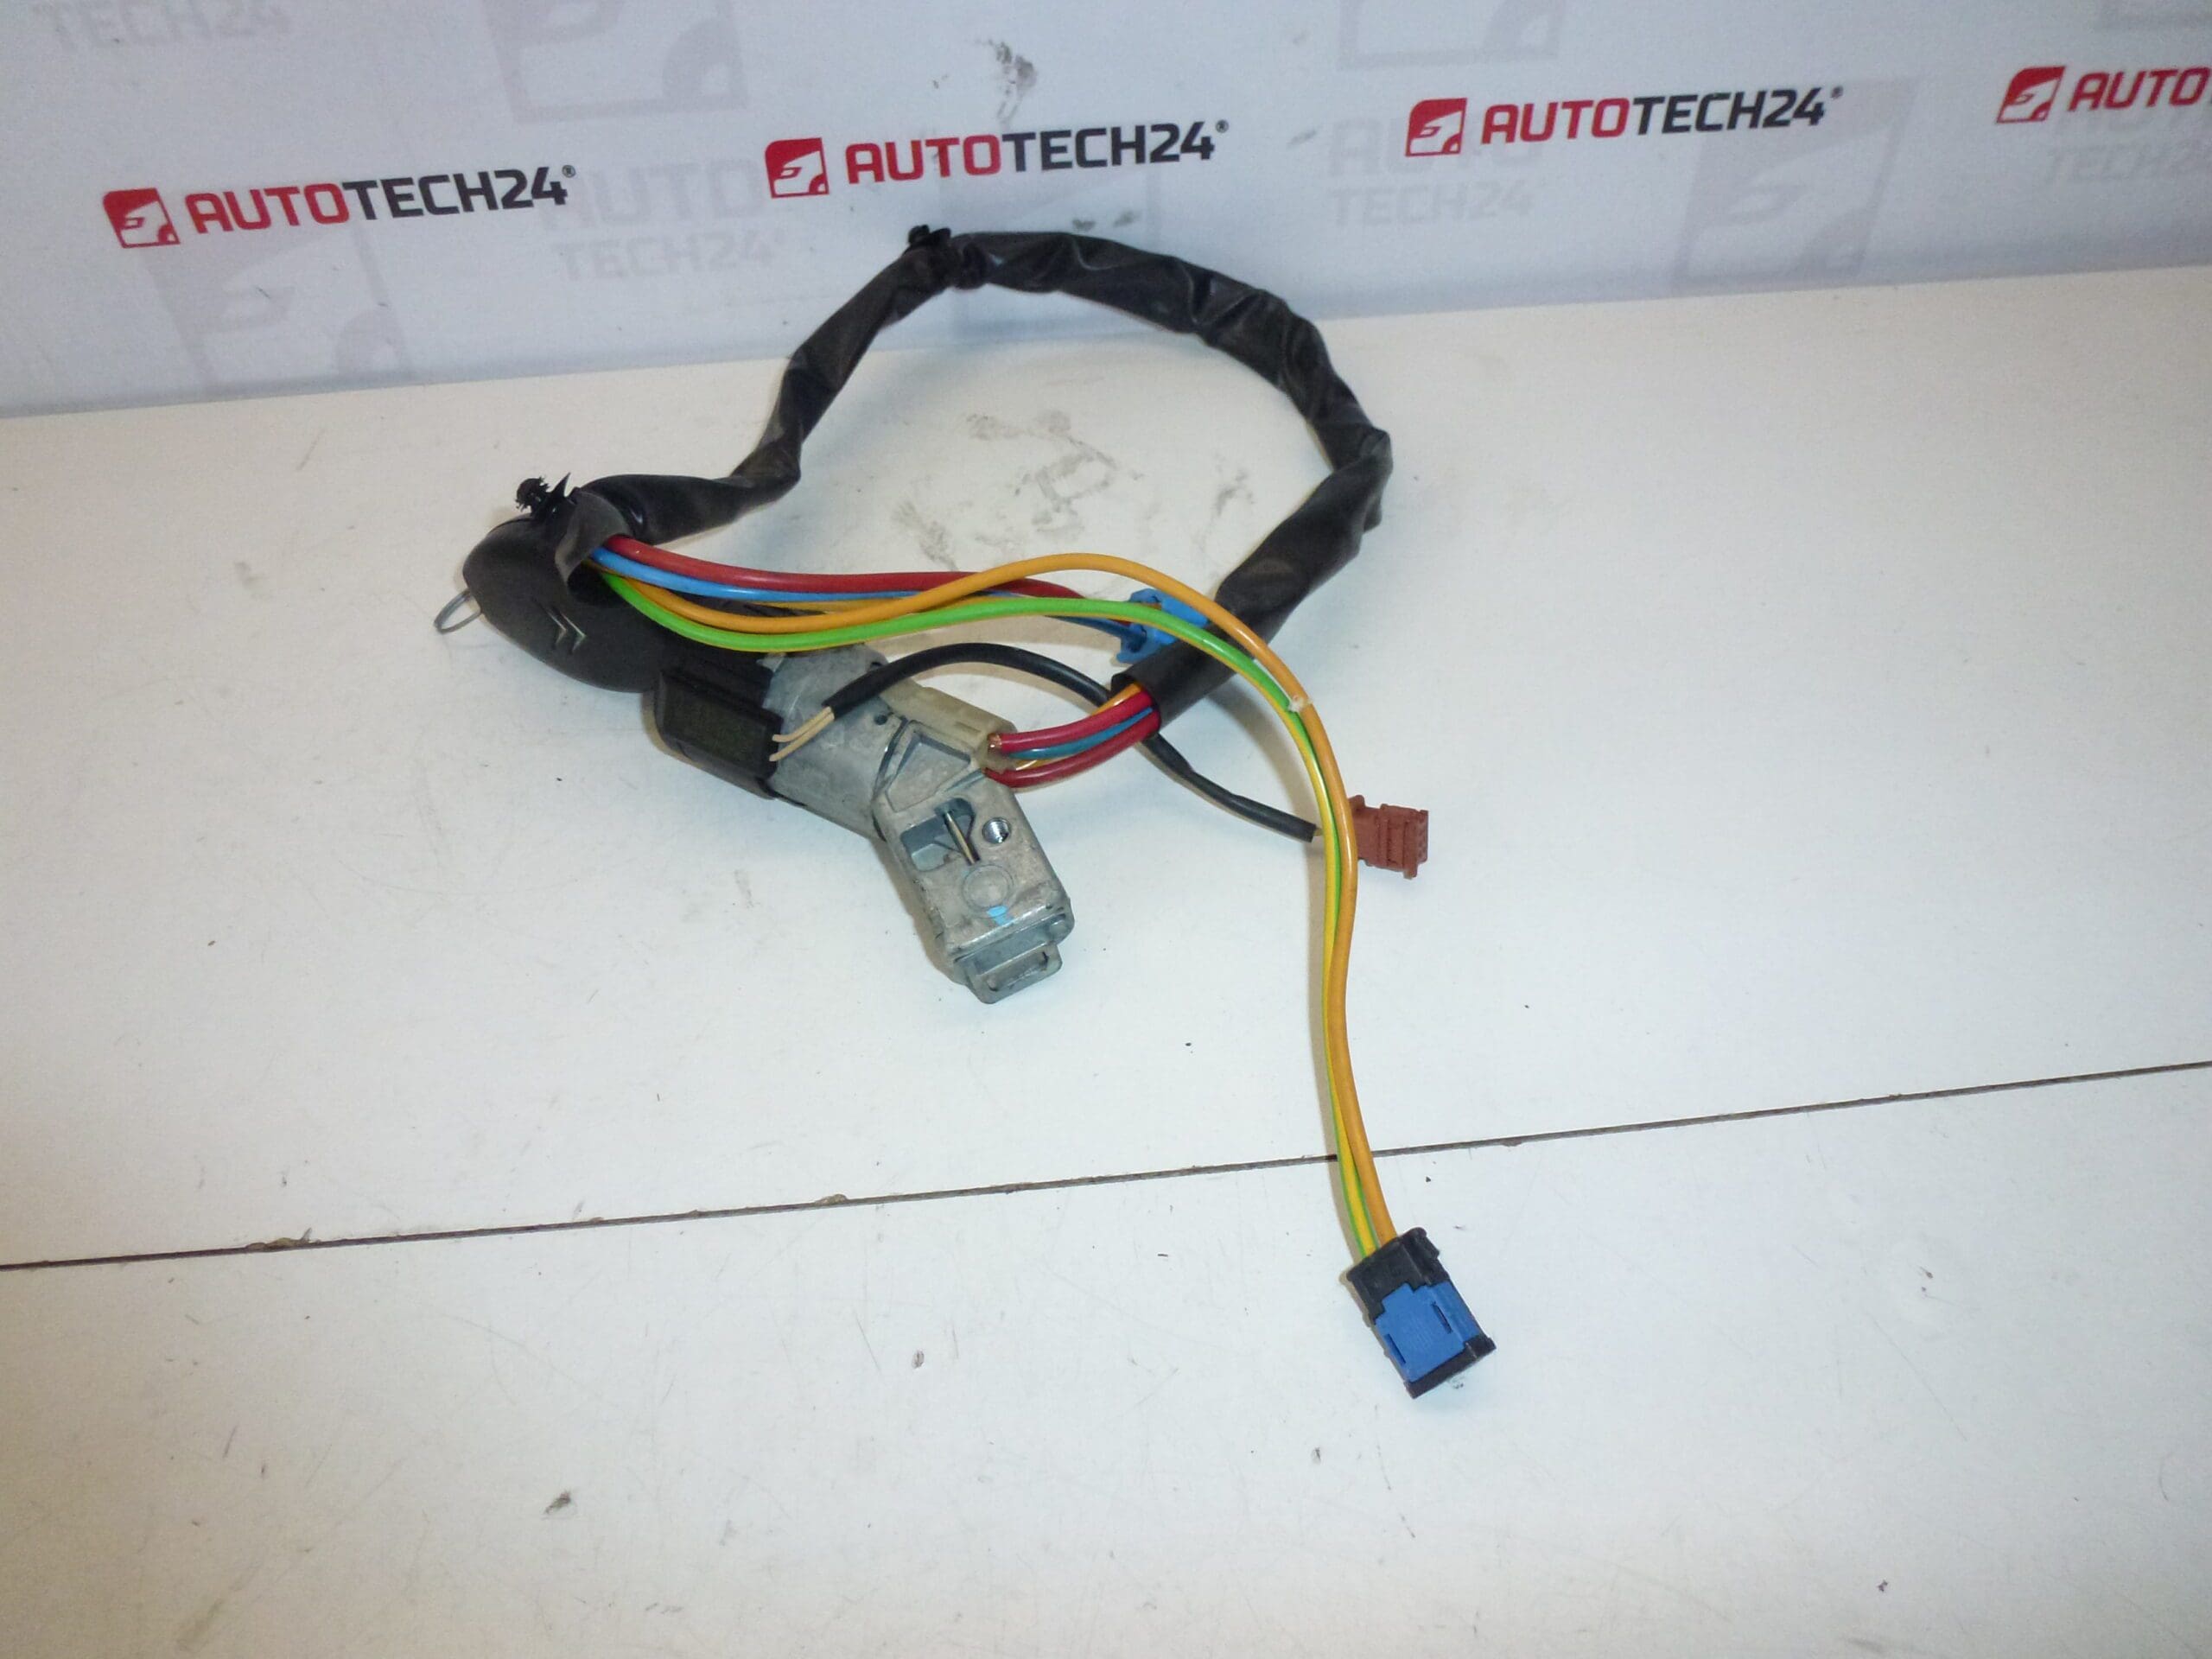
High-quality Ignition Switch Housing with One Key for Citroën C5 models built between 2001 and 2007. This replacement ignition barrel assembly (product code 4162CE) is suitable for mechanics and DIY enthusiasts looking to restore reliable starting, steering lock function, and key security.
Commonly searched by code 4162CE, this unit combines the mechanical lock cylinder and the ignition switch housing to simplify installation and reduce troubleshooting time.
Features And Benefits
- Direct fit for Citroën C5 (2001-2007) using 4162CE code
- Includes one key to replace lost or worn keys
- Restores ignition actuation and steering column locking function
- Reduces downtime for workshops with straightforward replacement
When And Why It Fails
Ignition housings wear out mechanically over time: tumblers break, keys wear, or the internal switch develops electrical faults. Corrosion and debris inside the column can also prevent key insertion/removal or starting. Symptoms include a stuck key, intermittent starting, or loss of steering lock engagement.
Replacement Guide
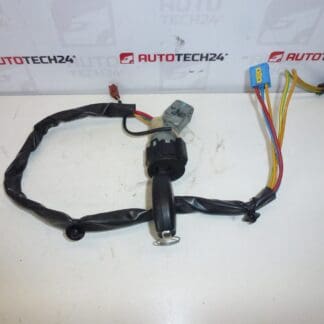
Basic replacement steps: disconnect the negative battery terminal; remove steering column trim panels; note or photograph connector positions; unplug electrical connectors; remove mounting screws or clips securing the ignition housing; swap the unit and reassemble in reverse order. After replacement, verify key operation and, if required by the vehicle immobiliser, perform key programming with an appropriate diagnostic tool.
Compatibility And Fitment
Designed for Citroën C5 I and early C5 II models from 2001 to 2007. Always verify fitment against the product code 4162CE and your vehicle VIN before purchase.
Technical Information
- Manufacturer: PSA (Citroën/Peugeot)
- Model: Citroën C5 (2001-2007)
- Product Codes: 4162CE
- Other Numbers: No additional numbers provided; confirm OEM cross-references if needed
Suitable for professional workshops and competent DIYers. If in doubt about immobiliser or key pairing, consult a qualified technician.