Description
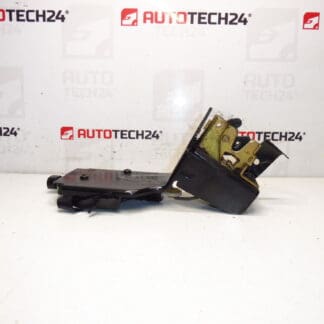
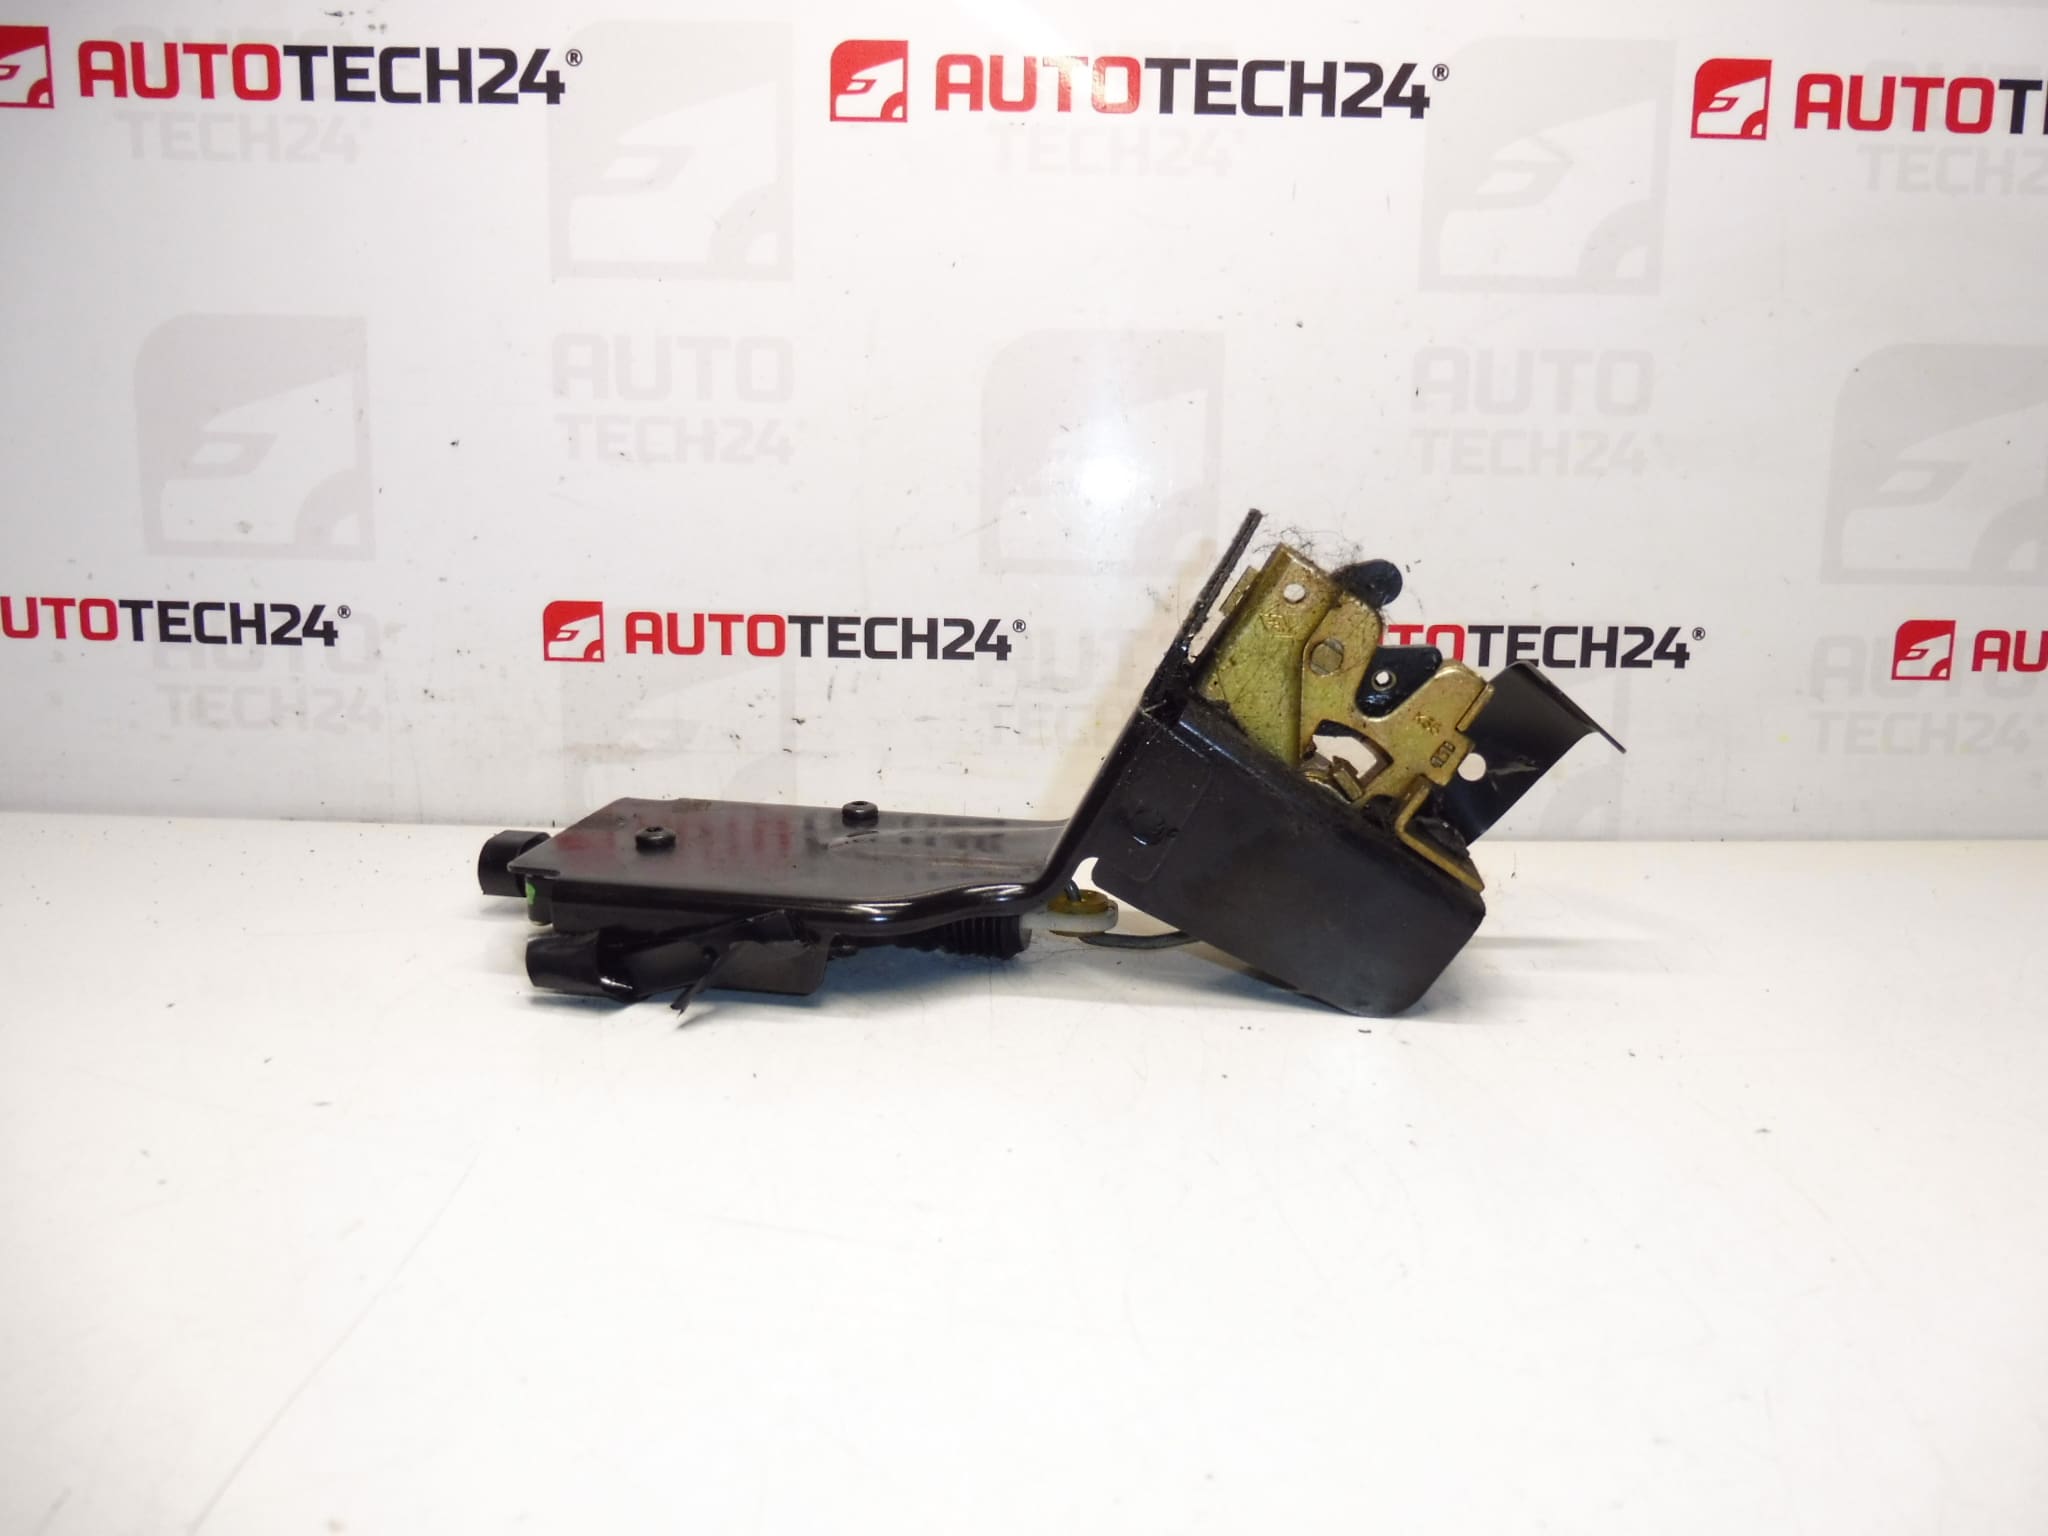
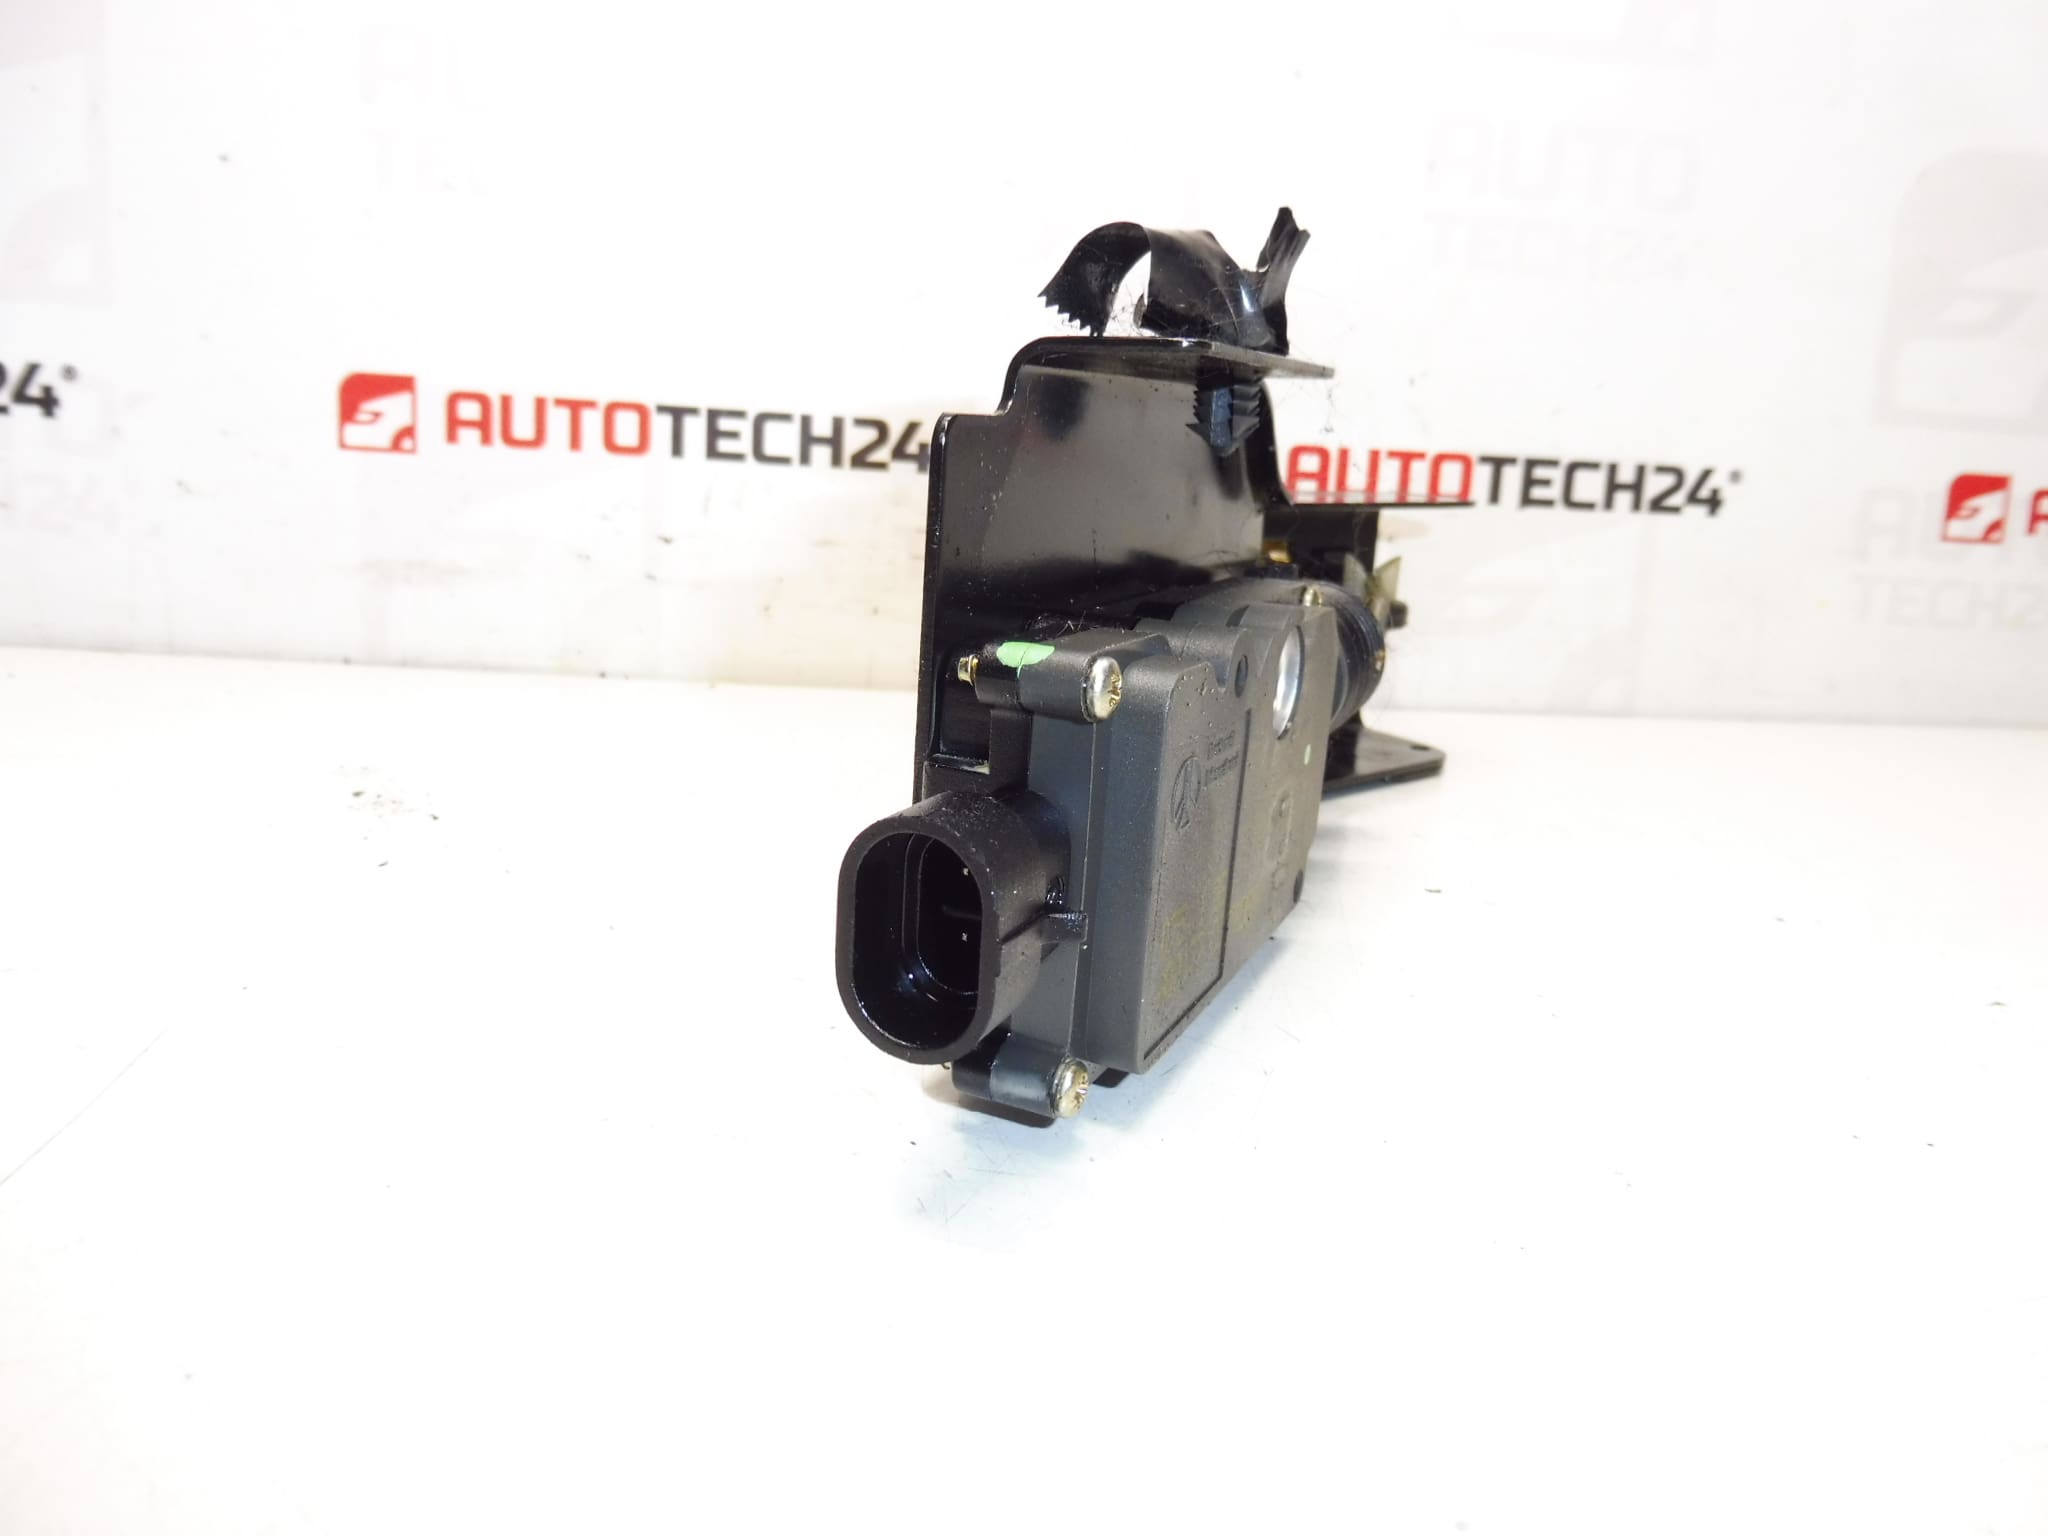
Complete electric lock for the rear tailgate glass for Citroën C5 I and II Combi
This electric rear tailgate glass lock is a direct-fit replacement designed for Citroën C5 I and II estate models. It restores reliable locking and unlocking of the rear glass section, integrates with the vehicle central locking and remote functions, and carries OEM cross-reference numbers often searched by mechanics: 661527, 8724A0, 871971. The unit is a full lock assembly including the actuator and latch mechanism, suitable for professional workshops and experienced DIYers who service Citroën C5 tailgates.
Technical Information
- Manufacturer: Stellantis (Citroën / Peugeot)
- Model: Citroën C5 I & II Estate (Combi)
- Product Codes: 661527, 8724A0, 871971
- Additional Numbers: NFP
Function And Common Symptoms
The lock secures and releases the rear tailgate glass independently of the main tailgate latch, allowing the glass to open for loading or ventilation. Failure symptoms include the rear glass not locking or unlocking, intermittent central locking operation at the tailgate, audible motor noise without latch movement, or a completely non-responsive rear glass lock. These symptoms often occur without affecting other doors.
Why The Part Fails Most Often
Frequent causes of failure are water ingress and corrosion of internal components, worn actuator gears, broken plastic splines inside the actuator, electrical connector corrosion or wiring fatigue, and damage from impacts or forced opening. High mileage, frequent use of the rear glass, and exposure to road salt accelerate wear.
How To Replace
Replacement requires basic tools and moderate skill. Typical steps:
- Disconnect Battery Negative Terminal To Prevent Short Circuits.
- Remove Inner Tailgate Trim Carefully To Access The Lock Assembly (retain clips and screws).
- Disconnect Electrical Connector From Lock And Unbolt The Lock Fasteners.
- Transfer Any Linkages Or Striker Components If Required And Fit The New Lock In Place.
- Reconnect Wiring, Refit Trim, Reconnect Battery And Test Locking/Unlocking Functions Before Final Reassembly.
Installation Recommendations
- Test New Unit Bench-Connected Or With Vehicle Battery Before Final Assembly To Confirm Motor And Latch Operation.
- Inspect Wiring Harness And Connectors For Corrosion Or Damage; Clean Or Replace As Necessary.
- Apply Suitable Dielectric Grease To Electrical Connectors To Reduce Future Corrosion.
- Lubricate Mechanical Latch Points With A Light, Water-Resistant Grease To Extend Service Life.
- Torque Fasteners To Manufacturer Values Where Specified; Avoid Overtightening Plastic Components.
This lock is commonly searched by part numbers 661527, 8724A0 and 871971 — include these codes when ordering to ensure quick identification. Ideal for garages and experienced DIY enthusiasts maintaining Citroën C5 estate vehicles who need a reliable, direct-fit rear glass lock replacement.