Description
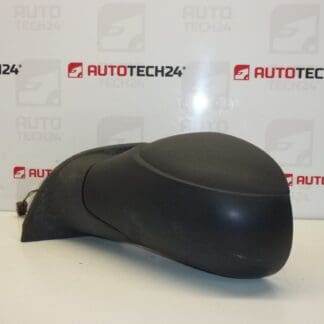
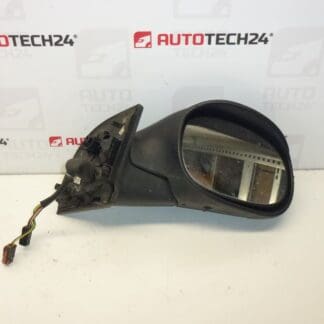
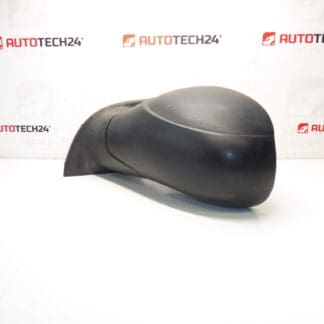
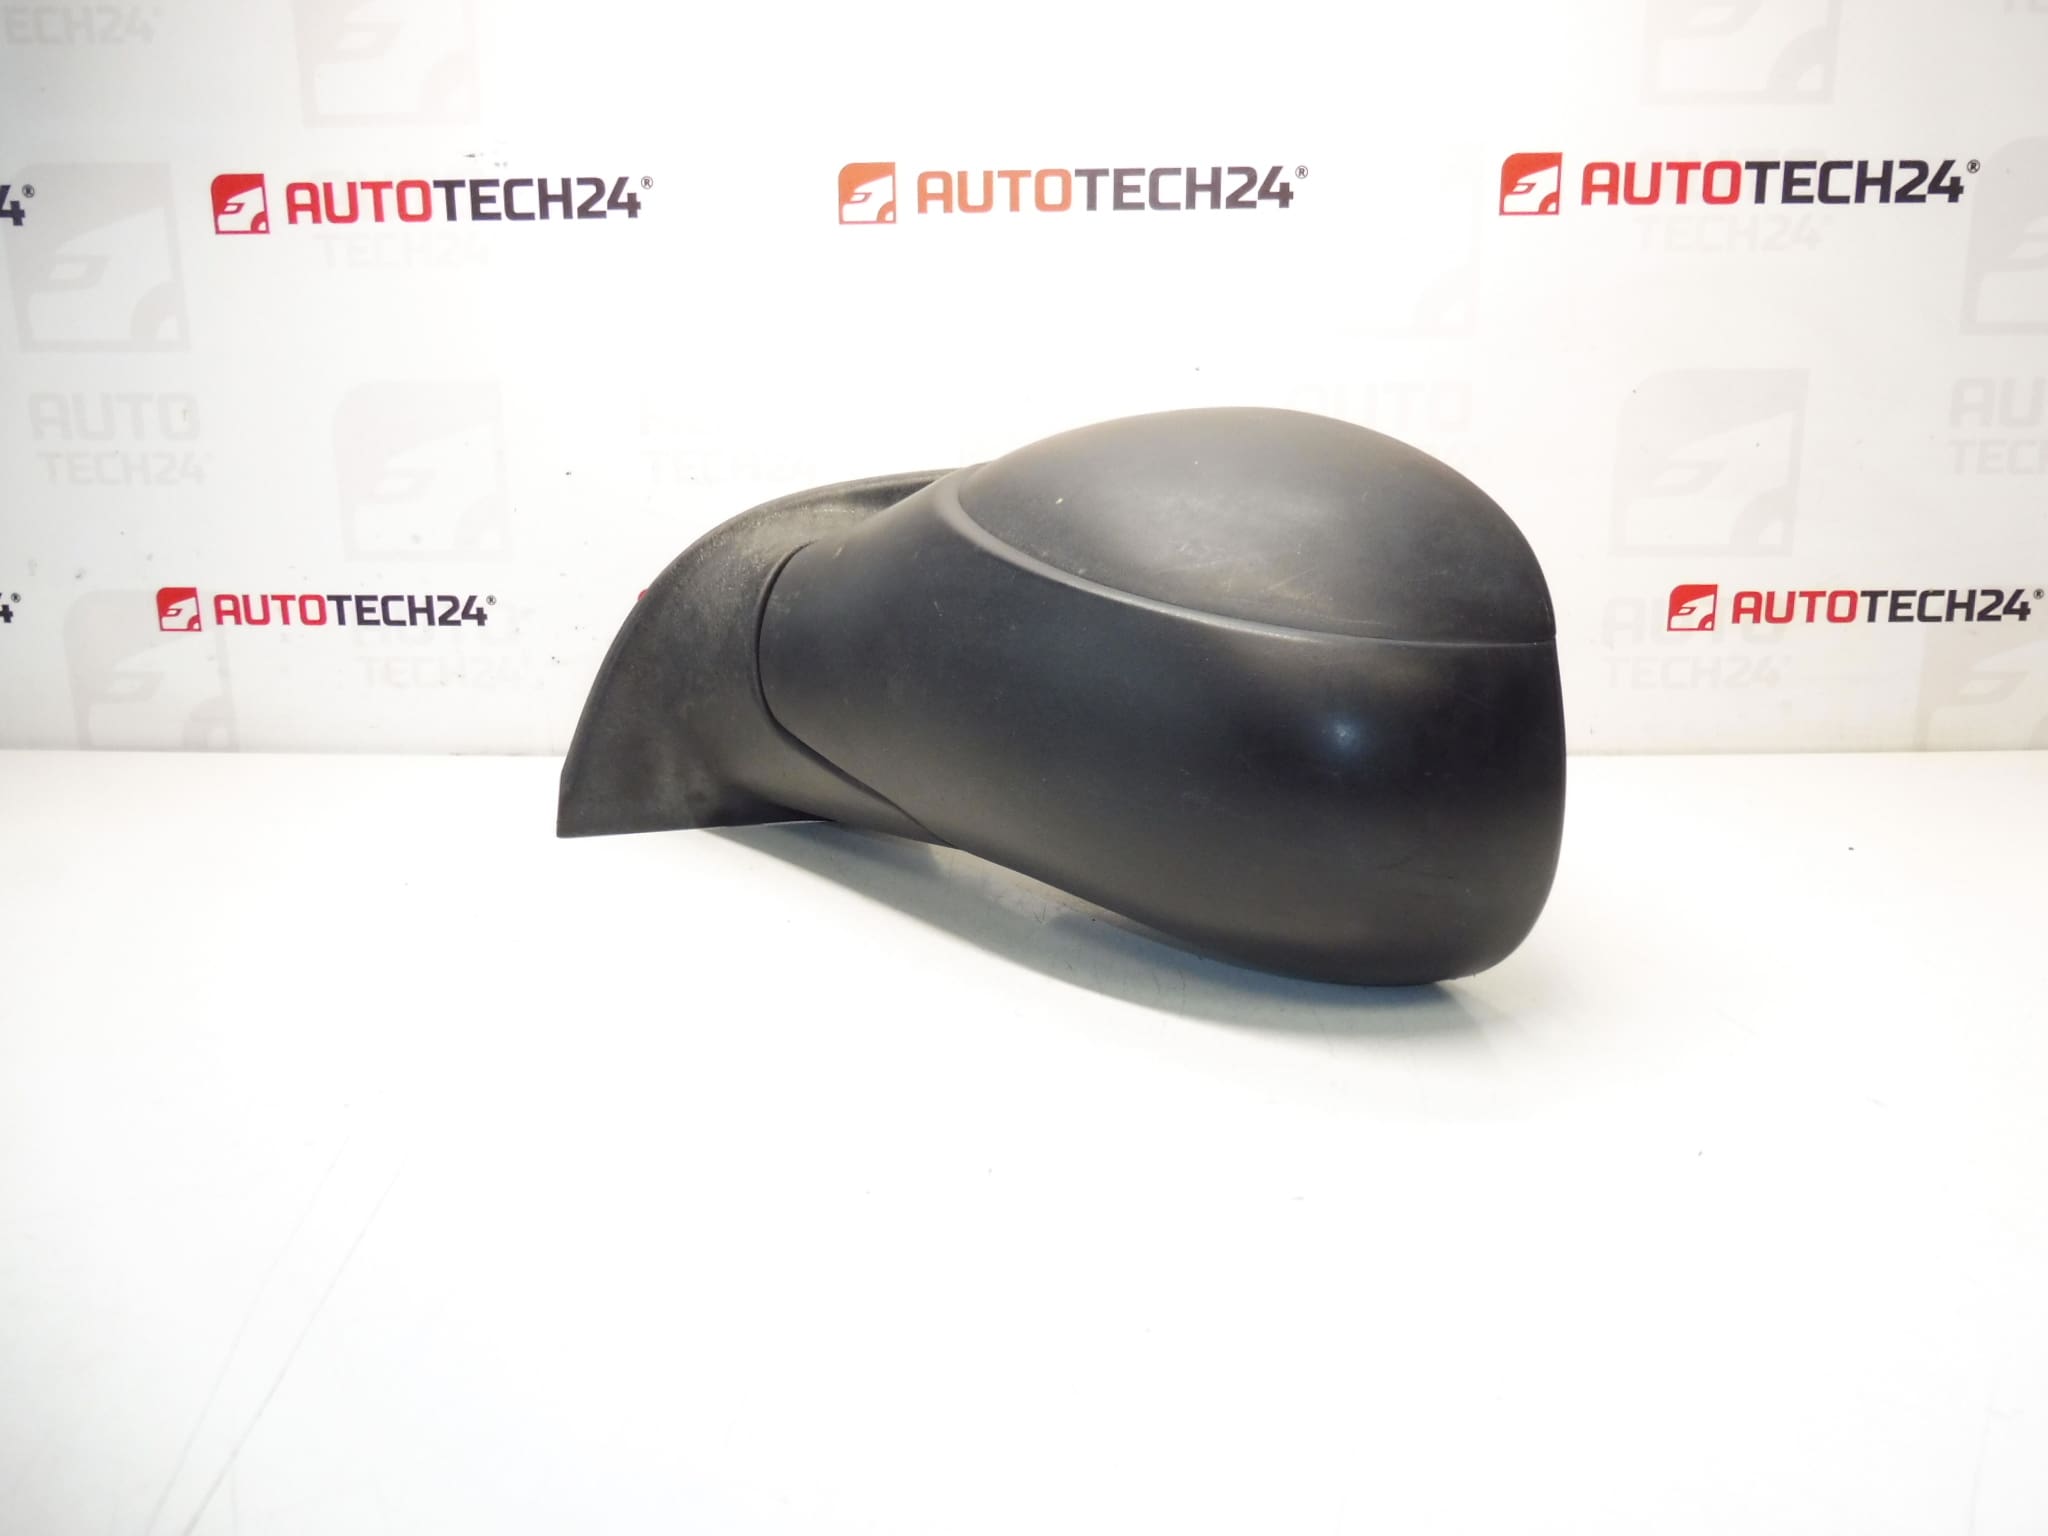
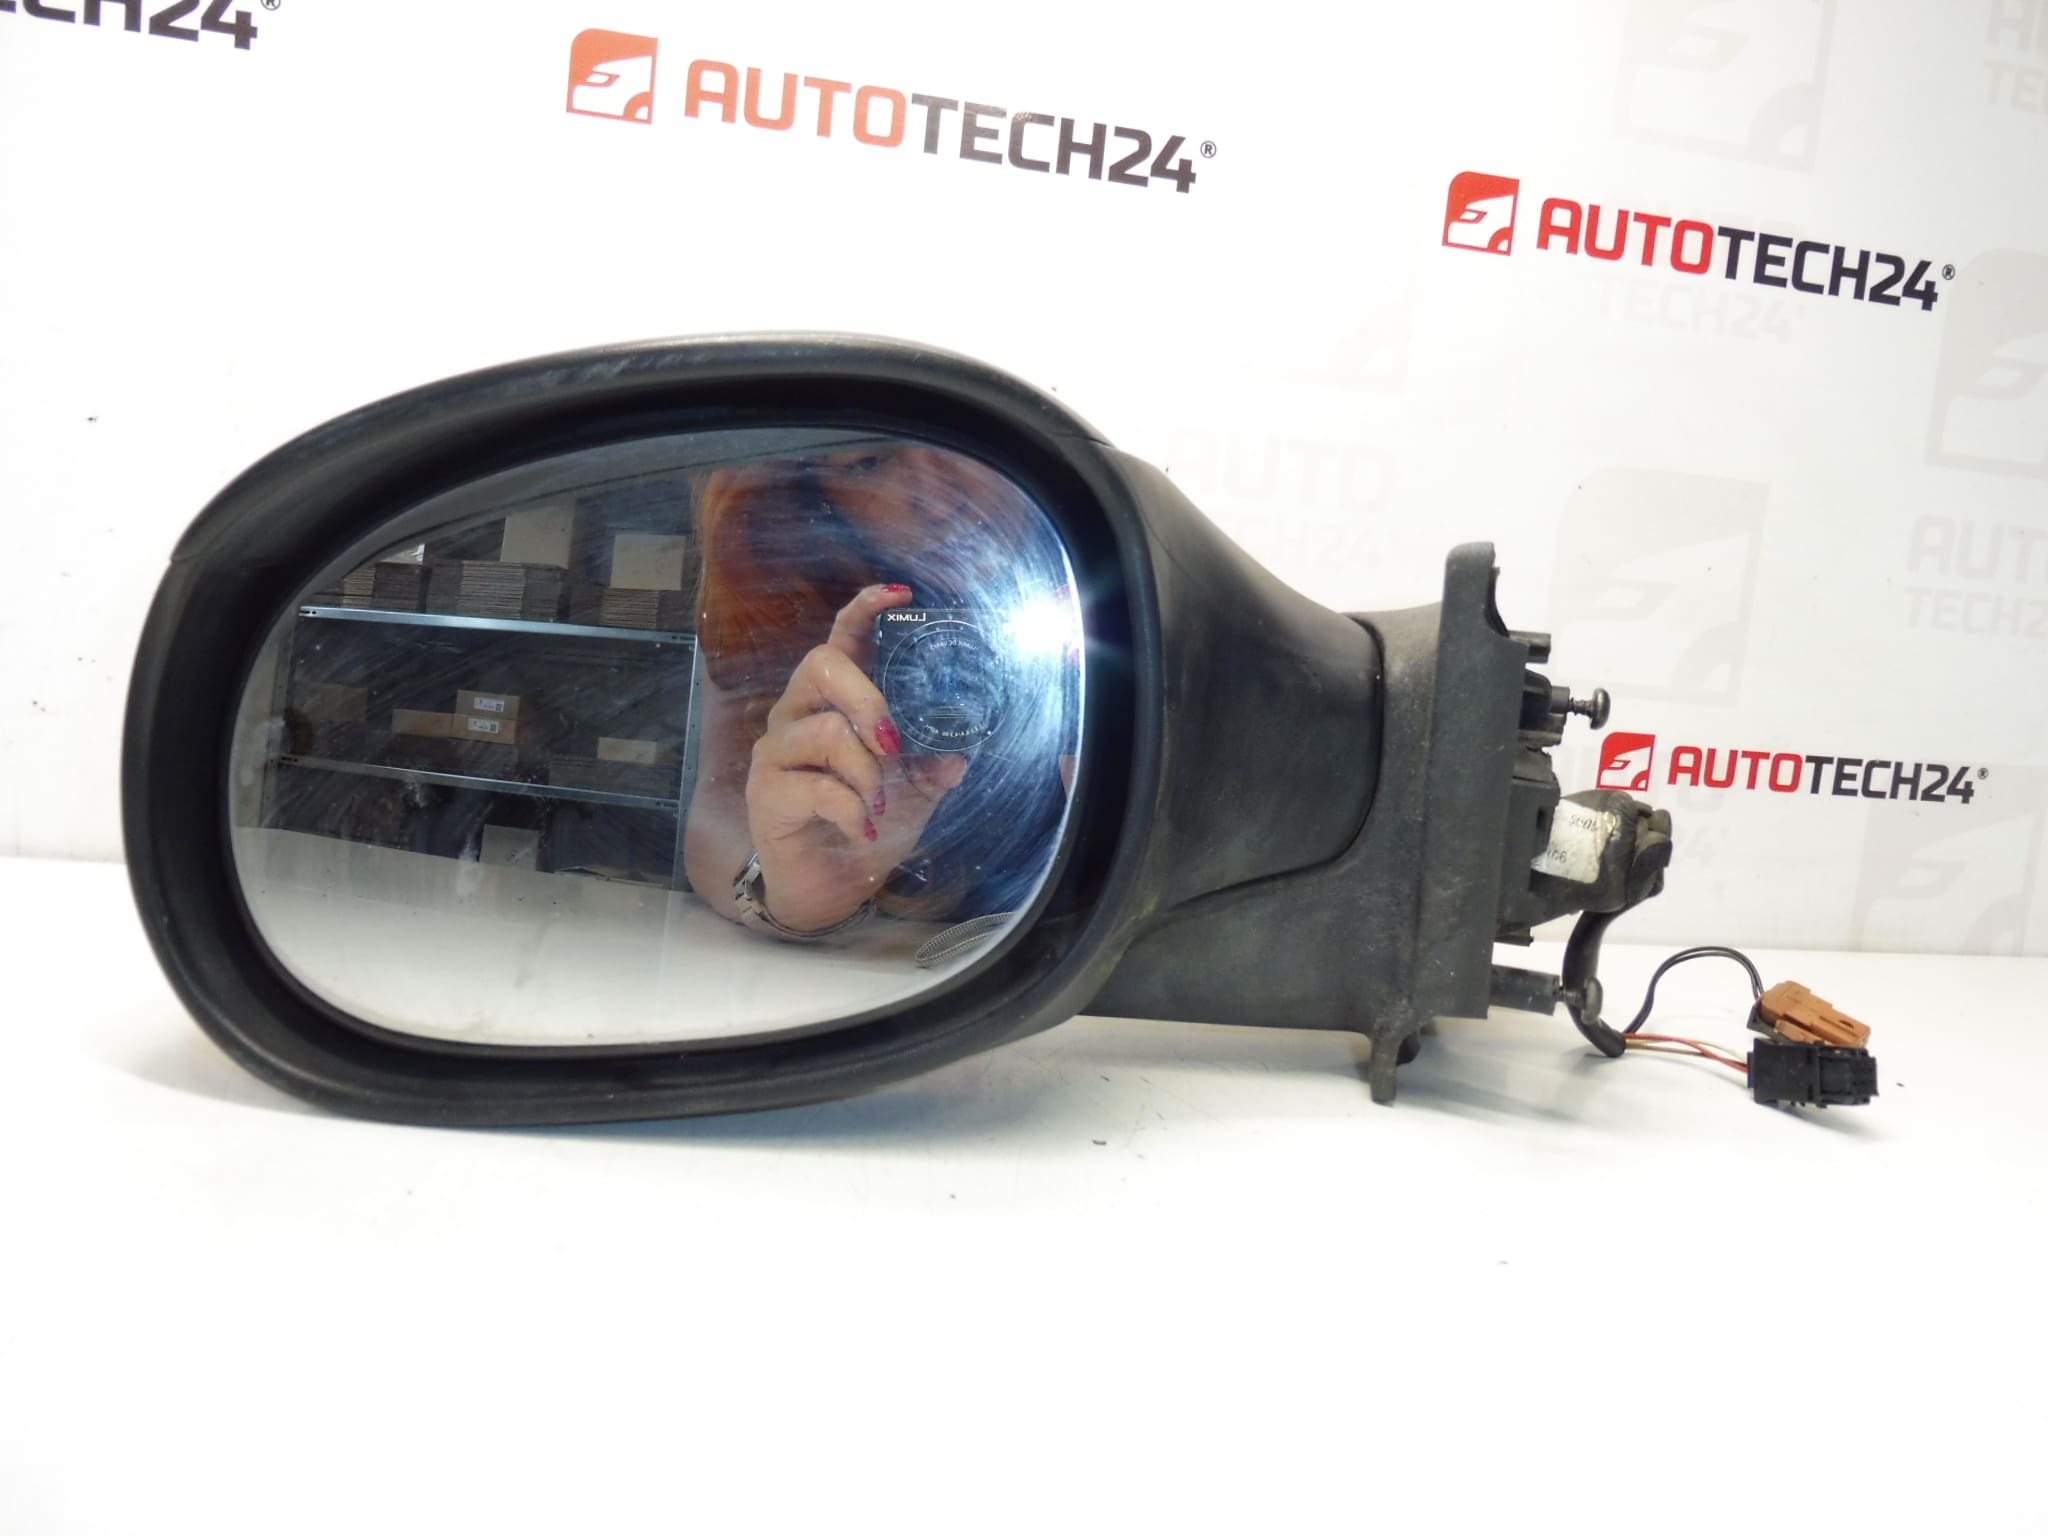
Left Driver’S Side Mirror For CITROEN C3. Electrically Operated, Heated. 5 PIN (3+2).
This left-hand exterior mirror is designed for Citroën C3 vehicles and combines electric adjustment with an integrated heating element for faster demisting. Ideal for professional garages and DIY mechanics who look up parts by reference number, this unit replaces the original driver’s side mirror assembly and restores full mirror adjustment and heating functions. Compatibility by part number makes ordering straightforward—searching for 8149RY will help you find the correct replacement quickly.
Technical Information
- Manufacturer: Citroën (Stellantis)
- Model: Citroën C3
- Product Codes: 8149RY
- Additional Numbers: 5-Pin Connector (3+2); NFP
- Side: Left / Driver’S Side
- Functions: Electric Adjustment, Heating
Fitment And Applications
Suitable for Citroën C3 models that use the 8149RY mirror assembly. This part is the driver-side (left) mirror with a 5-pin electrical connector arranged as 3+2 pins and includes the heater circuit. When ordering, use the part code 8149RY to ensure correct fitment for vehicles requiring this specific connector and function set.
Installation Recommendations
- Preparation: Park the vehicle on level ground, set the ignition off and remove the key. For safety when working with electrical connectors, open the bonnet and isolate the negative battery terminal if required by your workshop procedures.
- Removal: Remove the interior trim panel on the door to access the mirror mounting bolts. Carefully disconnect the 5-pin connector (noting alignment) and remove the fixing screws holding the mirror housing.
- Installation: Mount the new mirror, tighten the retaining bolts to secure the assembly, and reconnect the 5-pin electrical plug. Verify that the connector is fully seated and corrosion-free before reassembling the door trim.
- Testing: With the ignition on, check electric adjustment across its full range and verify the heating function (may require a few minutes to feel warm). Also check any integrated indicators or folding mechanism if present.
- Notes: If transferring the mirror glass or cover from the old unit, follow safe removal procedures to avoid breaking the glass or damaging clips.
Why This Part Most Commonly Fails
- Physical Impact: Collisions or knocks are the most frequent cause—broken housings, cracked glass, or damaged folding mechanisms.
- Wear On Actuators: Repeated adjustment and fold cycles can wear the small electric motors or gear trains, leading to sluggish or lost movement.
- Water Ingress And Corrosion: Moisture entering the connector or mirror body can corrode pins and contacts, causing intermittent or permanent electrical failure (heater or adjustment).
- Wiring Fatigue: Cable harnesses routed through the door hinge area can chafe and break over time, producing loss of function or short circuits.
- Heating Element Failure: The demist/heating element can fail due to electrical faults or corrosion, reducing visibility in cold or wet conditions.
Replacing a faulty mirror with a correct 8149RY unit restores safety and functionality—electric adjustment and heating are important for visibility and convenience. For mechanics and DIYers, using the exact part code and checking connector pin condition during installation reduces the chance of rework.