Description
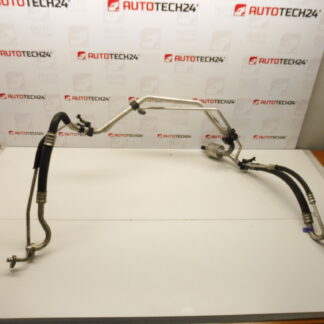
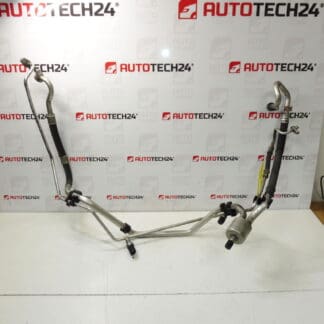
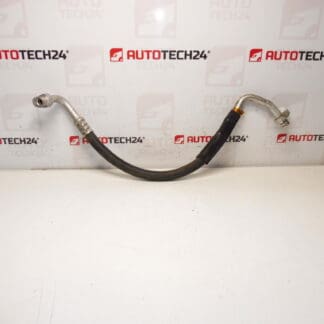
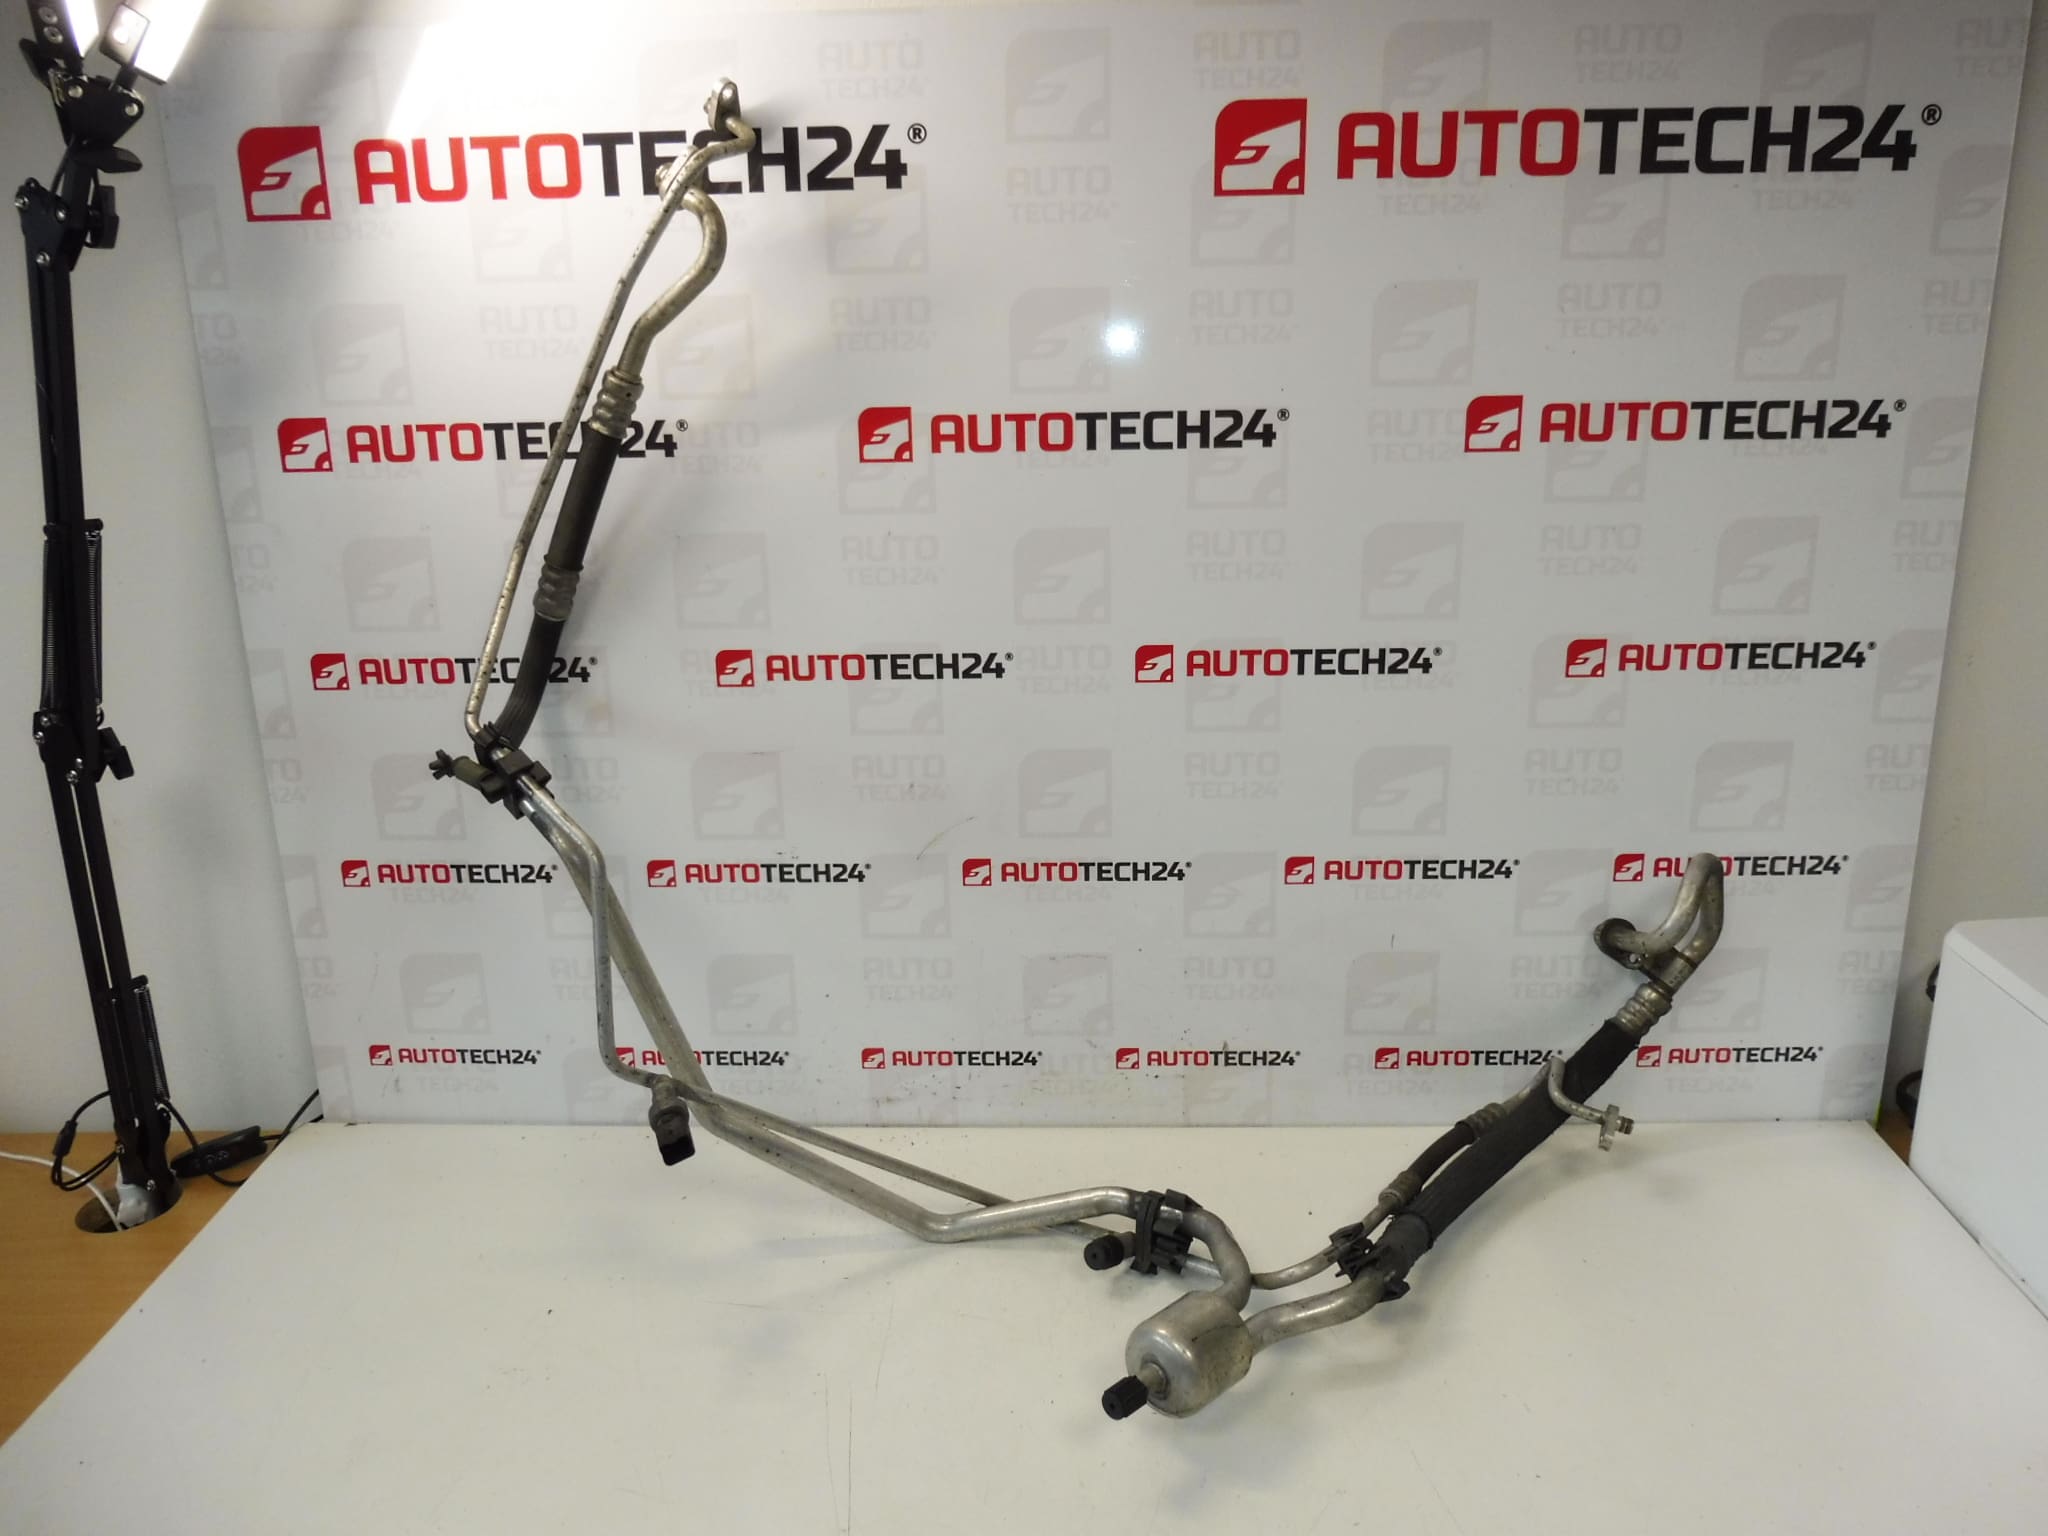
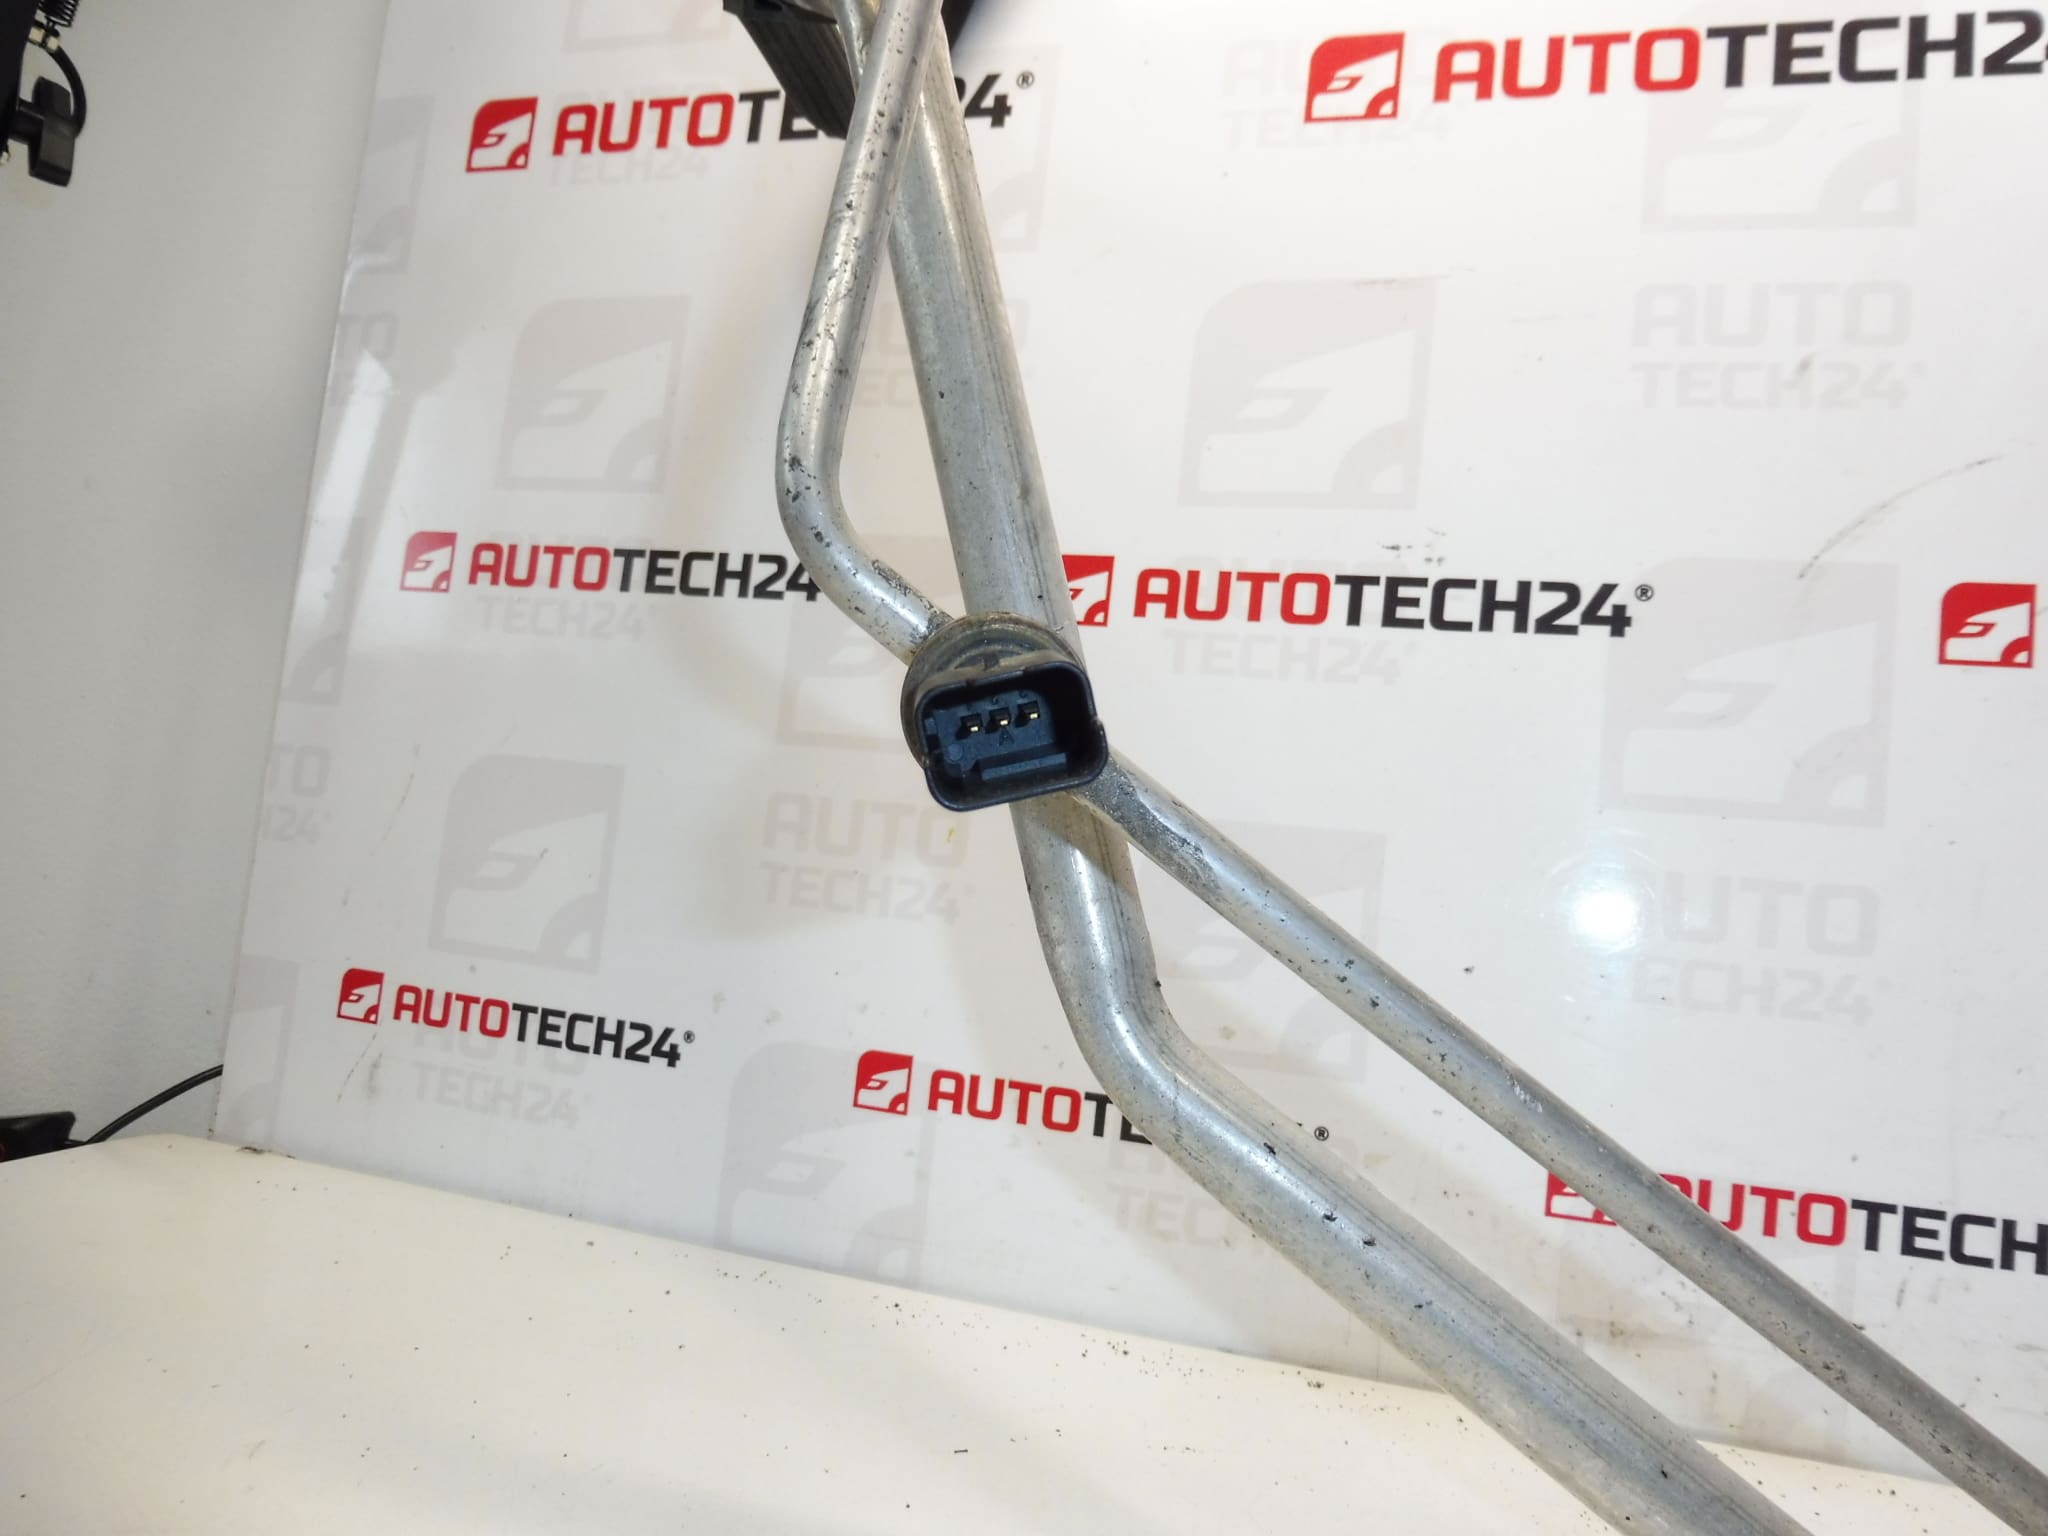
Air conditioning pipe for PEUGEOT 308, 3008, 5008, RCZ and CITROËN C4, C4 II, C4 PICASSO
This genuine-style air conditioning pipe is designed as a direct-fit replacement for a range of Peugeot and Citroën models. Ideal for professional workshops and experienced DIY technicians, the pipe restores proper refrigerant routing and system integrity after damage or degradation. Frequently searched by OE numbers, this part provides a reliable repair option when the original line is cracked, corroded or leaking at connections. Using the correct replacement pipe helps maintain system pressure, reduces risk of compressor damage and ensures efficient cabin cooling.
Technical Information
- Manufacturer: Stellantis (Peugeot / Citroën)
- Model: Peugeot 308, 3008, 5008, RCZ; Citroën C4, C4 II, C4 Picasso
- Product Codes: 9684755680, 6477H8
- Other Numbers: Commonly referenced under OE numbers 9684755680 / 6477H8
Installation Recommendations
Replacement of an air conditioning pipe should be performed by a qualified technician or an experienced DIYer with the correct tools. Recommended steps:
- Recover Refrigerant: Evacuate and recover refrigerant using approved recovery equipment in accordance with local regulations.
- Depressurize System: Ensure the system is fully depressurized before opening any fittings.
- Access And Remove: Gain access to the faulty pipe (may require removal of engine covers, intake components or battery depending on model). Loosen and remove fittings at both ends, retaining any reusable brackets if undamaged.
- Replace Seals: Always replace O-rings/seals at each connection with new, correct-size refrigerant-rated O-rings lubricated with the correct PAG oil type.
- Install Pipe: Fit new pipe and torque fittings to manufacturer specification to avoid leaks or deformation.
- Vacuum And Recharge: Evacuate system to required vacuum level, perform leak check, then recharge with the correct refrigerant type and oil quantity per vehicle specification.
- Functional Test: Run the A/C system, check pressures and verify cooling performance and leak-free operation.
Always follow manufacturer safety procedures. Wear protective gloves and eye protection when working with refrigerant and pressurized systems.
Why This Part Most Often Fails
Air conditioning pipes commonly fail due to a combination of factors: corrosion from road salts or moisture on metal sections, mechanical damage from impacts or debris, and seal/O-ring deterioration at connection points. Vibration and thermal cycling over years can lead to fatigue at bends or joints. In vehicles exposed to harsh climates or where the pipe routing is close to moving components, the risk of chafing or puncture increases. When a leak develops, the system loses refrigerant and oil, which can quickly lead to compressor overheating and reduced cooling performance.
Practical Notes
OE Part Numbers Are Often Used By Technicians When Searching For This Component. When replacing, ensure you fit new O-rings and follow correct evacuation/recharge procedures to protect the rest of the A/C system. This pipe is commonly fitted across several Peugeot and Citroën models listed above and is a standard repair item in cooling, heating and air conditioning maintenance.