Description
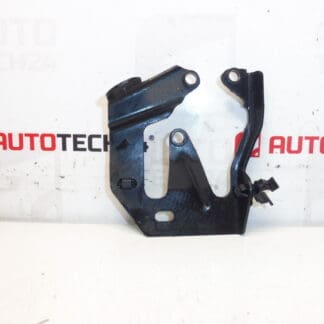
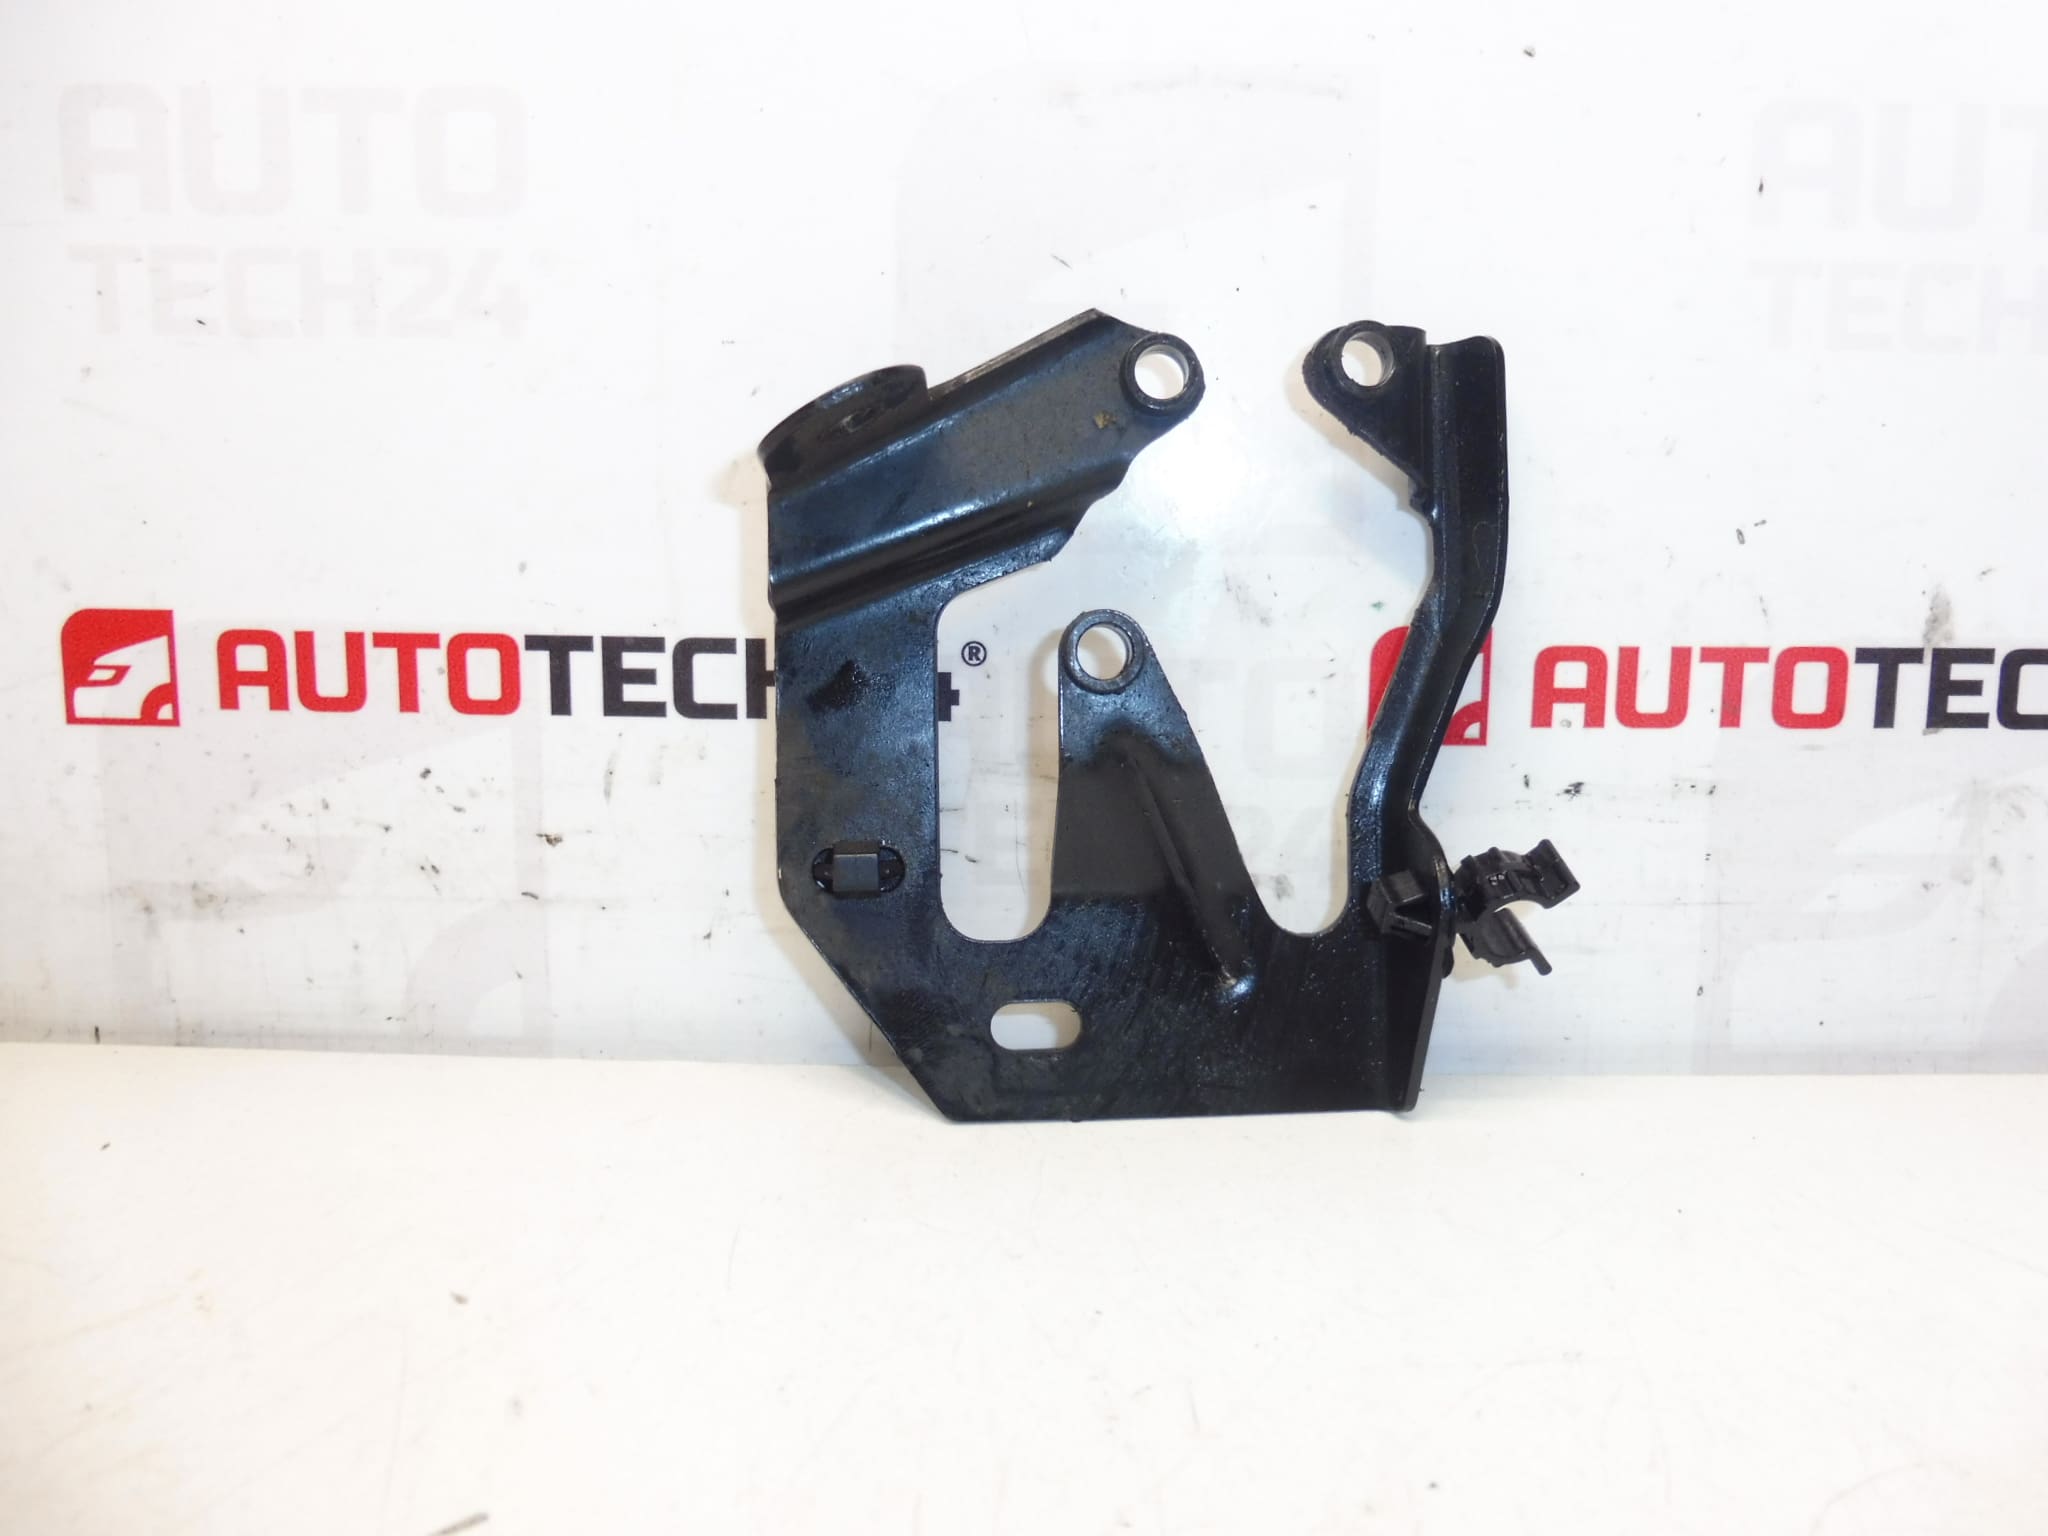
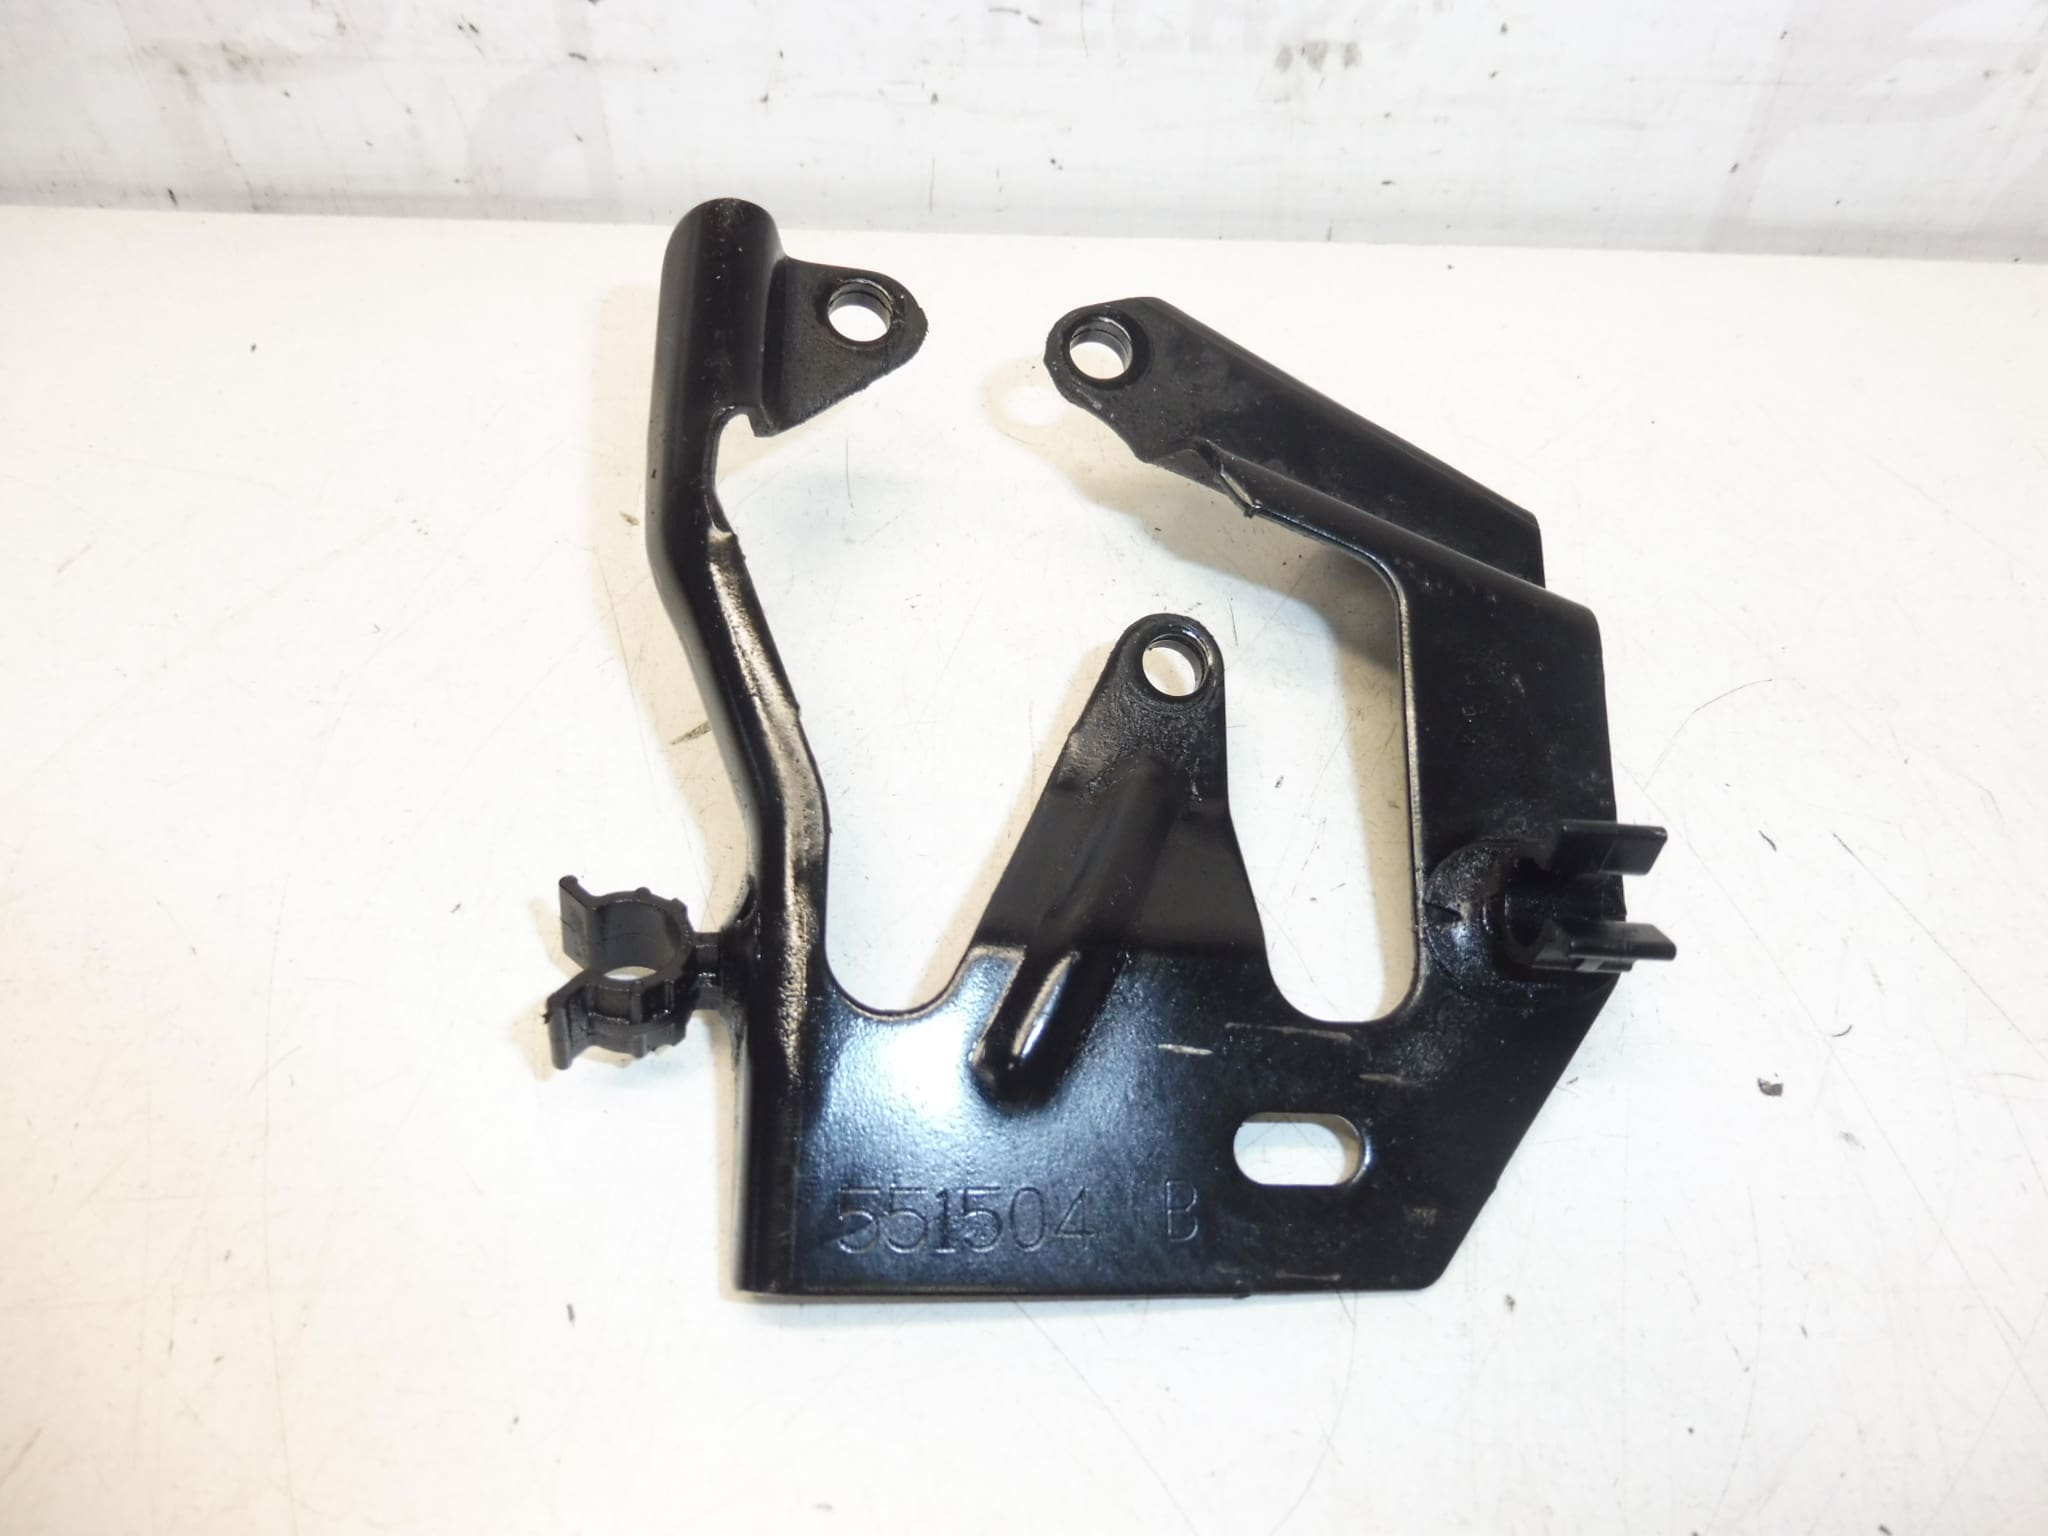
Rear Mounting Bracket For The Injection Pump Of 1.4 HDi And 1.6 HDi Engines
This rear mounting bracket is designed to secure the injection pump on PSA 1.4 HDi and 1.6 HDi diesel engines. Built to restore correct positioning and alignment of the high-pressure pump, the bracket is a direct-fit replacement for a range of Citroën and Peugeot models. Supplied under product code 192666, it is a common spare part sought by mechanics and DIY enthusiasts when the original bracket is bent, corroded or damaged after impact or pump seizure.
Technical Information
- Manufacturer: Stellantis
- Model: Citroën And Peugeot 1.4 HDi / 1.6 HDi Applications
- Product Codes: 192666
- Other Numbers: NFP
Compatible Models
Typical fitment includes, but may not be limited to: Citroën Berlingo, Citroën C3, Citroën C3 Picasso, Citroën C4, Citroën C4 Picasso, Citroën C5, Citroën C5 X7, Citroën Xsara, Citroën Xsara Picasso, Peugeot 307, Peugeot Partner.
Function
The bracket holds the rear of the injection pump in the correct position relative to the engine block and timing/drive components. It maintains alignment under torque loads from the fuel pump and prevents movement that could cause misalignment of pump drive, fuel line stress or premature wear of seals and couplings.
Replacement Procedure
- Park Vehicle On A Level Surface And Allow Engine To Cool.
- Support The Injection Pump Or Engine As Required To Prevent Movement When Bracket Is Removed.
- Remove Any Obstructing Covers Or Components To Access The Rear Of The Pump.
- Loosen And Remove Fasteners Securing The Bracket To The Engine Block And Pump.
- Inspect Mounting Faces, Bolt Threads And Pump Flange For Damage Or Corrosion.
- Fit The New Bracket In The Correct Orientation, Refit Fasteners And Tighten To Manufacturer Specification.
- Reassemble Removed Components And Start Engine To Check For Secure Mounting And Absence Of Unusual Vibration Or Noise.
Installation Recommendations
- Follow Manufacturer Torque Specifications And Tightening Sequence. If Torque Values Are Unknown, Refer To Workshop Manual.
- Always Support The Pump Or Engine So That The Bracket Is Fitted Without Strain On The Pump Flange.
- Inspect And Replace Damaged Fasteners Or Studs. Use Correct Grade Bolts And Clean Threads Before Installation.
- Check Surrounding Components Such As Engine Mounts And Pump Couplings That Could Transfer Excessive Loads To The Bracket.
- Suitable For Experienced DIYers; For Uncertain Cases Seek Professional Workshop Assistance.
Why This Part Fails Most Often
- Corrosion And Rust From Long-Term Exposure, Especially In Regions With Road Salt.
- Fatigue Cracks Caused By Excessive Vibration Or Repeated Load Cycles, Often As A Secondary Effect Of Worn Engine Mounts.
- Mechanical Damage From Impact Or Accidents That Bend Or Fracture The Bracket.
- Seizure Or Excessive Torque From A Faulty Injection Pump Causing The Bracket To Deform.
- Damaged Or Stripped Mounting Threads That Compromise Secure Fixing.
Order This Rear Mounting Bracket With Product Code 192666 To Restore Correct Pump Alignment And Reduce Risk Of Fuel System Stress And Premature Wear. Ideal For Professional Garages And Skilled Self-Repair Enthusiasts Working On Citroën And Peugeot 1.4 HDi And 1.6 HDi Engines.