Description
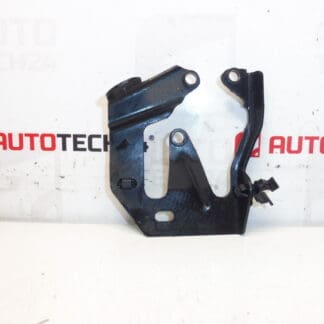
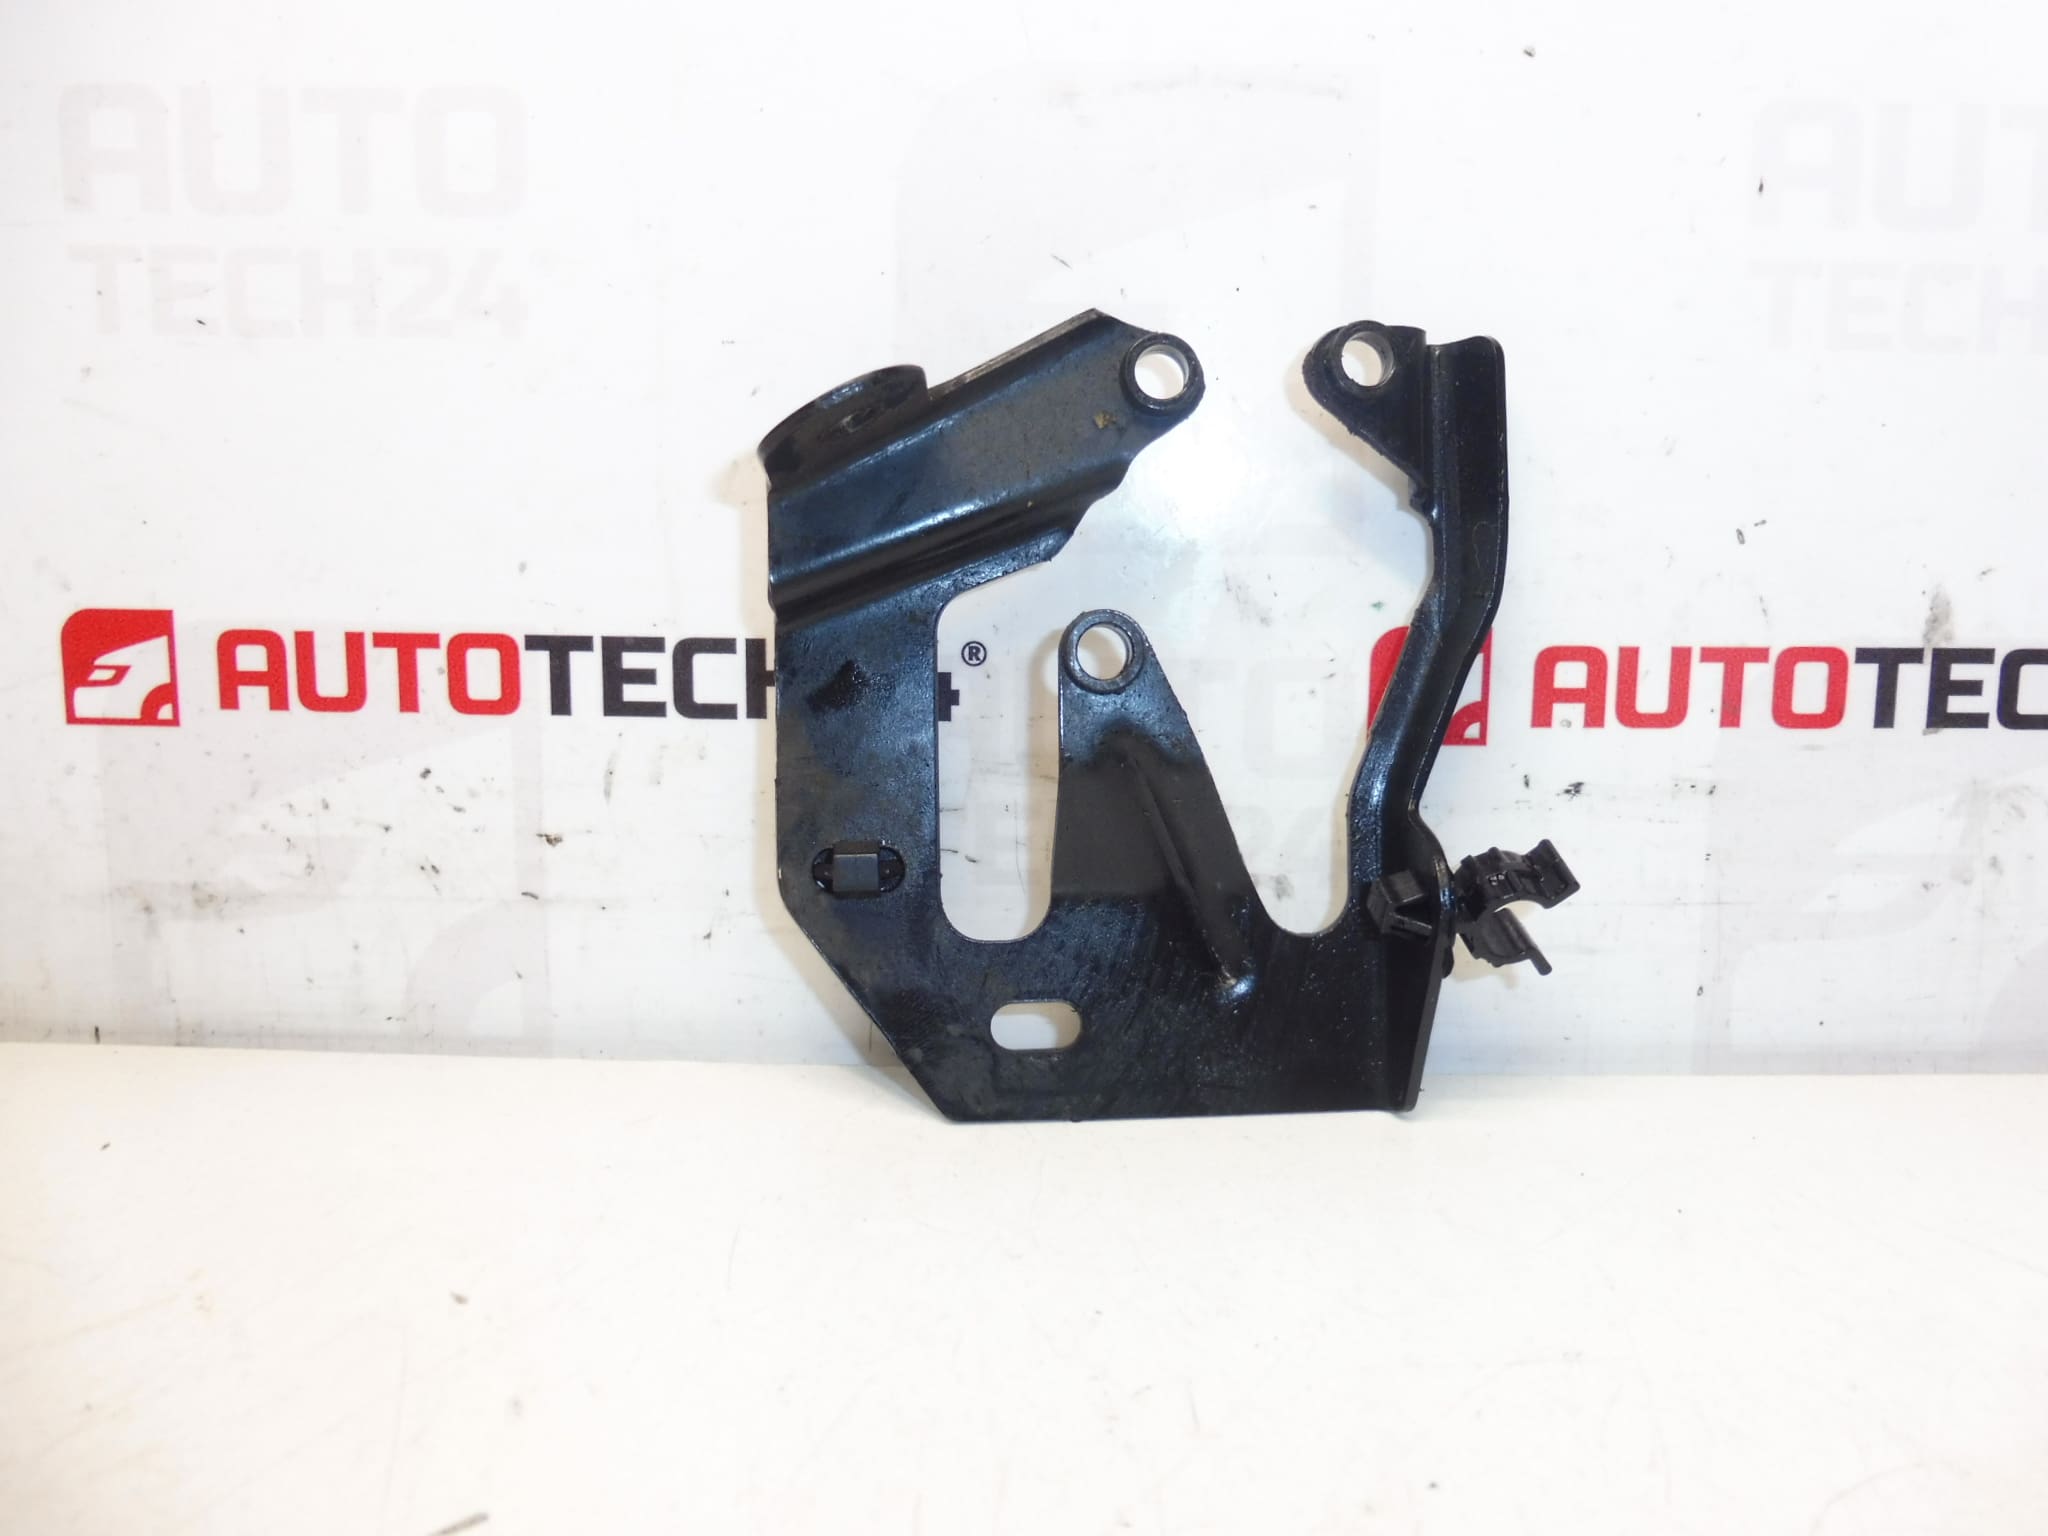
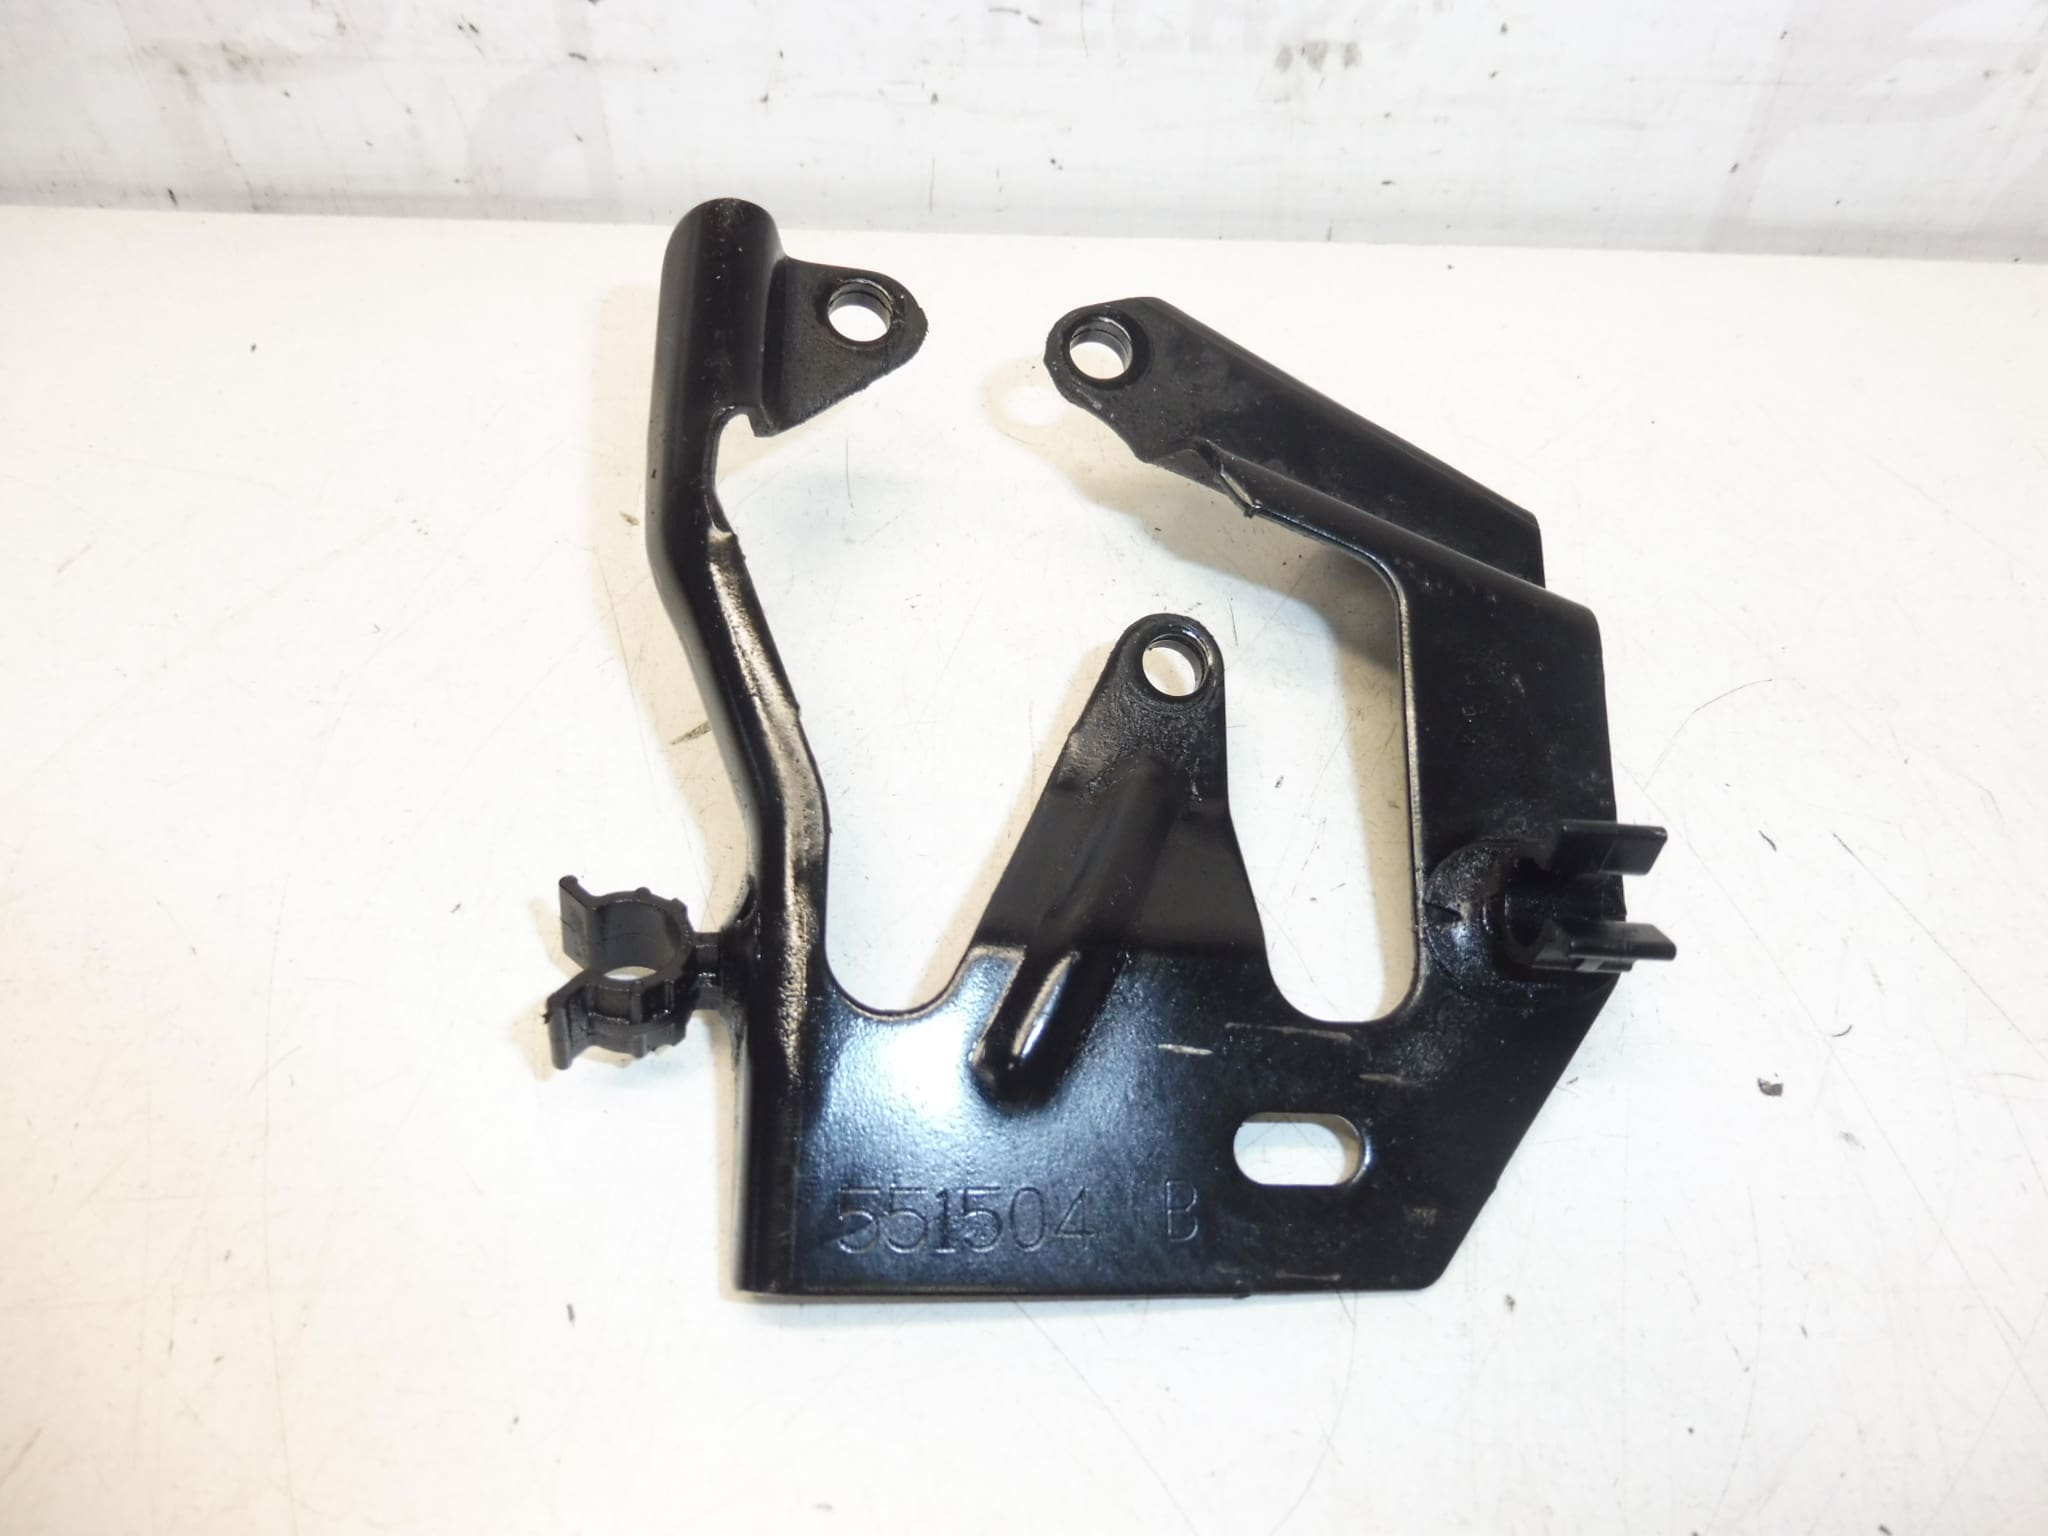
Rear injection pump holder for 1.4 HDI and 1.6 HDI engines
Part description
This used car part for Citroën and Peugeot cars serves as a rear injection pump holder. It is an important part of the attachment, which helps to ensure the correct position of the pump and the stability of its installation in the engine compartment. When replacing a damaged or worn holder, it is important to maintain the correct fit of the part and carefully compare the design with the old piece.
The part is also searched by the designation 192666, or 192666 NFP. Fits 1.4 HDI and 1.6 HDI engines on selected PSA models. For mechanics and home repairs, this part is a suitable choice where it is necessary to restore the firm attachment of the injection pump without unnecessary modifications.
Technical information
- Manufacturer: Stellantis Citroën Peugeot
- Model: Citroën Berlingo, Citroën C3, Citroën C3 Picasso, Citroën C4, Citroën C4 Picasso, Citroën C5, Citroen C5 X7, Citroen Xsara, Citroën Xsara Picasso, Peugeot 307, Peugeot Partner
- Other numbers: 192666 NFP
Product codes
Product codes: 192666, 192666 NFP
Installation recommendations
Generally/typically for this type of part, the exact replacement procedure may vary depending on the specific car model, engine design and access to the mount. Below is a safe and practical general procedure for replacing the bracket in the engine compartment.
1) Before assembly
- Carefully compare the new and original part – shape, orientation, attachment points and overall design.
- Check that the bracket is not cracked, bent or excessively corroded.
- Check the condition of the seating surfaces and surrounding fasteners.
- Before starting work, disconnect the battery if the nature of the intervention in the engine compartment requires it.
2) Necessary tools and materials
- A common set of hand tools
- Ratchet and matching head
- Extensions and joints for hard-to-reach places
- Cleaning agent for metal surfaces
- Rags or shop towels
- Work lighting
3) Step-by-step assembly procedure
- Secure the vehicle against movement and prepare a work area.
- Remove covers or other obstructions that prevent access to the bracket as needed.
- Visually check the area around the bracket and note the position of the original part.
- Carefully loosen the fasteners of the old bracket.
- Dismantle the original bracket and check that there is no dirt or deformation left on the contact surfaces.
- Clean the contact surfaces and check the condition of the threads and attachment points.
- Place the used bracket in place and verify that it fits snugly without tension or force-fitting.
- Put the fasteners on by hand first to avoid damaging the thread.
- Set the holder in the correct position and gradually tighten it evenly.
- Check that there is no contact with surrounding parts after assembly and that the attachment is stable.
- Reinstall all removed covers and related parts.
- Perform a final visual inspection of the entire repair area.
-
4) Post-assembly checks and test drive/function verification
- Check that the bracket is firmly seated and does not move anywhere.
- Verify that there are no loose parts or signs of contact with other parts in the vicinity.
- After starting, watch for vibrations, unusual sounds or changes in operation in the mounting area.
- After a short test drive, perform a visual check of the fit again.
5) The most common assembly mistakes + how to avoid them
- Part exchange – always compare the part number and design.
- Mounting on dirty surfaces – clean everything thoroughly before installation.
- Cross fitting of screws – always grab the threads by hand first.
- Force seat of the holder – if the part does not fit naturally, recheck the orientation and fit.
- Omission of the final inspection – always check the stability and space around the part after assembly.
Reasons why the part is damaged
- Long-term engine vibrations and normal operating stress
- Corrosion and aging of material
- Mechanical damage during disassembly or previous repair
- Incorrect attachment or installation under stress
- Damage to threads or attachment points around the holder