Description
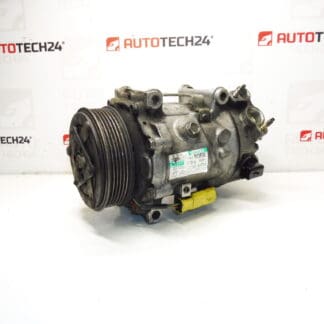
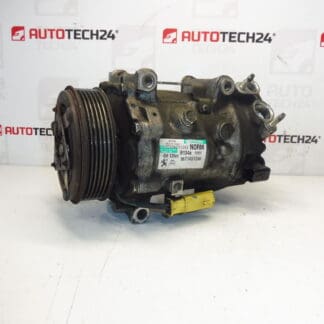
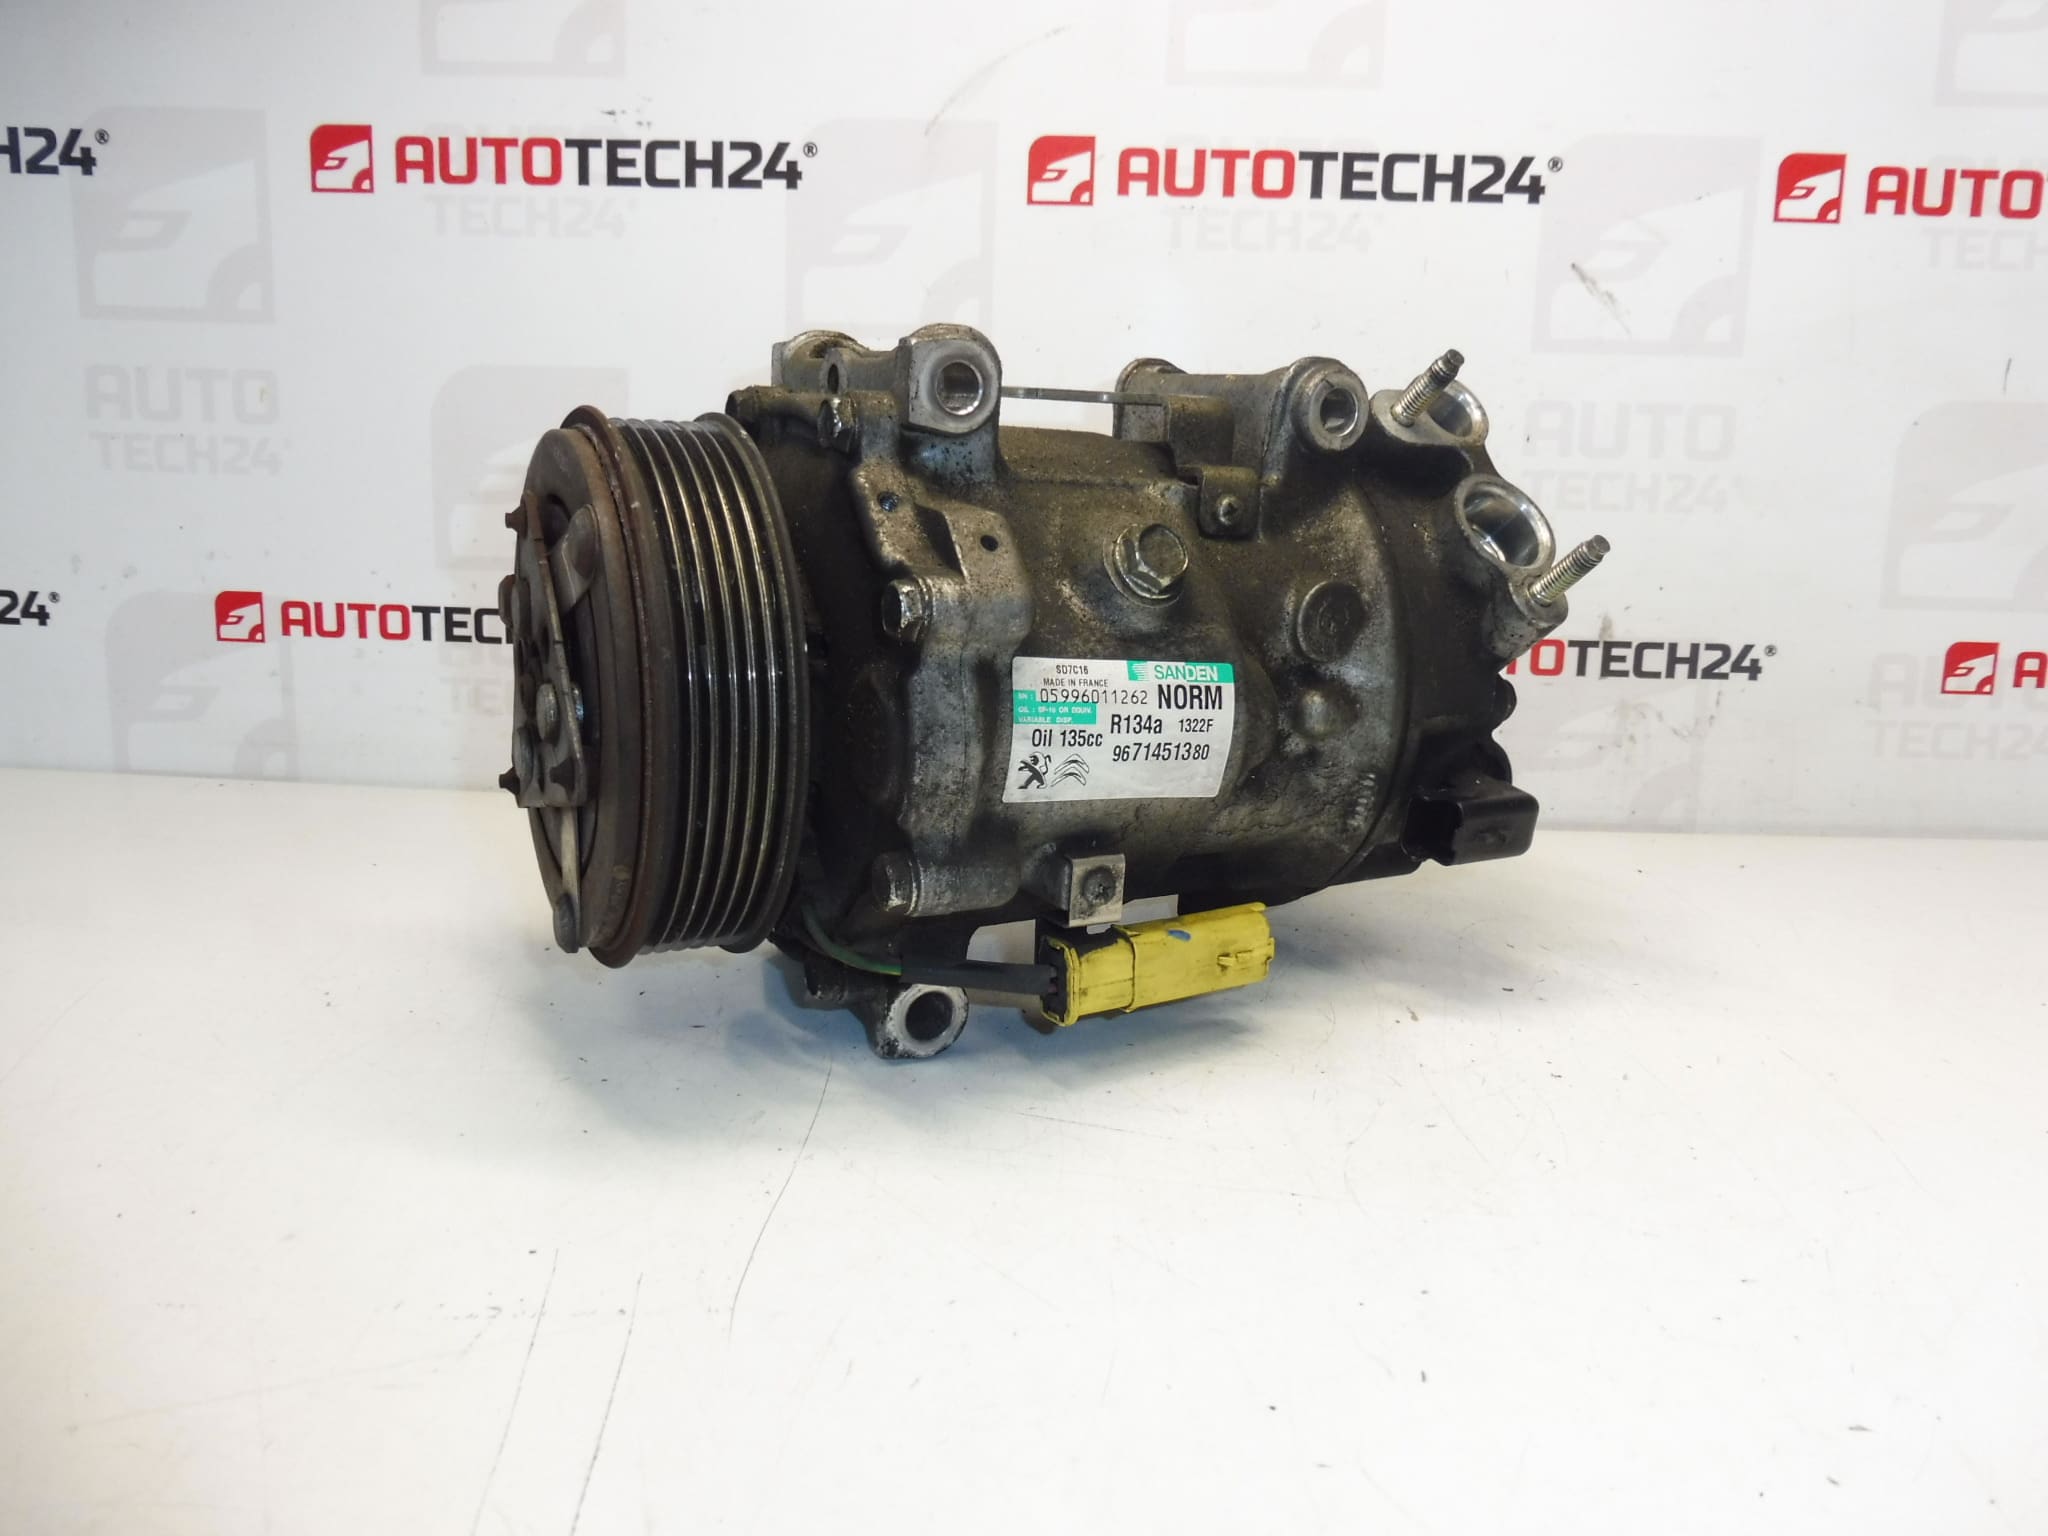
Air Conditioning Compressor for Citroën and PEUGEOT vehicles.
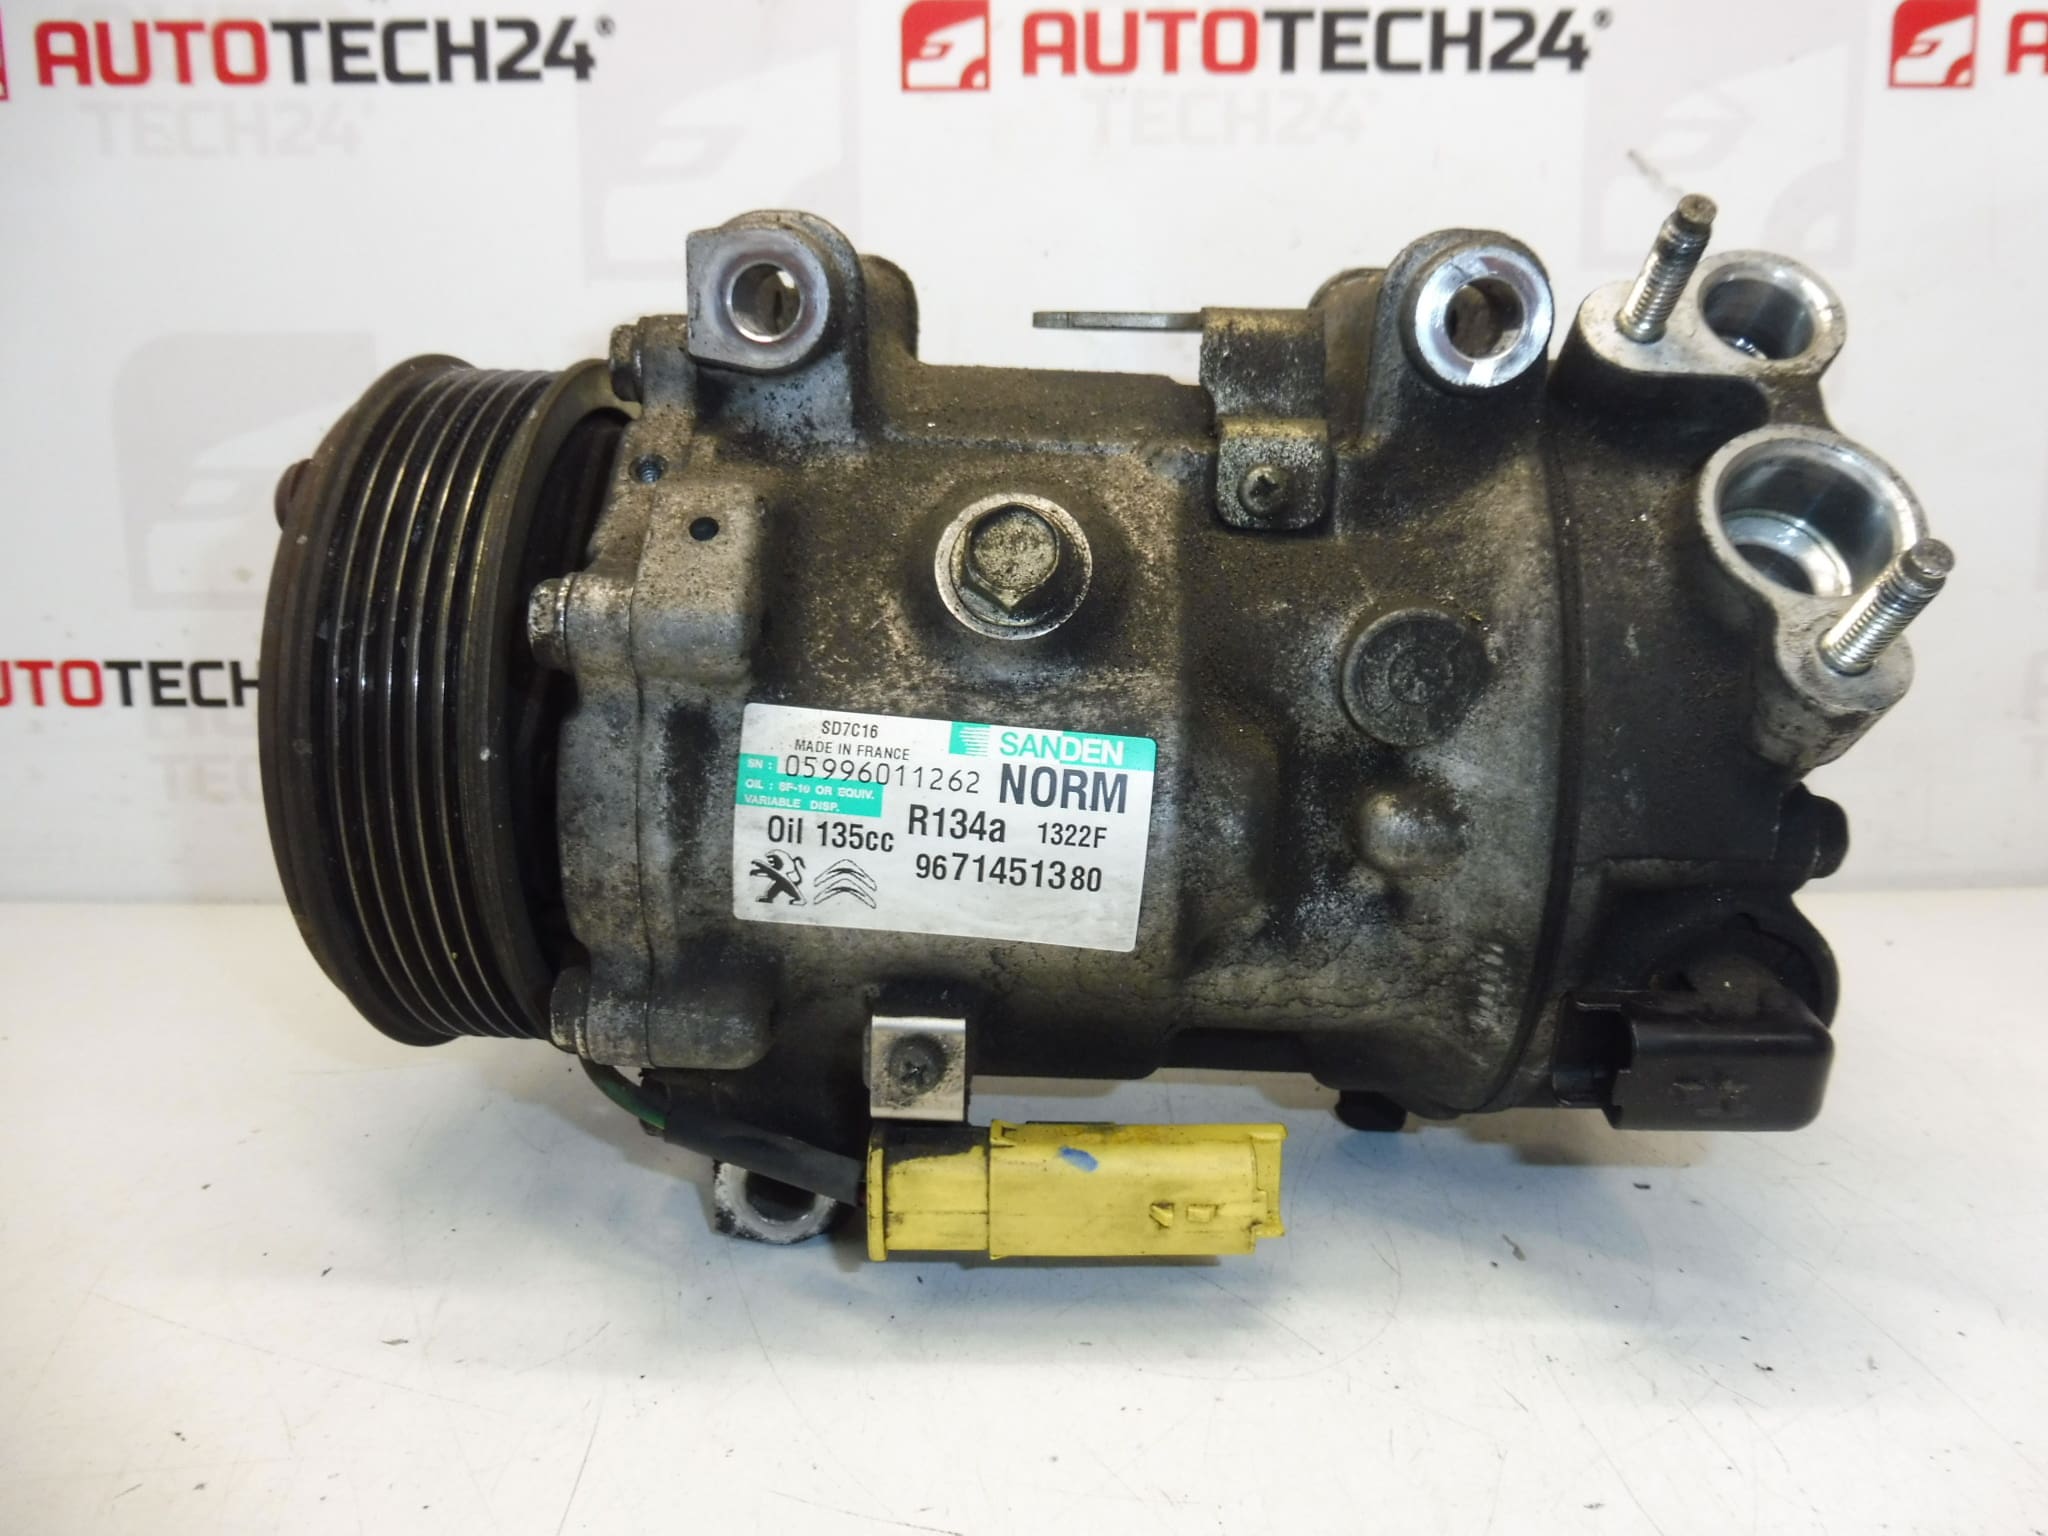
This Sanden SD7C16 air conditioning compressor is specified for a range of Stellantis Citroën and Peugeot models and is commonly identified by OE numbers 9671451380, 9825869180 and reference codes 1322F / 6453ZS. Designed for professional workshops and experienced DIY mechanics, this compressor restores cold performance in factory air conditioning systems and is an exact-fit replacement for compatible PSA applications. Searches are often made by product number, so the listed OE and reference codes help quickly find the right unit.
Technical Information
- Manufacturer: Sanden (for Stellantis applications)
- Model: SD7C16
- Product Codes: 9671451380, 9825869180
- Additional Numbers: 1322F, 6453ZS
- Applications: Citroën C4 II, Citroën C4 Picasso, Citroën C5 (X7 / III), DS4, DS5, Peugeot 3008 I, Peugeot 308, Peugeot 407, Peugeot 5008 I, Peugeot 508
How It Works
The compressor pumps refrigerant through the air conditioning circuit, compressing low-pressure vapor into high-pressure gas so the condenser can dissipate heat and the evaporator provide cooled air. The clutch engages the compressor from the engine drive belt under demand, and internal bearings and seals allow continuous operation at engine speeds.
Typical Lifetime And Failure Modes
Compressor lifespan depends on usage, maintenance and the condition of the AC system. In practice compressors often remain serviceable for many years but commonly fail after heavy use or when the system has contamination or moisture. Typical failure causes include bearing wear, clutch/coils failure, internal contamination from a failed component (e.g., expansion valve or receiver-drier), oil loss or refrigerant leakage. Symptoms of a failing compressor include noise from the compressor area, reduced cooling performance, or complete loss of compressor engagement.
Installation Recommendations
- Recover refrigerant with appropriate certified equipment before starting any work.
- Replace the receiver-drier/accumulator and, if accessible, the expansion valve when replacing the compressor to avoid contamination and moisture in the system.
- Flush the system to remove debris and old oil; fit the correct type and amount of PAG oil specified for the vehicle.
- Check and, if necessary, replace the drive belt and inspect belt tensioner and pulleys.
- After installation, perform a full vacuum and leak test, then charge the system to the vehicle manufacturer’s refrigerant specification.
- Torque mounting and clutch fasteners to manufacturer values and ensure proper electrical connections to the clutch coil.
- If you are not experienced with A/C service, have the replacement performed by a qualified workshop with the correct service tools.
How To Replace (High-Level)
- Recover refrigerant using approved recovery equipment.
- Disconnect battery negative terminal as a safety precaution.
- Remove drive belt and any components blocking access to the compressor.
- Disconnect electrical connector and refrigerant lines (cap and seal openings immediately).
- Unbolt the compressor and remove from vehicle. Compare OE numbers and mounting points to ensure match.
- Install new compressor, fit new seals on lines, replace receiver-drier, and reassemble belt and components.
- Evacuate, leak-test and charge system to specification. Verify operation and check for unusual noise or leaks.
Why This Part Is Often Searched By Number
Air conditioning compressors for PSA vehicles are commonly cross-referenced across multiple OE and supplier numbers. Technicians and DIYers typically search by OE codes such as 9671451380 or 9825869180 to ensure exact fit and compatibility. Including both manufacturer and reference numbers in the listing speeds up identification and reduces installation errors.
Ideal for workshops and experienced home mechanics who need a direct-fit Sanden SD7C16 compressor for Citroën and Peugeot air conditioning systems. Check the OE/reference numbers when selecting to match exact application.