Description
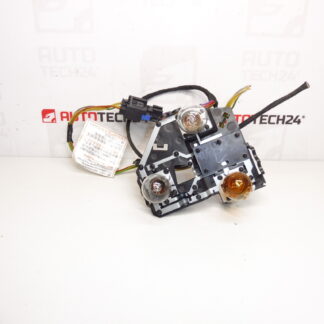
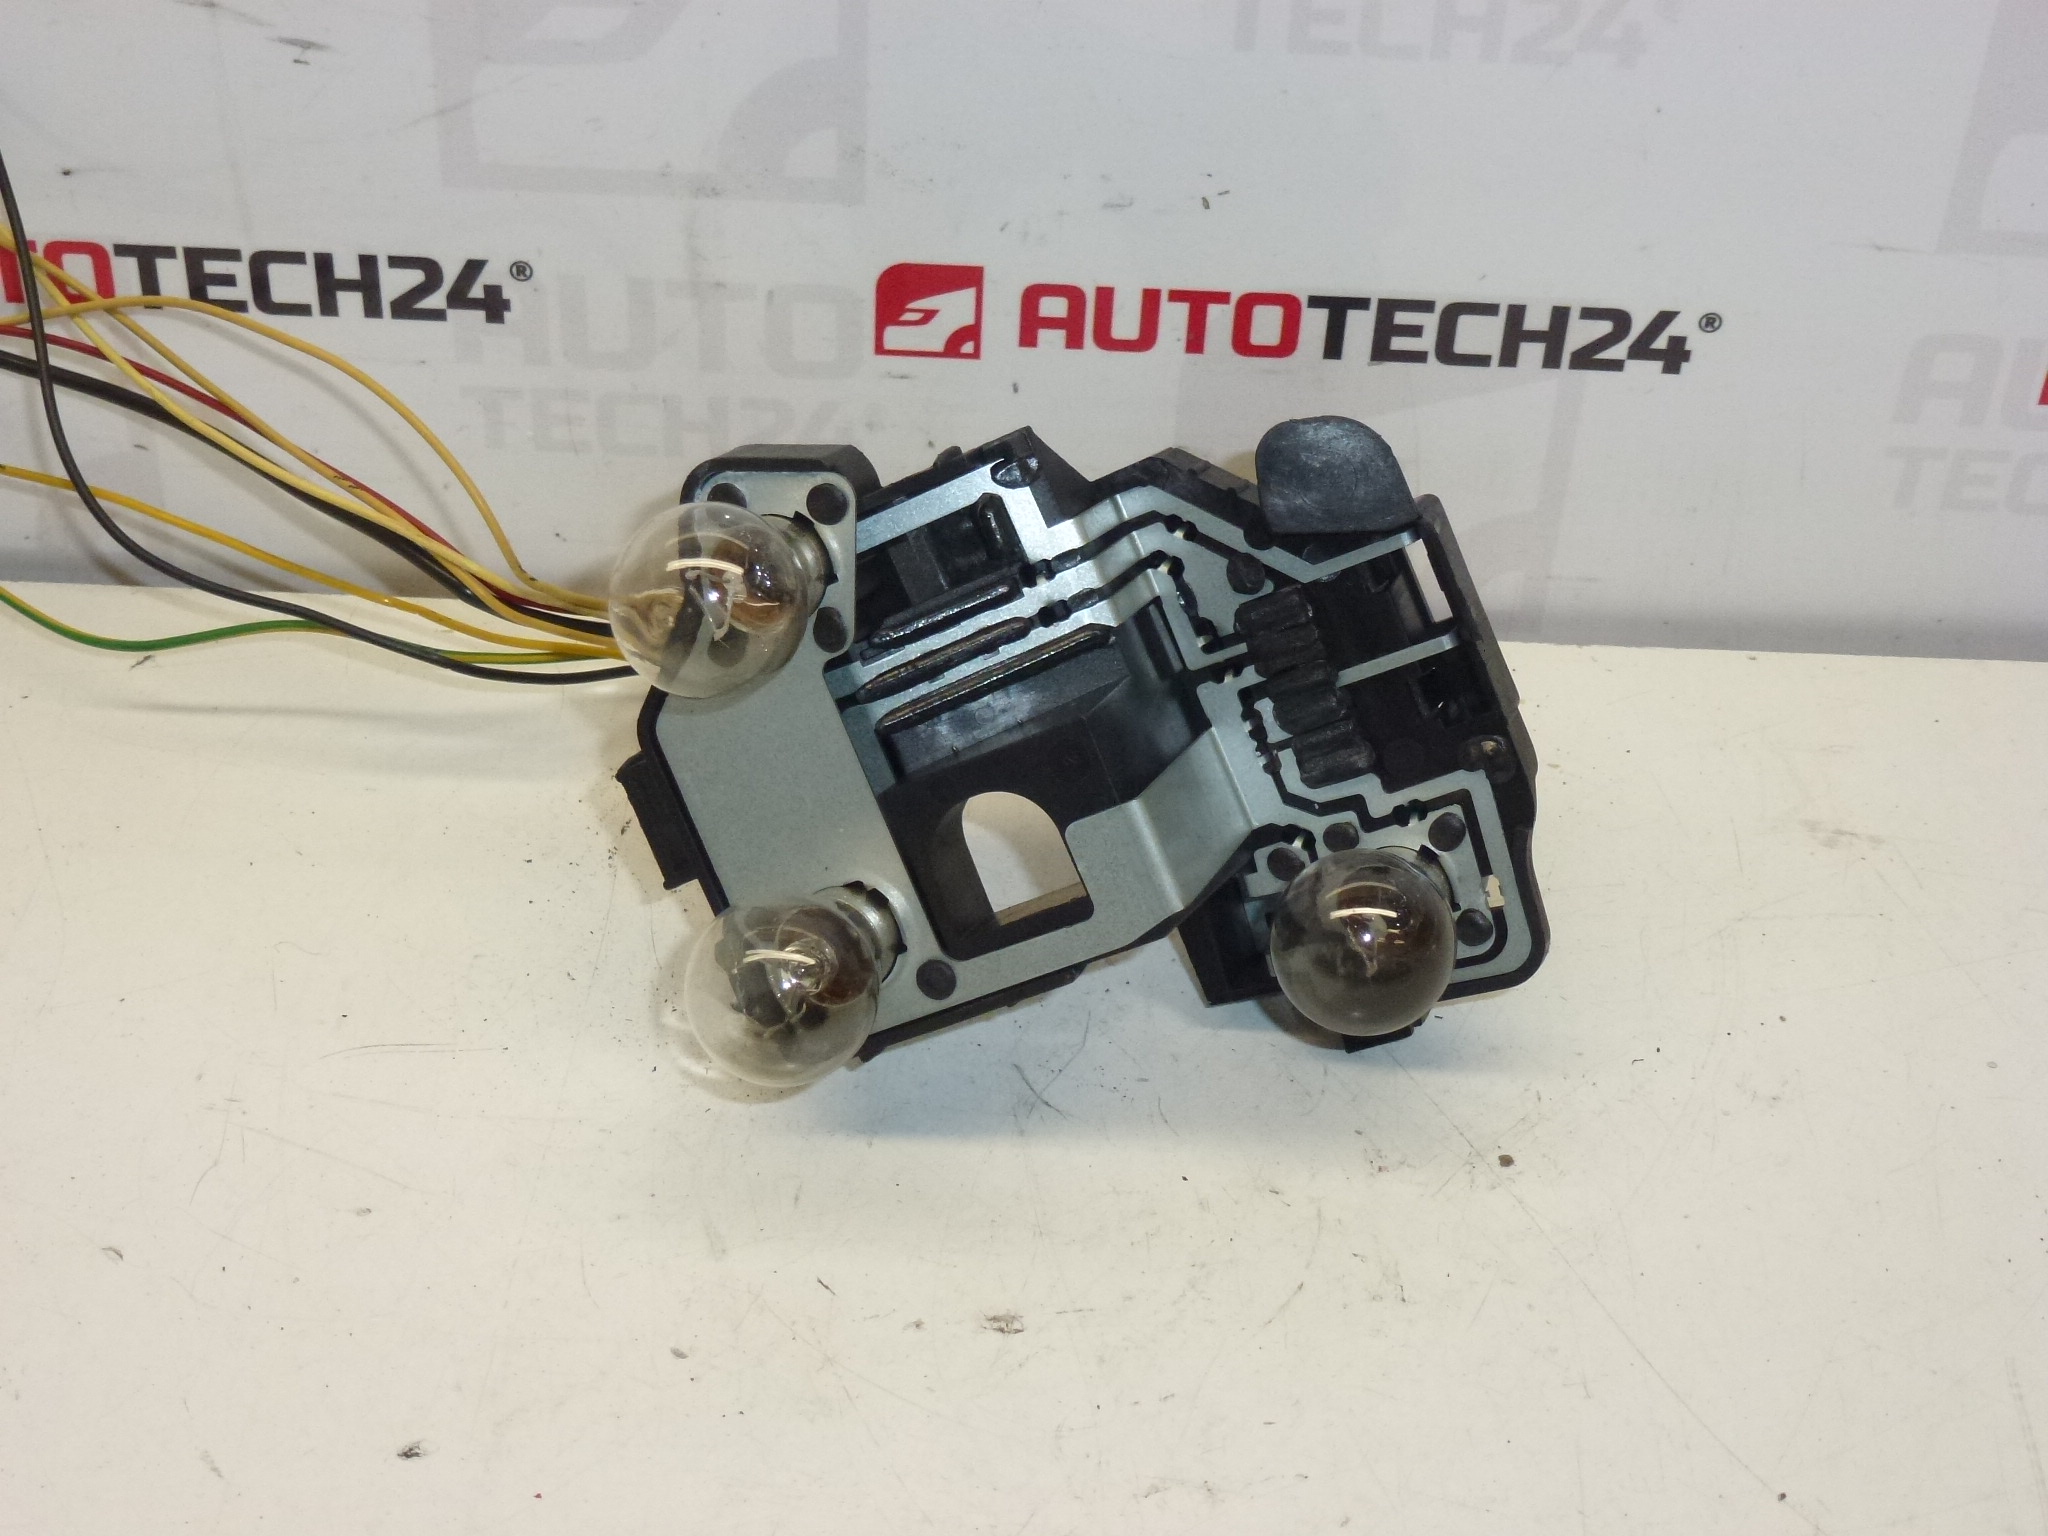
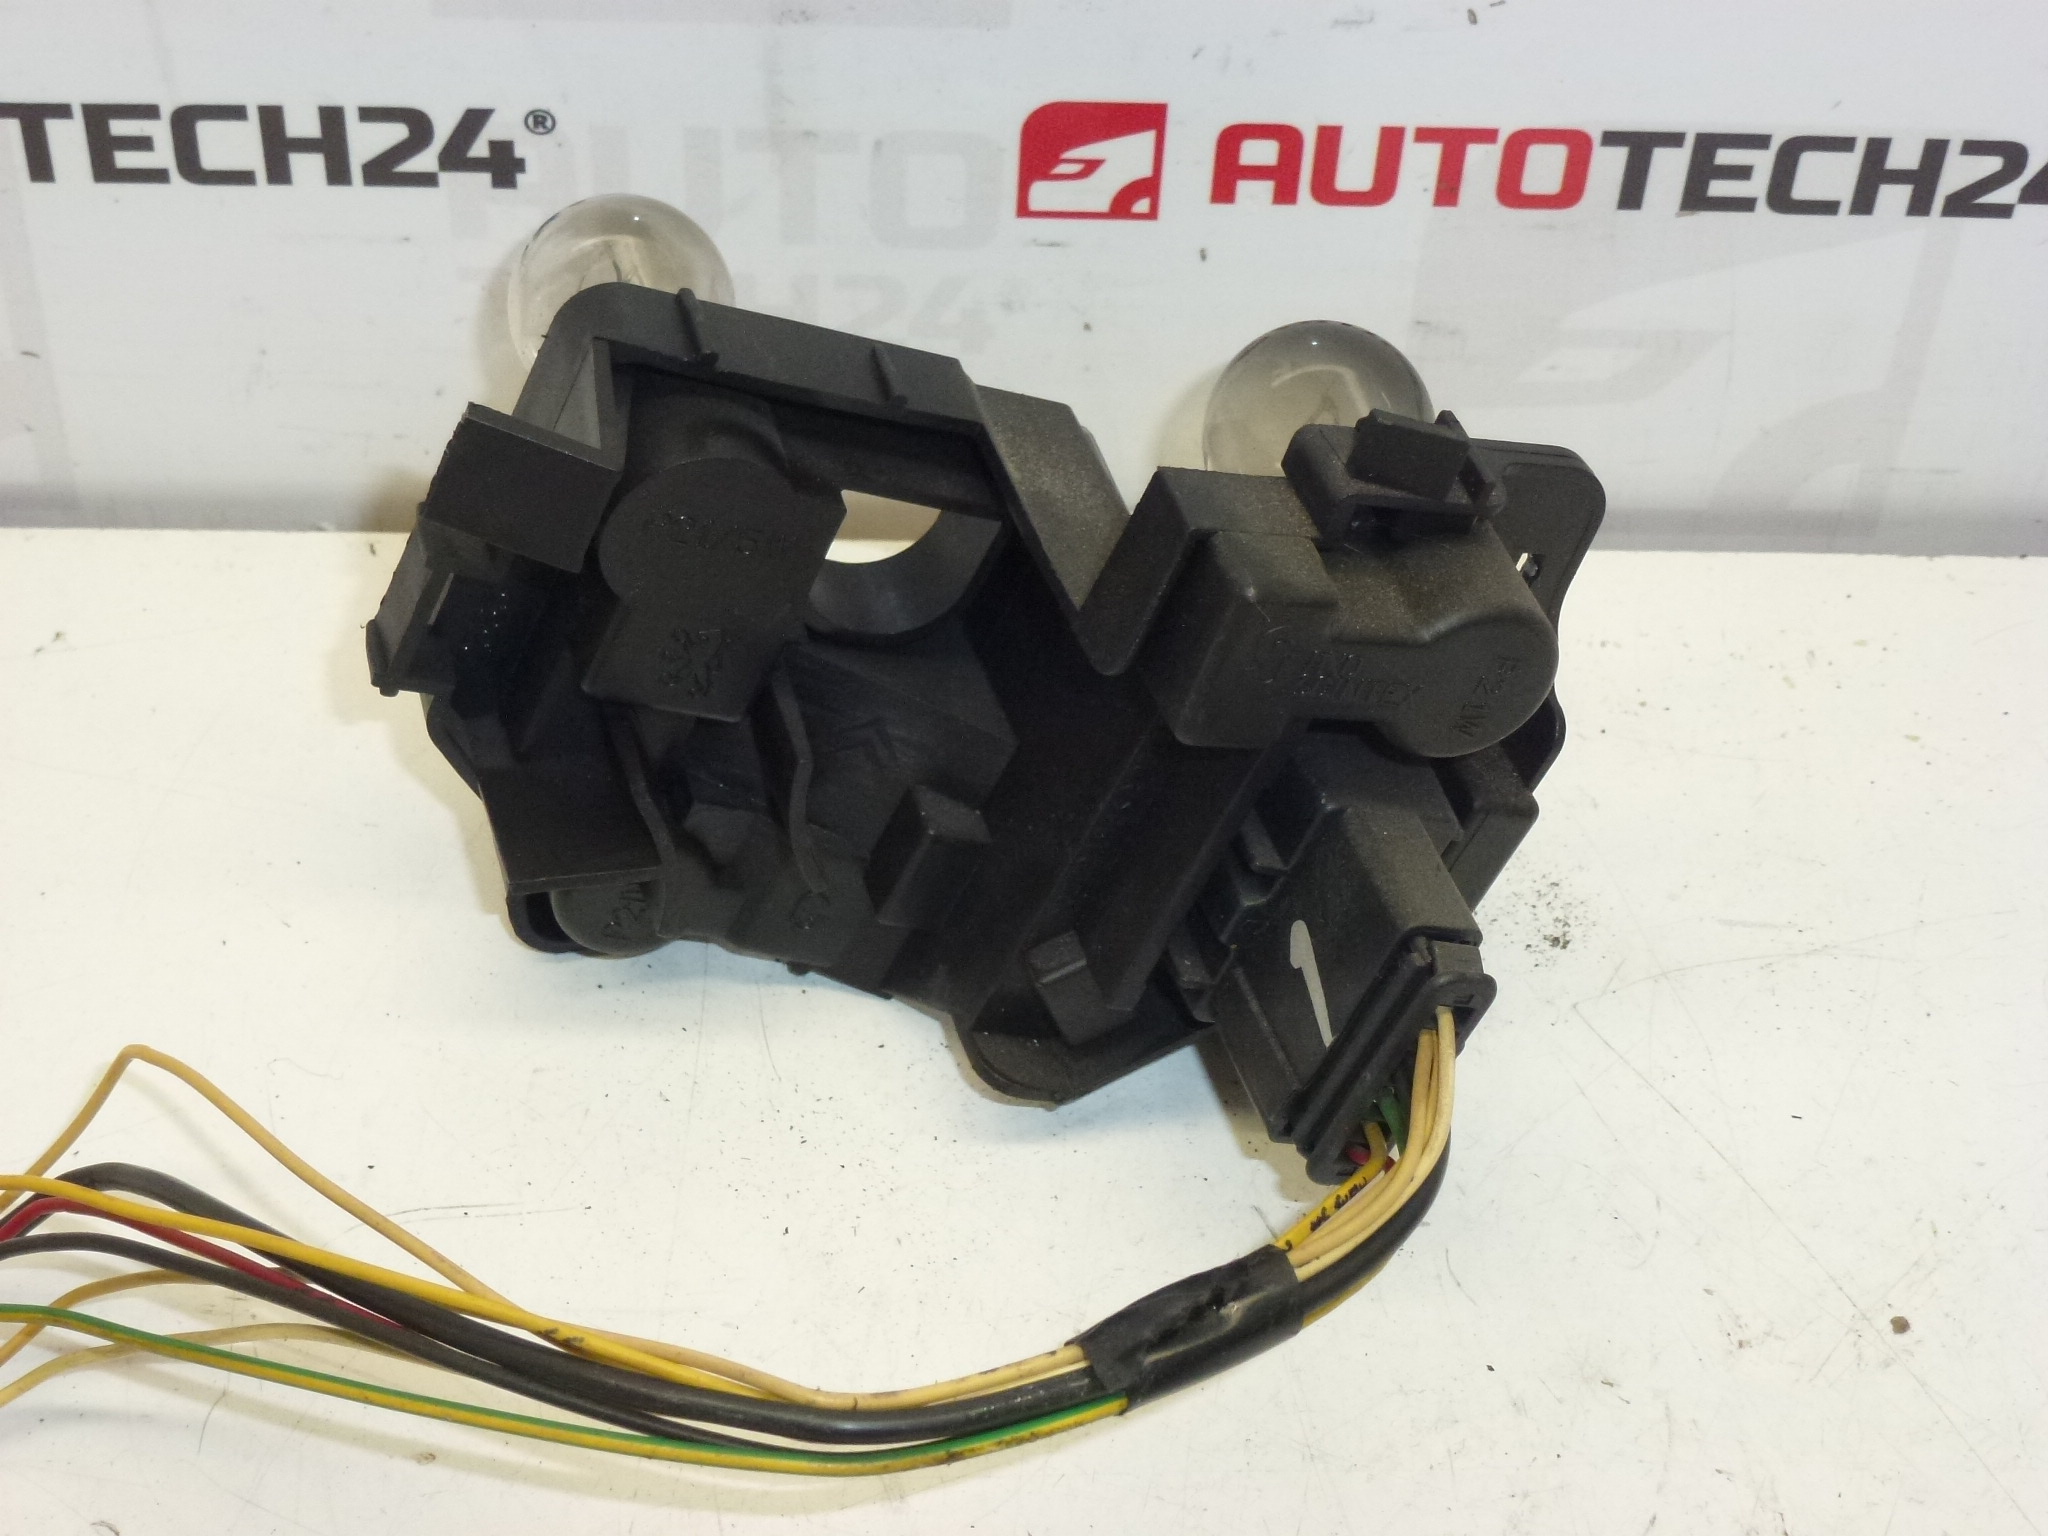
Left rear lamp socket with wiring for Peugeot 206 3/5 doors from production date 07/2003. Not rusty, fully functional; functionality of the bulbs not guaranteed. Located on the driver’s side.
This replacement left rear lamp socket with attached wiring harness is a practical and cost-effective part for professional workshops and DIY mechanics working on Peugeot 206 (3- and 5-door) models from July 2003. Supplied as a complete socket-and-wiring assembly, it simplifies tail light repairs when the original holder has cracked, corroded contacts, or wiring faults. The part is commonly searched by its product code, so use 6350S0 when locating the correct item.
Technical Information
- Manufacturer: Stellantis / Peugeot / Citroën
- Model: Peugeot 206 (3-door and 5-door) – from production date 07/2003
- Product Codes: 6350S0, (6350.S0)
- Other Numbers: None specified
Features and Function
The socket holds the rear lamp bulbs (tail, stop, and indicator depending on socket configuration) and provides the electrical connection through an integrated wiring pigtail. It secures into the tail lamp housing and ensures reliable contact between the bulb base and vehicle wiring. Replacing the socket restores proper electrical connection and reduces flicker, intermittent lighting, or total bulb failure when the cause is the holder or wiring rather than the bulb itself.
How To Replace
Replacement is straightforward for a trained mechanic or competent DIYer with basic tools:
- Open the tailgate and remove the interior trim or access panel to reach the lamp cluster.
- Unscrew or unclip the tail lamp assembly and carefully pull the lamp out to access the socket.
- Unplug the old socket from the lamp unit, rotate and remove the bulb(s), then detach the socket wiring from the vehicle connector (if integrated, remove retaining clips).
- Fit the new socket into the lamp housing, reinstall bulb(s) if sound, reconnect the harness, refit the lamp cluster, and test all functions (tail, stop, indicator).
- Check seals and trim for proper fitment to prevent water ingress.
Typical tools: Torx/Phillips screwdrivers, trim tools, small pliers. Estimated replacement time: 20–45 minutes depending on access and experience.
Installation Recommendations
- Disconnect the battery or ensure ignition is off to avoid short circuits while working on lighting circuits.
- Inspect the bulb bases and wiring for heat damage; replace heat-damaged bulbs rather than reusing them.
- Use a small amount of dielectric grease on contacts to reduce future corrosion and improve electrical continuity.
- Ensure the lamp housing seals are intact and clean to prevent moisture entry that can corrode the new socket.
- Secure any loose wiring away from hinge points or sharp edges to avoid chafing.
Why This Part Typically Fails
Failures usually result from moisture ingress, corrosion of the contact terminals, heat stress from high-wattage bulbs, vibration and mechanical damage, or plastic aging and cracking. Road salt and dirty water accelerate terminal corrosion, while repeated heating and cooling cycles can deform the socket or weaken connections. Addressing the root cause—sealing the housing and using correct bulbs—reduces recurrence.
For workshops and hobbyists, swapping the socket-and-wiring assembly is often quicker and more reliable than repairing individual contacts, providing a long-term fix when the tail lamp electrical connection is the source of fault.