Description
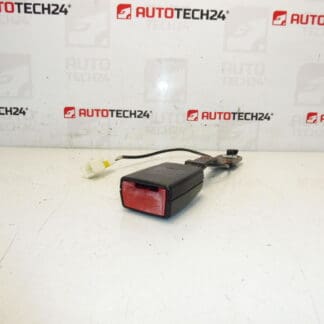
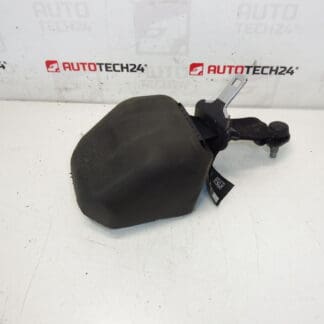
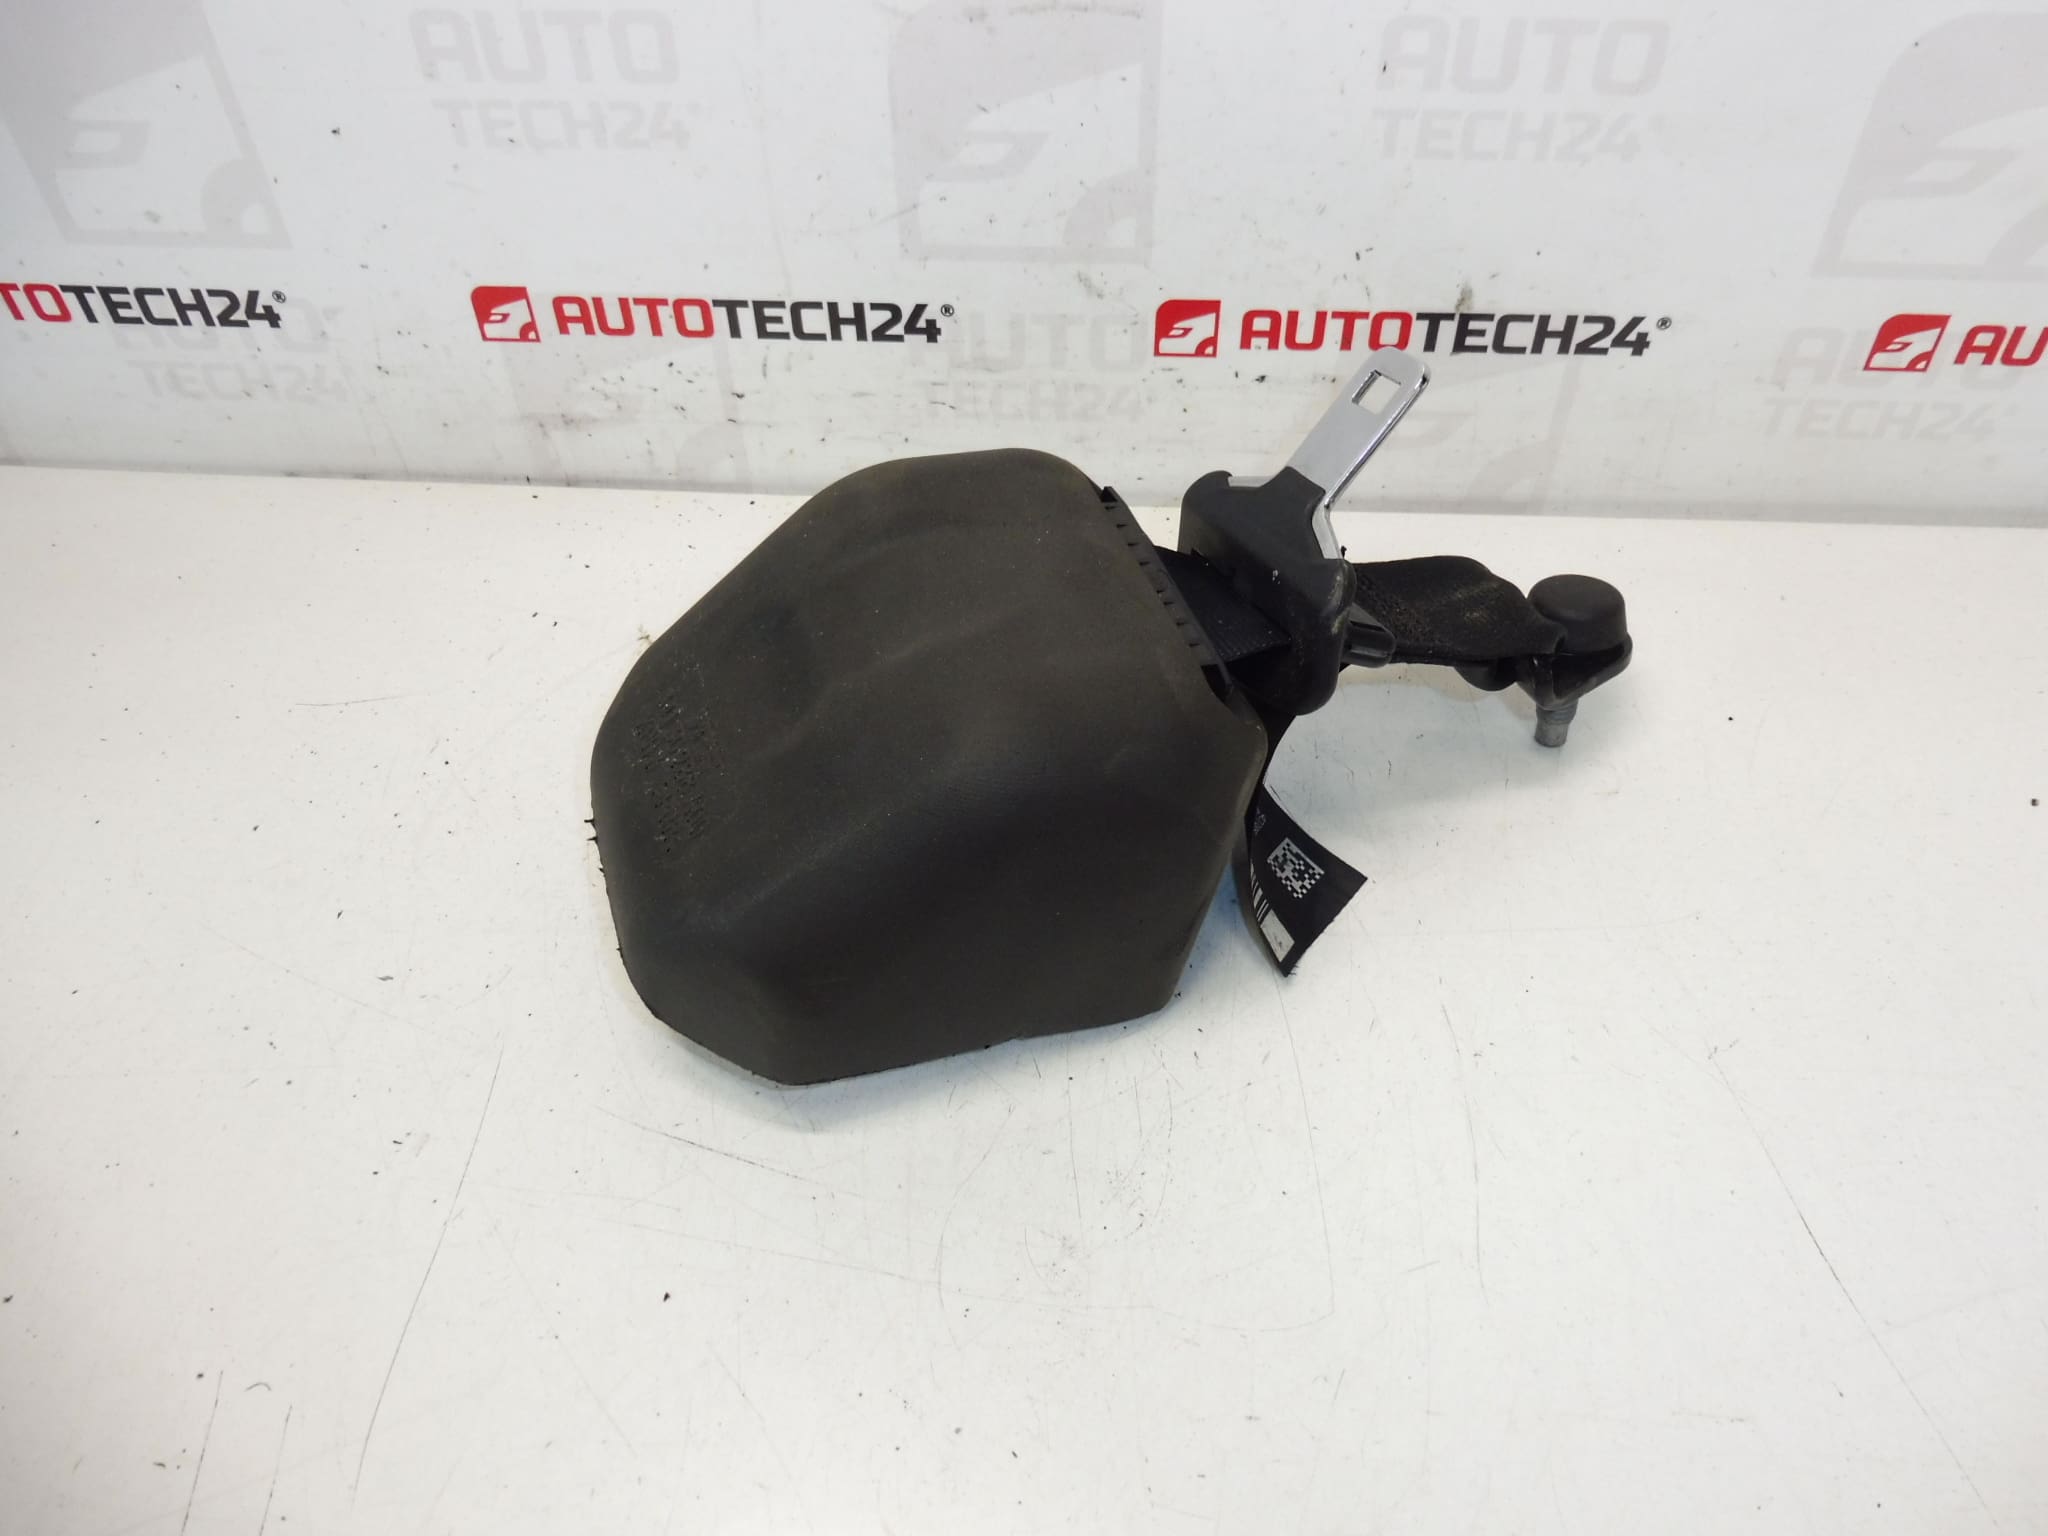
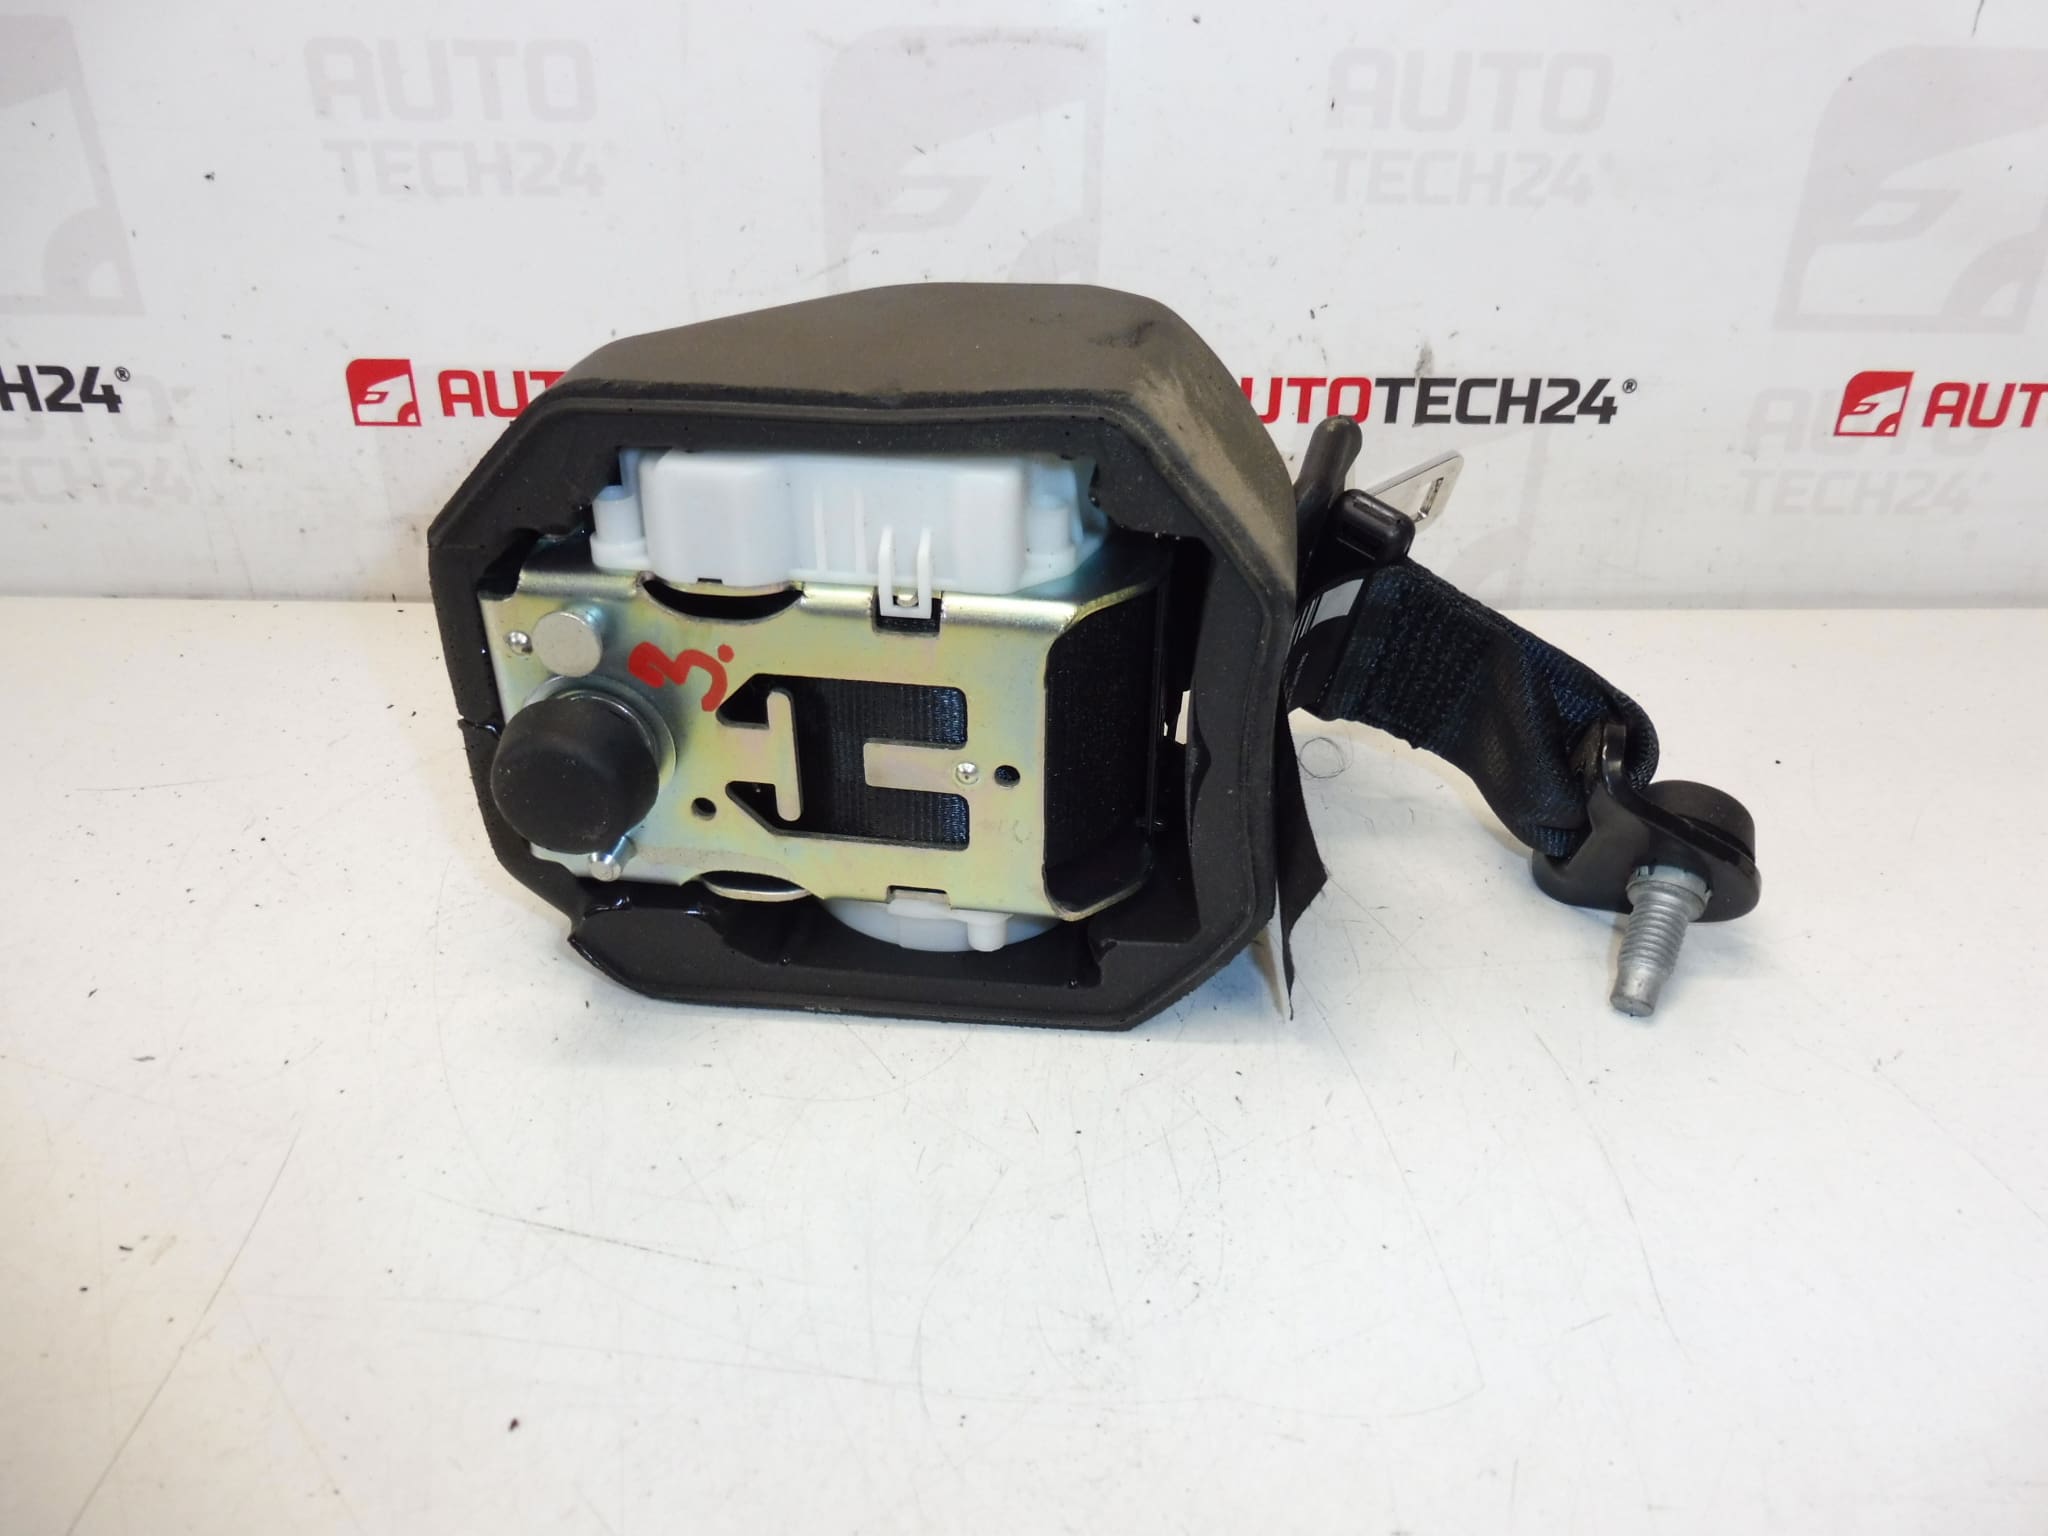
Retractor holder for seat belt for Citroën C3 II (A51) and DS3
Rear Seat, Behind The Driver And Behind The Front Passenger
Finish FXX – BLACK
This high-quality retractor holder is an original-fit replacement designed for rear seats on Citroën C3 II (A51) and DS3 models. Ideal for professional workshops and experienced DIY enthusiasts, the part restores secure anchoring of the seat belt retractor to the seat structure. Commonly searched by the OE code 98019948XX, this component delivers correct alignment and reliable operation after installation.
Function And Benefits
The retractor holder secures the seat belt retractor to the seat frame, ensuring the belt webbing winds and locks correctly during normal use and in the event of a collision. A correct-fit holder maintains the retractor’s geometry, prevents unwanted movement, and helps the restraint system perform as intended. Benefits include OEM compatibility, correct mounting points, and a factory finish (FXX – Black) matching original interior trim.
Technical Information
- Manufacturer: Stellantis (Citroën / Peugeot)
- Model: Citroën C3 II (A51), DS3
- Product Codes: 98019948XX
- Additional Numbers: –
Replacement And Installation Recommendations
- Work Recommended For: Qualified technicians or experienced DIYers with access to basic hand tools and a workshop manual.
- Preparations: Remove rear seat cushion and surrounding trim to access the retractor assembly. Keep track of clips and screws to avoid rattle or misalignment after reassembly.
- Safety: If the vehicle is equipped with a belt pretensioner or pyrotechnic components, follow manufacturer safety procedures. Disconnect the battery before starting work and wait the manufacturer‑specified time to reduce the risk of accidental deployment.
- Removal: Unbolt the old retractor holder from the seat frame, inspect the retractor and mounting points for damage or corrosion, and clean mating surfaces.
- Installation: Fit the new holder in the original position, hand-start bolts, then tighten to the manufacturer’s torque specification (refer to the workshop manual). Ensure the retractor operates smoothly and the belt webbing runs without obstruction.
- Post-Installation Check: Verify free spooling and locking action of the belt, correct routing, and that trim pieces are reinstalled without pinching the webbing.
Why The Part Fails Most Often
- Corrosion Or Rust: Prolonged exposure to moisture can corrode mounting points and fasteners, leading to loosening or breakage.
- Mechanical Wear Or Fatigue: Repeated use and vibration can wear fixing points or plastic inserts, causing play or failure.
- Impact Damage: After a collision the holder or its mounting can deform, compromising belt geometry and function.
- Foreign Objects And Contamination: Debris trapped in the retractor area can hinder movement and stress the holder over time.
Fitment And Search Tips
Designed for direct replacement on Citroën C3 II (A51) and DS3 rear seat applications. The OE reference 98019948XX is commonly used by professionals when searching for the correct spare part. Always inspect the existing mounting area and retractor for damage before fitting a new holder.
Final Notes
Replacing a damaged or corroded retractor holder restores correct seat belt alignment and contributes to overall occupant safety. If the belt retracts poorly, locks unexpectedly, or shows visible damage, replace the holder and associated components as required. When in doubt, consult the vehicle’s workshop manual or a professional technician to ensure safe and correct installation.