Description
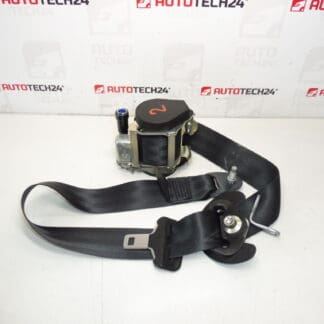
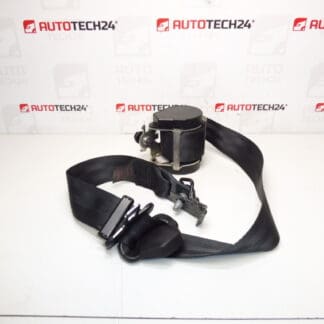
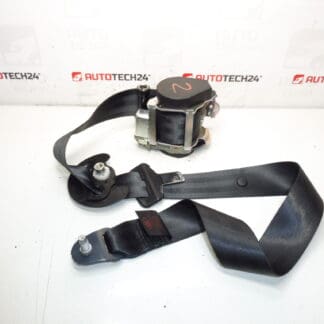
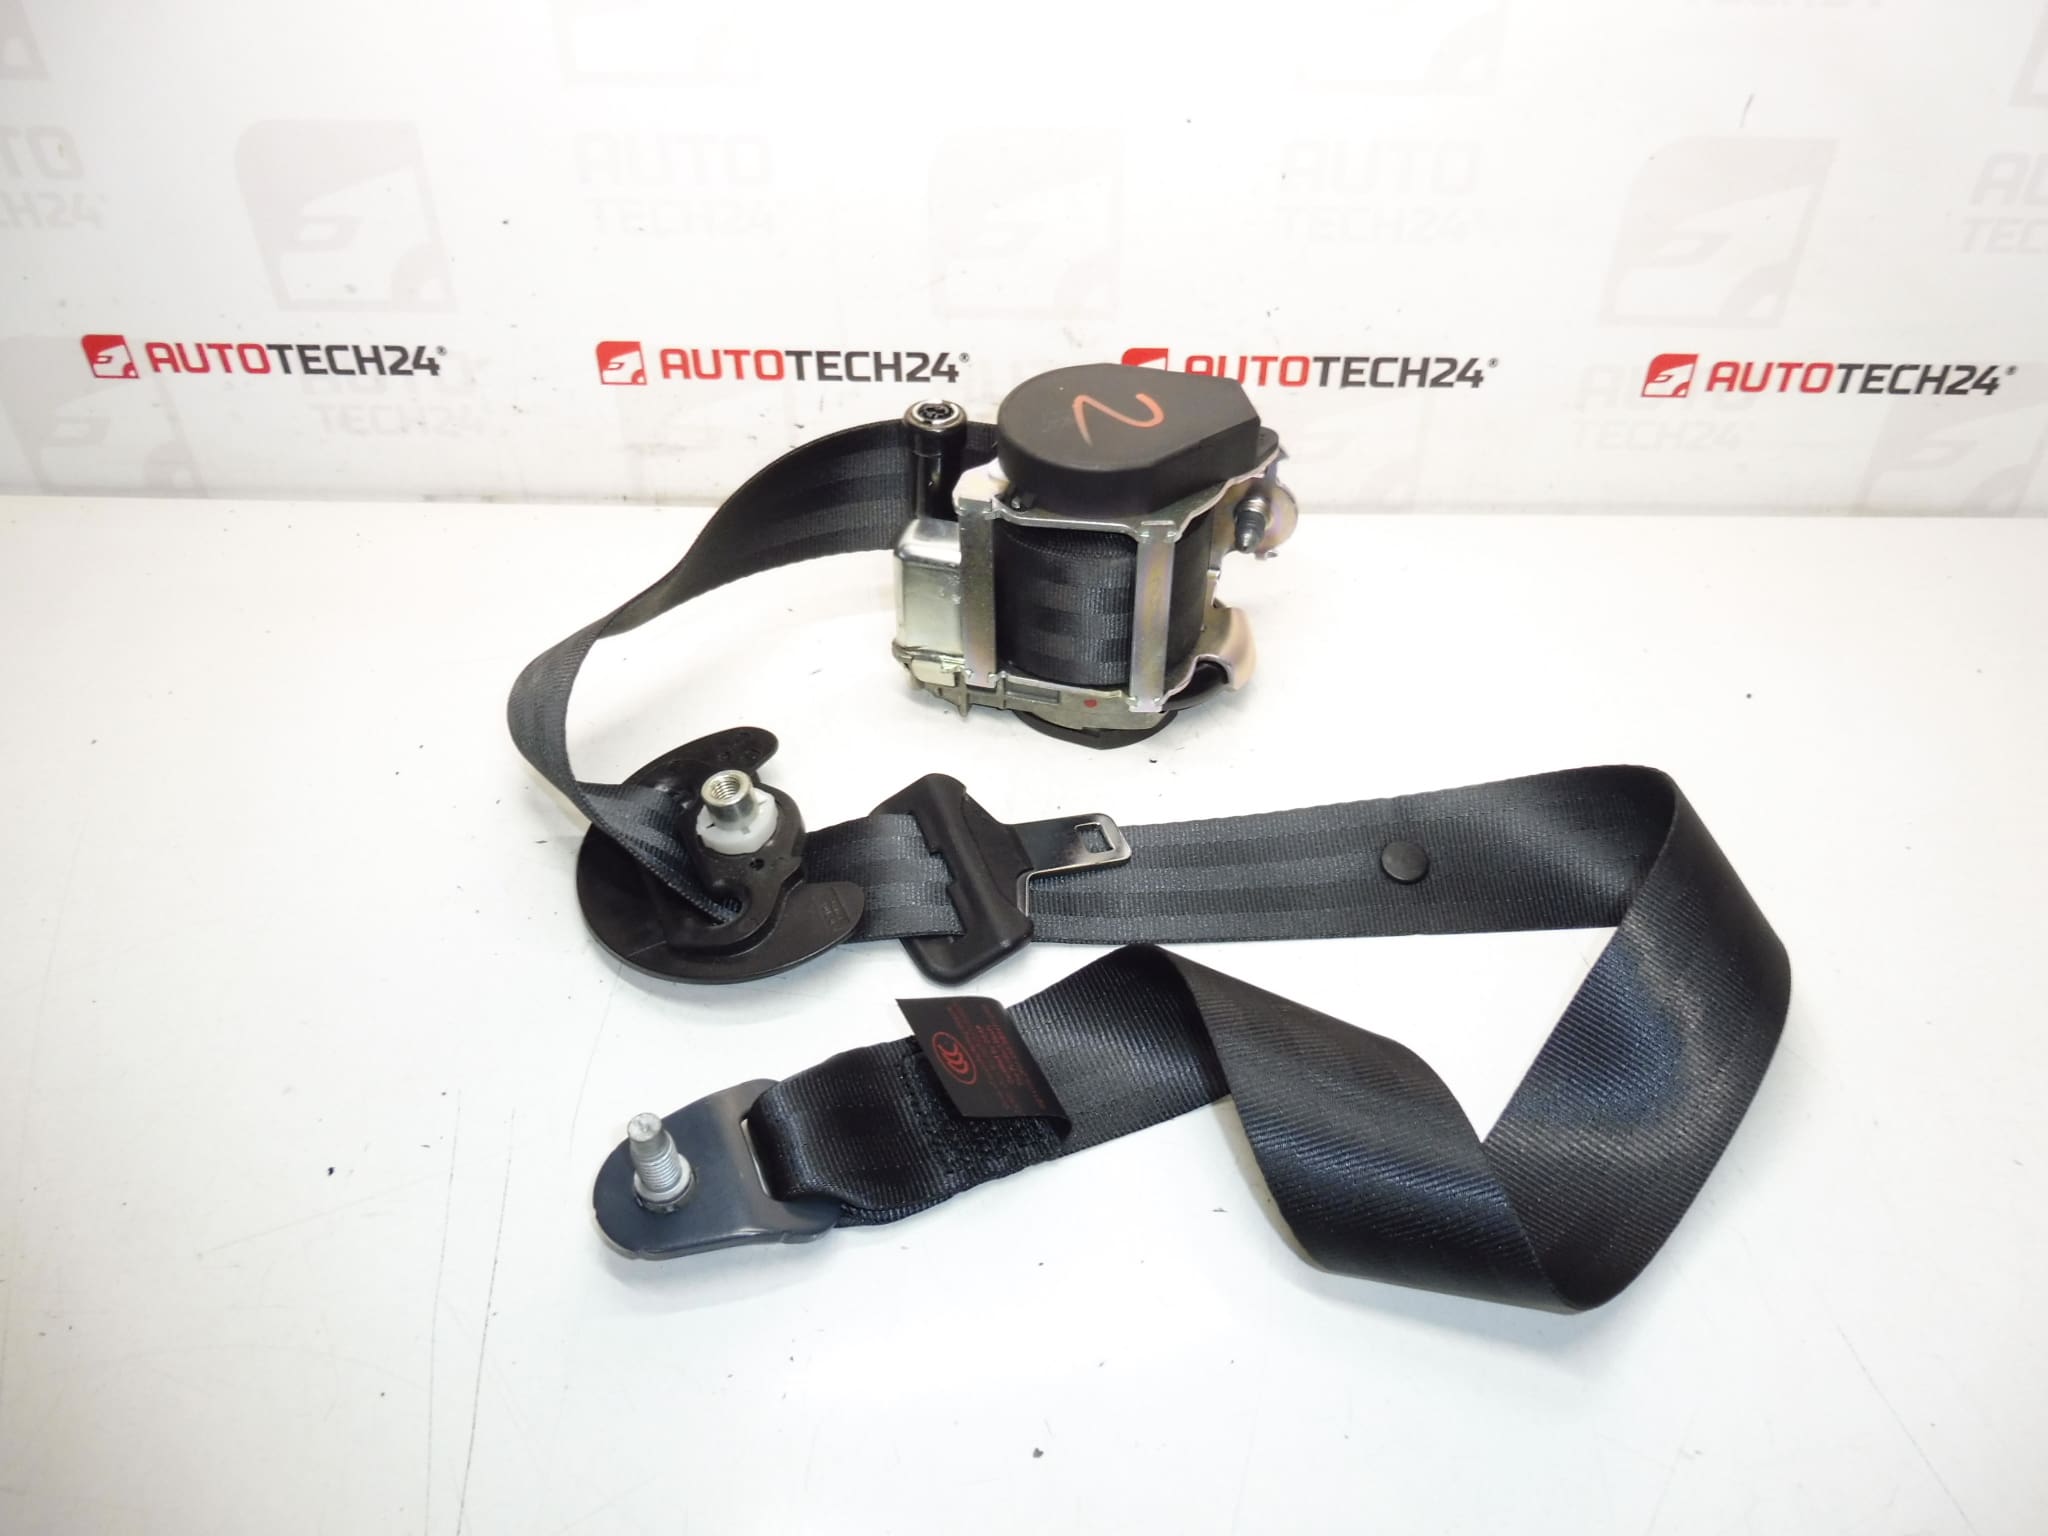
Passenger Seat Belt For PEUGEOT 308 T7. Color FXX – Black
Description
High-quality replacement passenger seat belt designed for the Peugeot 308 (T7). Ideal for workshops and DIY mechanics looking for a direct-fit safety belt that restores occupant protection after damage or wear. Commonly searched under manufacturer part numbers 96768385XX and 8976S2 — include these codes in your search to find the exact match for your vehicle.
Key Features And Benefits
- Direct Fit For Peugeot 308 T7: Designed to match factory mounting points and belt routing for an accurate, secure installation.
- OEM-Style Finish: Color code FXX – Black — matches the original interior trim of compatible vehicles.
- Durable Construction: Reinforced webbing and corrosion-resistant hardware for long service life under normal use.
- Fast Identification: Frequently found under part numbers 96768385XX and 8976S2 for quicker ordering and verification.
Function
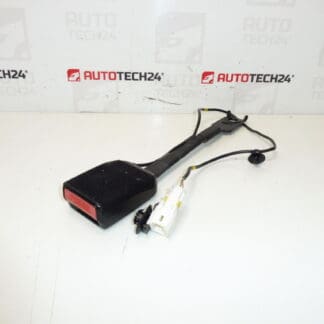
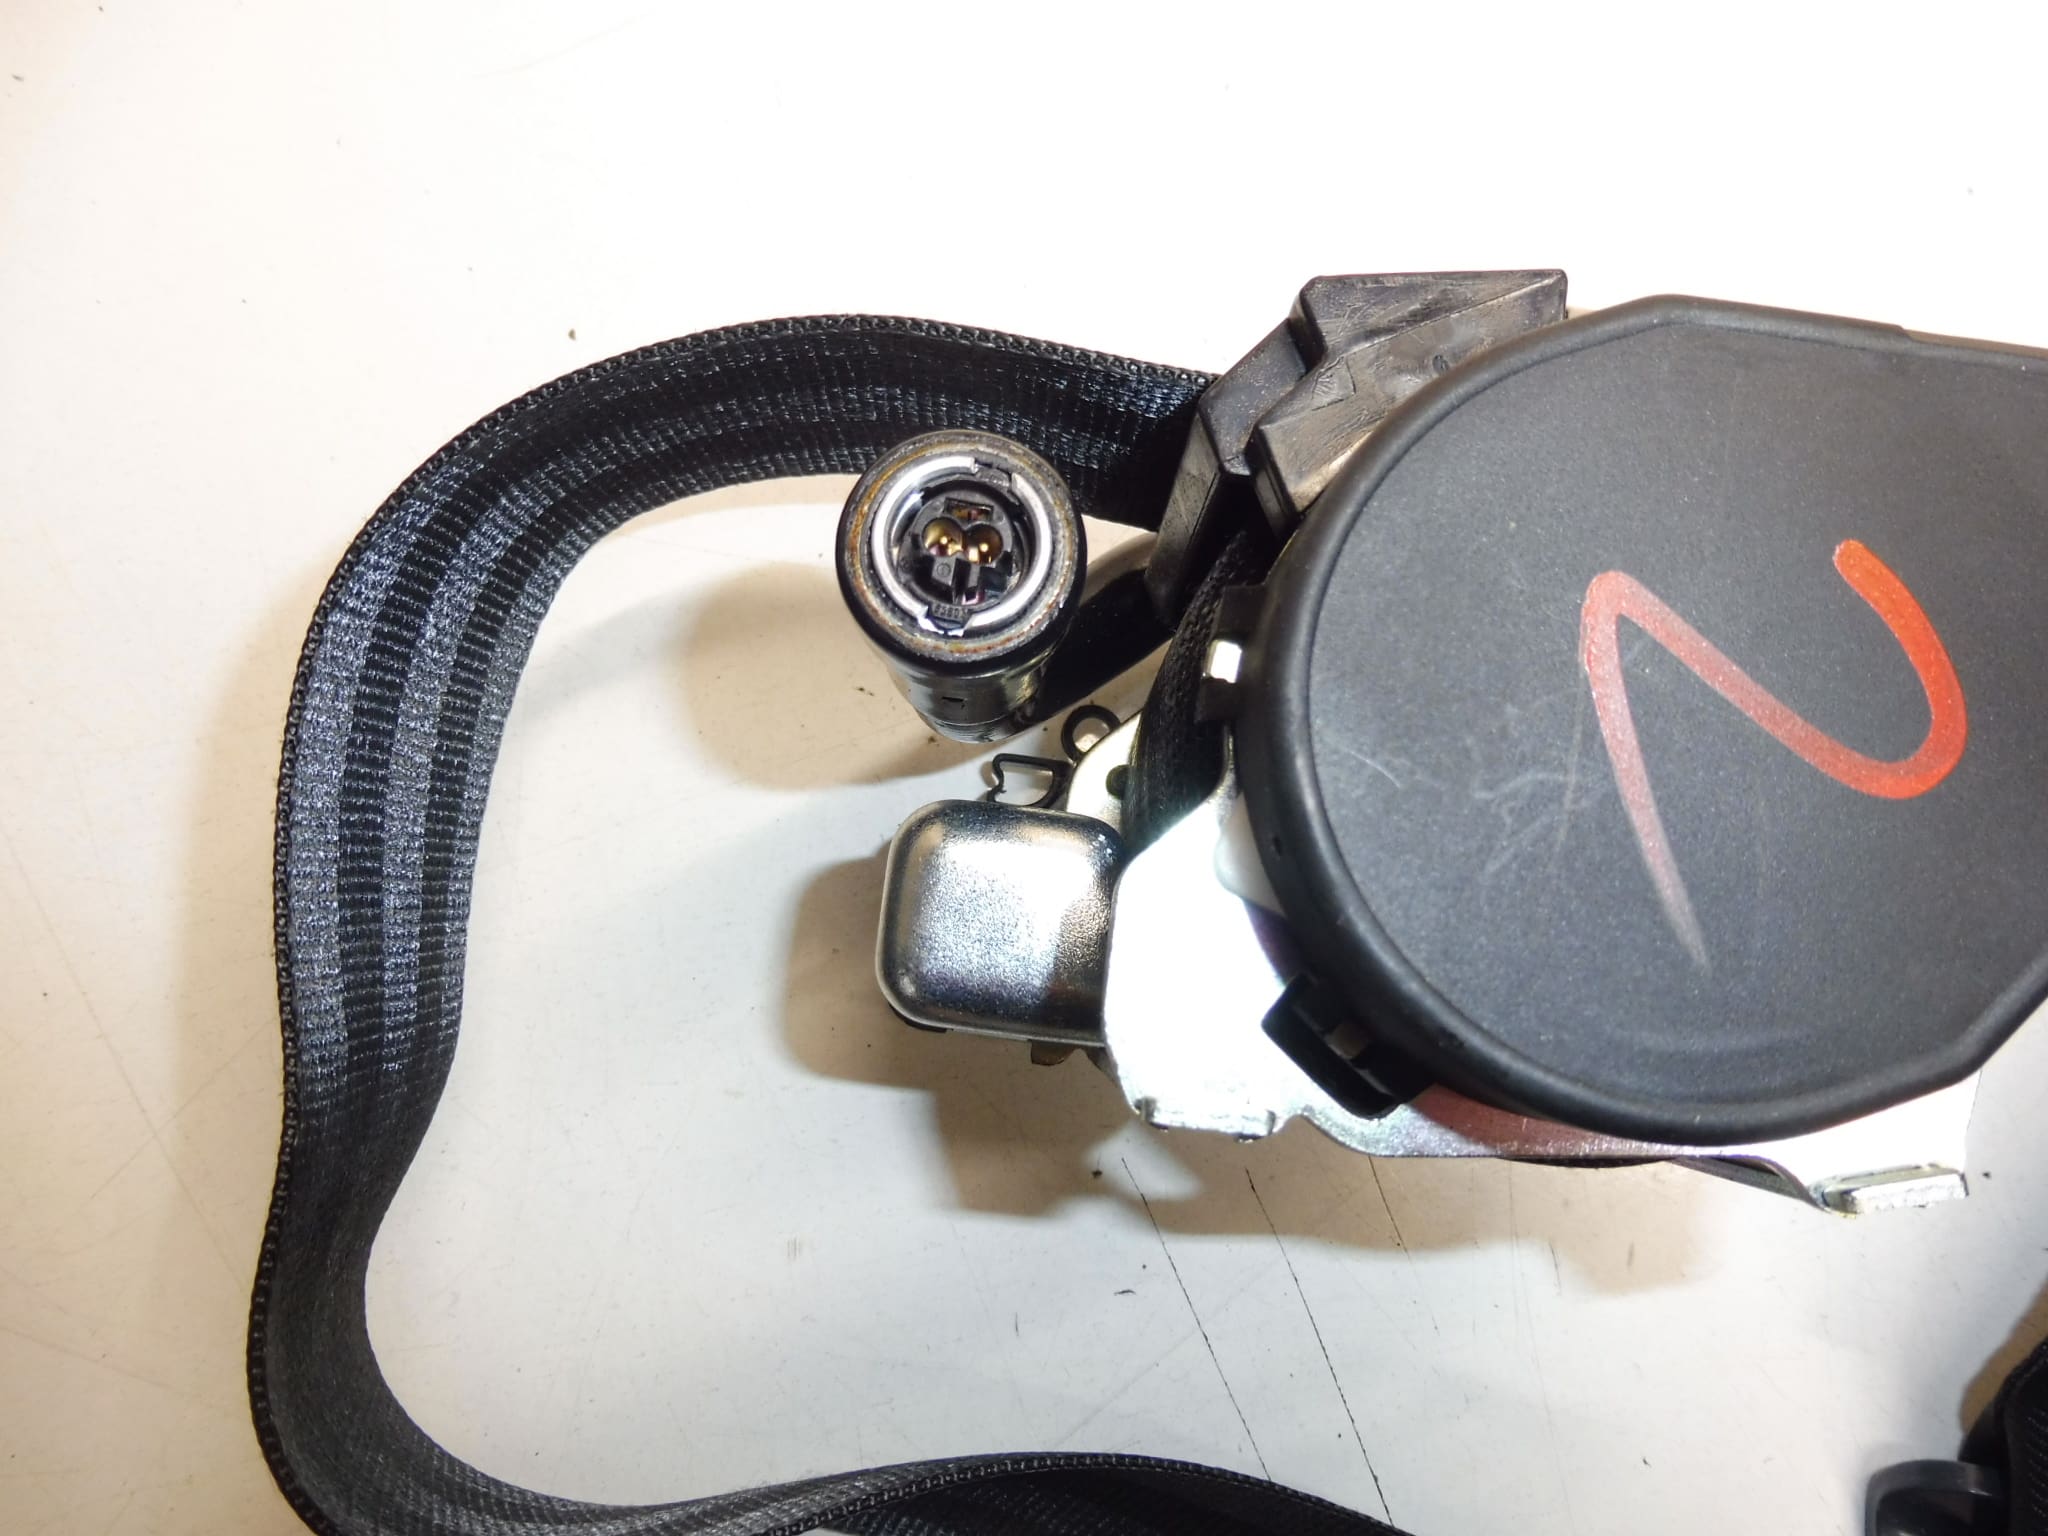
The seat belt restrains the front passenger during sudden deceleration or collisions, reducing the risk of injury. It locks via an internal retractor mechanism when subjected to rapid movement, and the buckle/latch secures the passenger to the vehicle structure.
Replacement And Installation Overview
Replacing the passenger seat belt is a repair within the scope of experienced mechanics and competent DIYers with basic tools. Typical steps include:
- Remove trim panels and the seat (if required) to access mounting bolts.
- Unbolt the lower anchor and upper anchorage point, then disconnect the buckle if it is secured separately.
- Fit the new belt, route it exactly as the original, and torque all fasteners to manufacturer specifications.
- Check free movement of the retractor and correct engagement of the buckle.
After installation, perform a visual inspection and a functional check: slow pull to verify smooth extraction/retraction and a sharp tug to confirm locking action.
Mounting Recommendations
- Always Use Correct Torque: Tighten mounting bolts to the vehicle manufacturer’s specified torque values.
- Inspect Mounting Points: Ensure threads, anchor plates, and surrounding structure are undamaged and free of corrosion before installation.
- Replace After Deployment Or Damage: If the belt has been subjected to a crash load (deployment event) or shows visible fraying/cuts, replace it — do not reuse a deployed belt.
- Use Proper Tools: Torx/sockets and a calibrated torque wrench are typically required; follow workshop manual procedures for disassembly and reassembly.
- Battery Safety: When working near SRS components or pretensioners, disconnect the battery and wait the time recommended by the manufacturer to avoid accidental deployment.
Why This Part Commonly Fails
- Wear And Tear: Repeated use over many years can cause webbing abrasion, fading, and weakened stitching.
- Accident Loads: Activation or heavy loads during a collision can stretch or damage the belt and its internal components.
- Contamination: Oils, chemicals, or dirt can degrade webbing and mechanisms, impairing retraction or locking.
- Corrosion Or Damaged Hardware: Exposure to moisture and road salt can corrode mounting bolts and anchor plates, compromising attachment strength.
Technical Information
- Manufacturer: Stellantis / Peugeot
- Model: Peugeot 308 T7
- Product Codes: 96768385XX, 8976S2
- Additional Numbers: Color Code FXX
Compatibility Note
Intended For Peugeot 308 (T7). Always verify the part number (96768385XX or 8976S2) against the vehicle’s original component markings before purchase to ensure correct fitment.
Final Tips For Buyers
For workshop professionals: Keep the vehicle manufacturer’s repair manual at hand and follow specified torque and safety procedures. For DIYers: If in doubt about dealing with pretensioners or SRS-related components, seek professional help to ensure safe and correct installation.